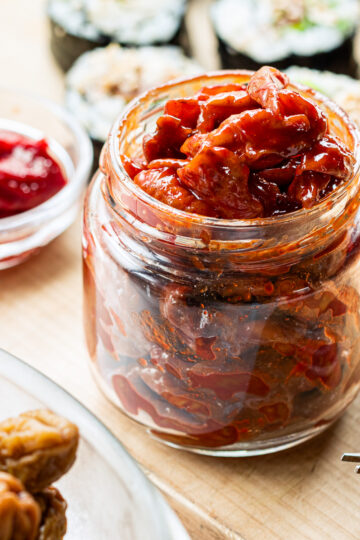
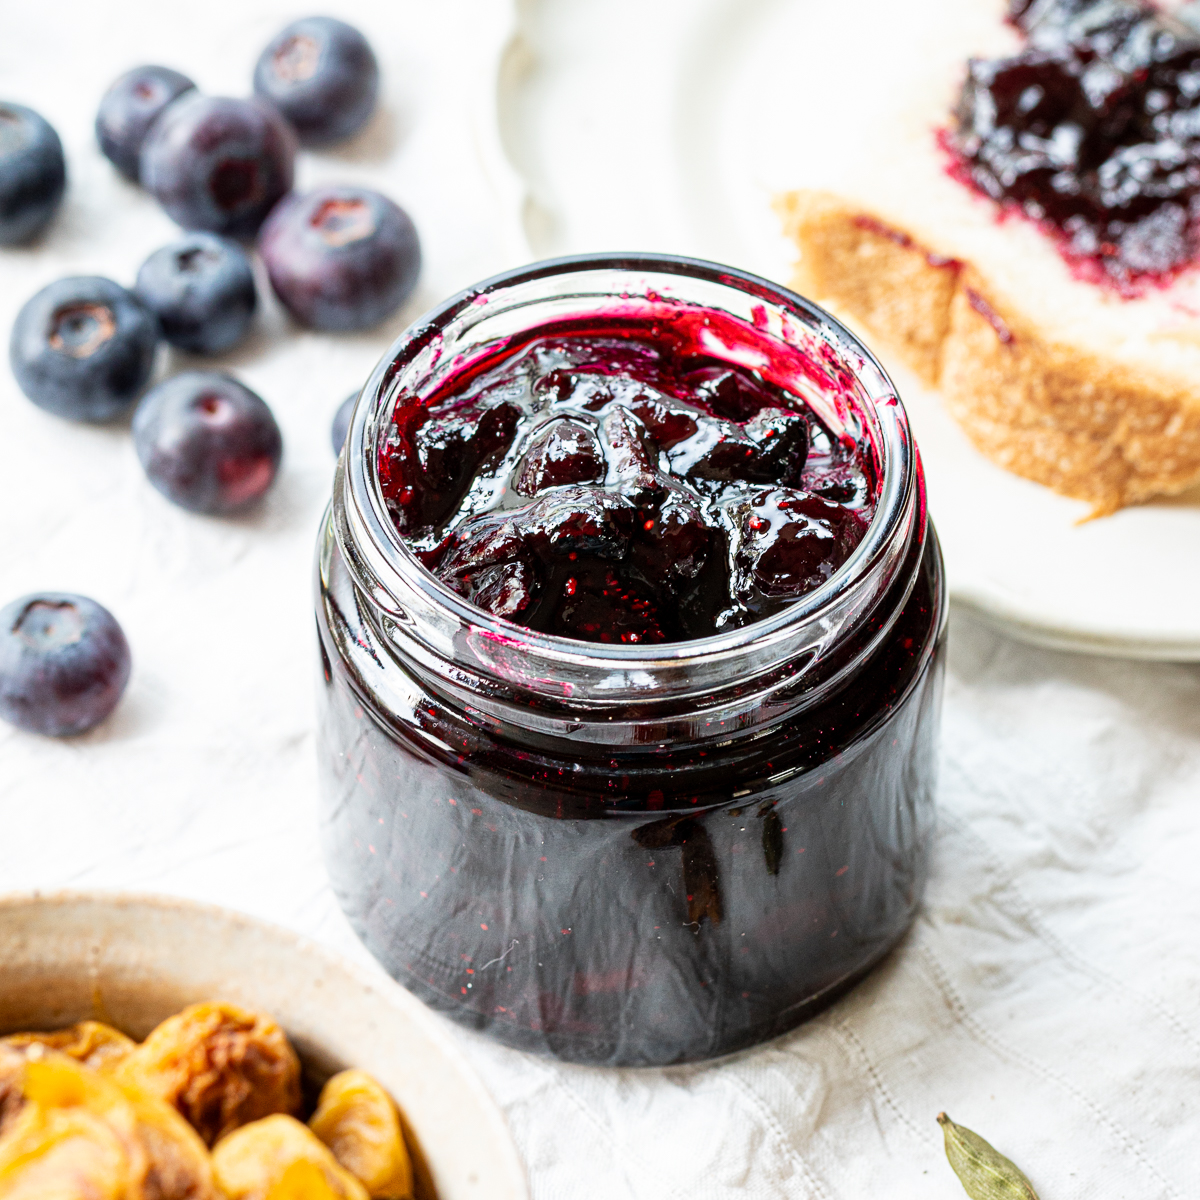
A homemade red shiso furikake, with the freedom to adjust the saltiness to your taste.
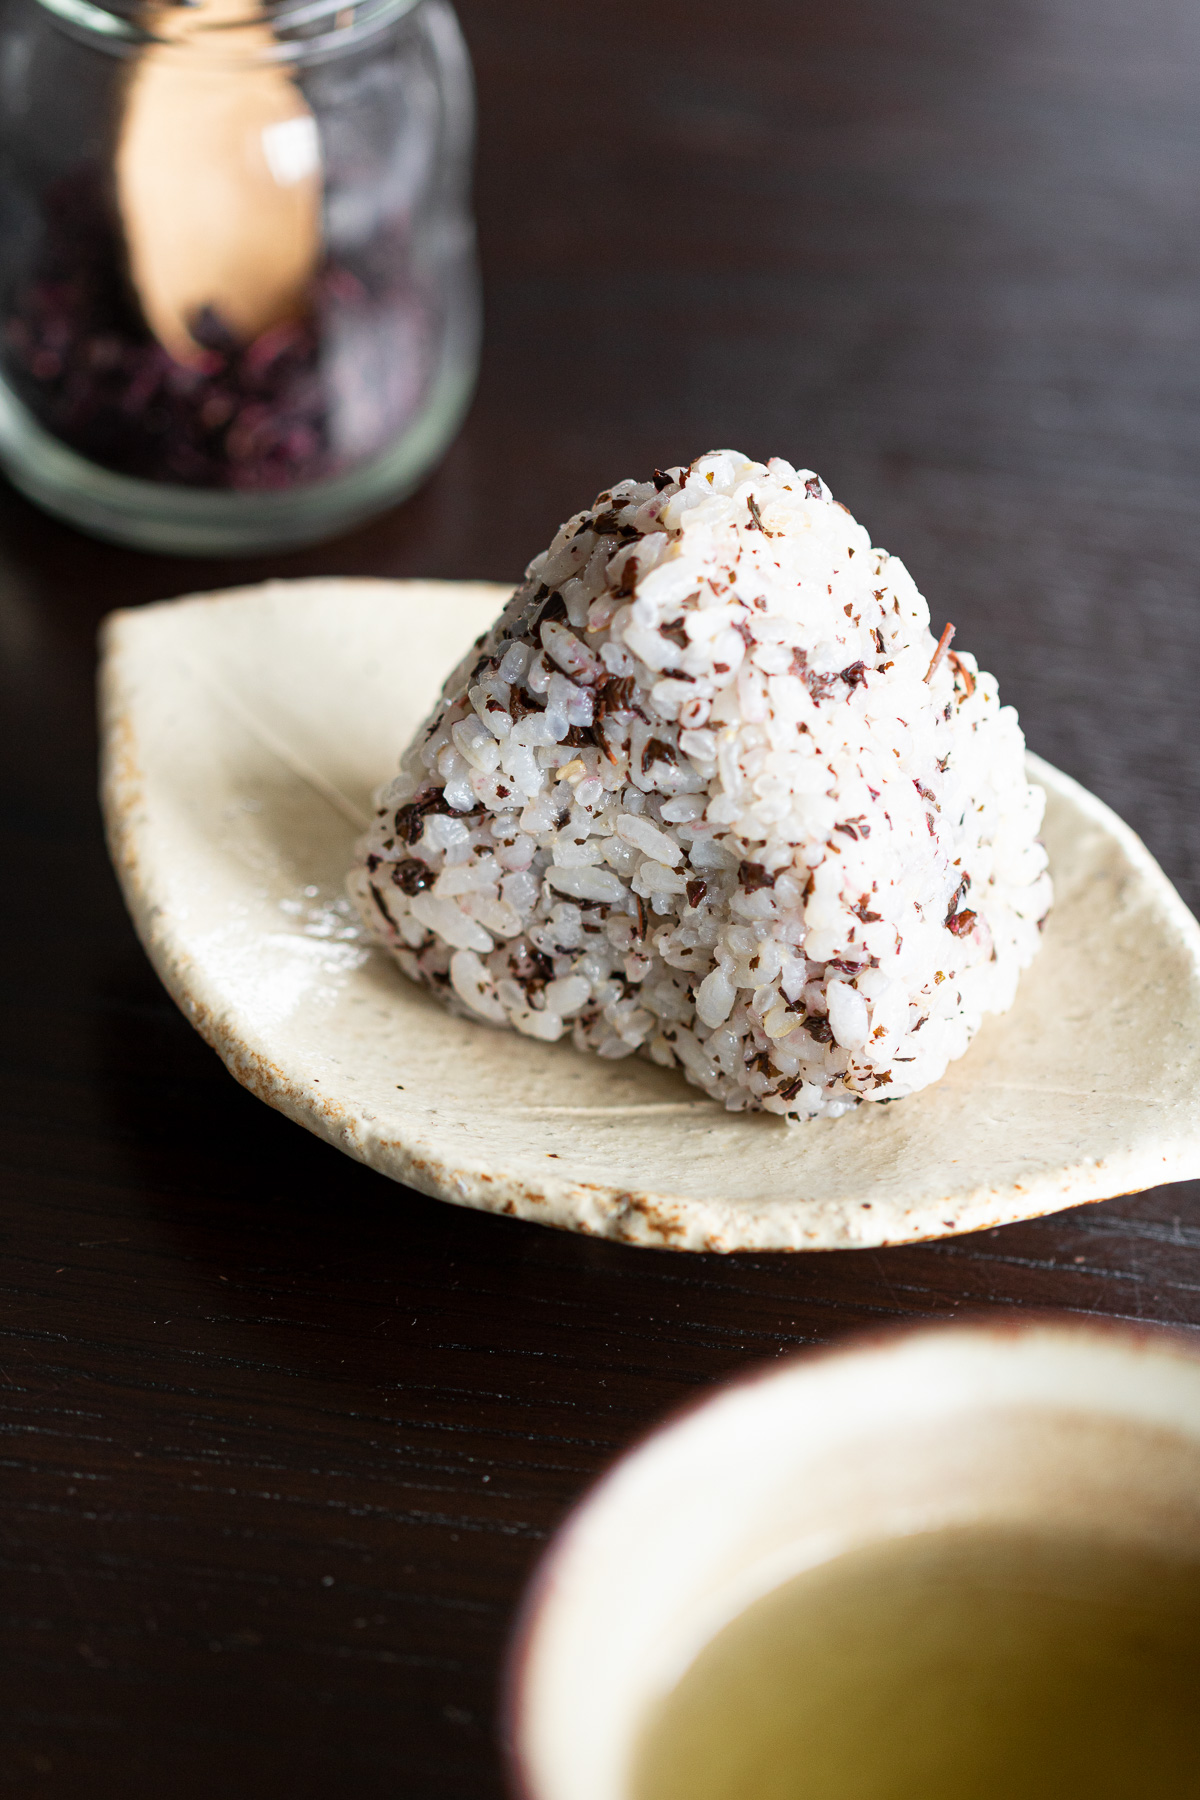
Perfect on rice, mixed into onigiri, and just as delicious sprinkled over pasta, fresh cucumber, potatoes, or cabbage.
A colorful, versatile vegan Japanese seasoning to keep in your pantry.
Bright red and beautifully fragrant, this homemade vegan furikake captures the taste of summer in a jar 🎐
Jump to:
- 🌿 A Summer Kitchen Ritual|Homemade Yukari
- 🧺 Features of This Recipe
- 🥢 Ingredients
- 🥣 How to Make Red Shiso Furikake (Yukari-style)
- 🍵 Ways to Enjoy & Variations
- 🍃 Storage
- 📚 FAQ
- 📘 Tips & Using Green Shiso
- 🎨 Summer Recipes to Play with Color
- 🫙 Bottling Seasonal Memories...
- 📖 Recipe Card|Printable
- 💐 Closing Thoughts
🌿 A Summer Kitchen Ritual|Homemade Yukari
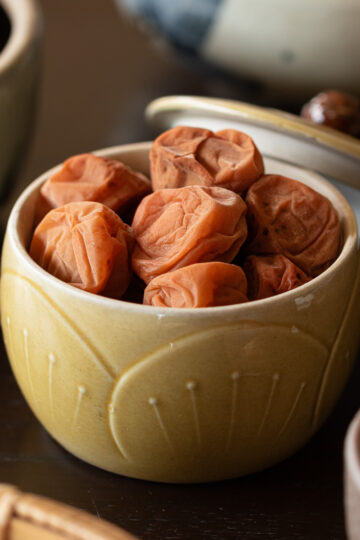
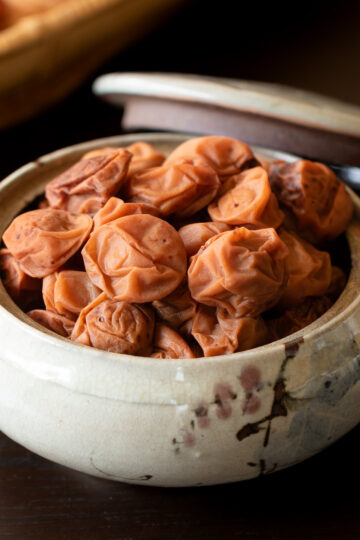
In Japan, red shiso leaves (akashiso / 赤紫蘇) are traditionally pickled with ume plums (umeboshi / 梅干し)— tart, pickled Japanese plums — then dried and crumbled into yukari, a fragrant rice seasoning known as furikake. Two treasures from one process.
In my garden, though, the shiso is ready a little later than the ume season. So my umeboshi are kept simple —just salt and plums, no shiso added. The furikake comes after, in its own time. That way I can season the yukari lightly, with less salt. A small freedom I've come to appreciate.
Making shiso furikake feels like a quiet meditation.
Picking the shiso leaves, rinsing them clean, drying them carefully.
Salting and kneading to draw out the astringency, then gently kneading again.
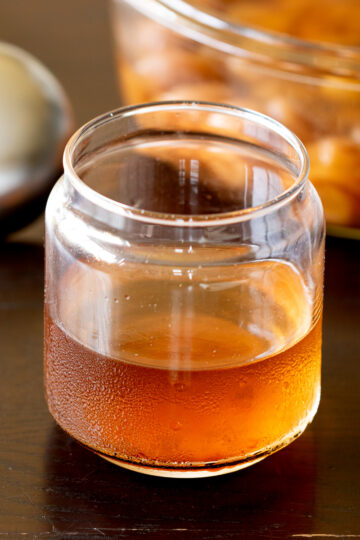
Between the steps, I pause, sitting by the fan with a glass of freshly made ume chai syrup ade, letting the summer wind carry both the scent of shiso and a sense of quiet fulfillment through the room.
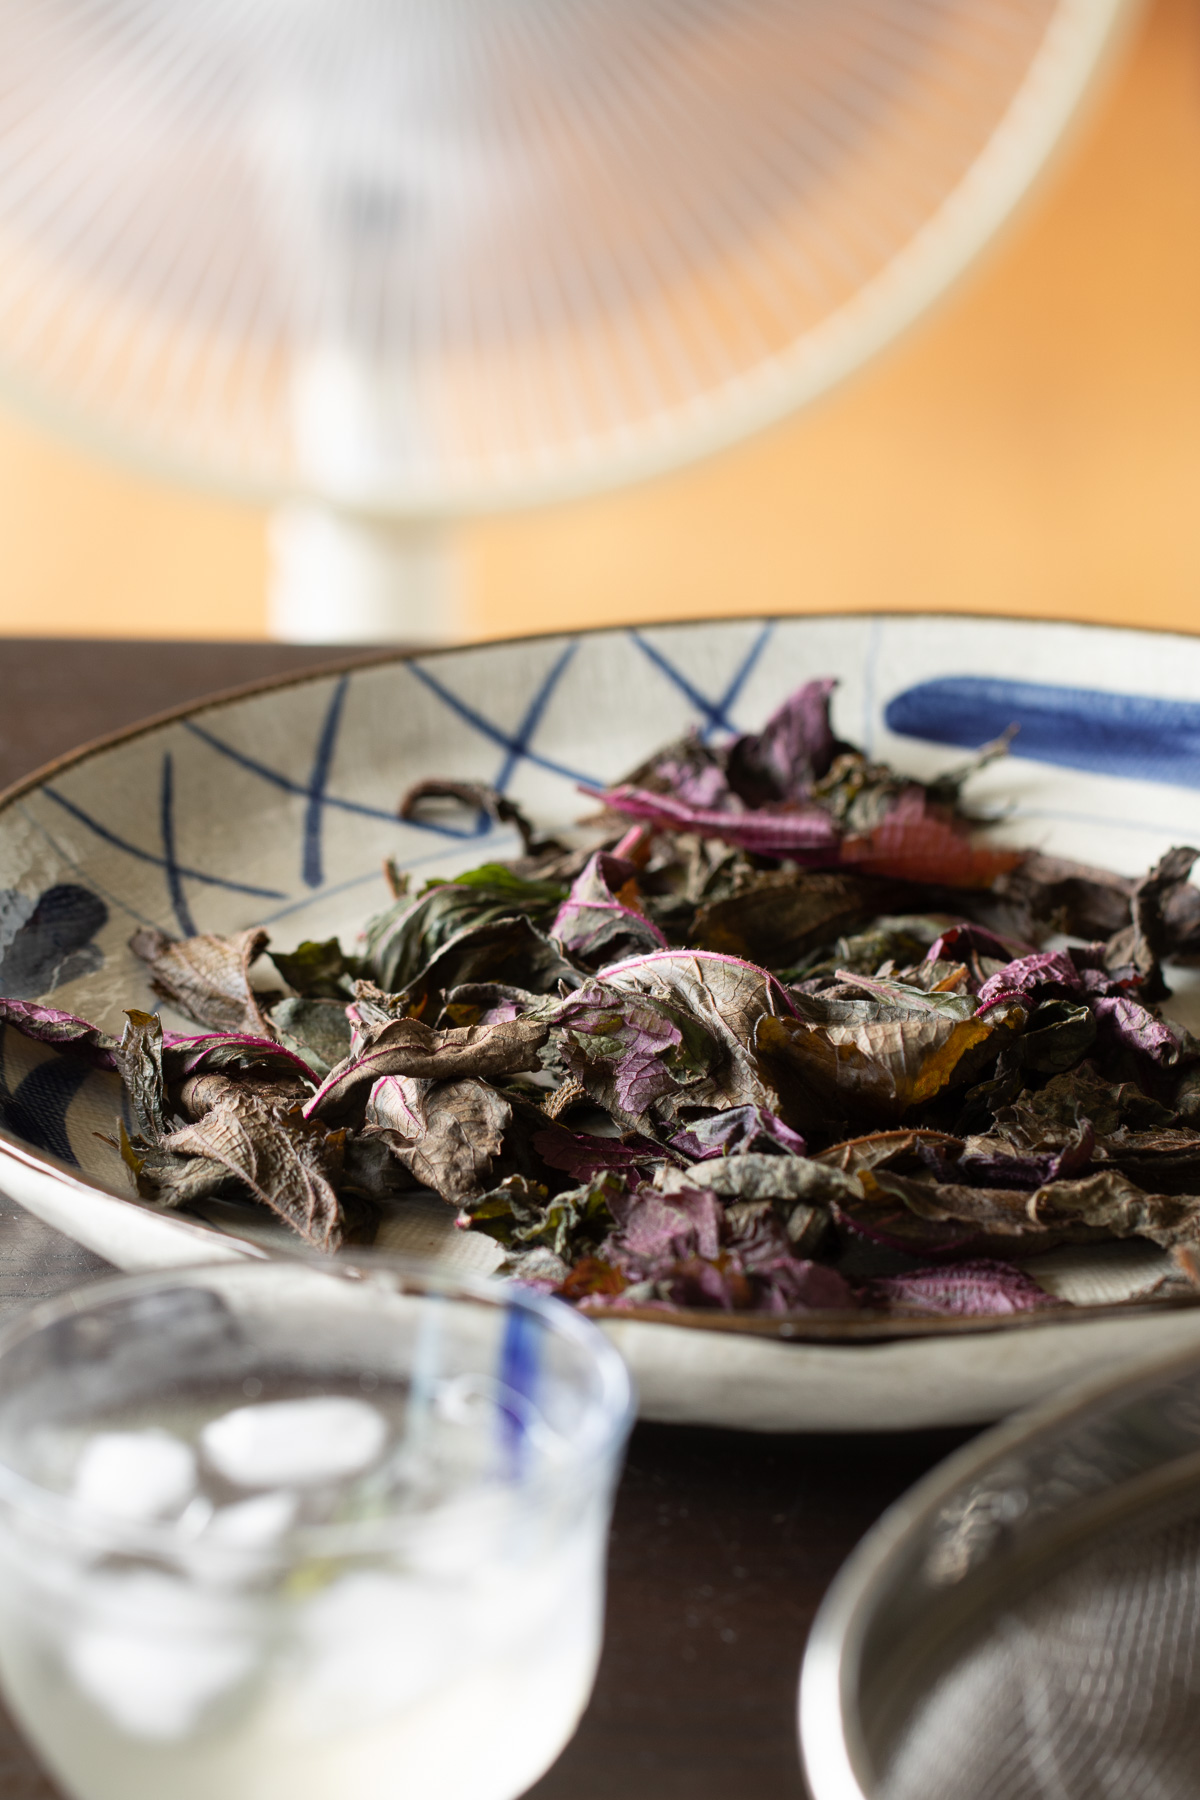
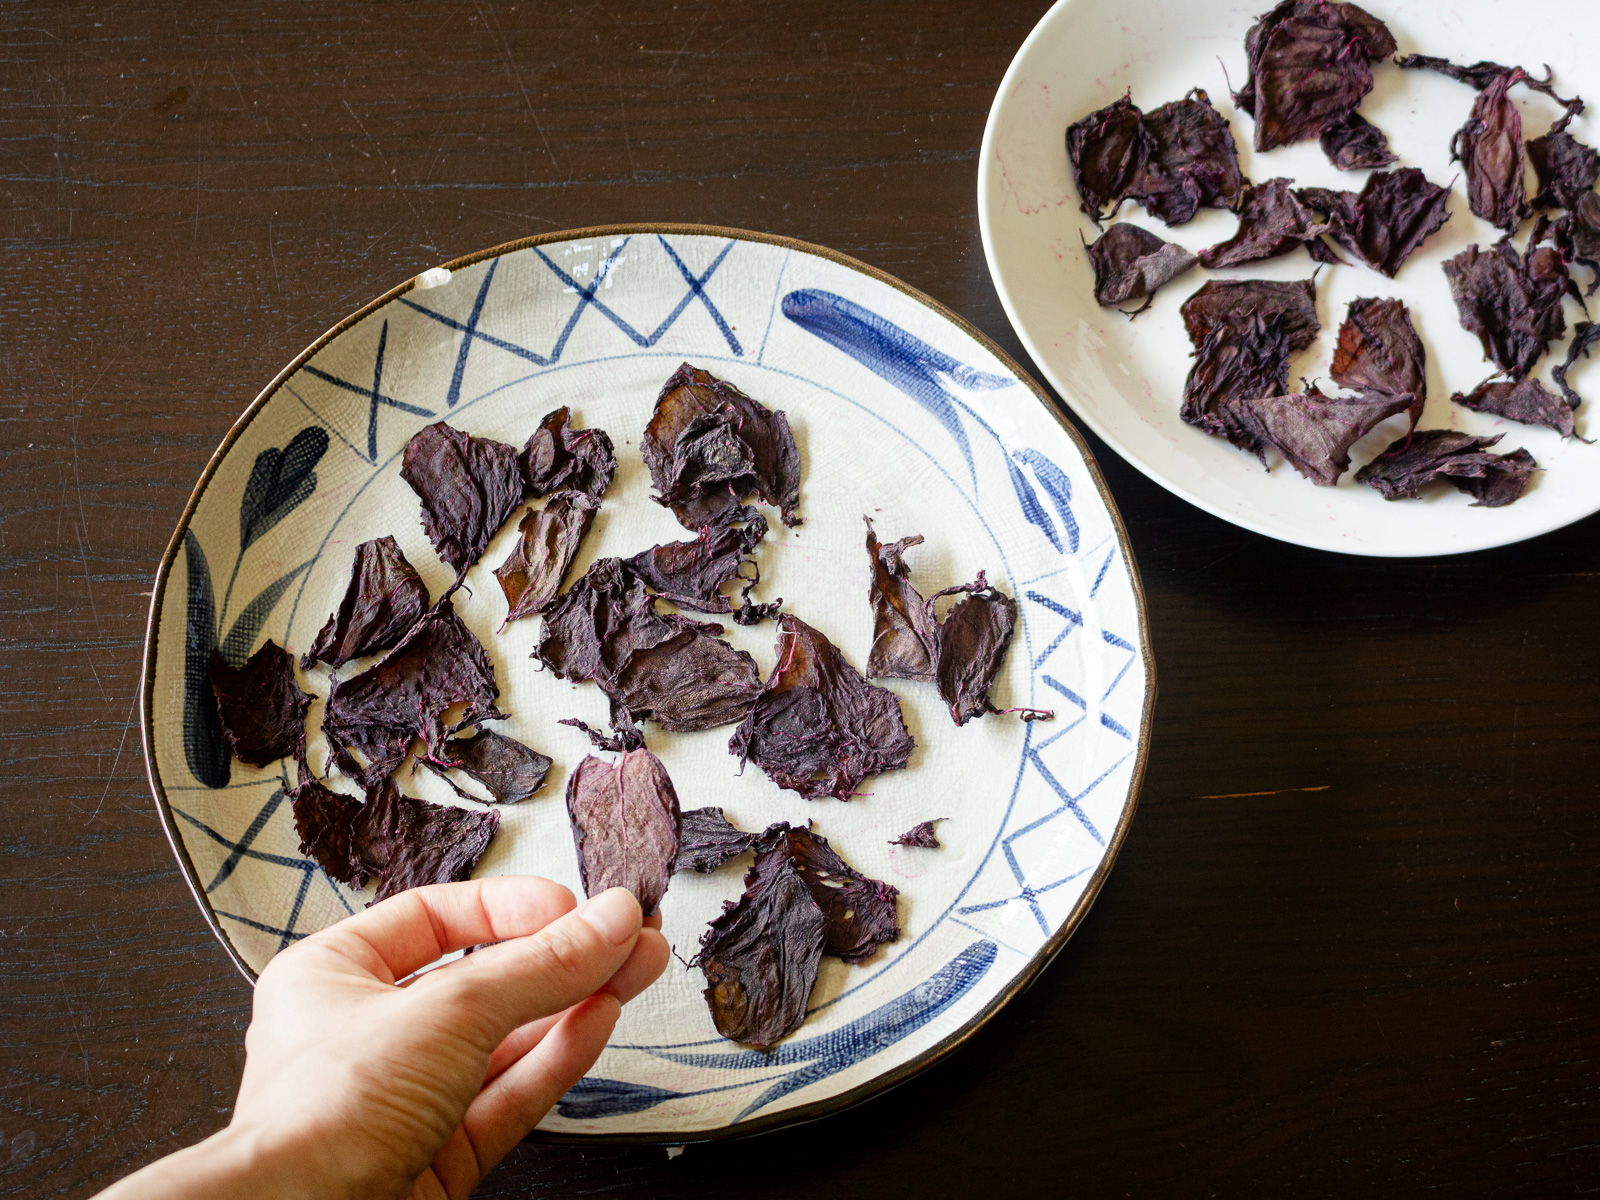
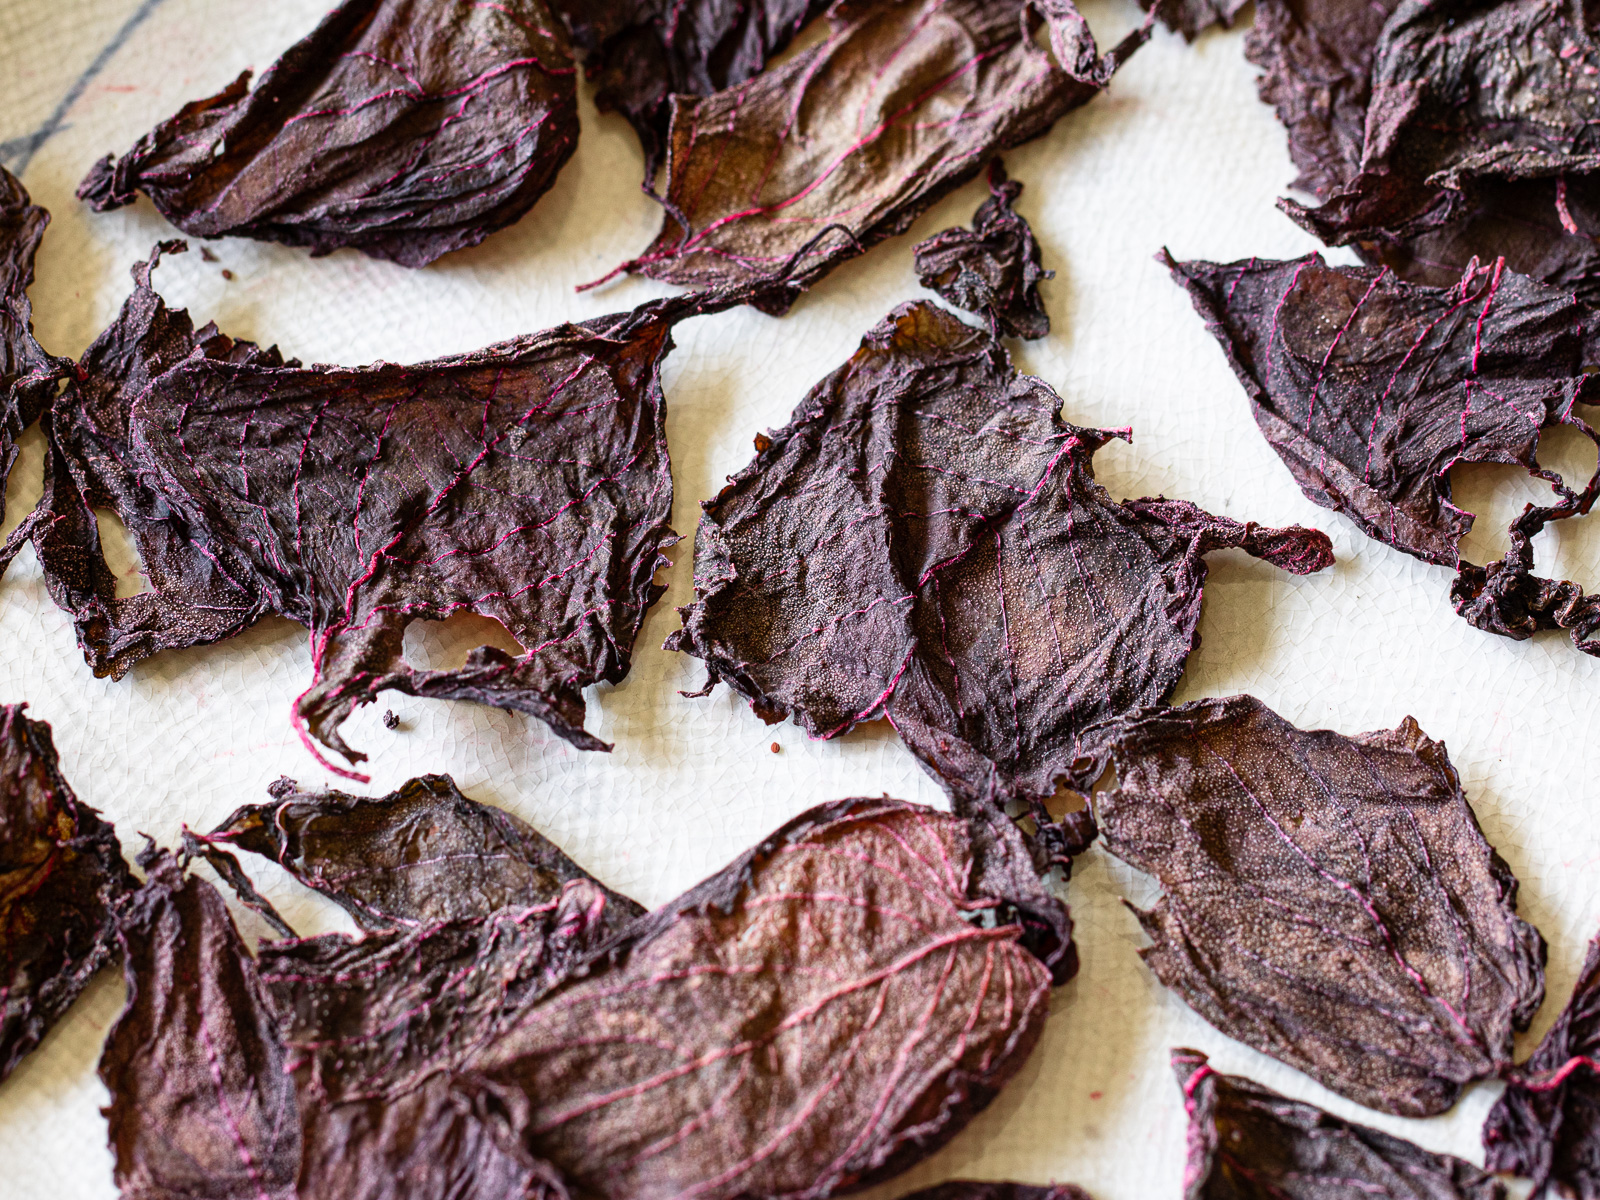
When the leaves turn a deep red-purple, I spread them out on plates and let them dry under the sun.
Before the afternoon humidity sets in, I gather them up and begin to crumble them: crackle, crunch, rustle.
The sound itself feels light and soothing.
It’s about the same time I’d bring in the futons from the balcony.
I pause, take a deep breath, and give thanks for the summer light.
Yes — summer is still here.
🧺 Features of This Recipe
- A vegan, homemade seasoning with no additives — just shiso, salt and ume plum vinegar
- Bright and naturally vibrant in color, adding joy to simple meals
- Salt level can be adjusted to taste — lighter than many store-bought versions if you prefer
- Versatile: perfect for rice, onigiri, mixed rice, pasta, cucumbers, potatoes, or cabbage
- A recipe that carries the spirit of Japanese summer handcrafts into everyday cooking
🥢 Ingredients
- 75 g fresh red shiso leaves (perilla leaves), weighed after washing and air-drying
- 7–8 g sea salt, about 10% of the dried shiso weight
- 2–3 tablespoon umezu, pickling brine from umeboshi, also called ume plum vinegar
Optional
- Fresh green shiso (can be used instead of red shiso; gives a lighter color but a refreshing aroma)
👇 For detailed amounts, scroll to the printable recipe card below.
🥣 How to Make Red Shiso Furikake (Yukari-style)
A fragrant summer ritual—washing, salting, and drying red shiso leaves over two days to create your own vibrant yukari furikake.

- Wash the red shiso
Place the red shiso, stems and all, in a large bowl of water and gently shake them to remove any dirt. Drain thoroughly.
🌿 Grab the stems and give them a few sharp downward shakes — the water flies off all at once, and it's oddly satisfying.
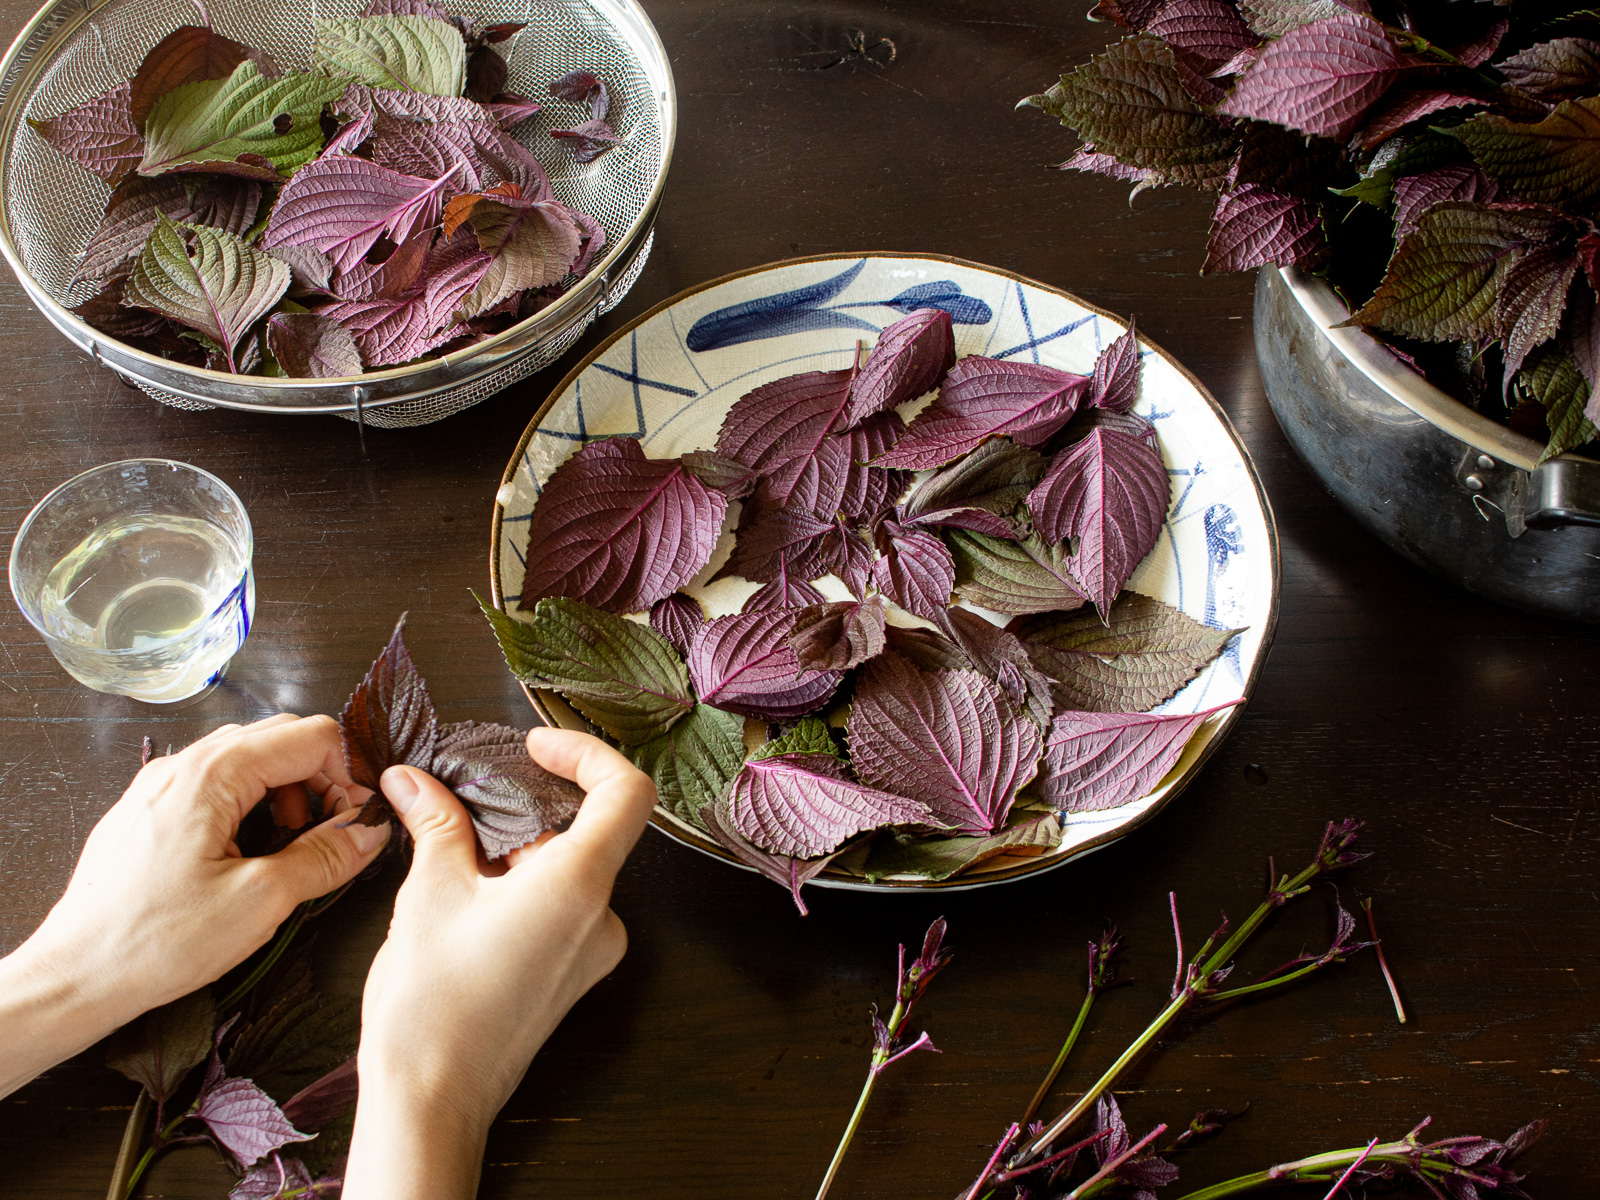
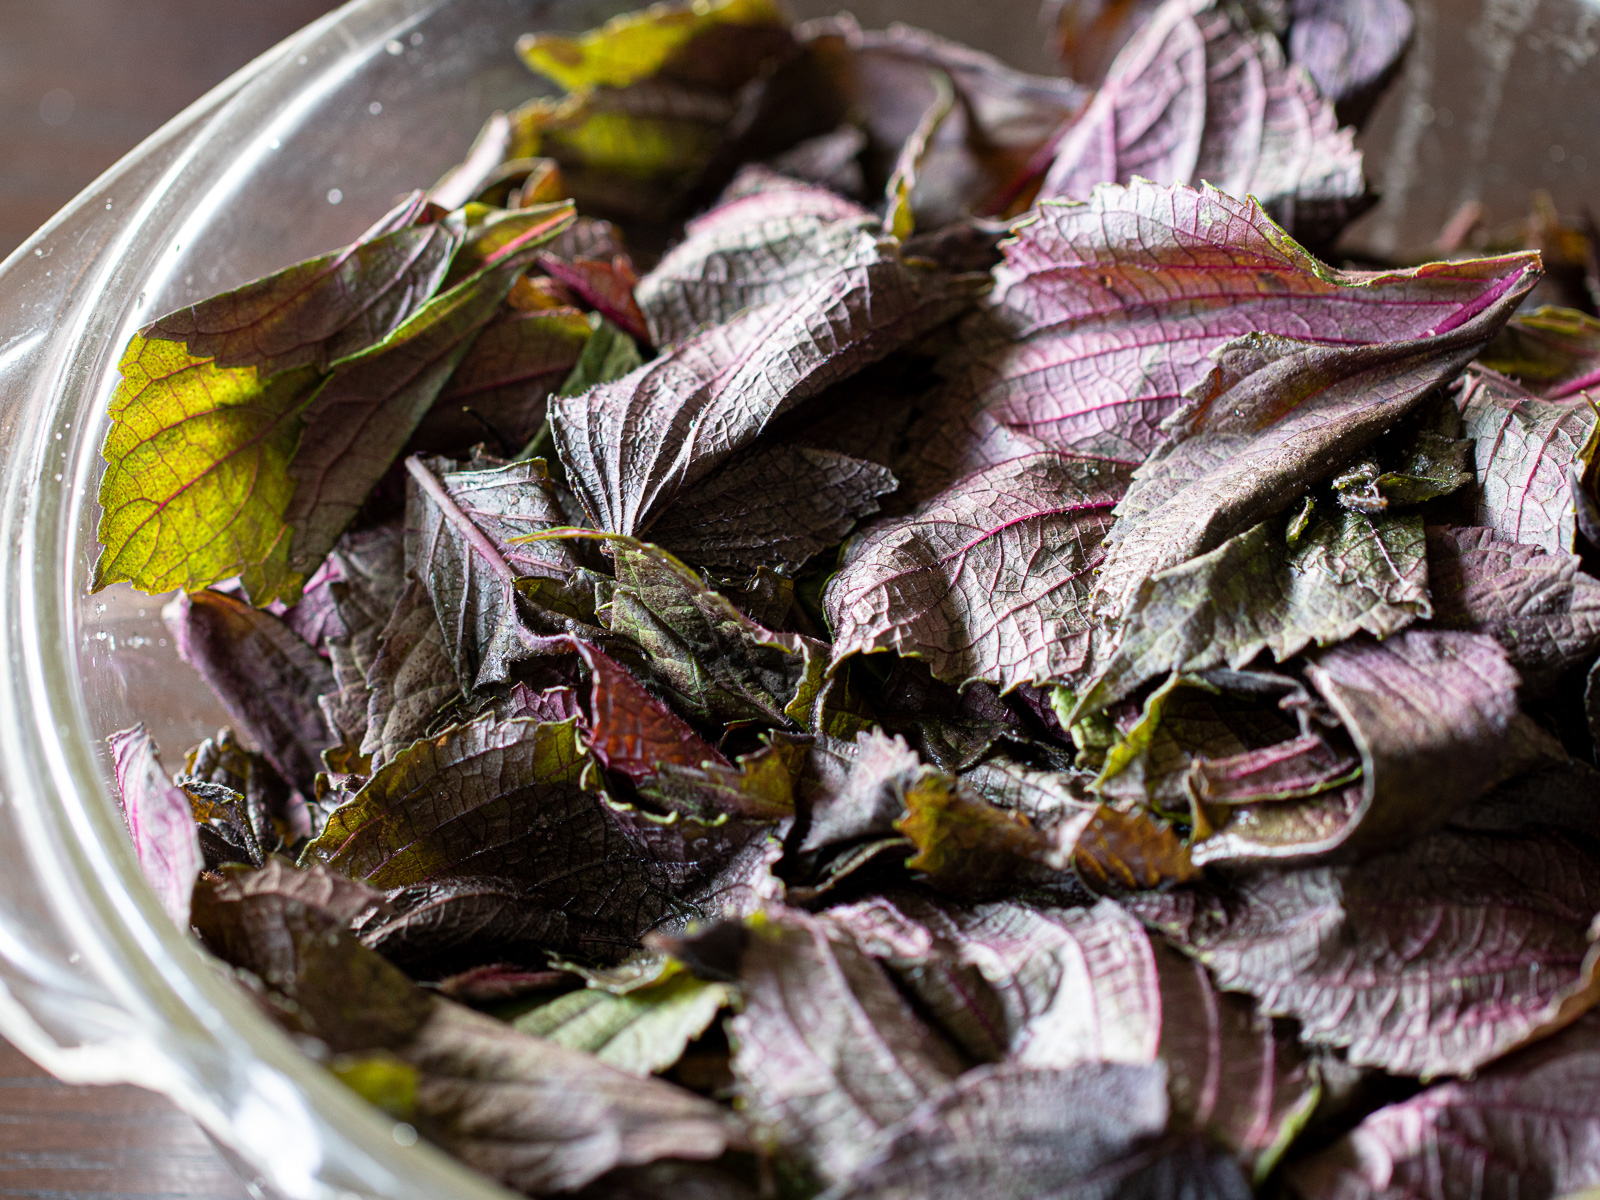
- Separate and dry the leaves
Pull the leaves from the stems and lay them on plates or a colander. Let them air-dry in a breezy spot.
🌿 Leaves should not be completely crisp—leave a little moisture so they are easy to handle. See 📘Kitchen Notes for more detail.
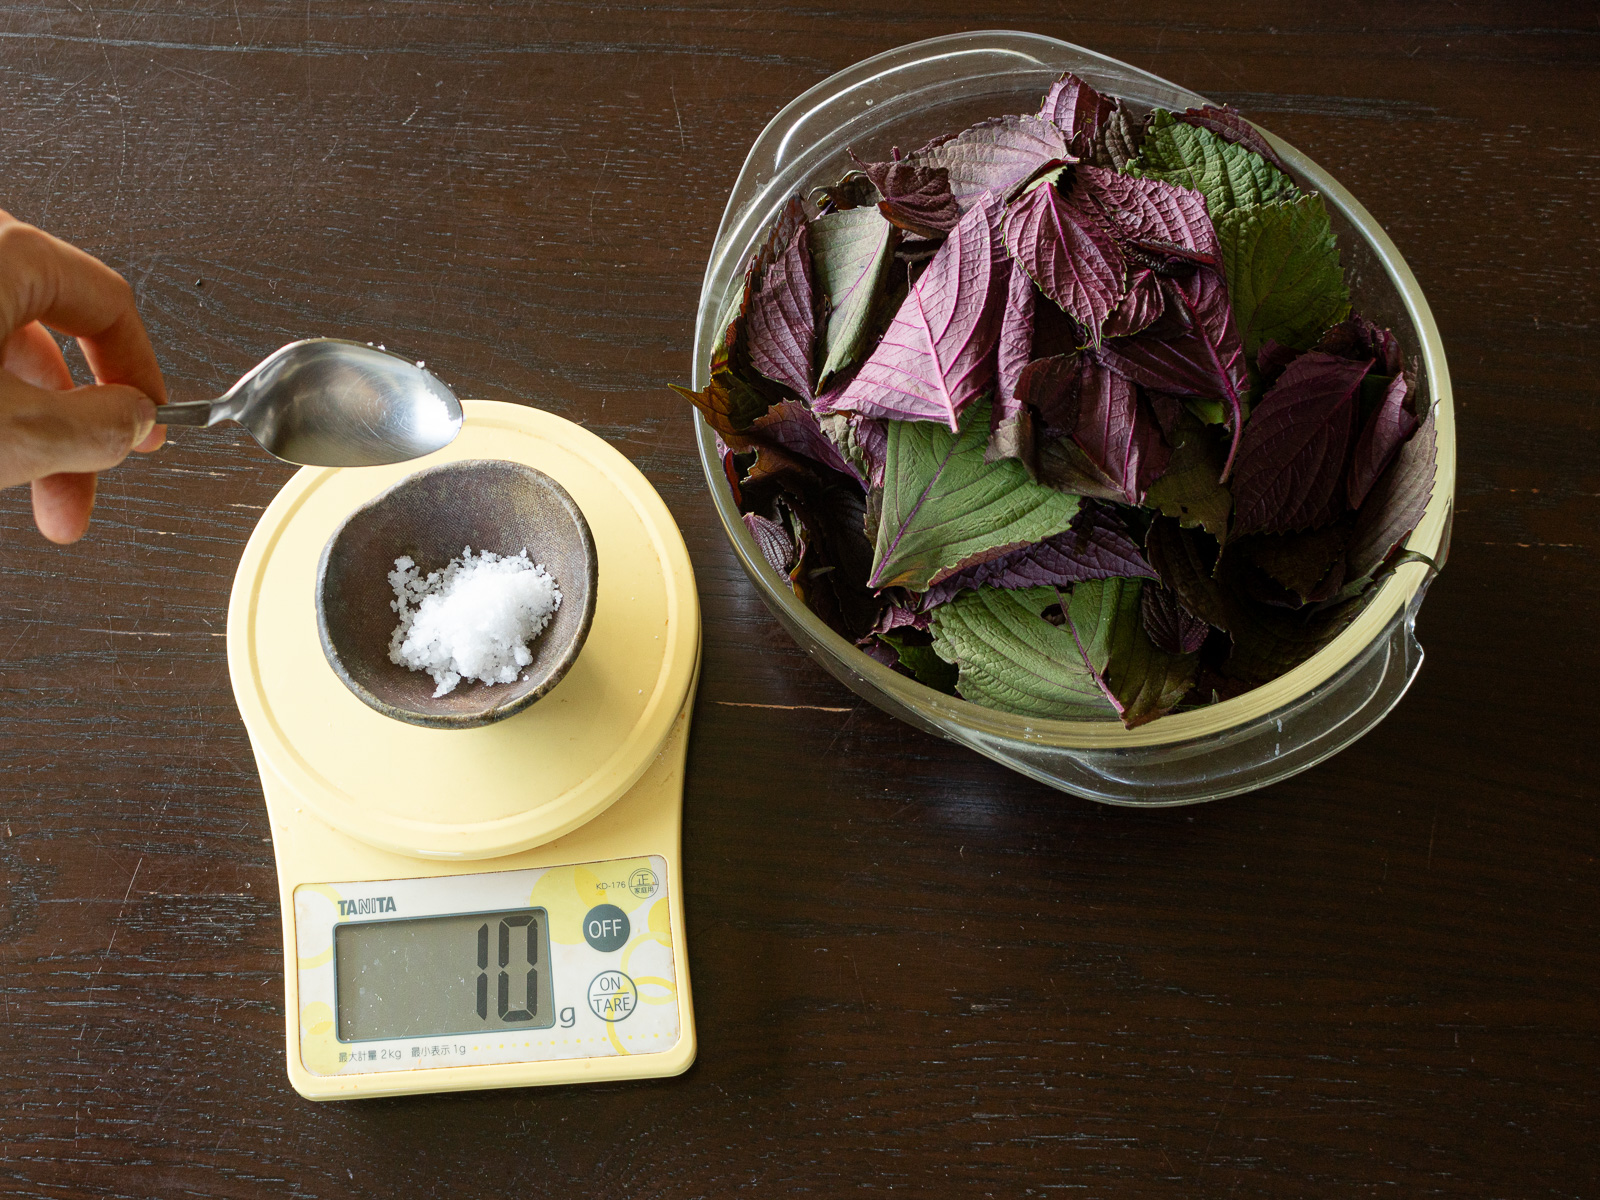
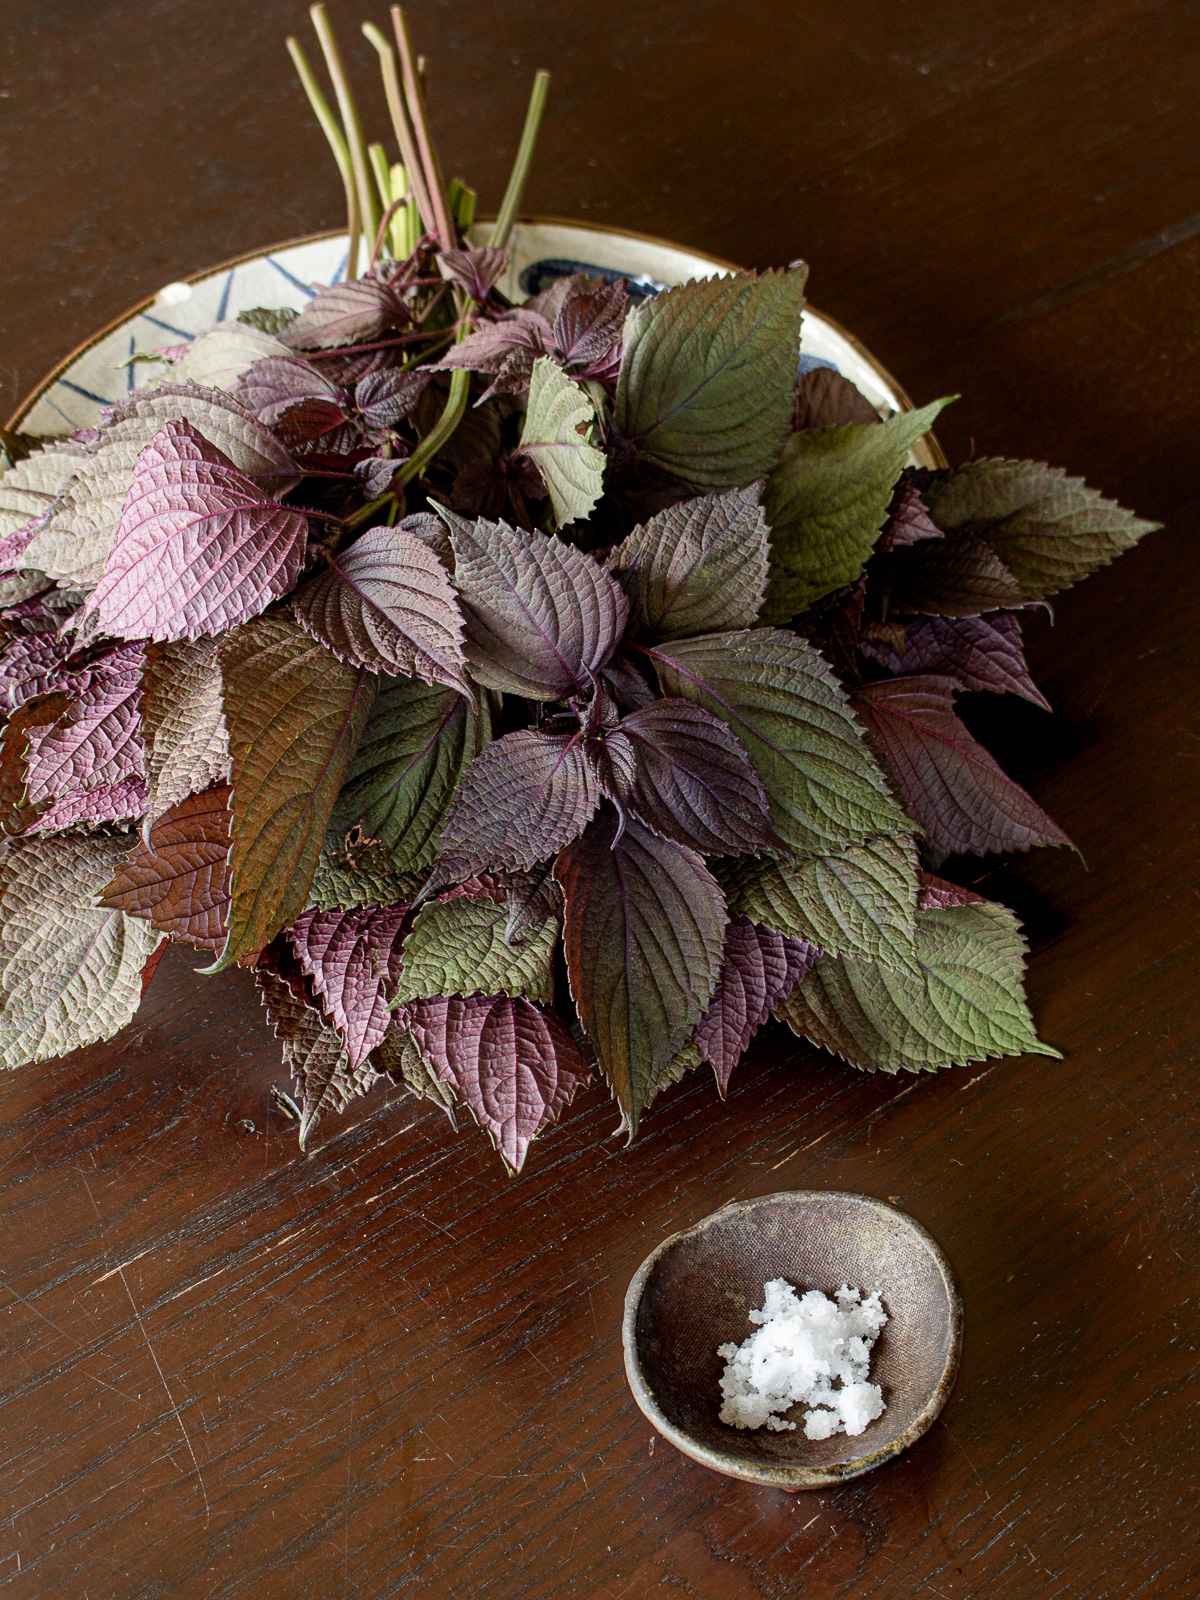
- Measure leaves and salt
Weigh the dried leaves and prepare 10% of that weight in salt.
🌿 Always measure after drying, not before.
- First salting
Sprinkle half the salt over the leaves in a bowl, mixing lightly.
Let them sit for 30 minutes until the leaves soften.
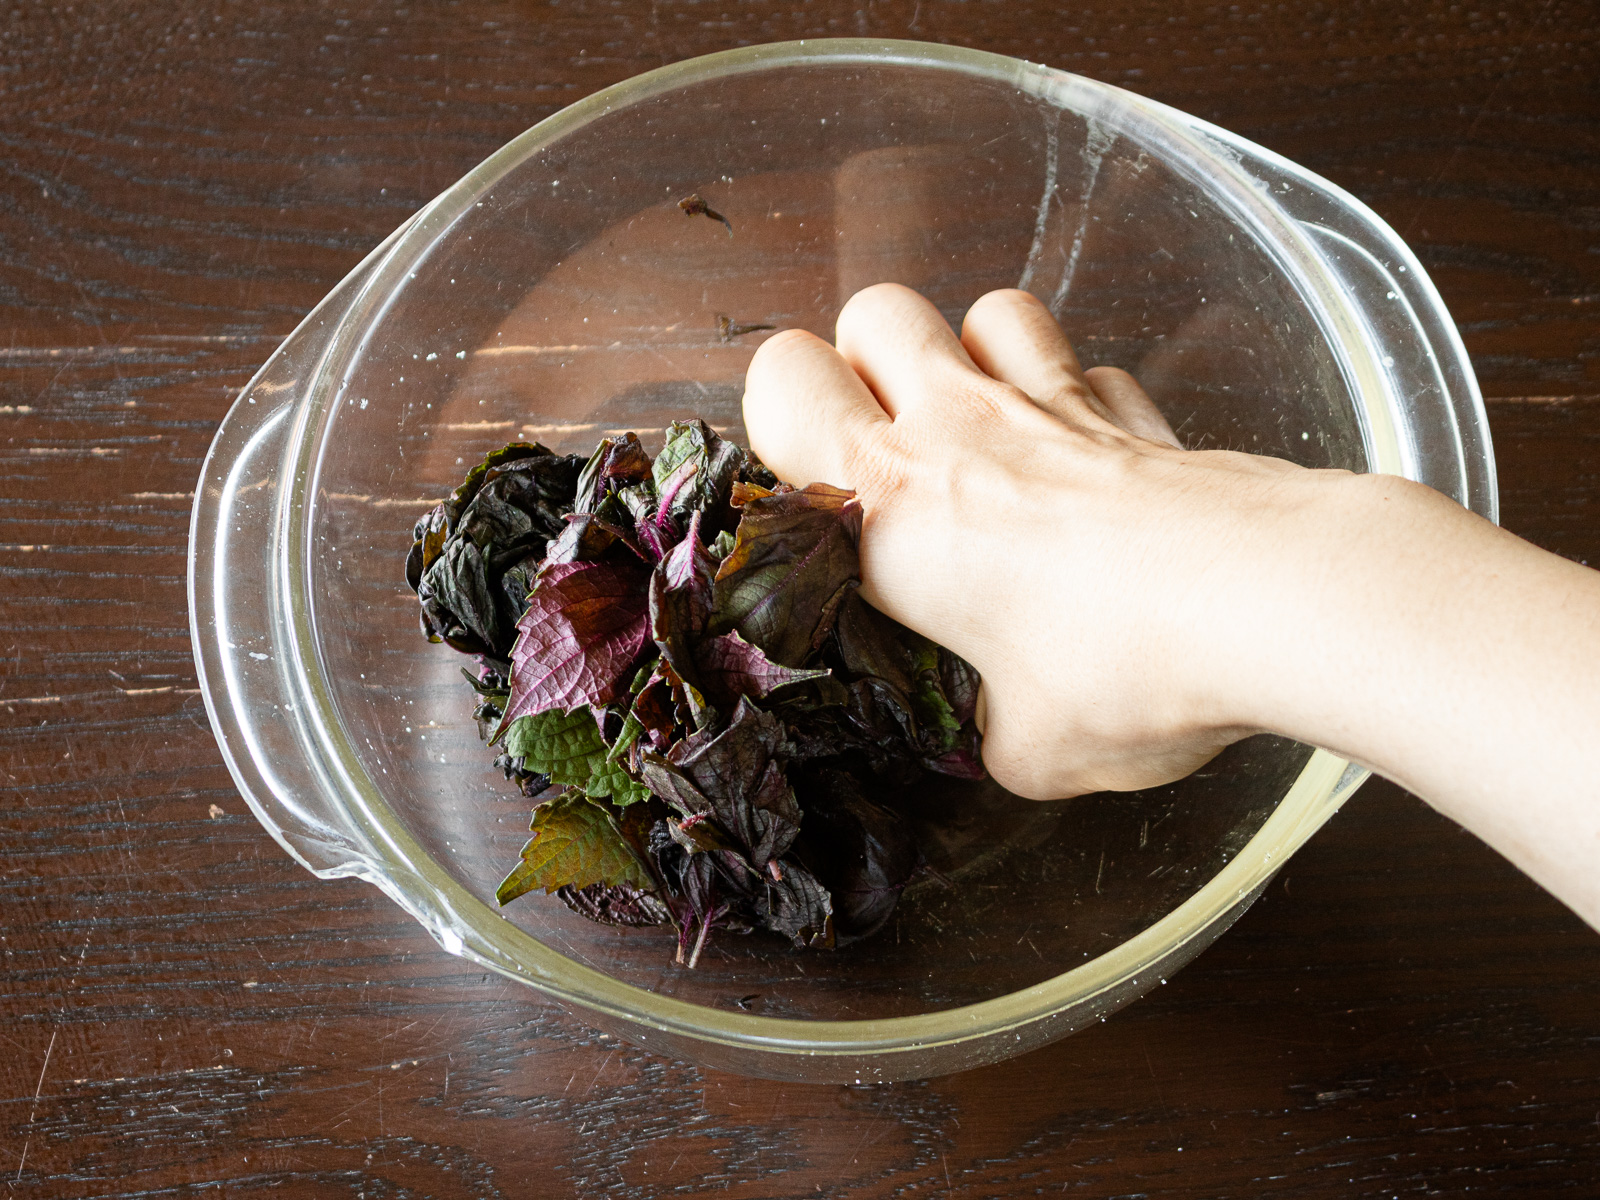
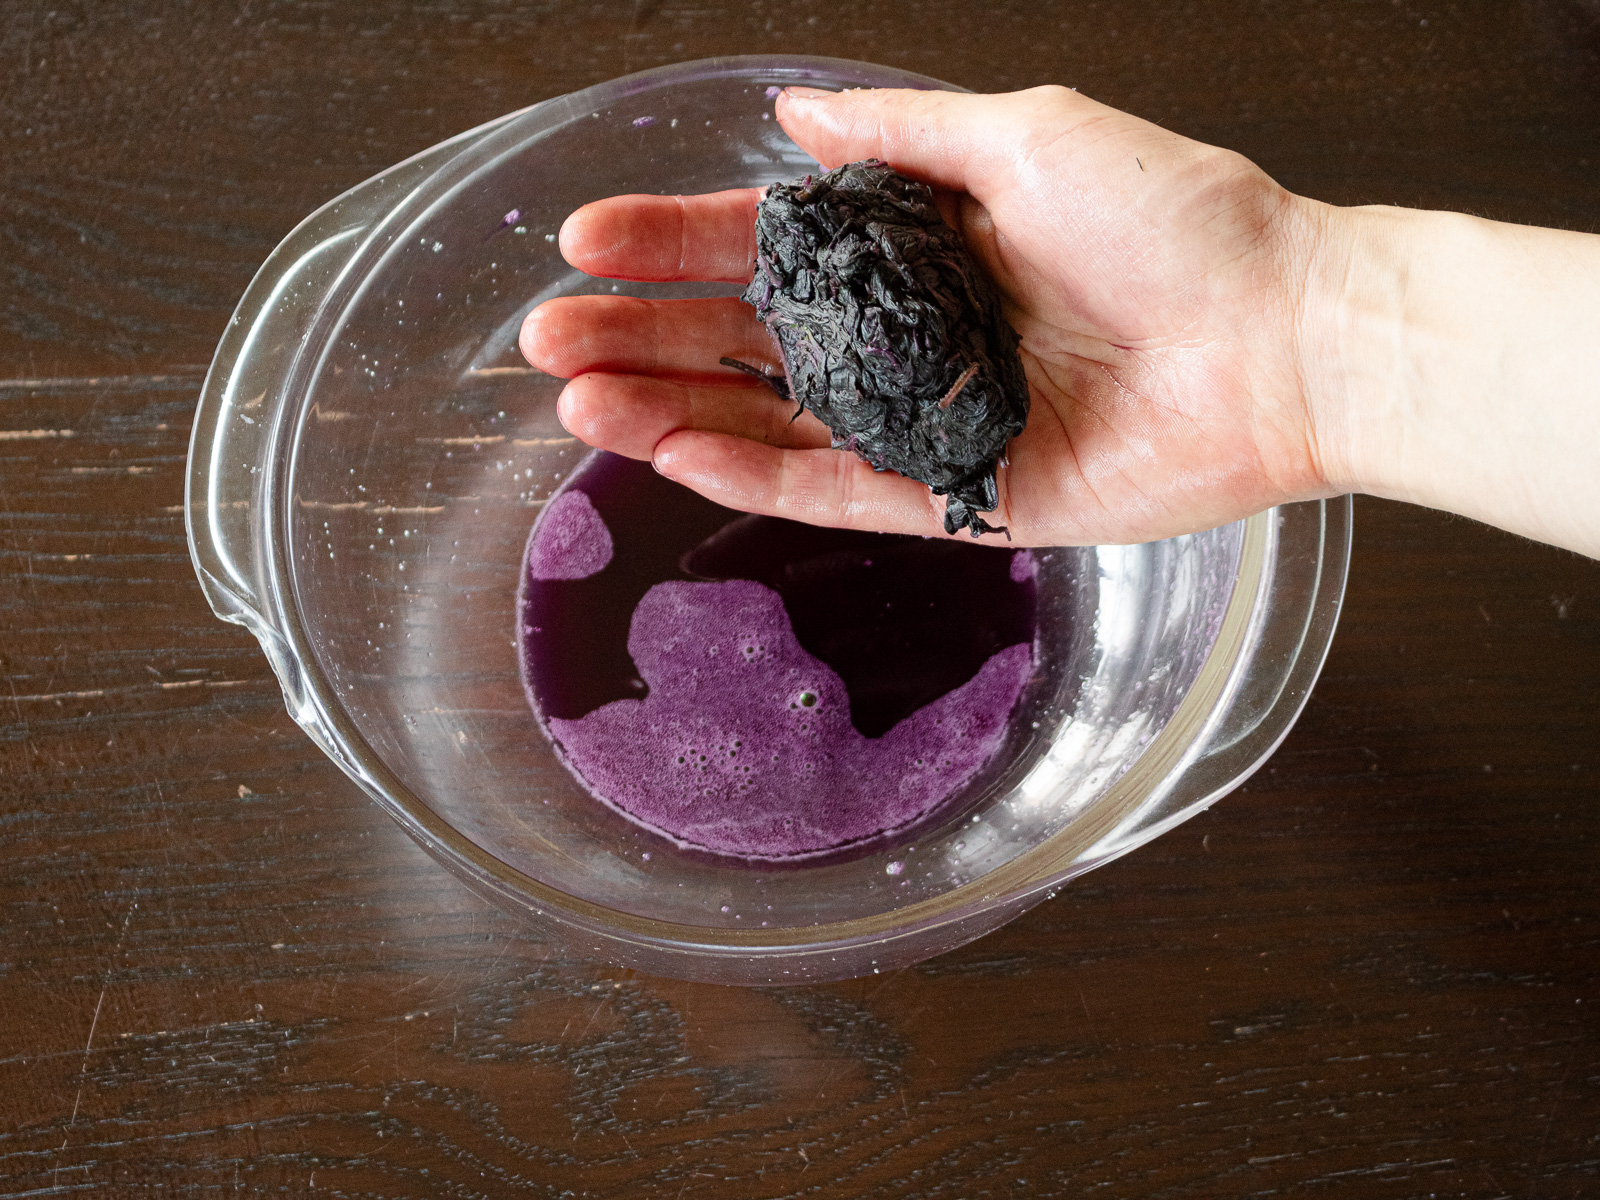
- Massage leaves
Gently press and massage the leaves until dark juice appears.
🌿 Pressing helps release color and aroma naturally.
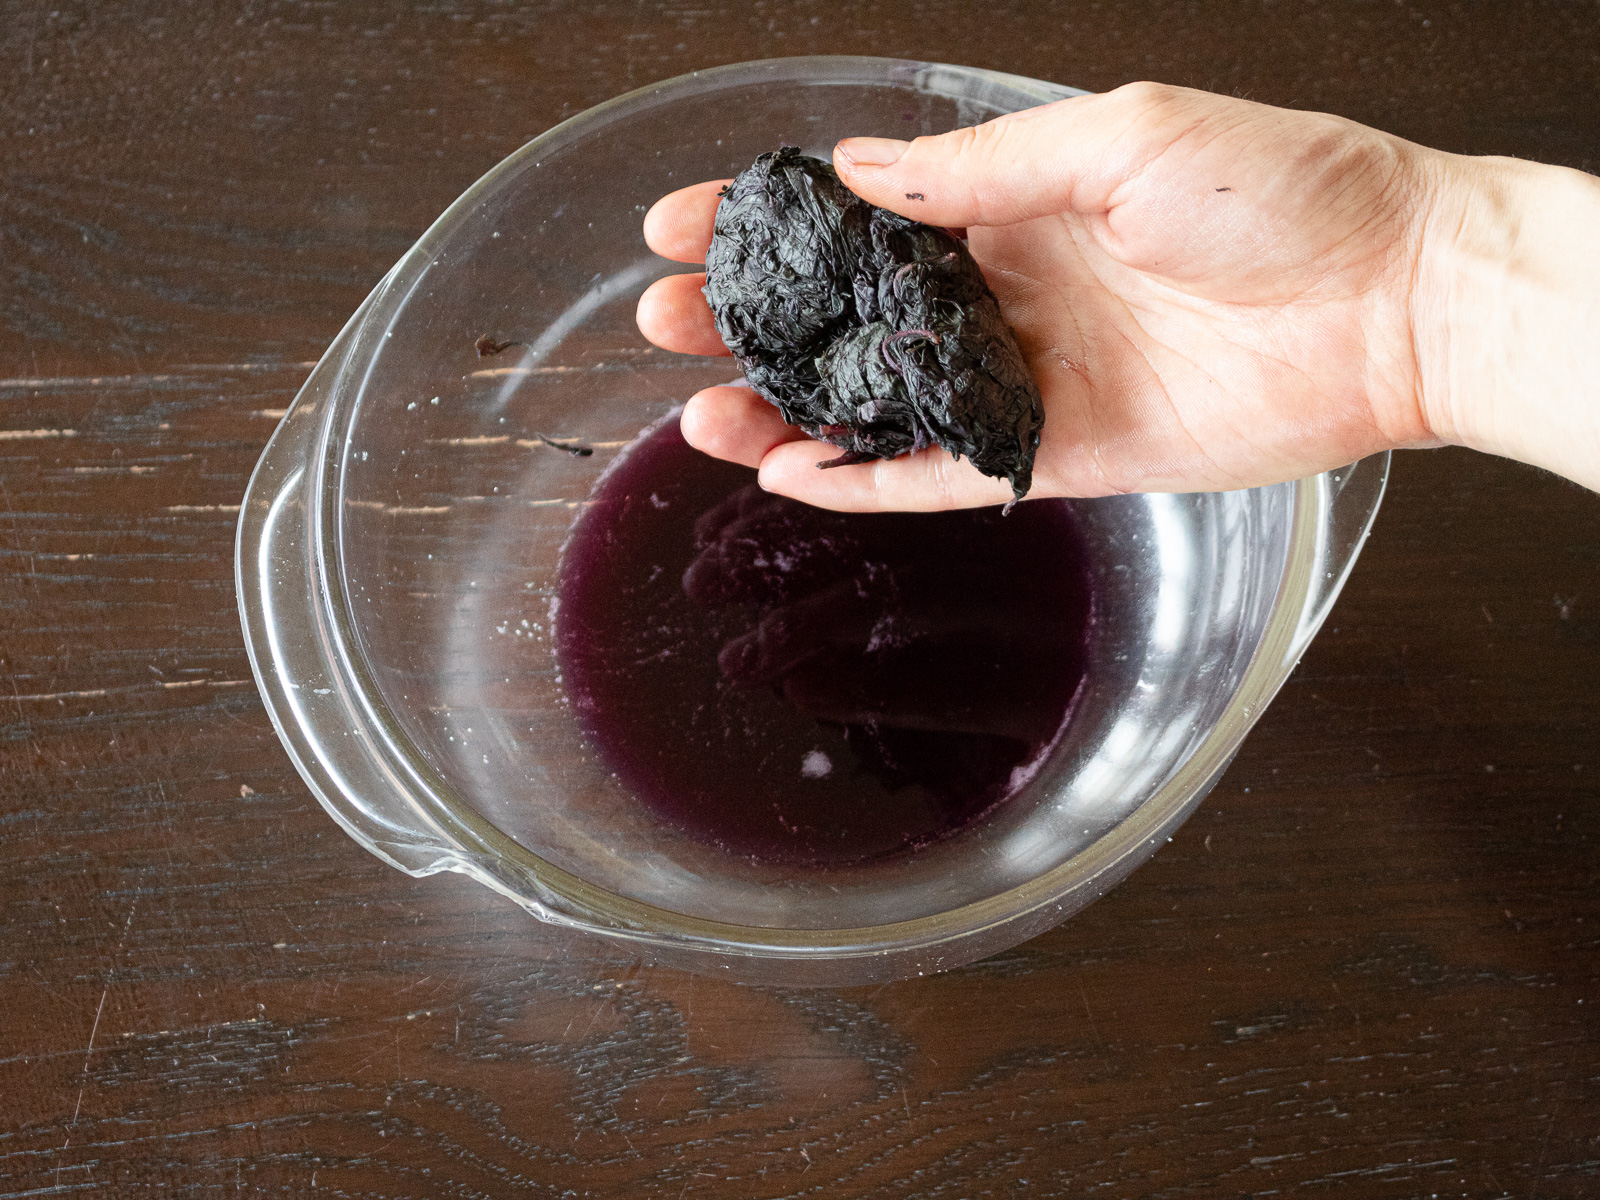
- Drain
Squeeze the leaves firmly to remove the juice and discard the liquid.
- Second salting
Sprinkle the remaining salt, massage again until more reddish-purple liquid is released, and squeeze once more and discard the liquid.
🌿 The first round brings out color, the second enhances fragrance.
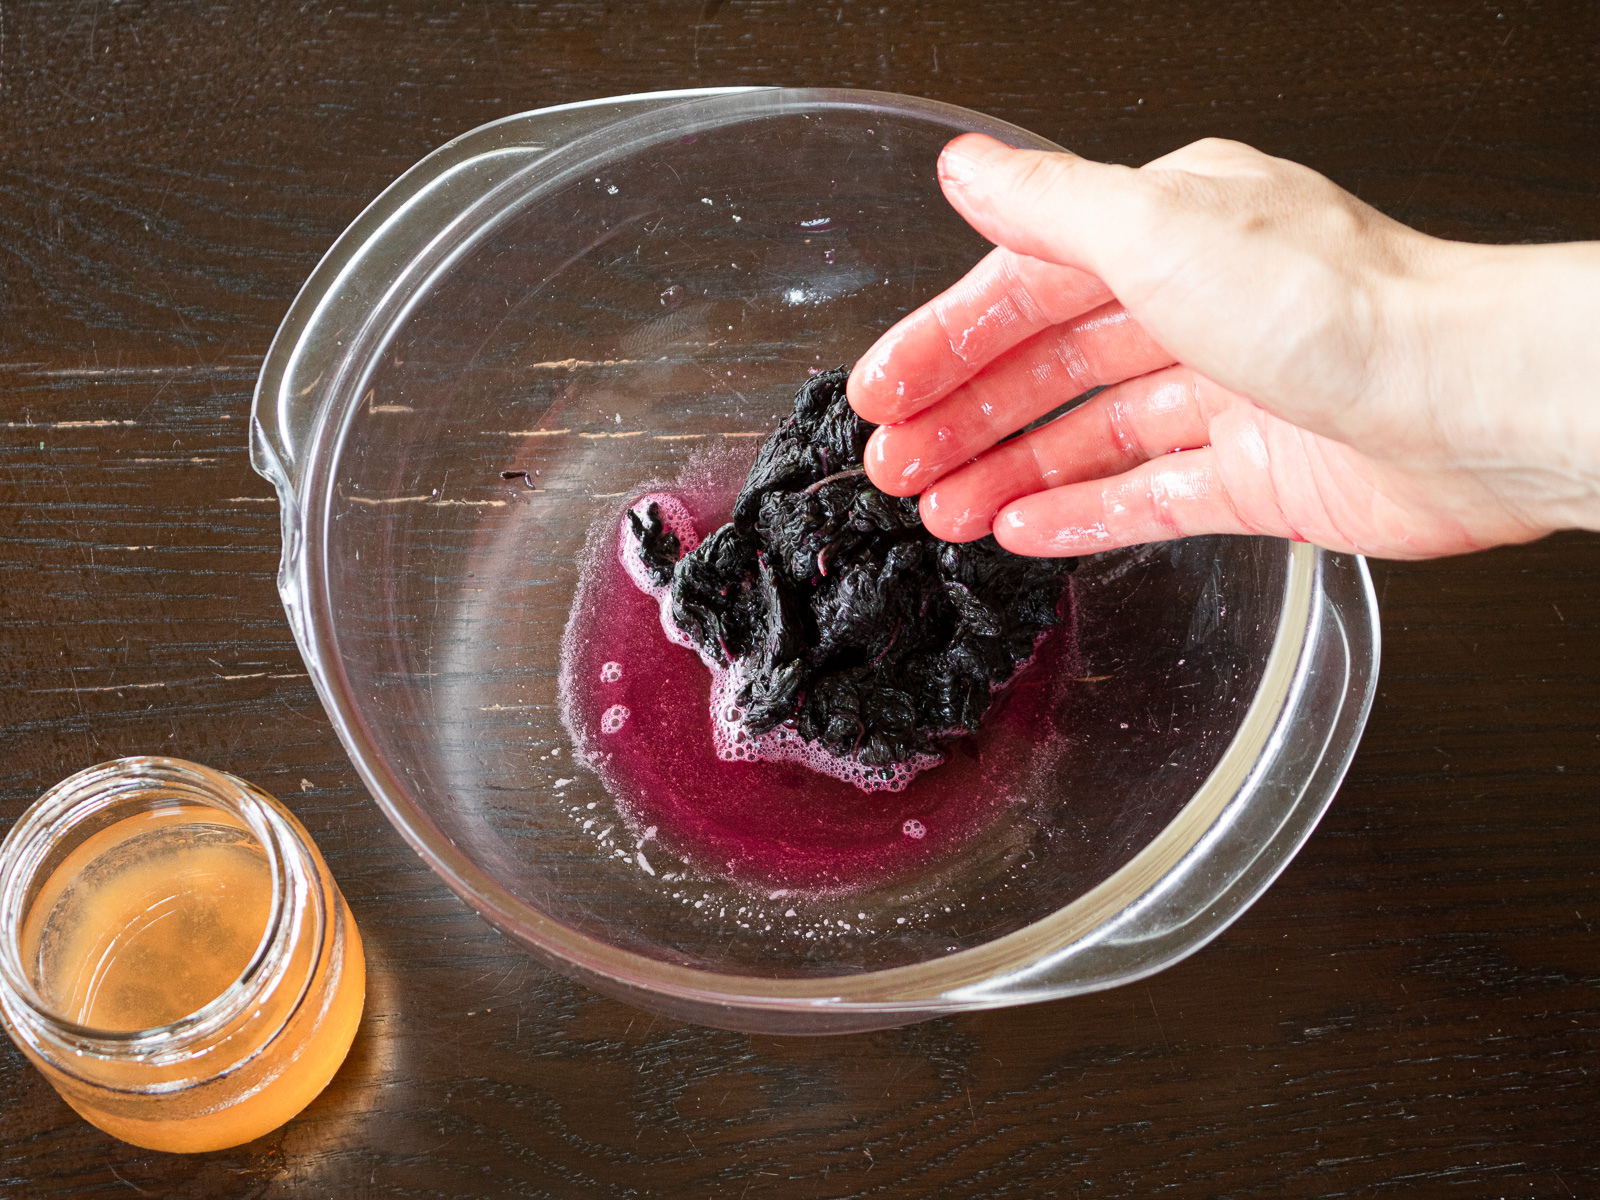
- Add ume vinegar
Add ume vinegar (1 tablespoon per 25 g of leaves) and gently massage so it is evenly absorbed. The leaves should turn a vibrant pink.
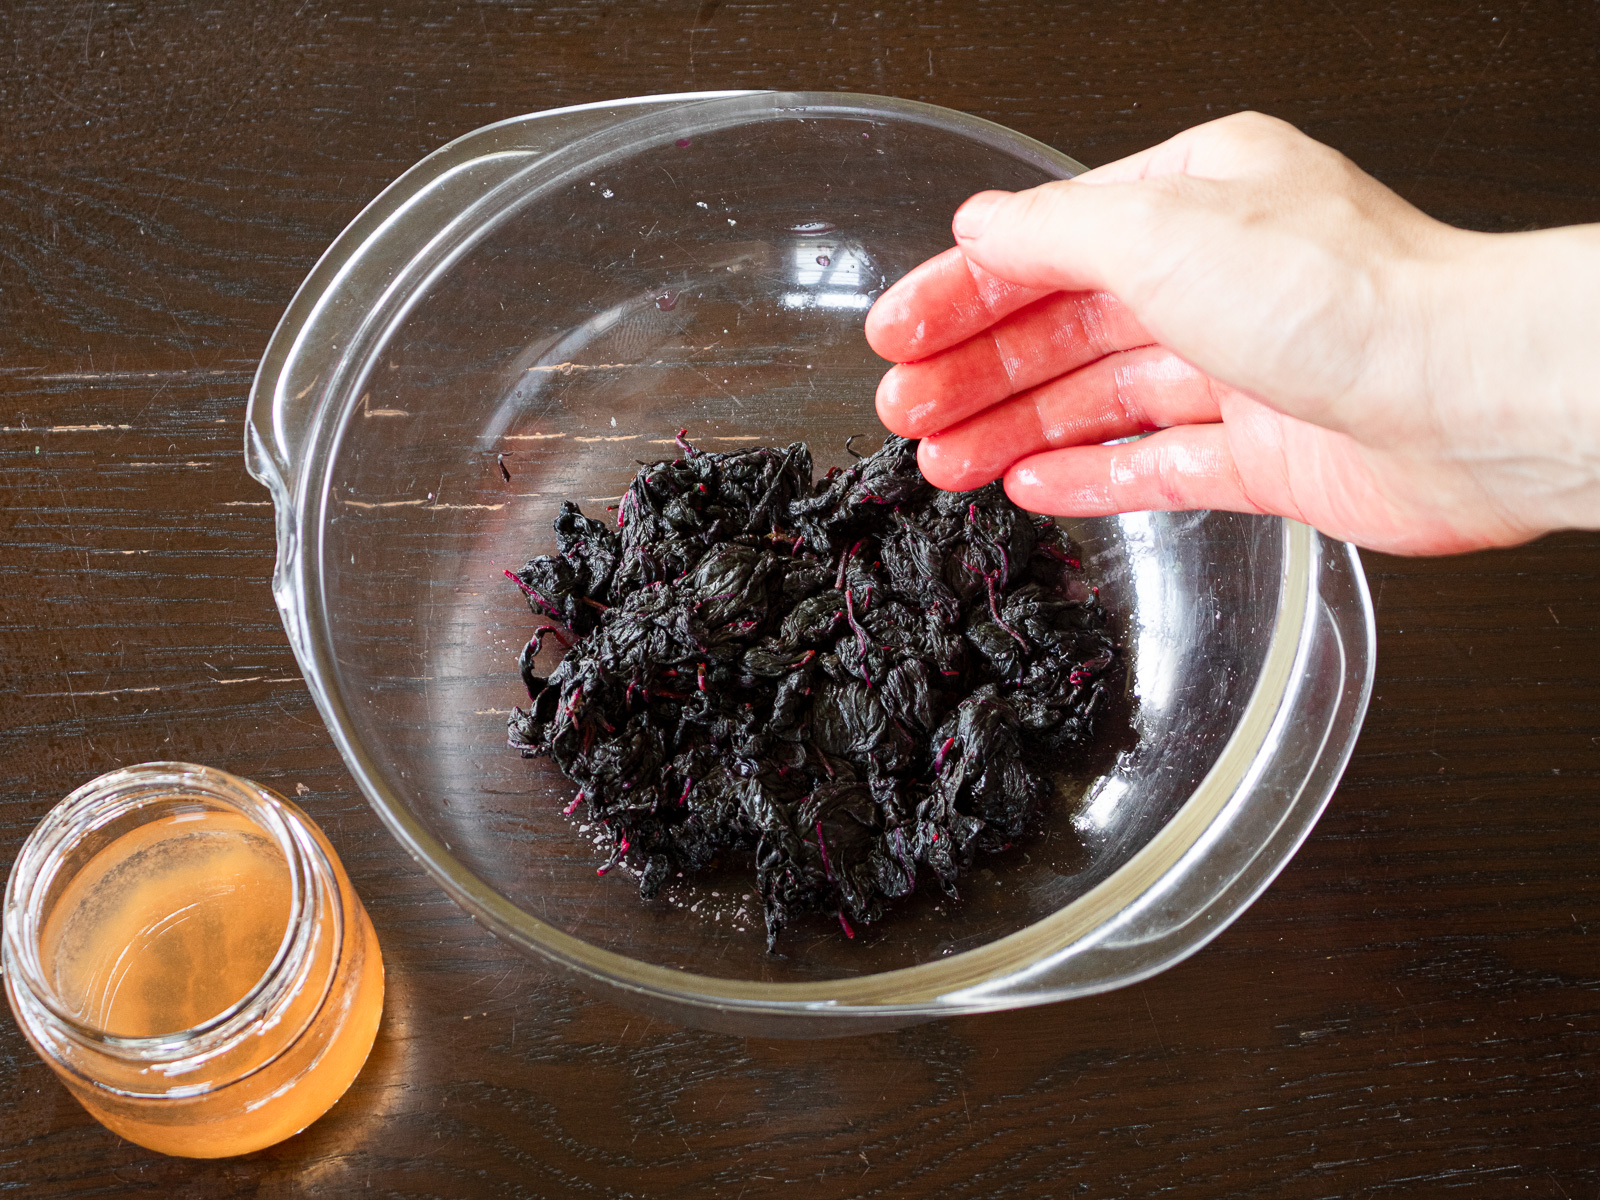
- Let sit overnight
Place in a container to prevent drying and let it sit in the refrigerator overnight for the color to set.
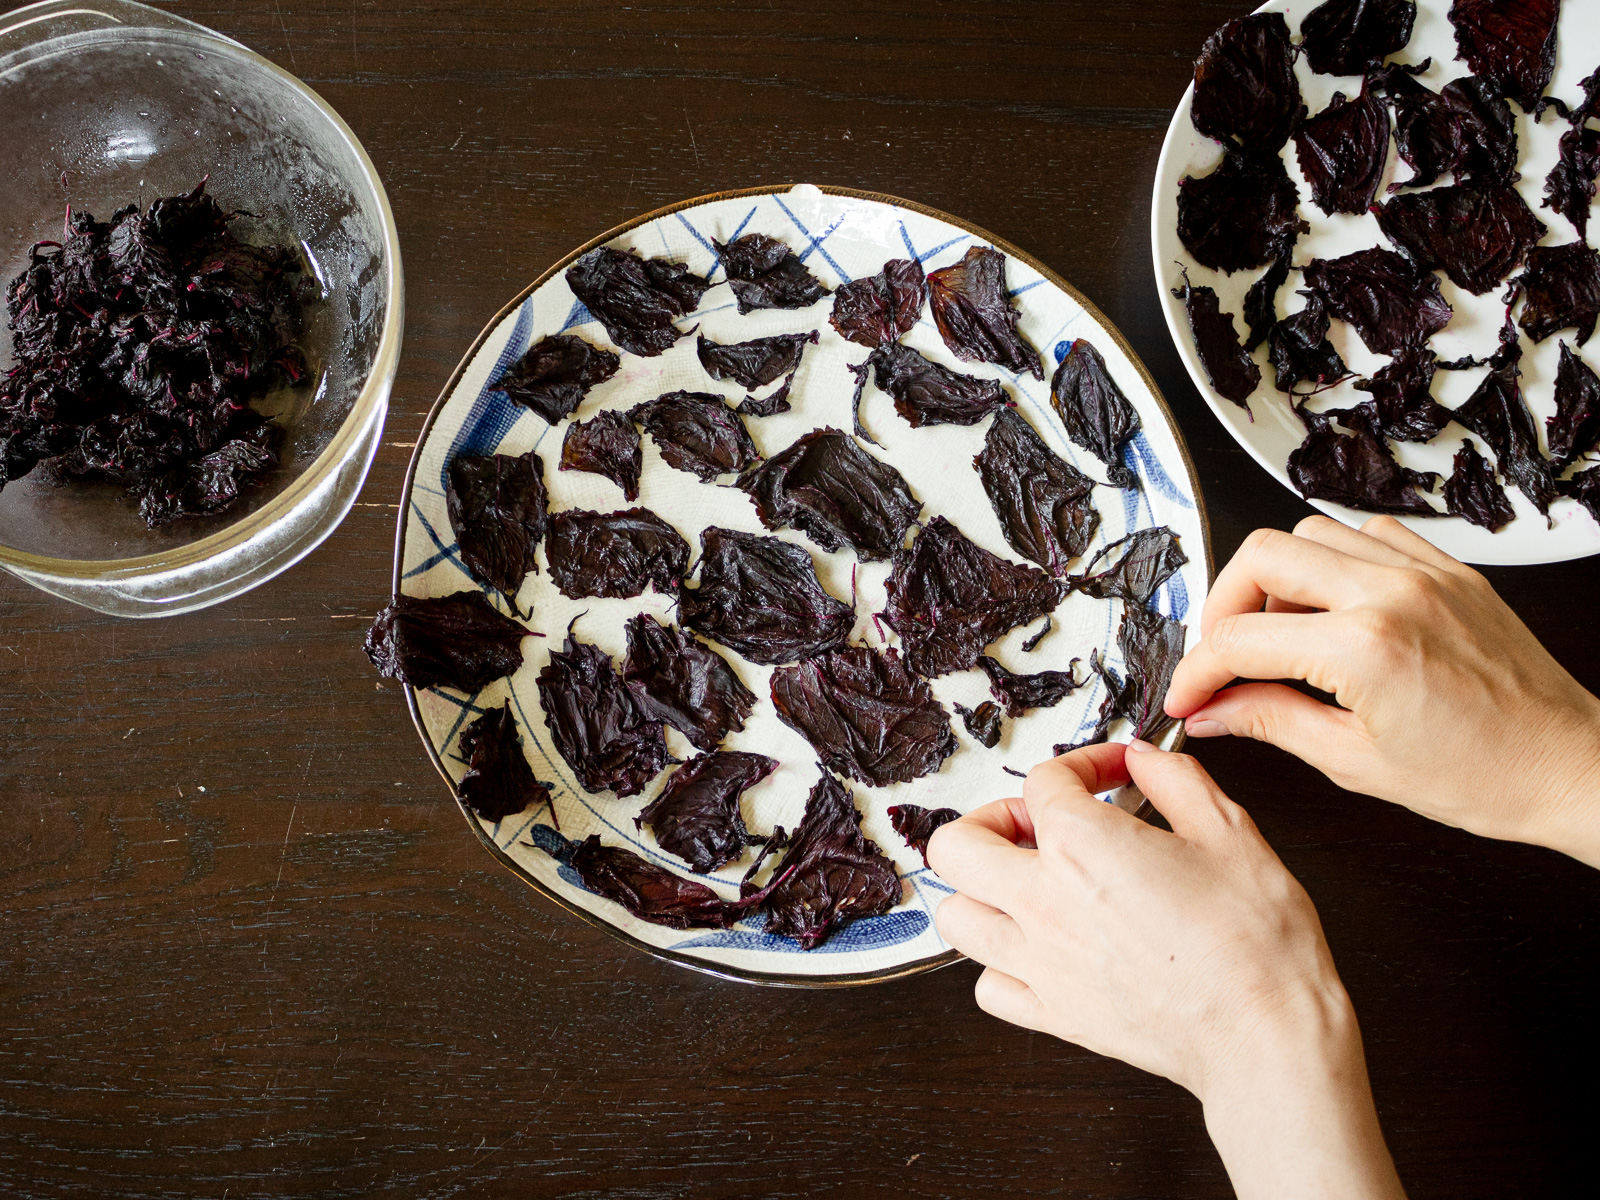
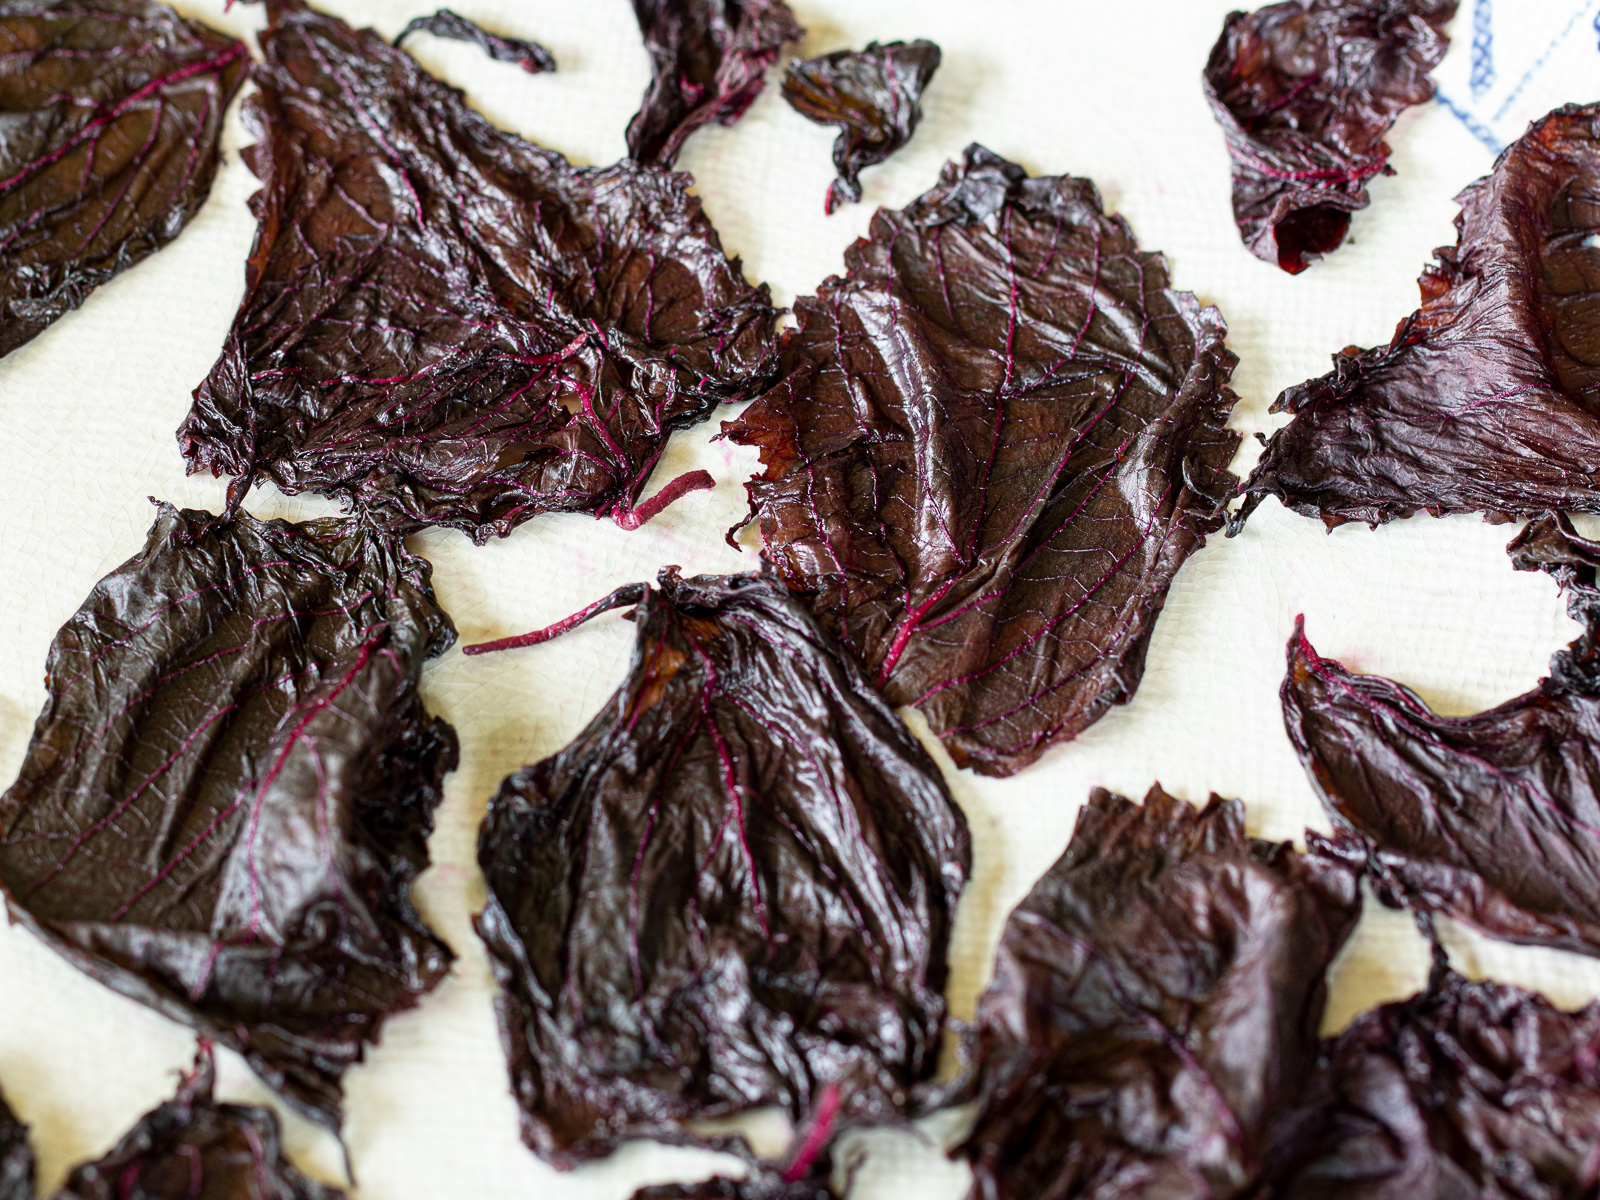
- Arrange for drying
The next day, spread the leaves on a tray or plate so they do not overlap.
- Dry completely
Dry them in the shade or under gentle sunlight until crisp.
🌿 Partially dried leaves reduce shelf life, so make sure they are thoroughly dried.

🌿 Sun-drying gives a traditional flavor, while shade-drying preserves its color and aroma.

🌿 If the weather is bad, dry indoors or in a low-temperature oven (around 80°C) for a few minutes, then let them finish drying with residual heat. Watch carefully to avoid burning.
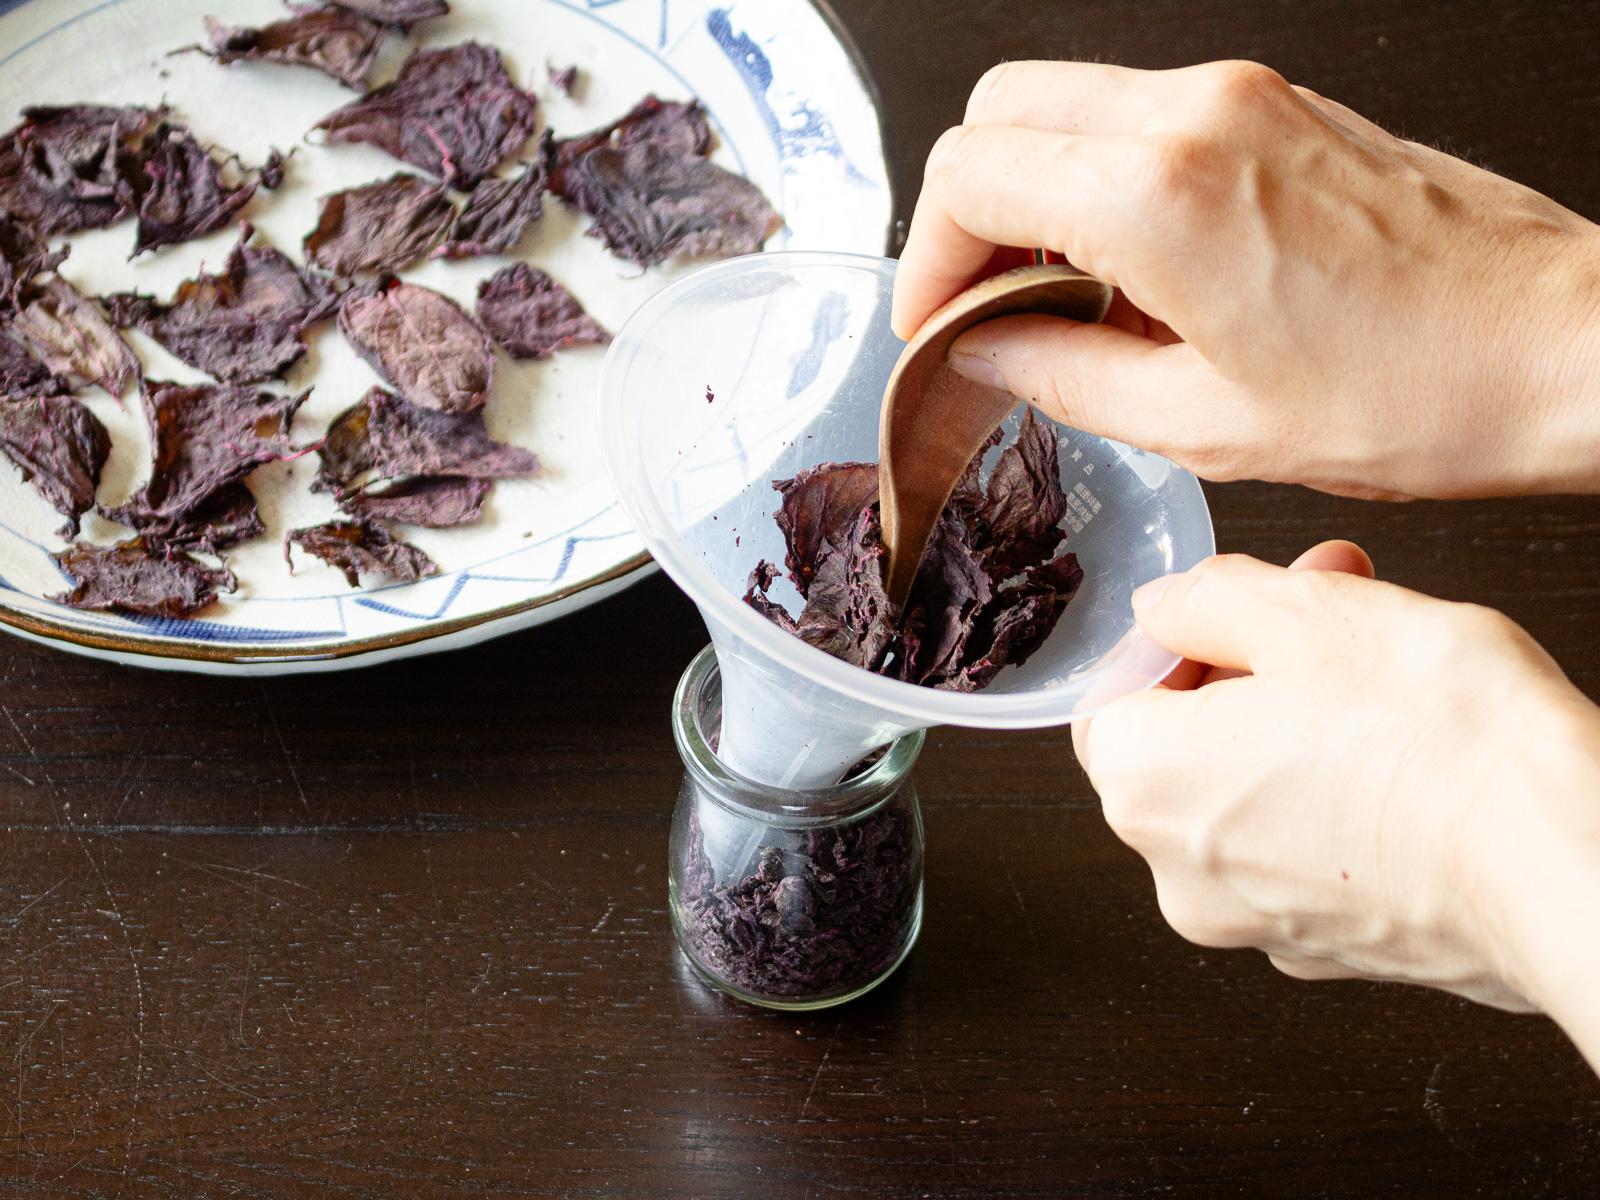
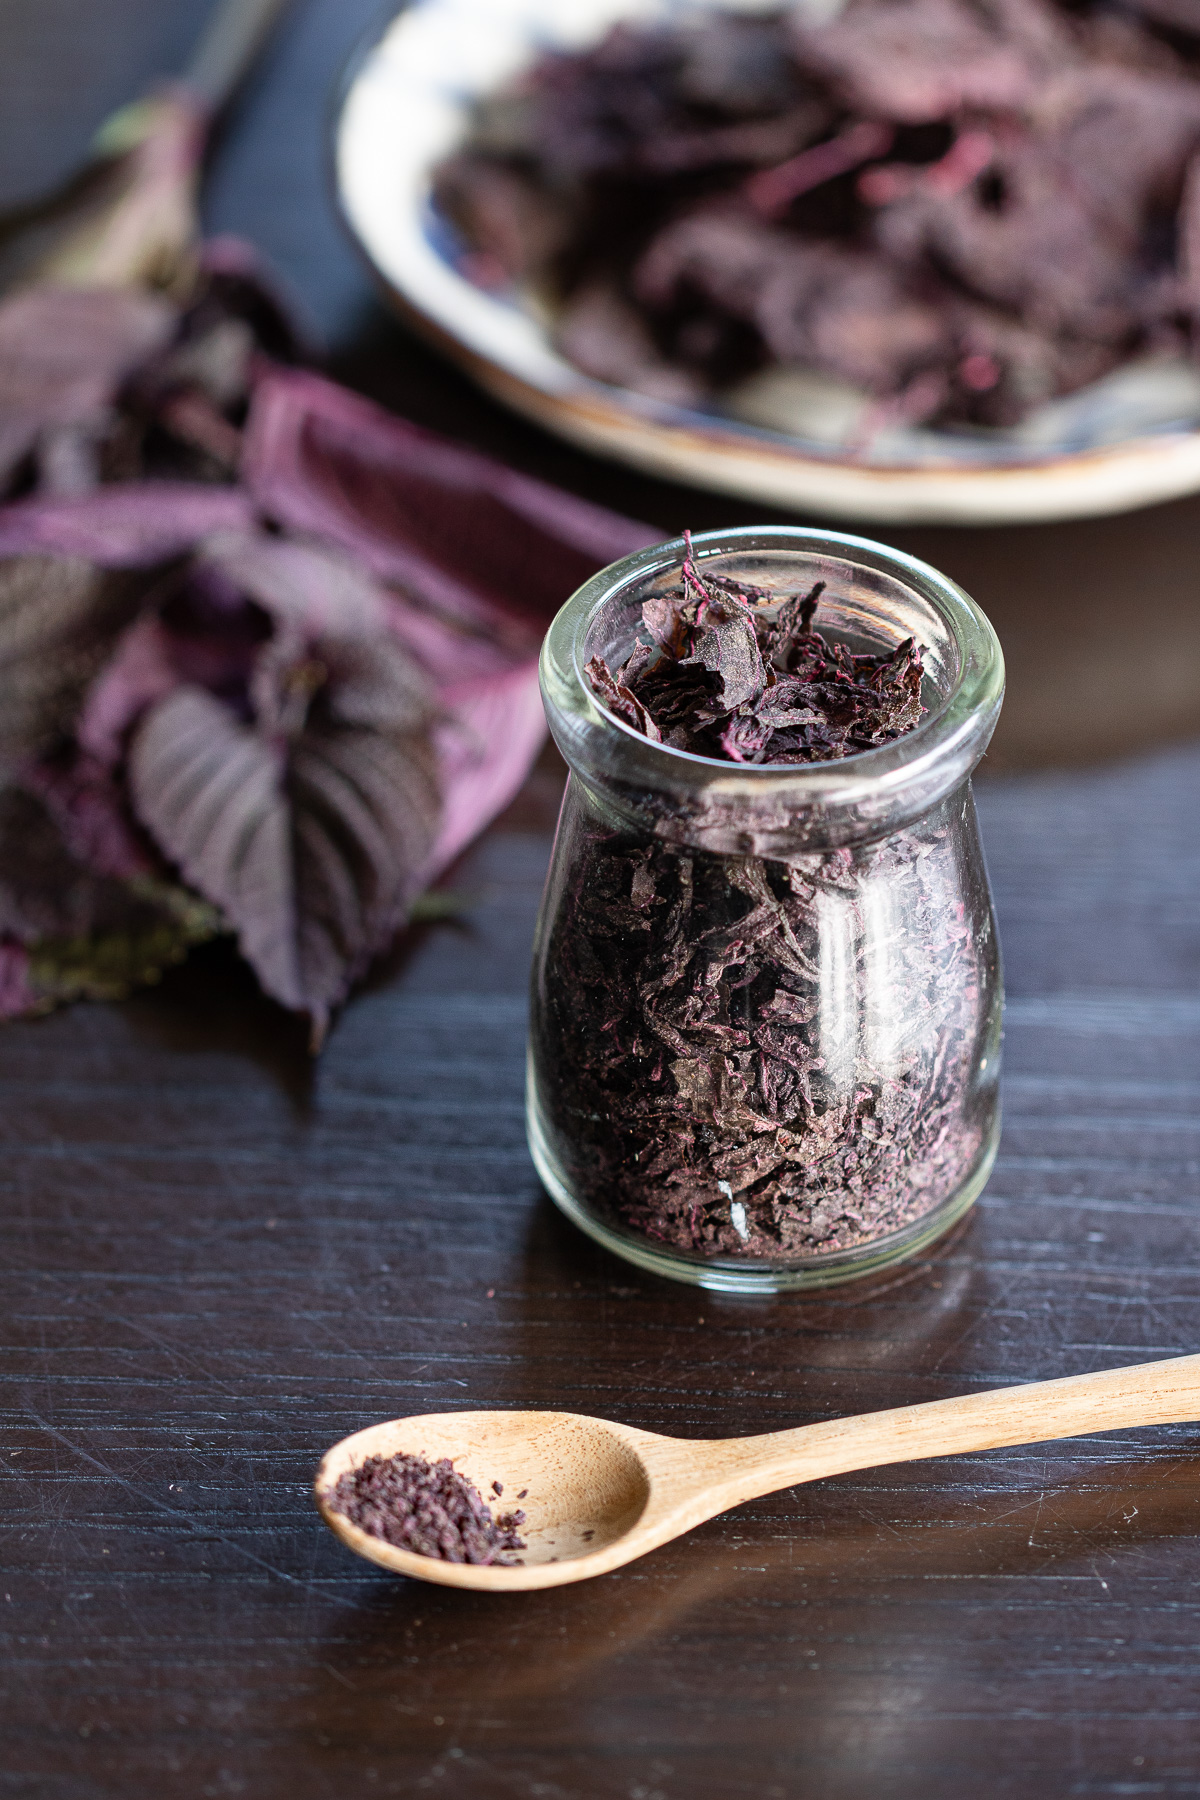
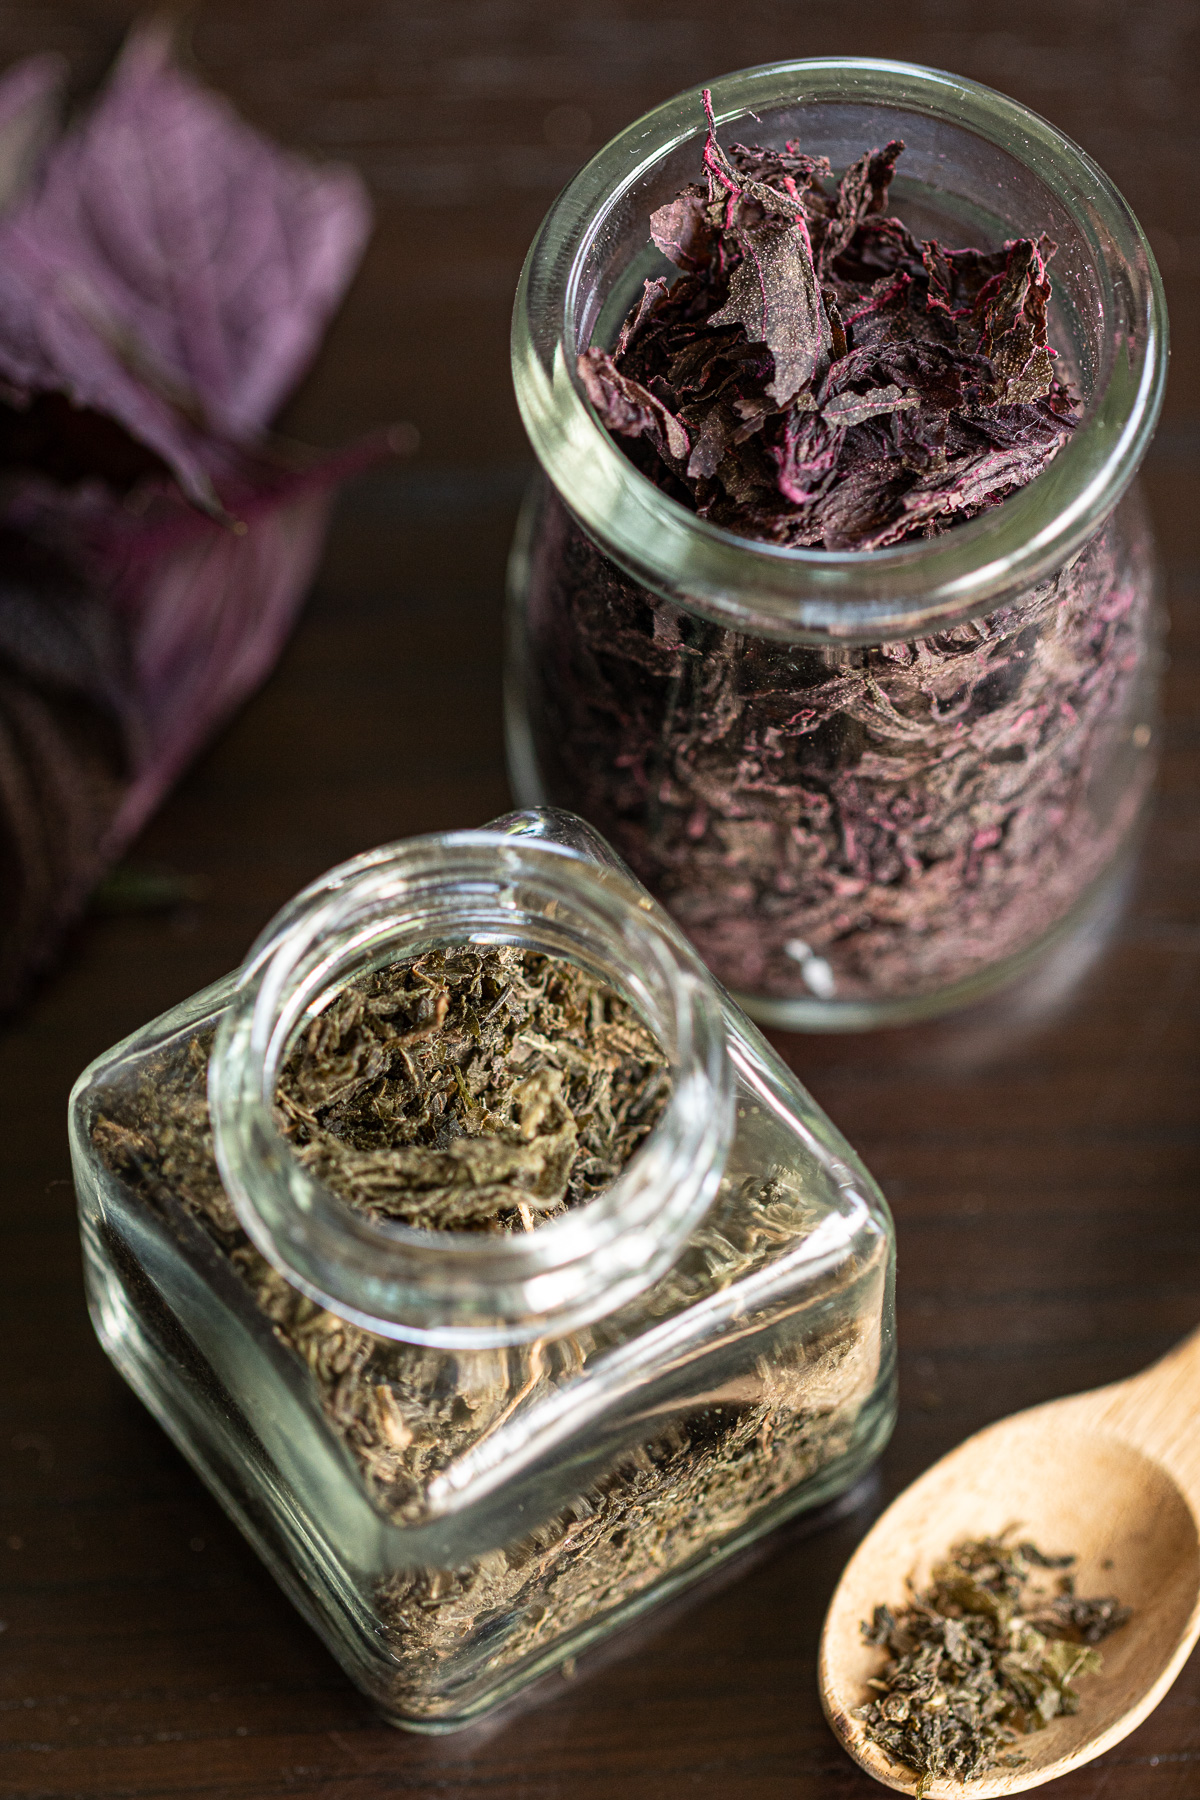
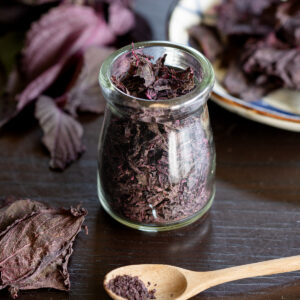
- Finish and store
Once fully dry, transfer the shiso into a jar using a funnel. Crush slightly with a spoon handle or chopstick for a finer texture.
Your fragrant homemade red shiso furikake is ready.
Sprinkle over rice, tofu, or seasonal dishes for a touch of summer’s color and aroma.

🍵 Ways to Enjoy & Variations
- Onigiri – use instead of plain salt for simple rice balls.
- Mixed Rice – just stir into freshly cooked rice.
- Pasta – toss with olive oil for a Japanese-style aglio e olio.
- Cucumber Salad – mix with thinly sliced cucumber for a quick pickled taste.
- Nagaimo or Potatoes – sprinkle over Japanese yam (nagaimo/長芋) sticks or steamed potatoes.
- Cabbage – lightly boil and season with shiso for a refreshing side.
- Tofu – a bright, fragrant topping for chilled tofu.
🍃 Storage
- Store in a clean, dry jar or airtight container at room temperature, away from humidity.
- As a general guide, it keeps its color and aroma for 1–2 months at room temperature, or longer in the refrigerator.
🌿 In my home, where winter room temperatures rarely climb above 10°C, I keep it at room temperature year-round — and it stays delicious for six months or more.
📚 FAQ
Yes — it works from about 25g. The color may be less vivid with a smaller batch, but the flavor is still there. For the most vibrant results, 75g or more is easier to work with.
Always after washing and drying. Freshly washed leaves hold a lot of water, which can throw off the measurement and make the furikake too salty.
The first round is when the liquid turns dark. In the second, when the fragrance deepens. Spread the leaves out and check—if you still see green patches, keep going a little longer.
Lay the leaves out without overlapping and let the sun or a breezy shade do the work until crisp.
Yes. The color won’t be as vivid, but the refreshing fragrance is lovely.
Once fully dried, keep it in a sealed jar at room temperature. Stored in a cool, dry spot, it will keep its color and fragrance for six months or more.
📘 Tips & Using Green Shiso
▶ Amount of red shiso
Working with too small a batch makes it hard to massage the leaves and bring out the deep color. A minimum of 75–100g air-dried leaves is easiest to handle.
Of course, even a small amount can be delicious. If the color turns out lighter, that too becomes part of the memory of this summer.
▶ Salt
Type of salt:
Both natural coarse salt and refined salt work well. Coarse salt gives a rounder flavor, while refined salt makes for a sharper taste.
Amount of salt:
Always weigh the shiso after air-drying, then use 10% of that weight in salt.
If you prefer a stronger taste, you can increase the salt slightly, or adjust once the furikake is finished.
If you want it less salty:
Gently squeeze out some of the ume vinegar before drying—this reduces saltiness while keeping the fragrance intact.
Or simply use a little less ume vinegar to begin with; about one tablespoon gives a softer result.
▶ Preparing the leaves
Drying before salting:
This step takes a little attention.
If the leaves are too dry, they crumble and lose their color when massaged. Too wet, and the color won’t come out either. Aim for somewhere in between — soft and pliable, with just a hint of moisture.
Massaging:
Massage long enough to release fragrance and color, but stop before the leaves begin to fall apart.
If the color doesn’t come out:
This can happen when the batch is too small, the leaves are too dry, or the massaging wasn't quite long enough.
Try massaging longer, add a splash of ume vinegar, or toss in a few extra leaves if you have them. With practice, you’ll find your own rhythm.
▶︎ Final Drying
Dry the leaves fully in direct sunlight or a shaded, breezy spot until completely crisp.
I often leave them under the eaves, then move them into direct sun for just a short while right before bringing them in.
If the weather isn't cooperating, a low oven (about 80°C / 175°F) for a few minutes, followed by residual heat, works well too — but watch closely, as burning is the one thing to avoid.
▶ Variation|Using green shiso
The process is exactly the same.
Green shiso won’t give the vivid pink of red shiso, but its refreshing aroma is a summer joy of its own.
The leaves are softer, with less bitterness, making them surprisingly easy to work with.
🎨 Summer Recipes to Play with Color
🫙 Bottling Seasonal Memories...
📖 Recipe Card|Printable
Homemade Red Shiso Furikake (Yukari-Style)
Equipment
- Large mixing bowl - for washing and massaging shiso
- Fine-mesh strainer or colander
- Kitchen scale
- Clean kitchen towels - to pat shiso dry
- Plate or tray - for drying shiso
- parchment paper - to prevent sticking while drying
- Airtight jars - for storing finished yukari furikake
- Mortar and pestle or food processor (optional) - to grind dried shiso leaves
Ingredients
- 100 g red shiso leaves (washed and air-dried)
- 10 g salt (10% of the dried leaf weight)
- 4 tablespoon ume vinegar (1tbsp for 25 g shiso; adjust proportionally)
Instructions
- Wash Shiso: Submerge the red shiso, stems and all, in a bowl of water. Gently shake to remove dirt. Drain well.
- Remove Leaves and Dry: Strip the leaves from the stems and spread them on a plate or colander. Dry in a well-ventilated spot until slightly soft — not completely crisp. See Kitchen Notes for more detail.
- Measure Salt: Weigh the dried leaves, then measure out 10% of that weight in salt.100 g red shiso leaves
- First Salt Massage: Sprinkle half of the salt over the leaves and mix lightly. Let it sit for 30 minutes until the leaves soften.10 g salt
- Massage Thoroughly: Massage the leaves until dark juice appears. Squeeze out the liquid and discard.
- Second Salt Massage: Add the remaining salt and massage again until a reddish-purple juice appears. Squeeze and discard.
- Add Ume Vinegar: Add ume vinegar (about 1 tablespoon per 25 g of shiso). Gently massage until the leaves turn a vibrant pink.4 tablespoon ume vinegar
- Let Sit Overnight: Transfer to a container and refrigerate overnight to let the color set.
- Final Drying: Spread the leaves on a plate or colander without overlapping. Dry completely until crisp. *Sun-drying gives a traditional flavor; shaded drying preserves its color and aroma. *If the weather isn't cooperating, use a low oven (about 80°C / 175°F) for a few minutes, then let residual heat finish the drying. Keep an eye on them to prevent burning.
- Store: Transfer the dried shiso to a jar and crush lightly with a spoon handle or chopstick for a finer texture. Keep sealed at room temperature or refrigerated, away from humidity.
Notes
- Can also be made with green shiso — the color will be less vivid, but the aroma is fresh and just as pleasant.
- For stronger flavor, slightly increase salt or adjust after the furikake is ready.
- Best results with 75–100 g of leaves — easier to handle and better for color release.
- If you want it less salty: Gently squeeze out some of the ume vinegar before the final drying, or use just one tablespoon for a softer taste.
- Sprinkle over steamed rice or stir into hot rice for onigiri
- Toss with pasta and olive oil for Japanese-style peperoncino
- Mix with cucumber slices for a refreshing salad
- Sprinkle over grated or steamed vegetables like yam or potato
- Add to lightly boiled cabbage or chilled tofu (hiyayakko)
💐 Closing Thoughts
This summer, I played with so many colors.
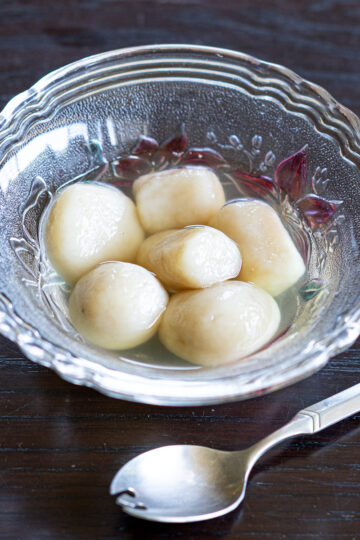
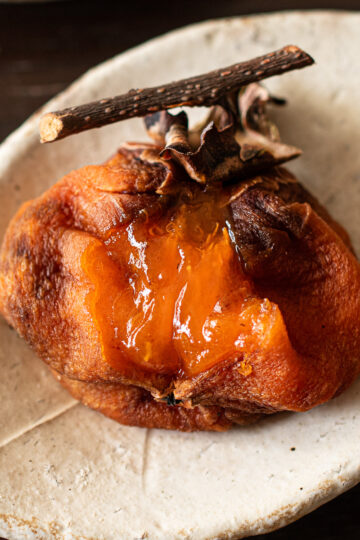
Soft, chewy banana mochi in a gentle yellow, made from perfectly ripe bananas.
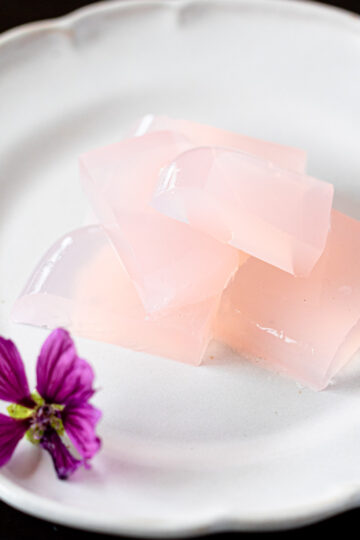
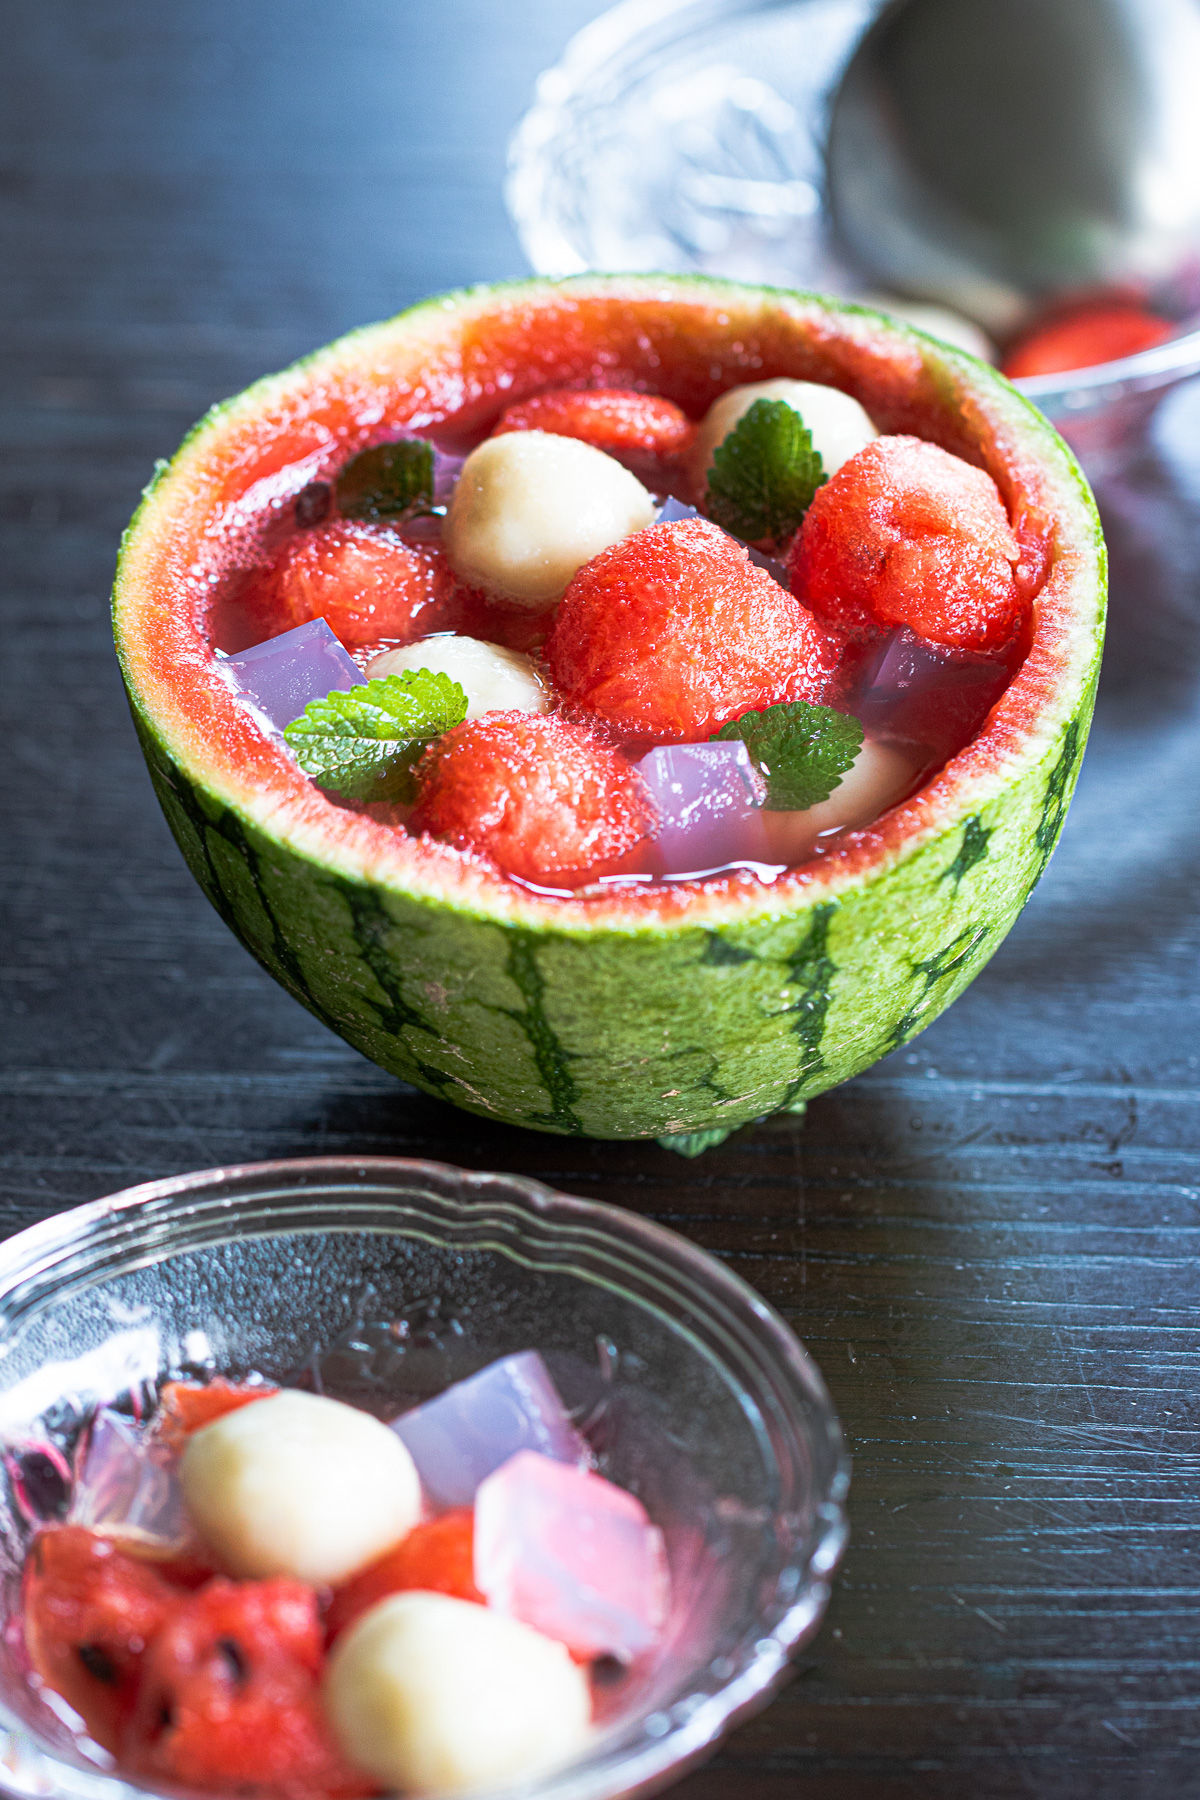
Jelly tinted a delicate pink with common mallow.
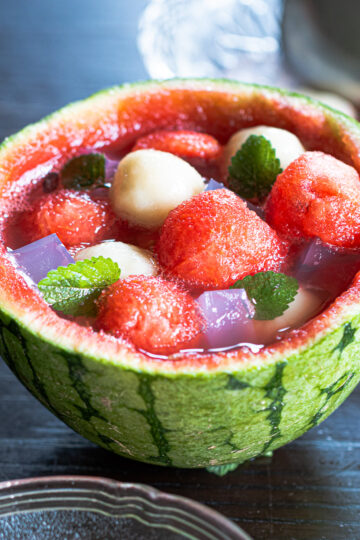
And all of this served in a hollowed watermelon bowl with fizzy, refreshing fruit punch.
It became such a vivid summer memory.
As autumn deepens, I wonder—what colors will it bring?

Comments
No Comments