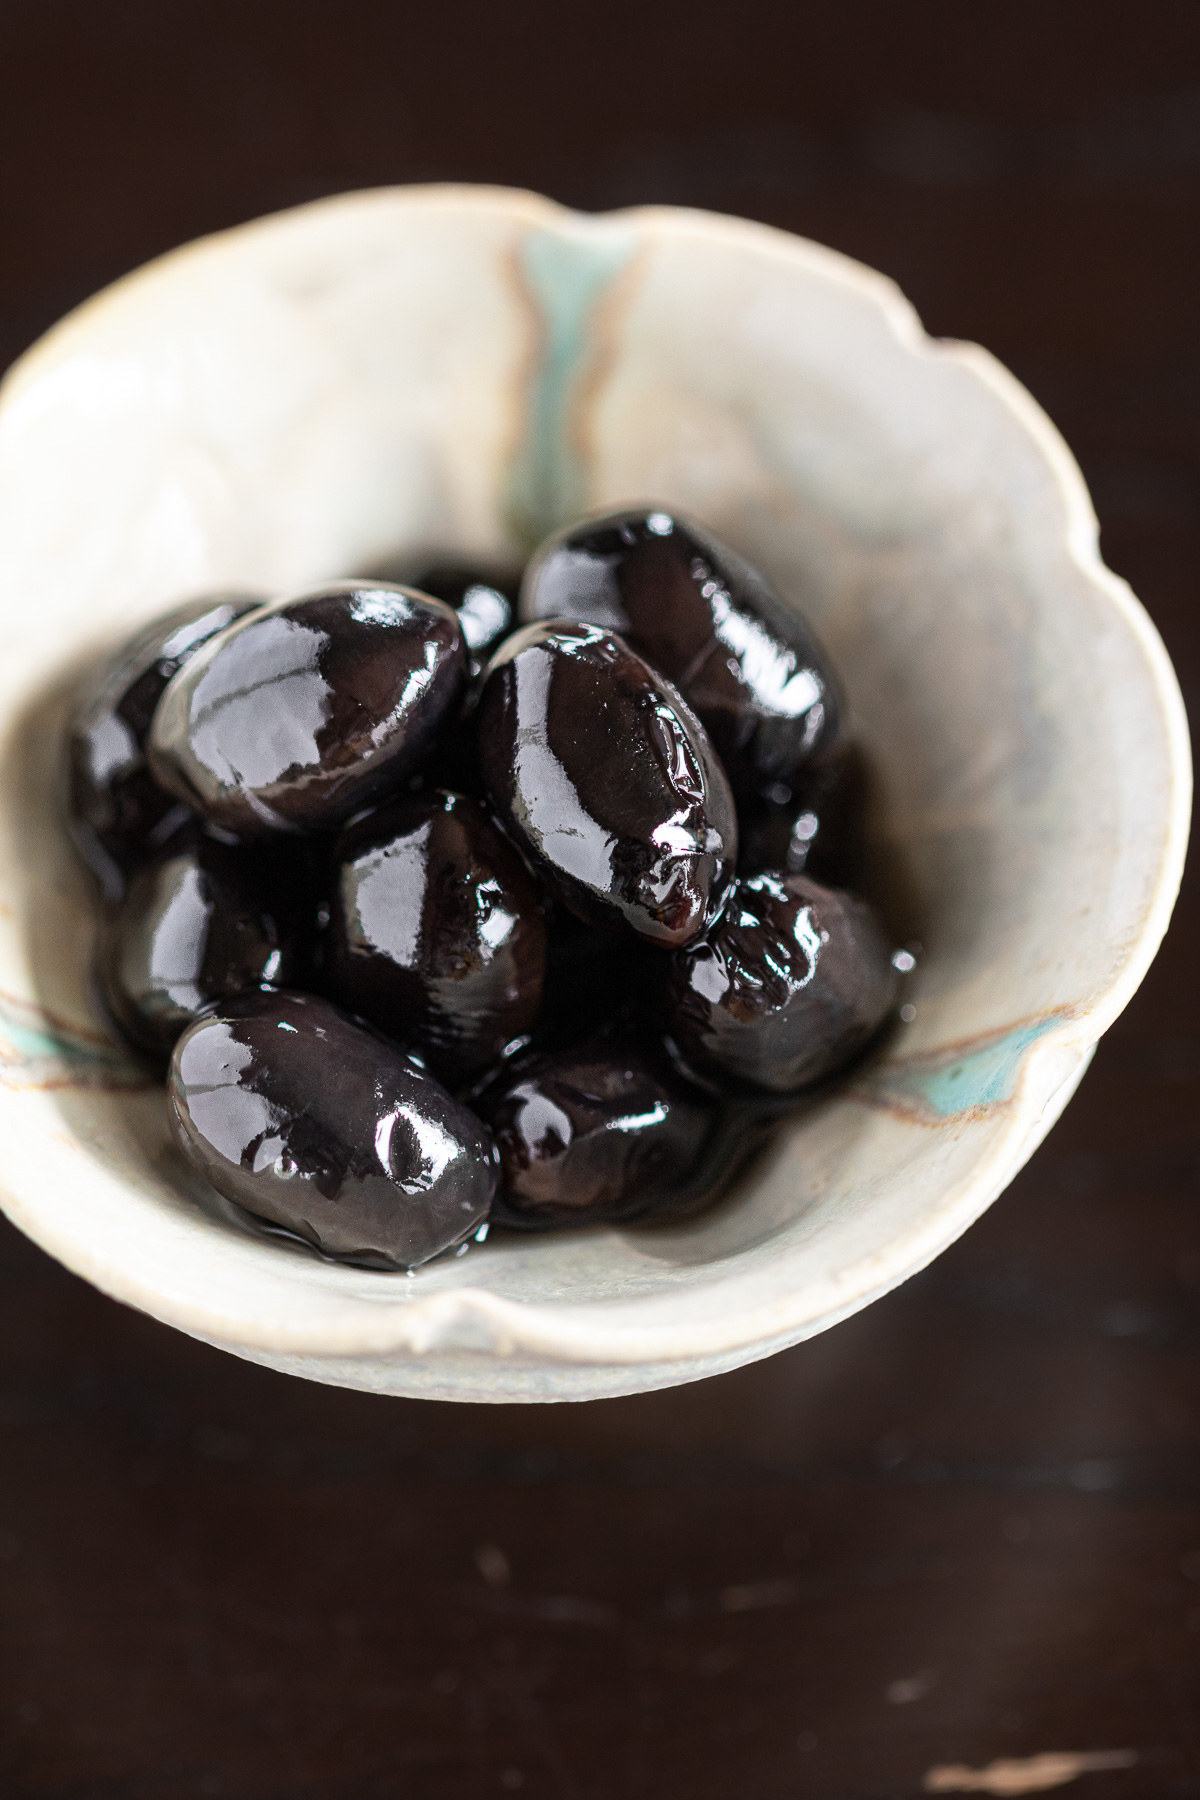
A gently sweetened kuromame recipe for osechi, with a rich, creamy-soft texture.

By pre-cooking the Japanese black soybeans in a pressure cooker before seasoning, the beans become tender all the way through, making this method forgiving and reliable.
Even if you’re not fond of traditional sweet osechi dishes, this lighter flavor is easy to enjoy.
Jump to:
☃️ From the Winter Kitchen|Osechi Kuromame
This year, I decided to make osechi kuromame a little differently.
Instead of seasoning from the beginning,
I first cook the black soybeans until plump and soft in a pressure cooker,
then let them slowly absorb the flavor afterward.
A few beans split, some lose their shape.
But what mattered more to me
was that each bean became tender all the way to its center.
No iron nails.
No long hours of simmering.
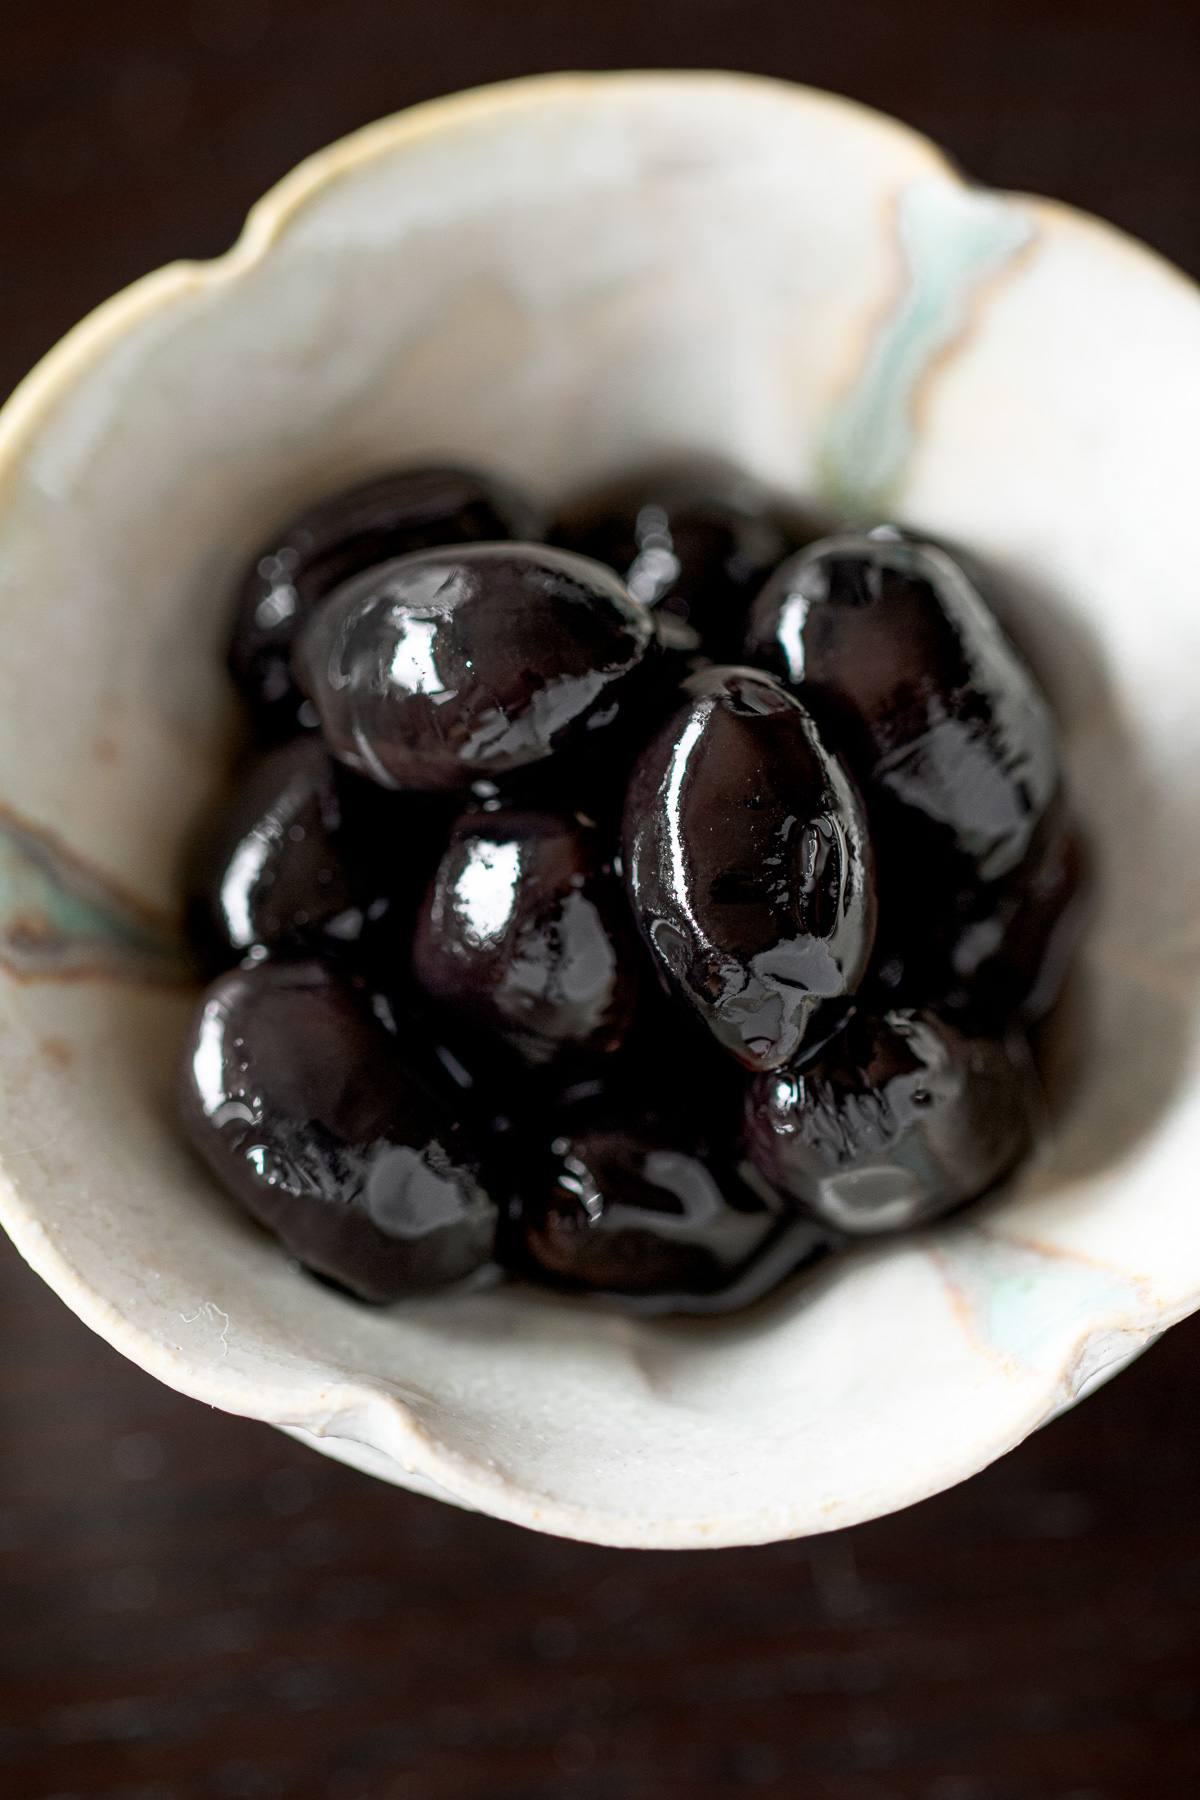
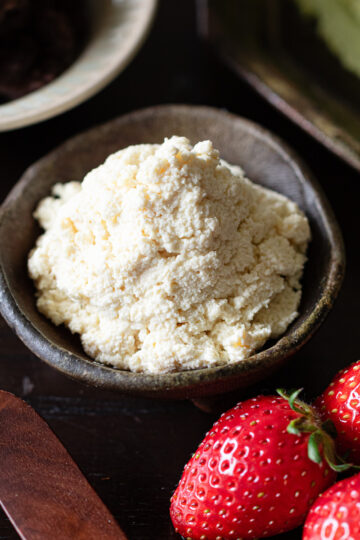
And yet, the result has a quiet richness—
a density that spreads on the tongue,
like a slow-roasted, sticky-sweet Japanese baked sweet potato from the oven.
One bean, then another—my chopsticks kept reaching back.
Despite never liking osechi very much,
this kuromame was the dish I enjoyed most this year.

🧺 What Makes This Recipe Special
- Easy & time-saving with a pressure cooker
Pre-cook black beans in a pressure cooker before seasoning—a nearly foolproof approach - Adjustable texture
From creamy-soft to slightly firm, depending on pressure time - Reduced sweetness
A lighter, more balanced flavor for those who find traditional osechi too sweet - Not just for New Year’s
Shorter cooking time makes this kuromame recipe easy to enjoy year-round - Vegan-friendly osechi
A plant-based Japanese black bean recipe suitable for vegan osechi.
🍊 Ingredients

- Dried black soybeans (kuromame): Fresh crop, about 1cm in diameter
- White sugar: Beet sugar or cane sugar—use whichever you prefer
- Soy sauce: I use organic soy sauce available at supermarkets
- Salt: A pinch of coarse salt
🥣 Equipment
- Storage container
- Strainer
- Pressure cooker (I use a 3.5 L stovetop model)
- Spoon
📖 Instructions
Three simple steps: soak, cook, and season.
For the best flavor and texture, start two to three days before serving 🗓️
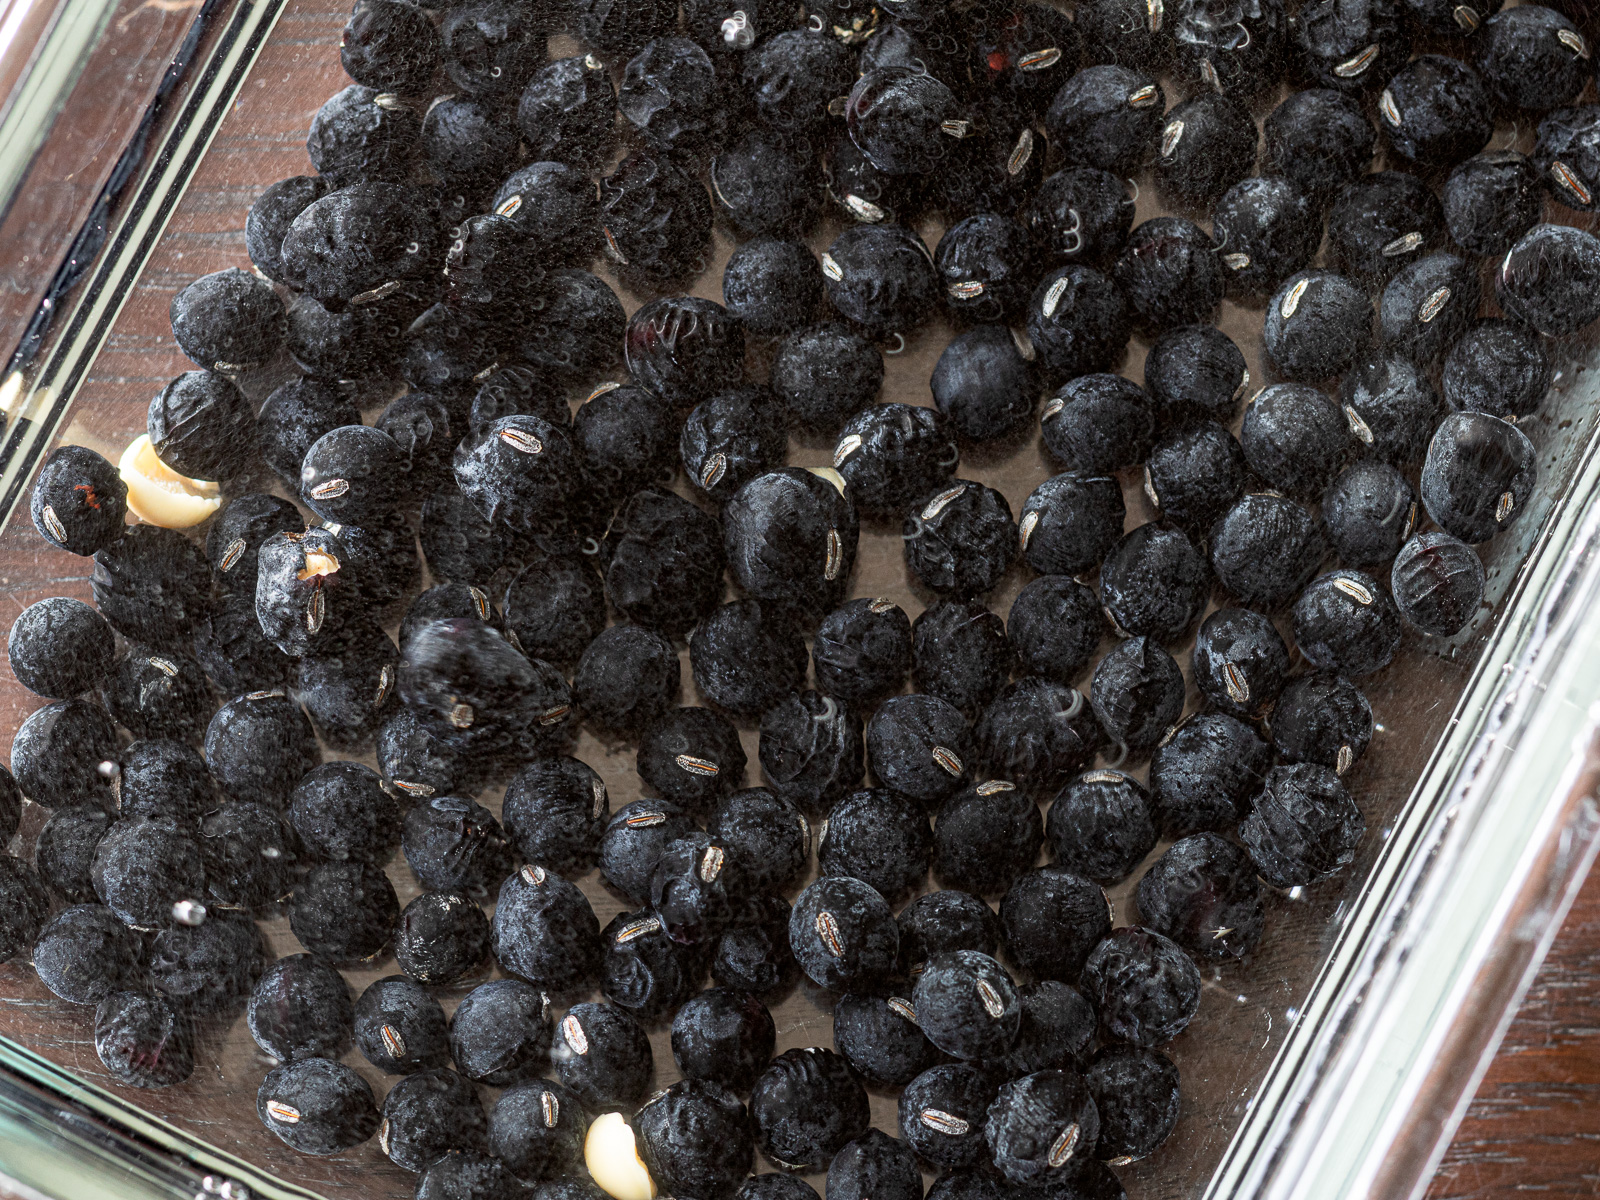
- Soak the beans
- Rinse the dried black beans to remove any dust or debris.
- Soak in about four times their volume of water for 24 hours.
🌿 In warm weather, soak in the refrigerator
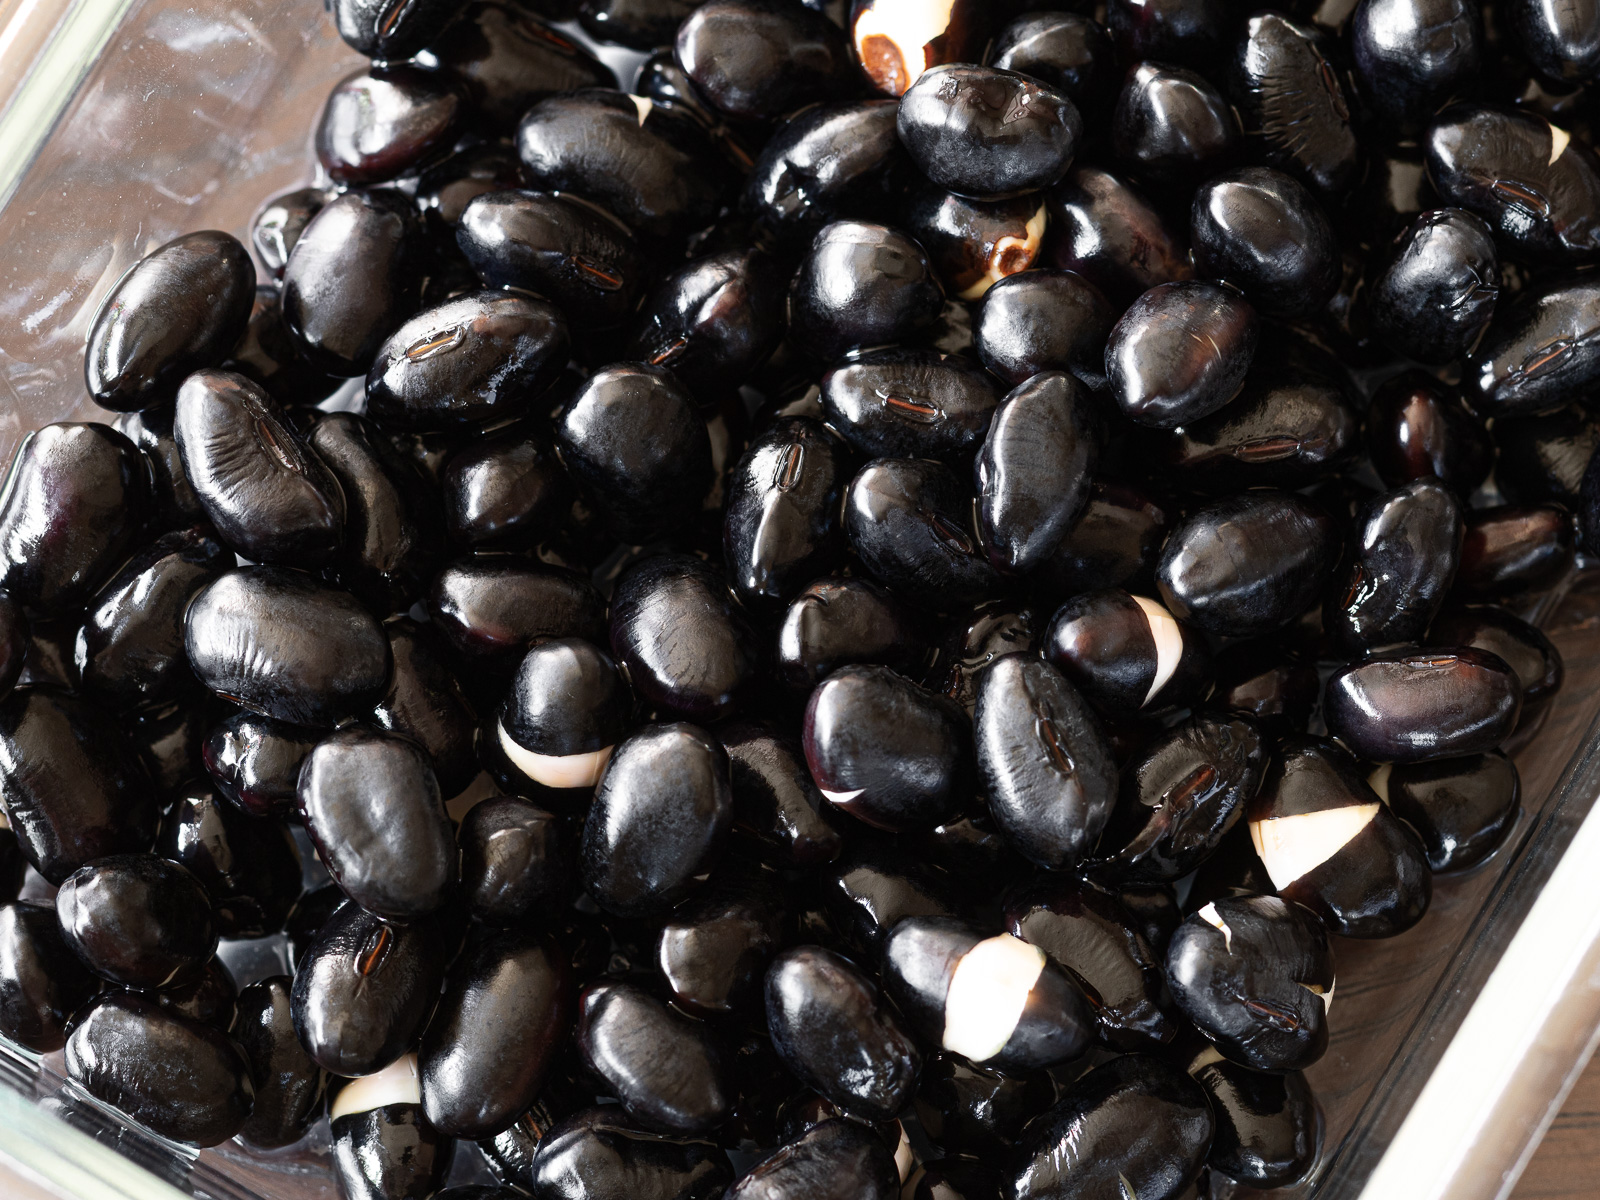
- Drain
- Once the wrinkles have smoothed out, drain the beans in a strainer.
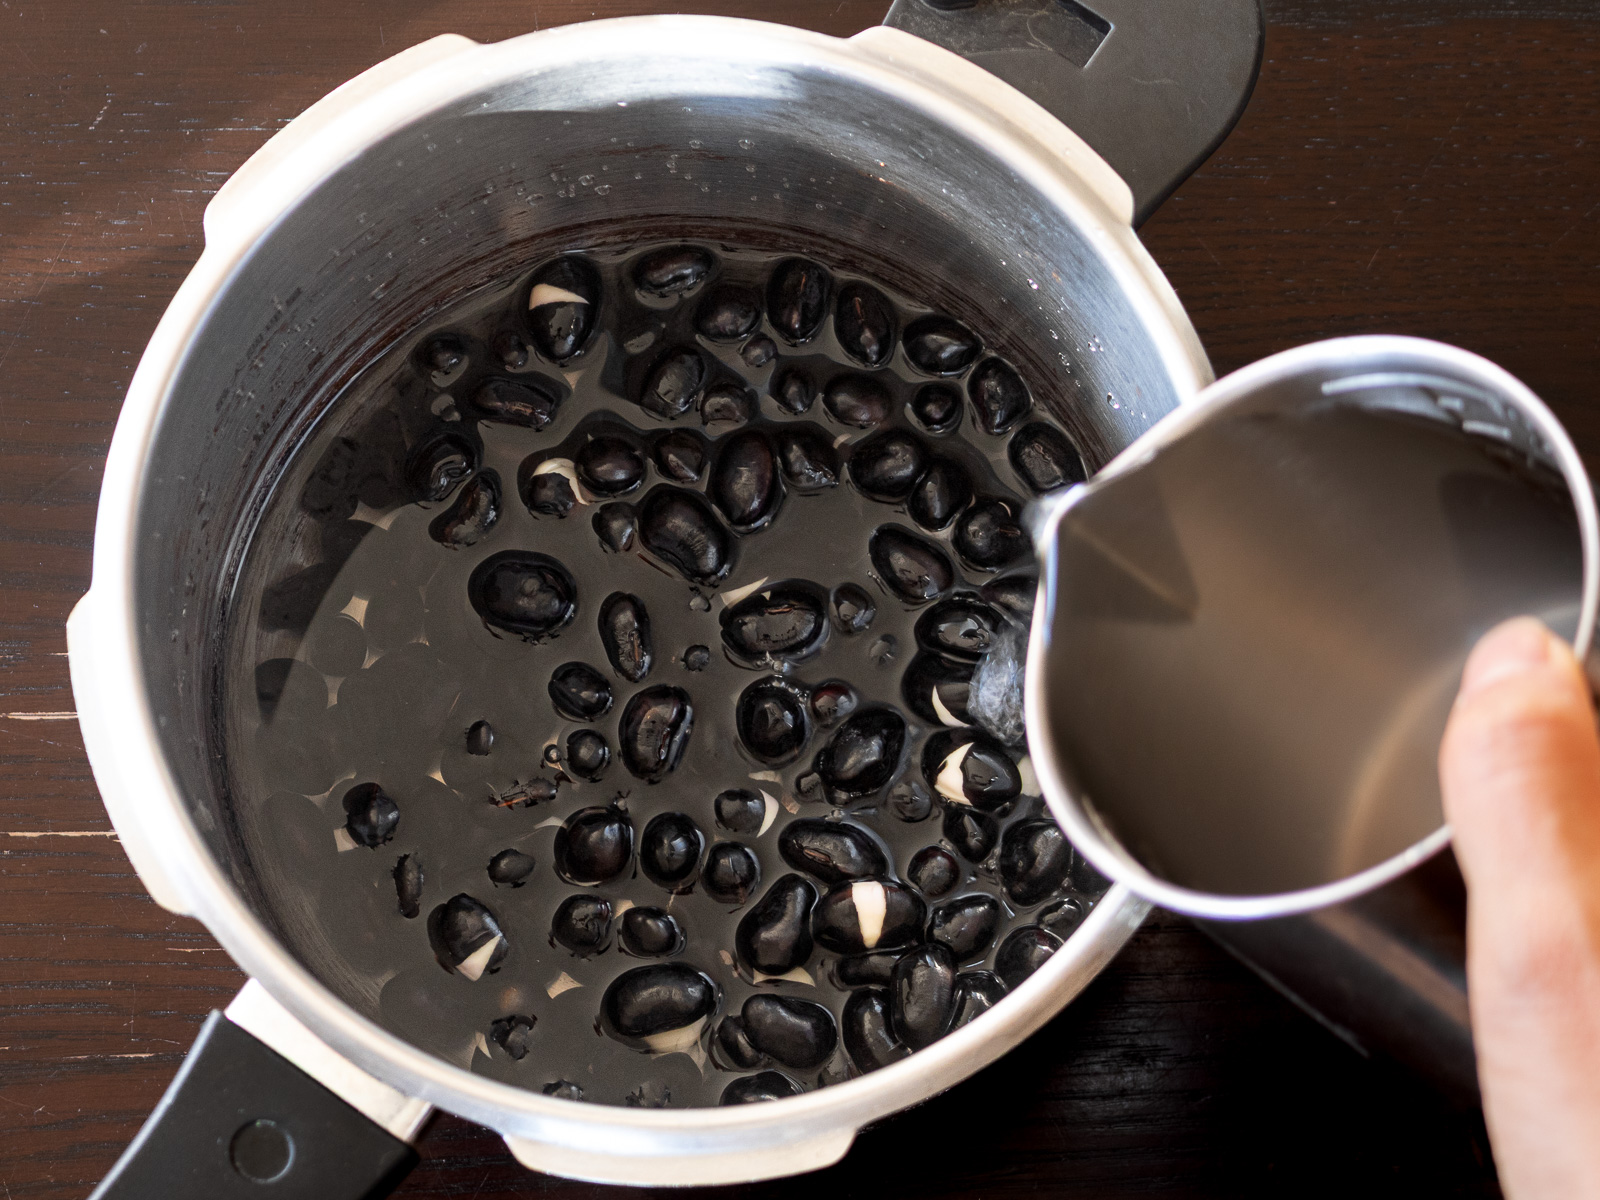
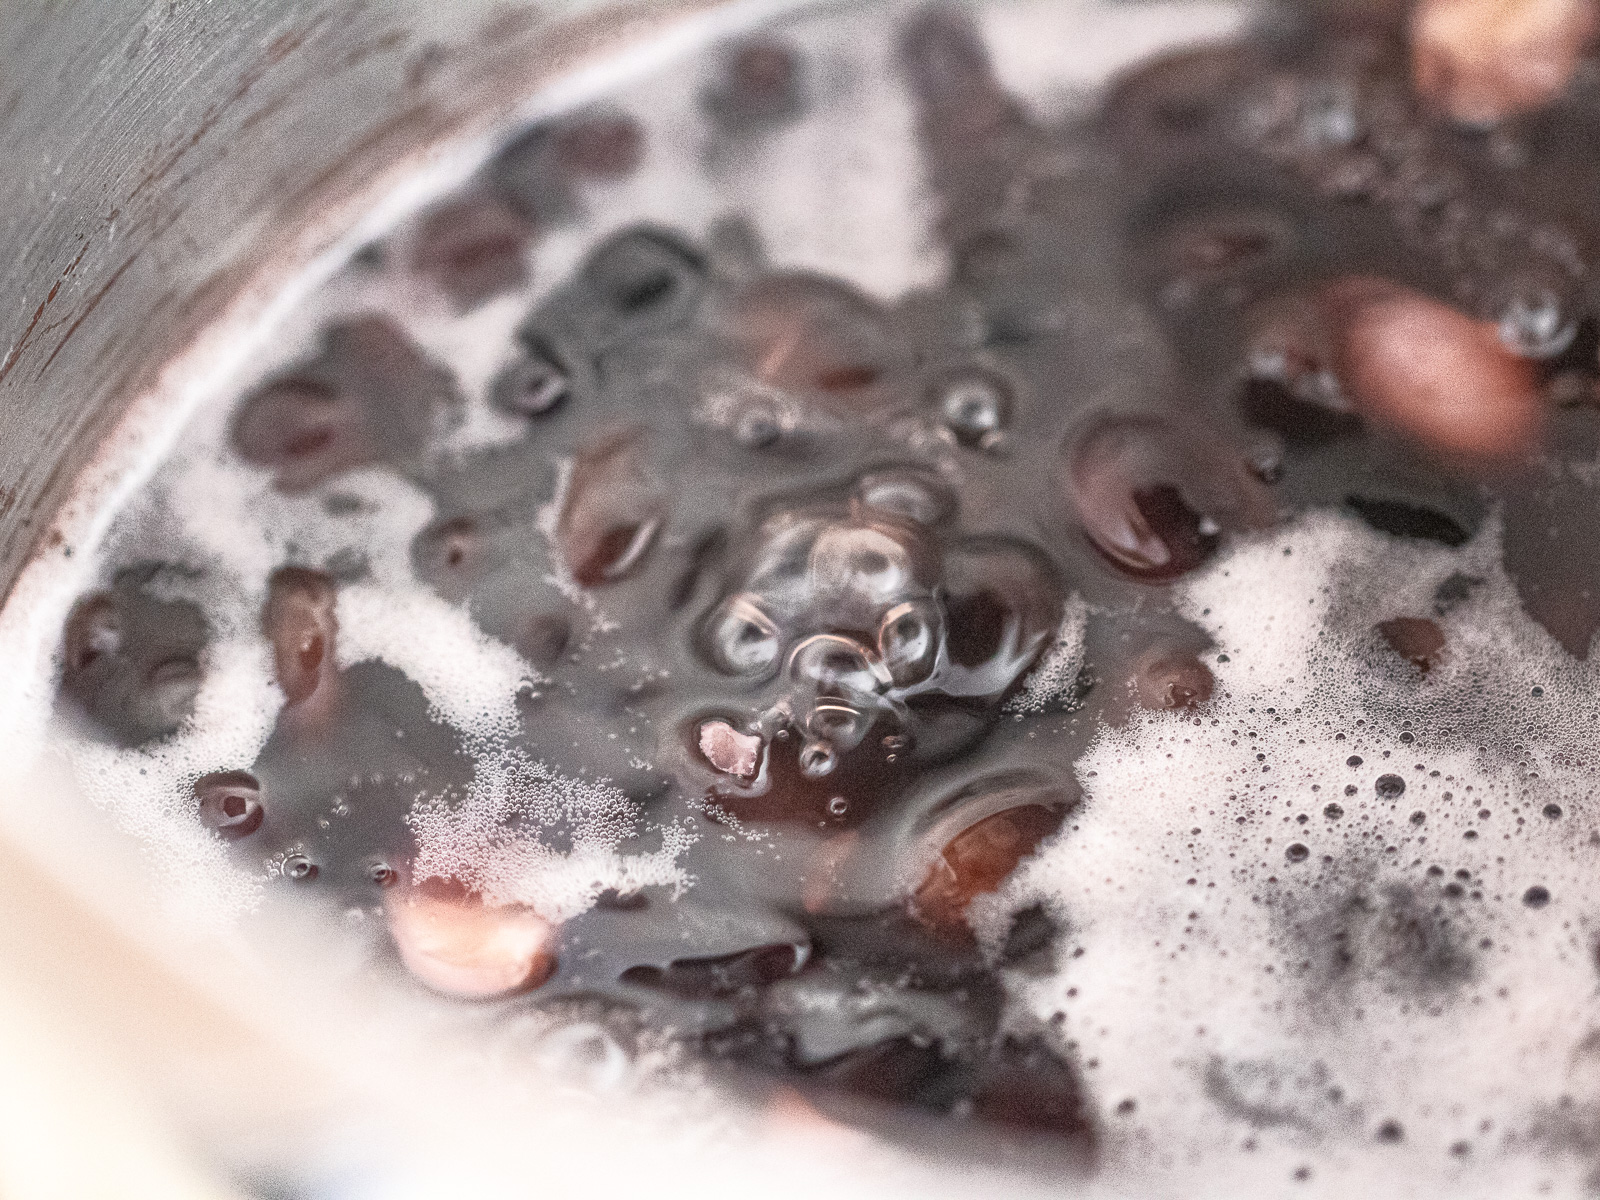
- Cook in a pressure cooker
- Add the soaked beans and fresh water to the pressure cooker.
- Cover and bring to high heat.
- Once pressure builds, reduce to low and cook under pressure.
- Turn off the heat and let the pressure release naturally.
🌿 Pressure cooking time guide:
⚫︎Slight bite: 2 minutes
⚫︎Creamy-soft texture: 3 minutes
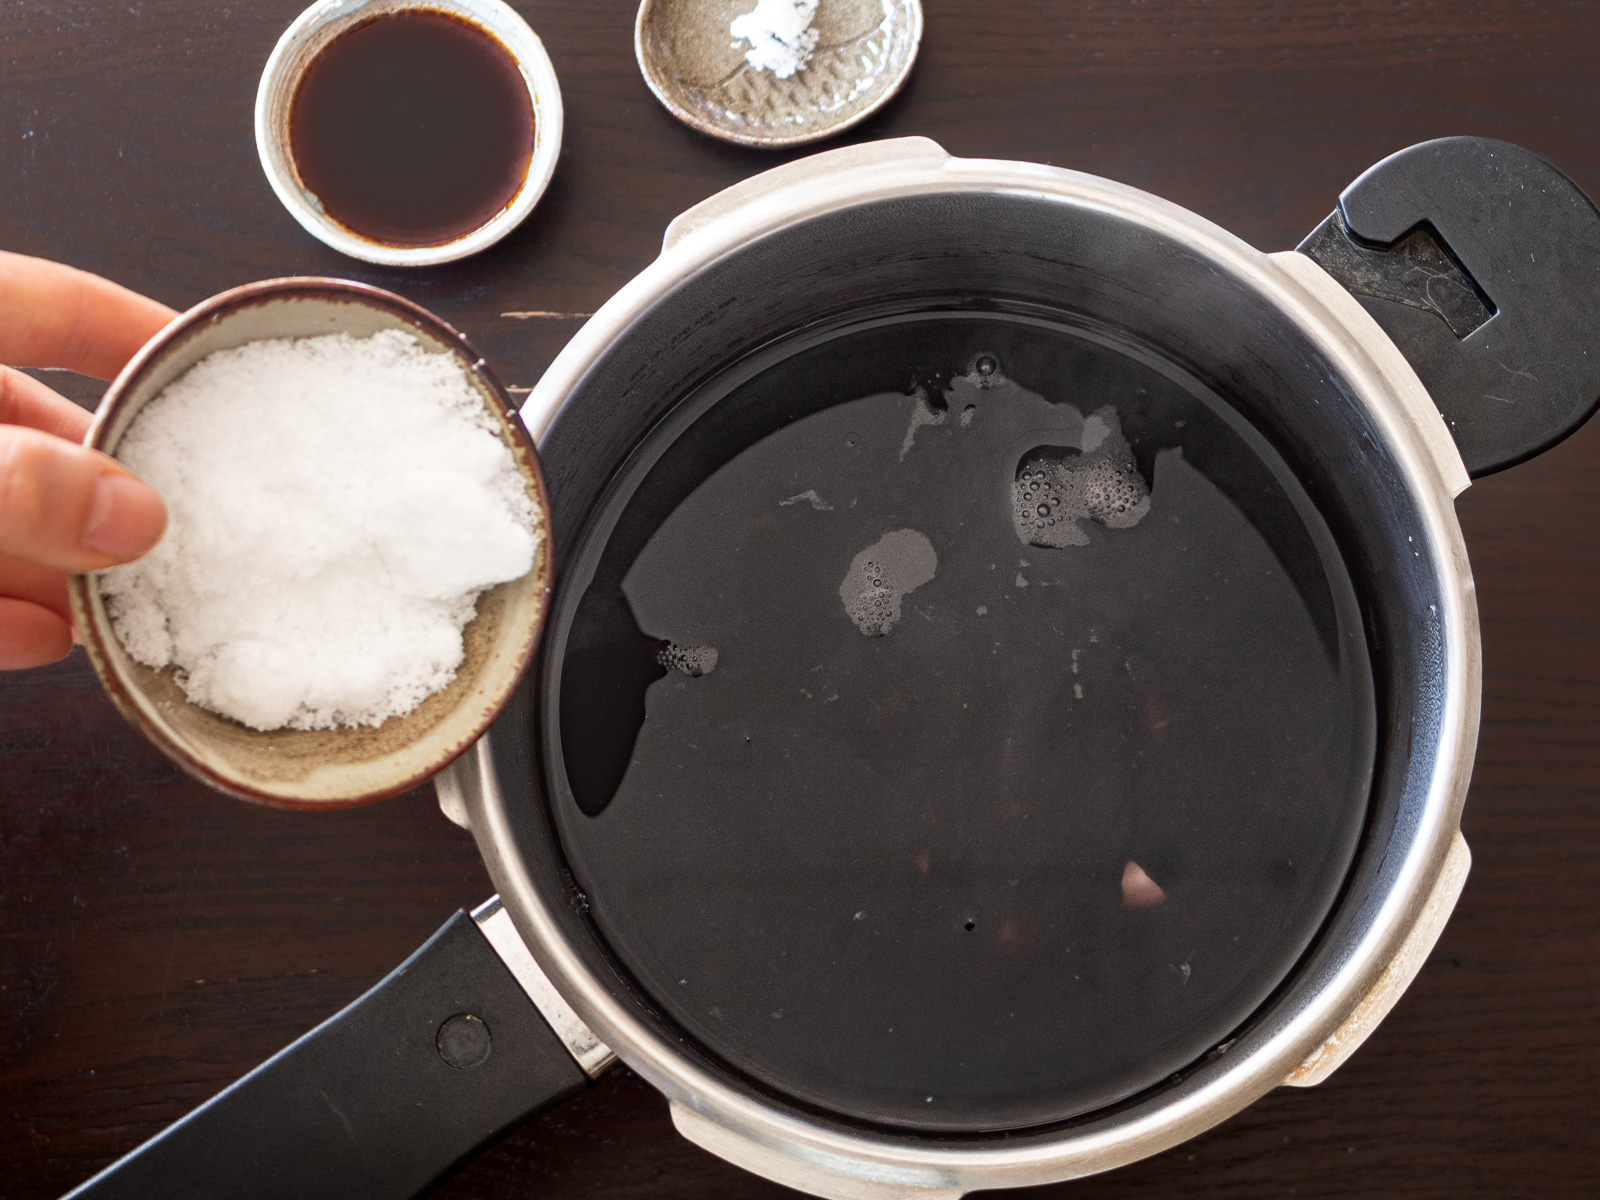
- Season
- Once pressure has fully released, open the lid.
- Add sugar, soy sauce, and salt, stirring gently so the beans don’t break.
- Simmer
- Bring to a boil over medium heat, then reduce to low.
- Simmer gently for about 15 minutes.
- Turn off the heat and let cool.
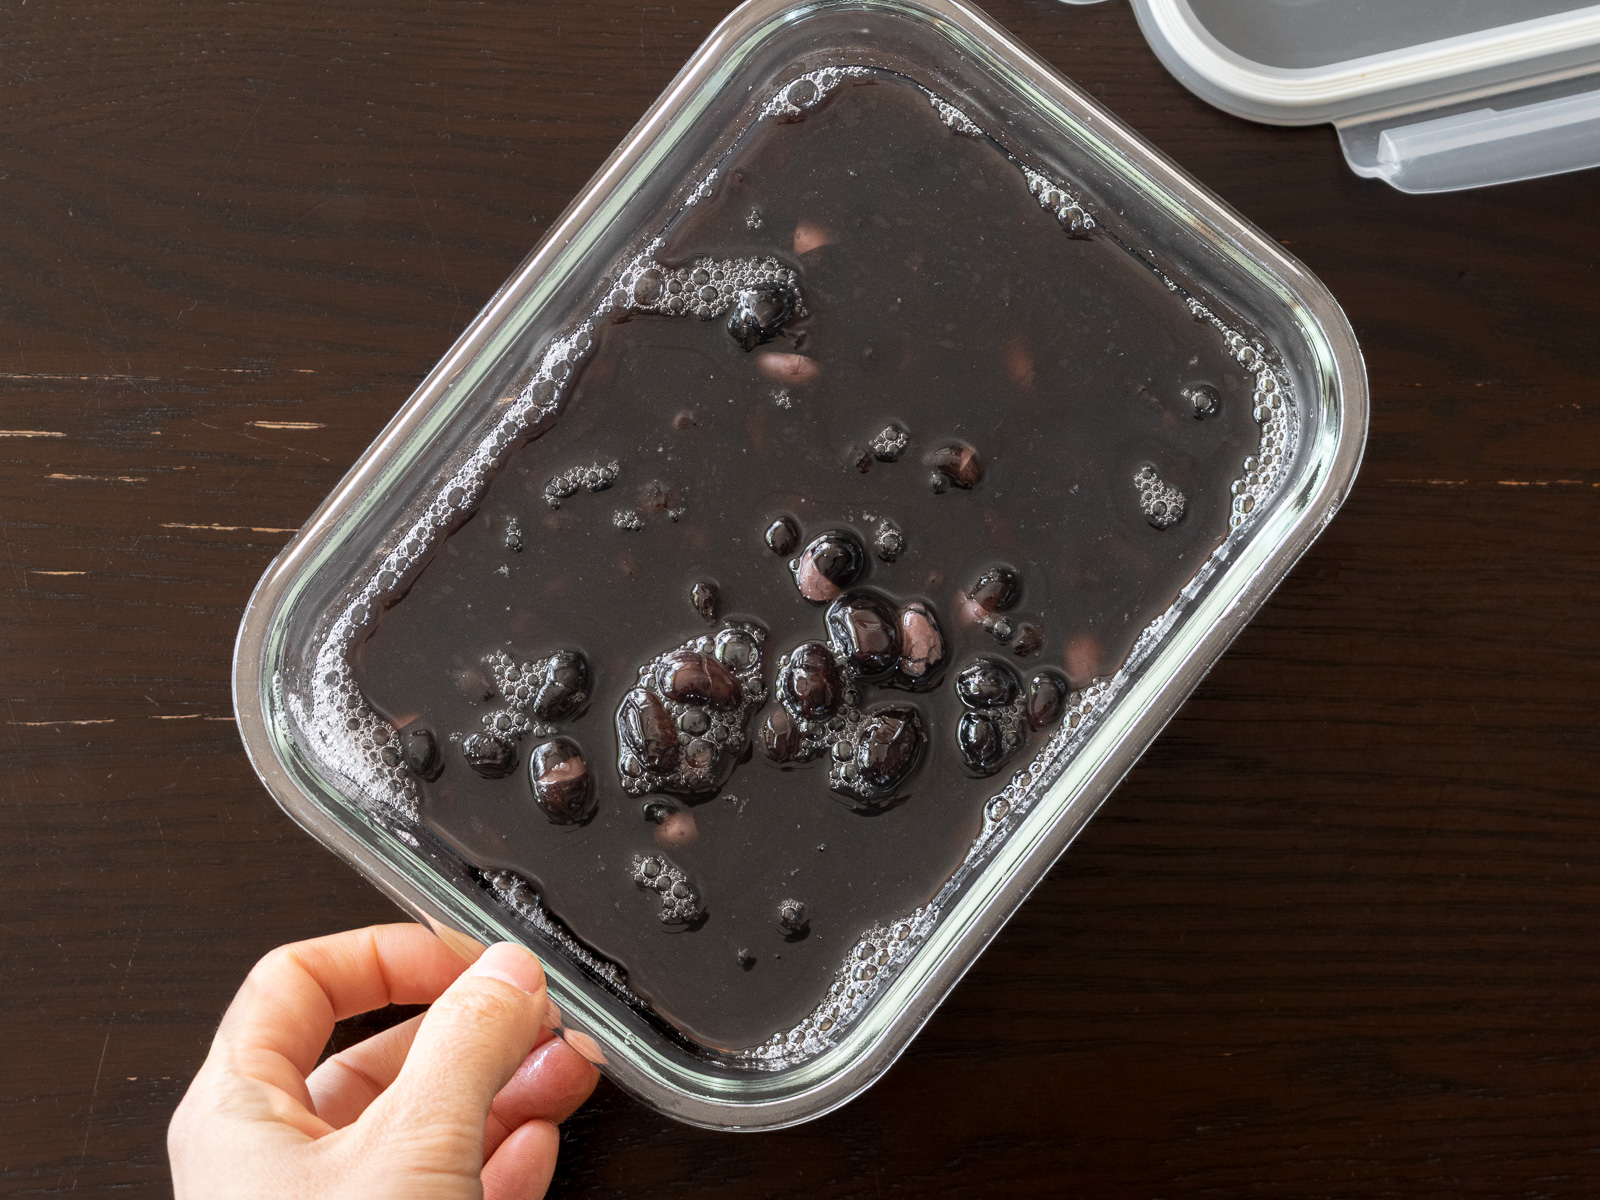
- Store
- Once cooled, transfer to storage container and refrigerate.
🌿 Let the flavors meld overnight—24 hours minimum. Day two onward is my favorite.
🫙 Storage
Keeps in the refrigerator for about 1 week.
The flavor deepens over time,
making it ideal to enjoy slowly throughout the New Year holidays.
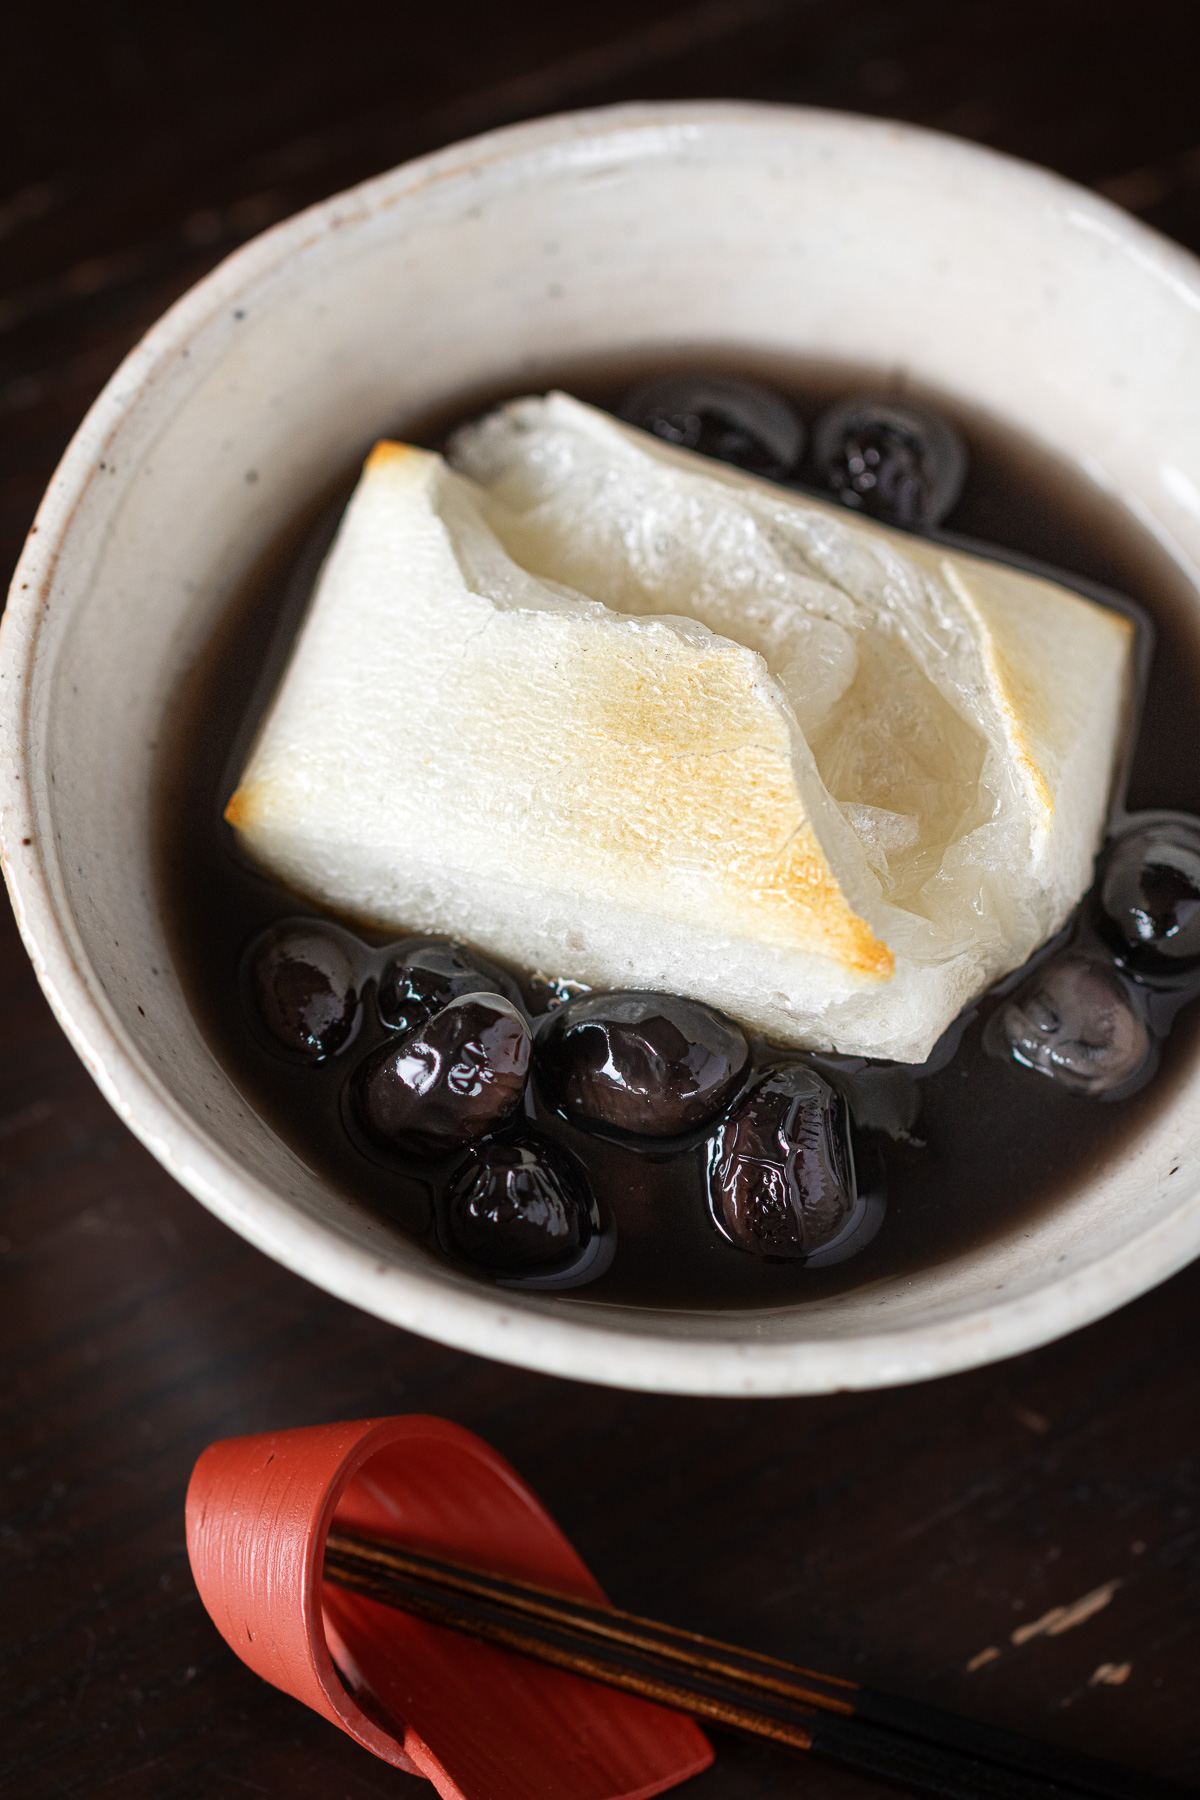
📘 Kitchen Notes|Serving Ideas
Don't waste the flavorful cooking liquid either.
➤ Serving & Using Ideas
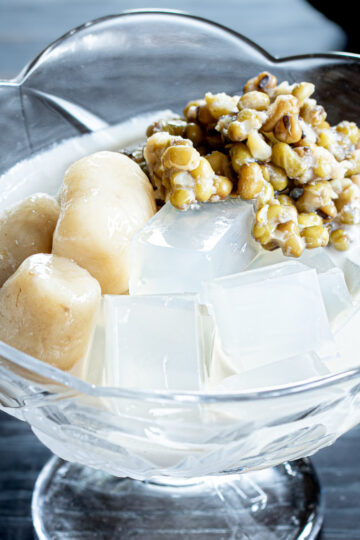
- Add grilled mochi or shiratama dango for oshiruko-style dessert
- Use the beans and liquid in Korean rice cakes (sirutteok) or steamed buns
- Add plain kanten (agar) for a chilled dessert
- Set the beans and liquid together with kanten to make kuromame kanten
📚 Q&A|Tips
Yes. As the kuromame rests, the flavor continues to settle and deepen, so it’s best to keep the seasoning light at first.
If you find it needs more sweetness, you can add a little sweetener just before serving, or simmer the beans again briefly with extra sugar.
In this recipe, the black beans are pre-cooked in a pressure cooker,
so I usually don’t skim off the foam.
Leaving it helps preserve the beans’ natural color and depth of flavor.
If it bothers you, simply skim off any foam that rises to the surface
while gently simmering after the seasoning is added.
In Japanese, the word mame (bean) is also associated with being diligent and healthy.
Eating black beans at New Year’s symbolizes a wish for a year of good health and steady, honest work.
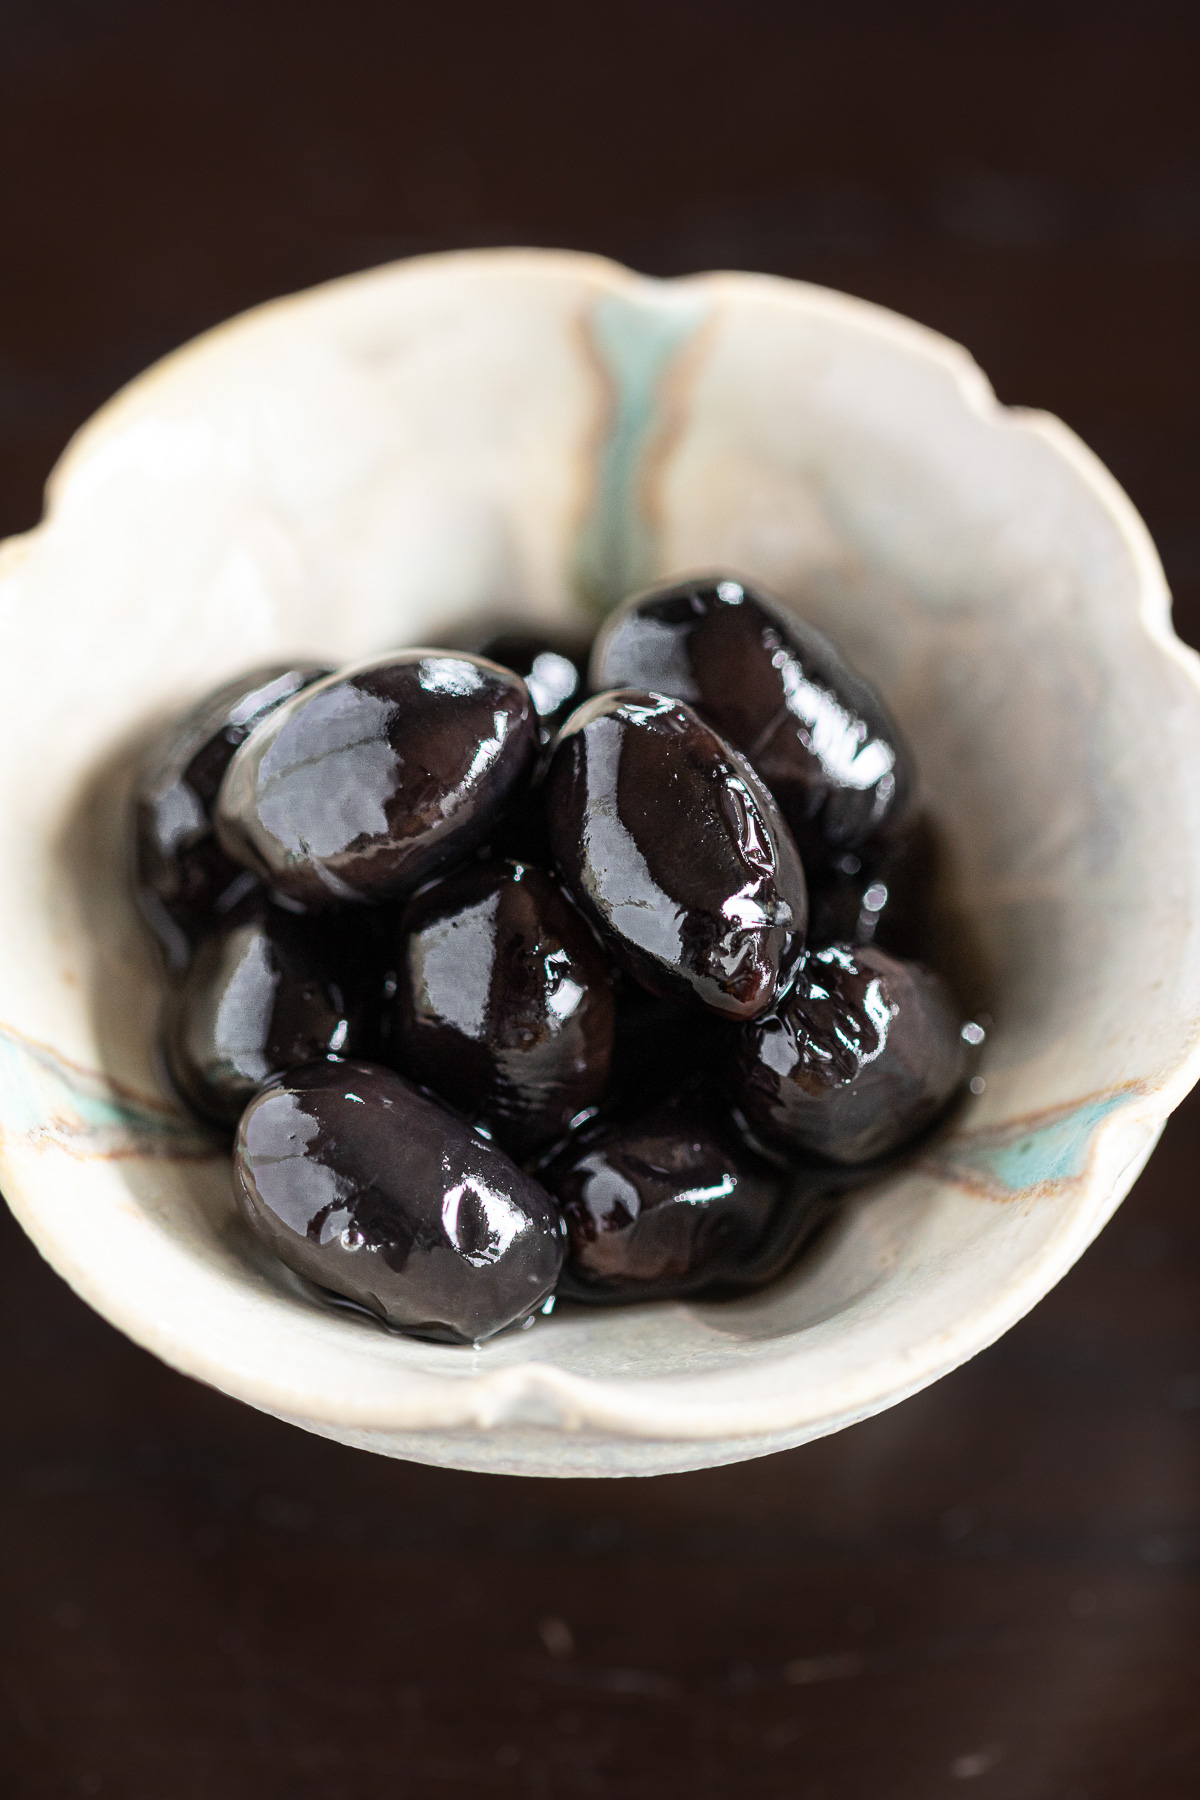
Traditionally, iron nails were added to deepen the color of kuromame.
In this recipe, no iron is used.
By thoroughly cooking the beans in a pressure cooker, they develop a natural dark color and gentle shine on their own.
Simmering black beans with sugar and soy sauce from the beginning is a traditional approach.
However, adding seasonings too early can sometimes make the beans firm or leave the centers slightly hard.
By first softening the beans in a pressure cooker and seasoning them afterward,
this method draws out a creamy, tender texture, even with a gently sweet finish.

If you feel like whispering a thought, asking a question, or simply saying hello — the comment section is always open 📮
🐈 More Seasoned Bean Recipes


🛷 Seasonal Vegan Recipes
From savory dishes to desserts—vegan recipes :


✏️ Recipe Card|Summary
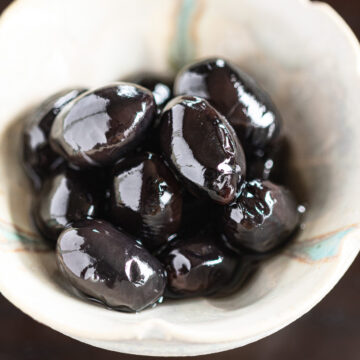
Pressure Cooker Kuromame (Japanese Sweet Black Beans)
Equipment
- pressure cooker
- strainer
- Spoon
- Storage container
Ingredients
- 140 g dried black soybeans (kuromame)
- 800 ml water (for soaking)
- 600 ml water (for pressure cooking)
- 100 g sugar (adjust to taste)
- 2½ tablespoon soy sauce
- a pinch of salt
Instructions
Soak the beans
- Rinse the dried black beans.140 g dried black soybeans
- Soak in about 4 times their volume of water for 24 hours, until fully plump.800 ml water
Drain
- Once the beans have rehydrated and the wrinkles have smoothed out, drain well.
Pressure cook
- Add the beans and fresh water to a pressure cooker.600 ml water
- Lock the lid and bring to high pressure.
- Reduce heat and cook:→ 2 minutes for slightly firm beans→ 3 minutes for creamy-soft beans
- Turn off heat and allow pressure to release naturally.
Season
- Open the lid and add sugar, soy sauce, and salt. Stir gently.100 g sugar2½ tbsp soy saucea pinch of salt
Simmer
- Bring to a gentle boil, then reduce to low heat and simmer for about 15 minutes.
Cool & store
- Turn off the heat and let cool completely.
- Transfer to a container and refrigerate.
Notes
Notes
- Flavor develops as it rests; allow at least 24 hours before serving.
- Best texture and flavor are usually achieved on day 2.
- No iron nails or iron eggs are used in this recipe.
Storage
- Store in an airtight container in the refrigerator for up to 1 week.
- Flavor deepens over time.

If this recipe made its way into your kitchen, and you'd like to share that moment, feel free to tag @veginveganvegun or use #vegin_vegan_vegun.
Your quiet stories inspire me deeply 🕊️


Comments
No Comments