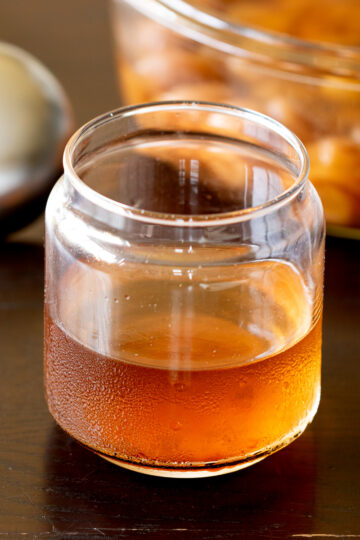
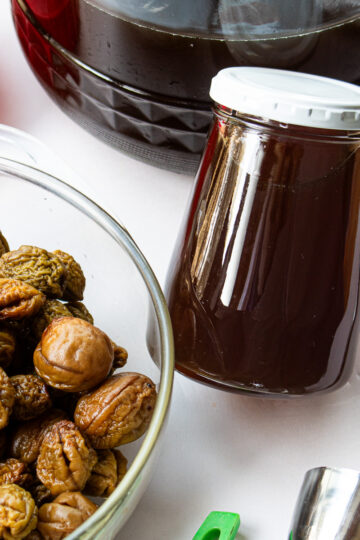
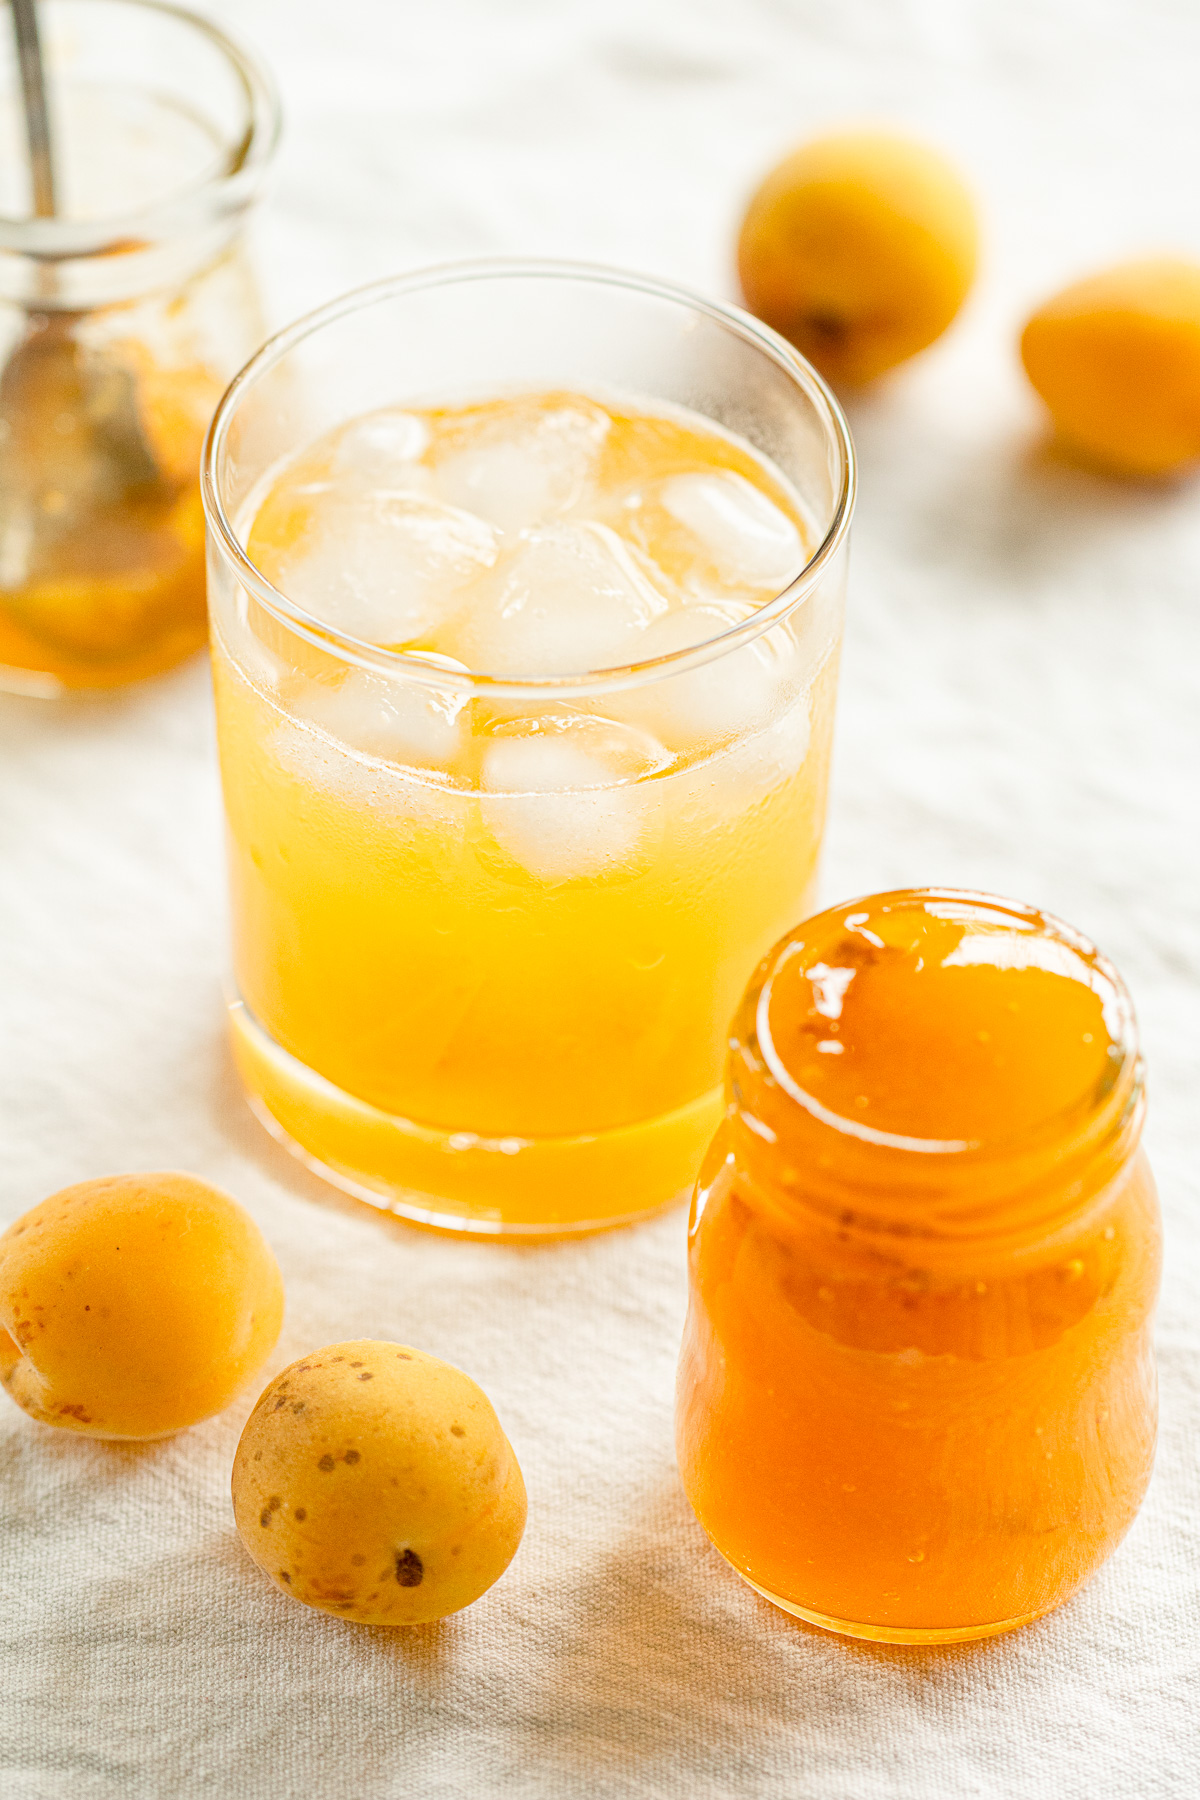
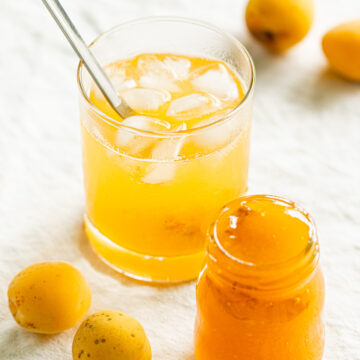
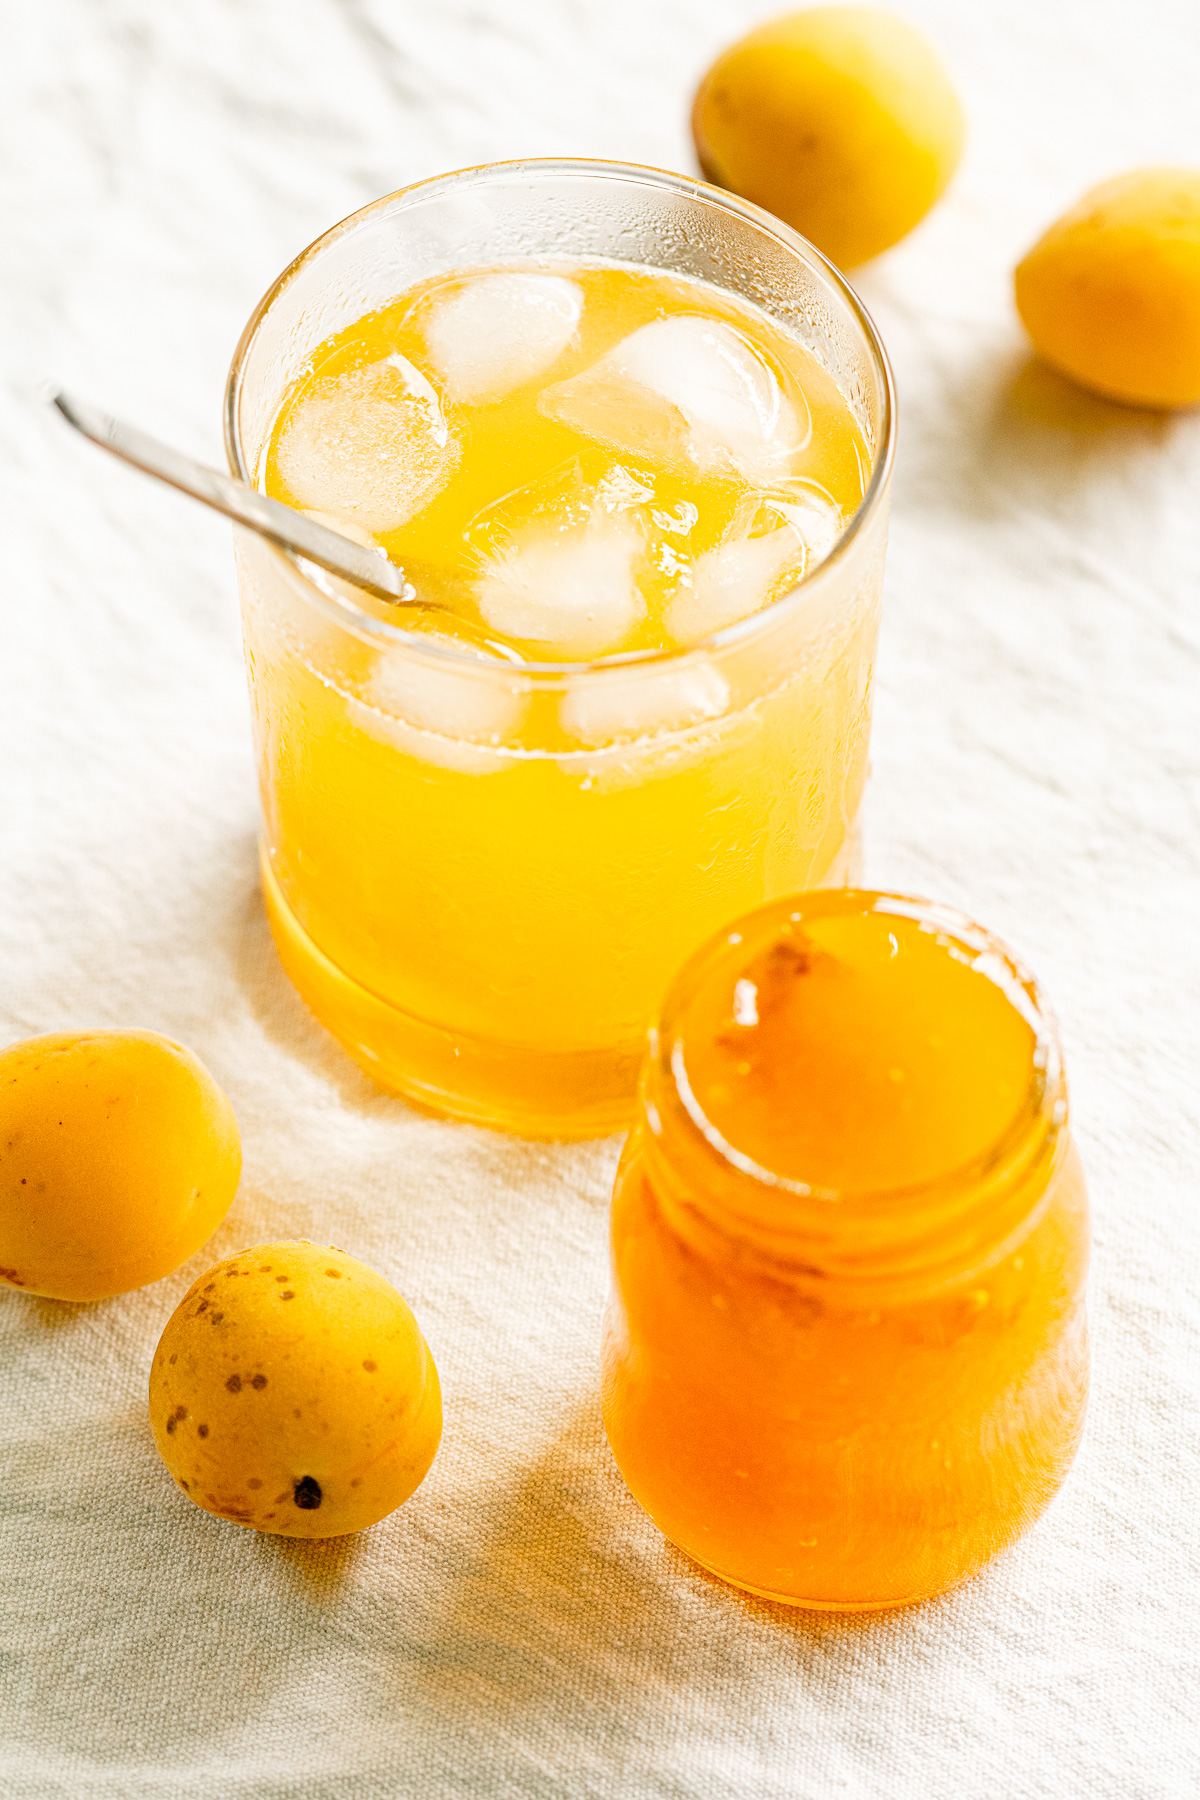
A pulpy homemade ume syrup made with ripe Japanese plums and sugar.
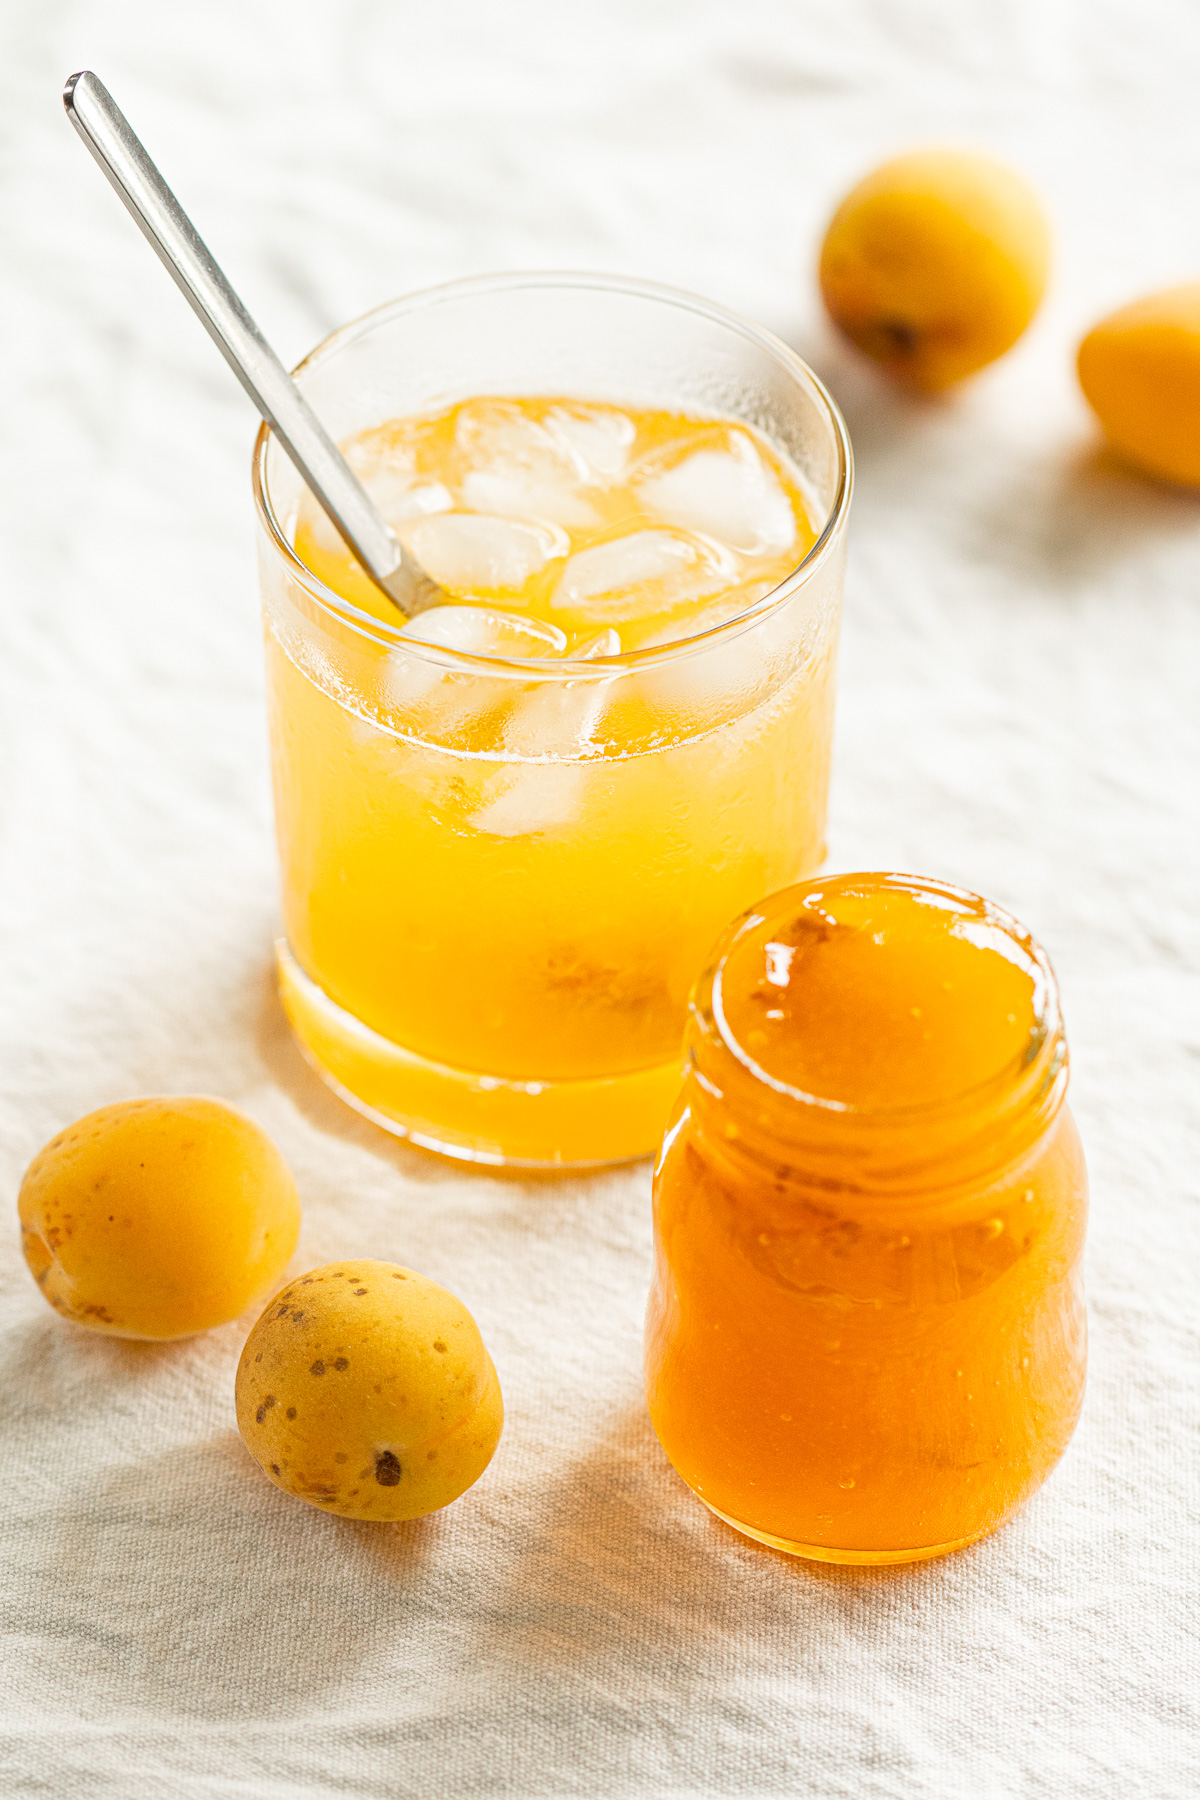
This ripe ume syrup is made by gently cooking ripe Japanese plums with sugar until the fruit softens into a smooth, pulpy syrup. Unlike traditional clear, fragrant ume syrup made with unripe green ume and rock sugar, this version keeps the fruit pulp.
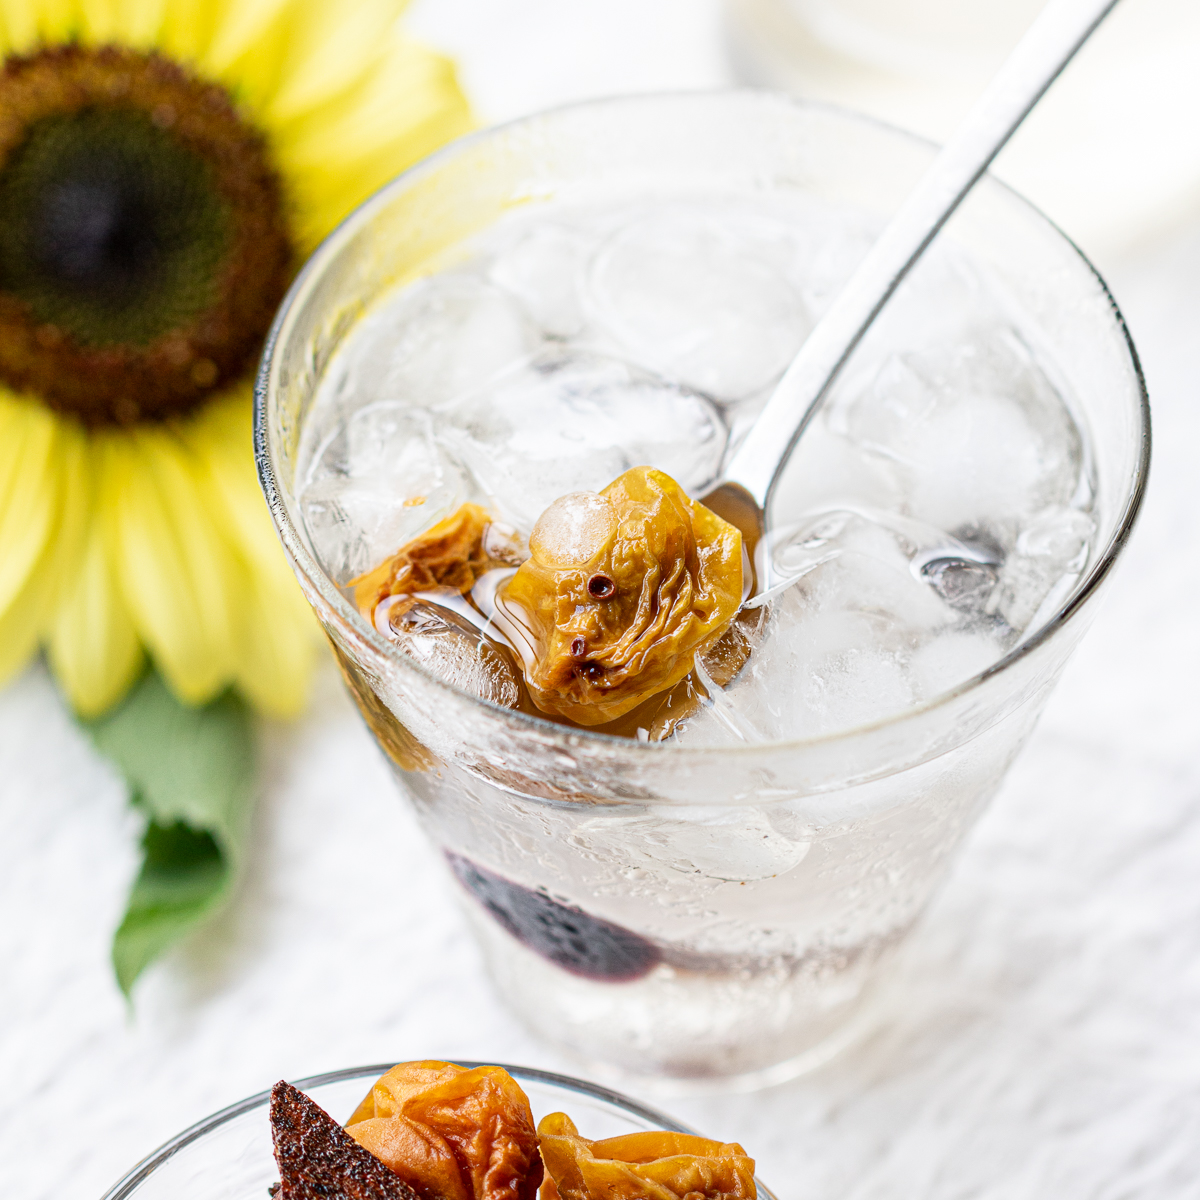
Once mixed with cold water or sparkling water, it becomes a refreshing summer drink with a sweet-tart flavor. It always reminds me of the red cans of peach nectar from Japanese vending machines.
Jump to:
👒 About This Recipe
Every year, I look forward to ume season here in Japan.
This year, though, our ume tree produced only a small harvest.
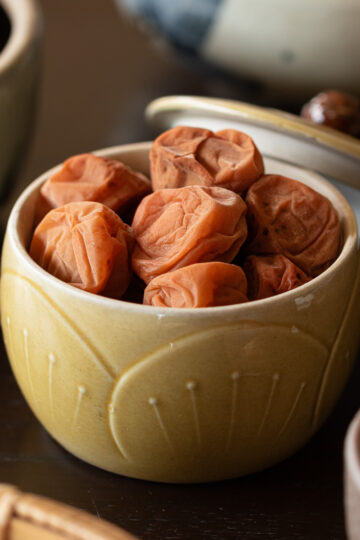
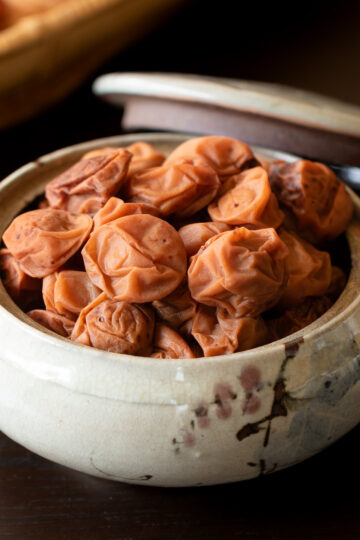
While I was waiting for the ume to fully ripen for umeboshi, many became wrinkled, shriveled, or bruised.
Only a handful were left for preserving.
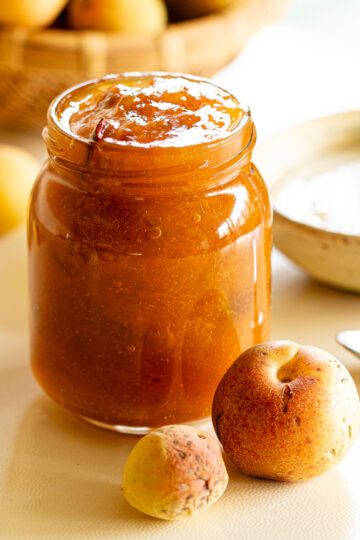
I usually turn the bruised ripe ume into ripe ume jam, but this year I decided to try something different.
Instead of cooking it into jam, I stopped early and made a fruit-filled syrup instead.
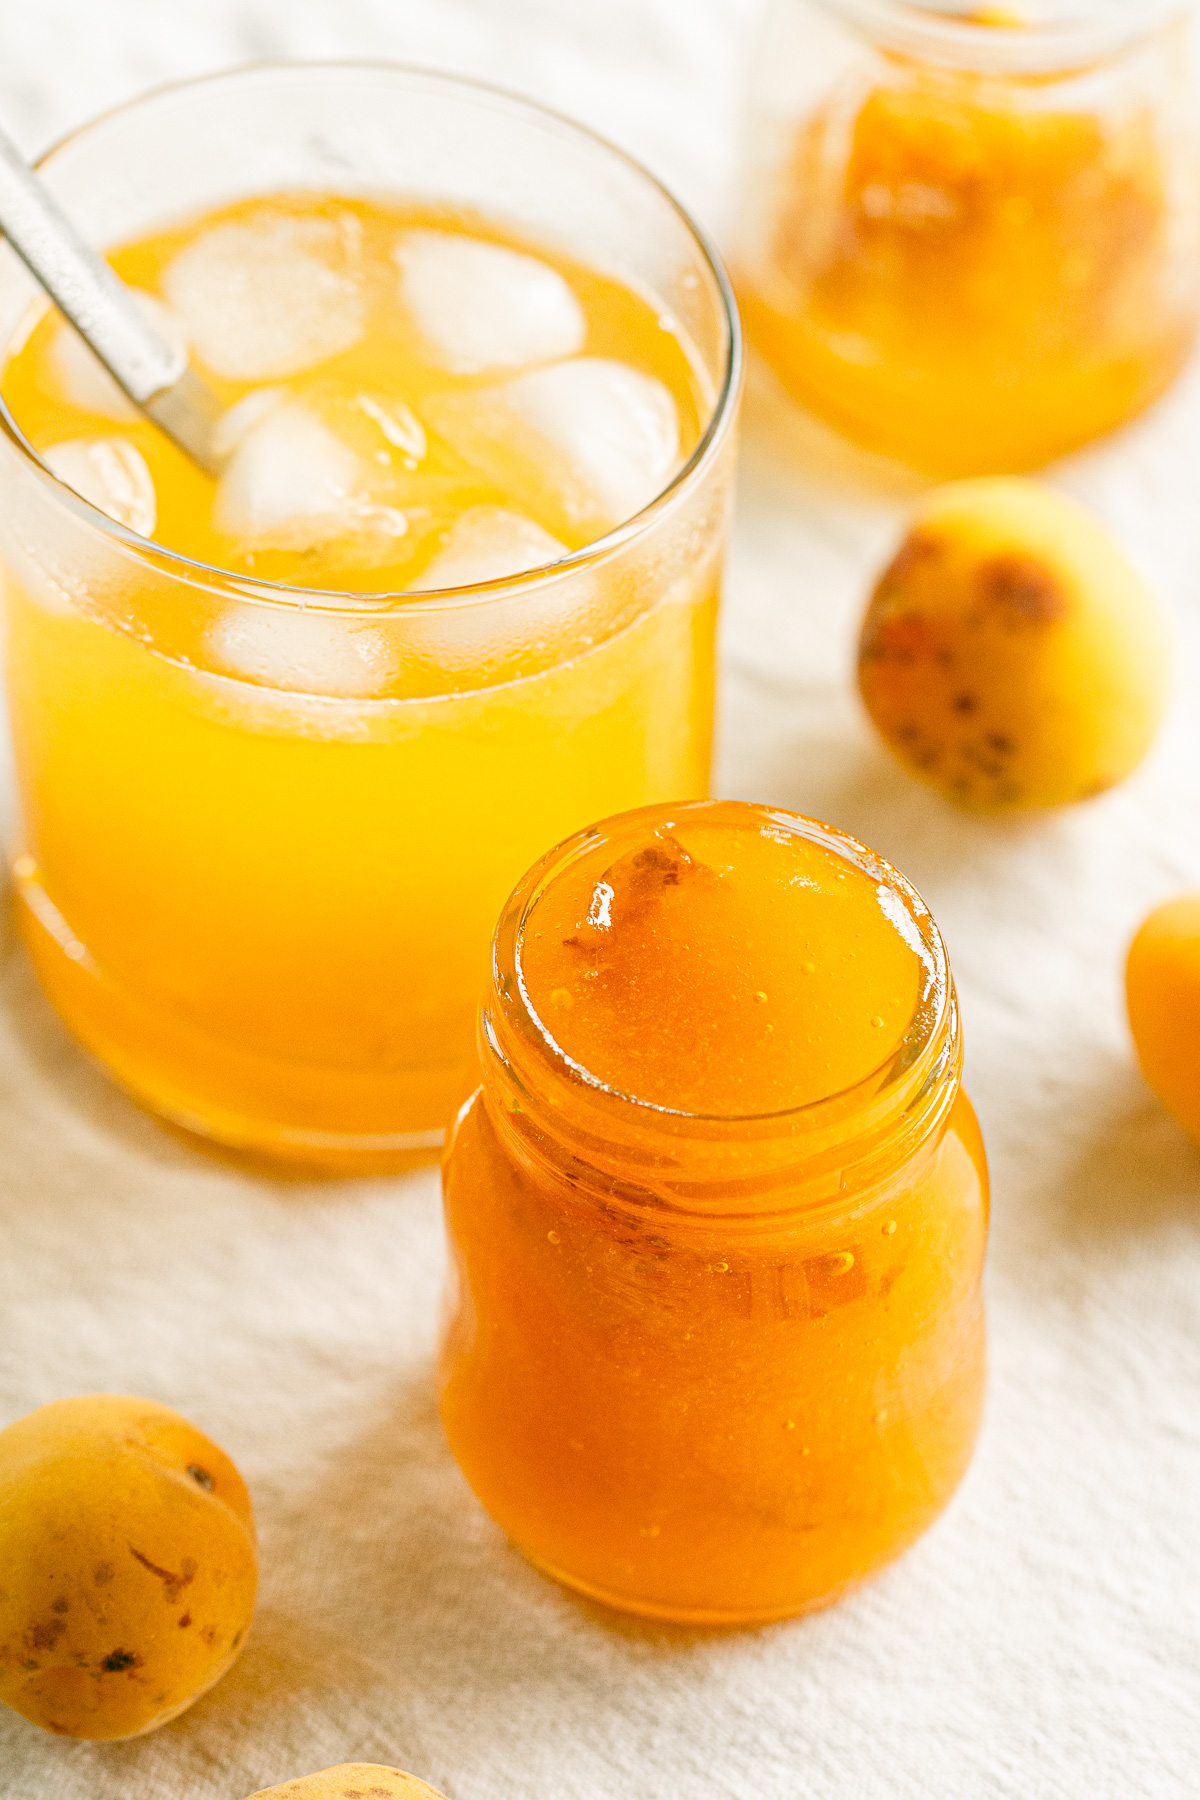
Pour a few spoonfuls into a glass, add ice and cold water, and it becomes a refreshing homemade ume nectar for hot summer days.
It wasn't the ume season I had hoped for.
Looking back, though, I'm glad it unfolded the way it did. Otherwise, I might never have discovered this recipe.
🧺 Why You'll Love This Recipe
- Made with ripe ume — A different take on traditional green ume syrup.
- Rich with fruit pulp — The soft fruit gives the syrup a fuller texture.
- Perfect for bruised ripe ume — A delicious way to use ripe ume that isn't ideal for umeboshi.
- Quicker than making jam — Stop cooking before it reaches the jam stage.
- Refreshing and versatile — Mix with water, sparkling water, or enjoy it over yogurt.
▼ Other Ripe Ume Recipes :
▼ Other Green Ume Recipes :
🌿 Ingredients
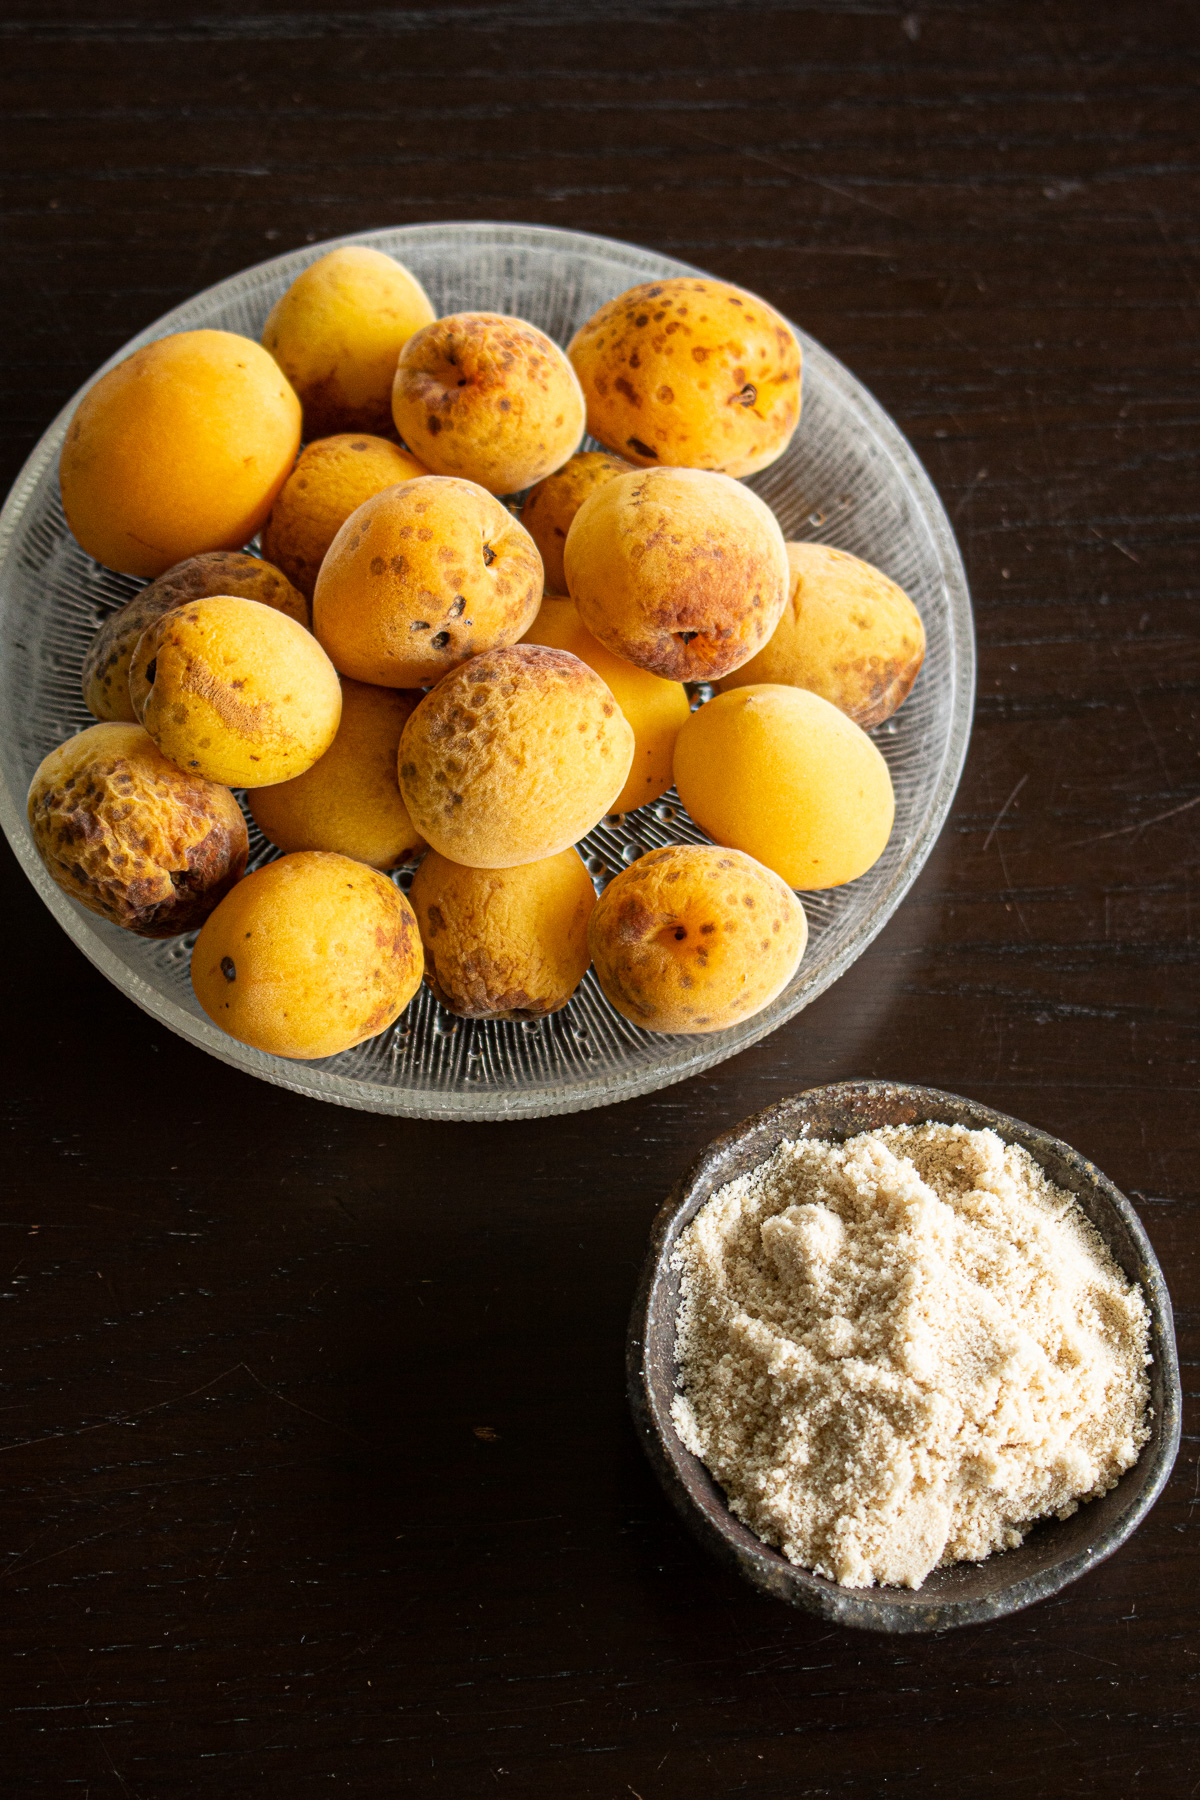
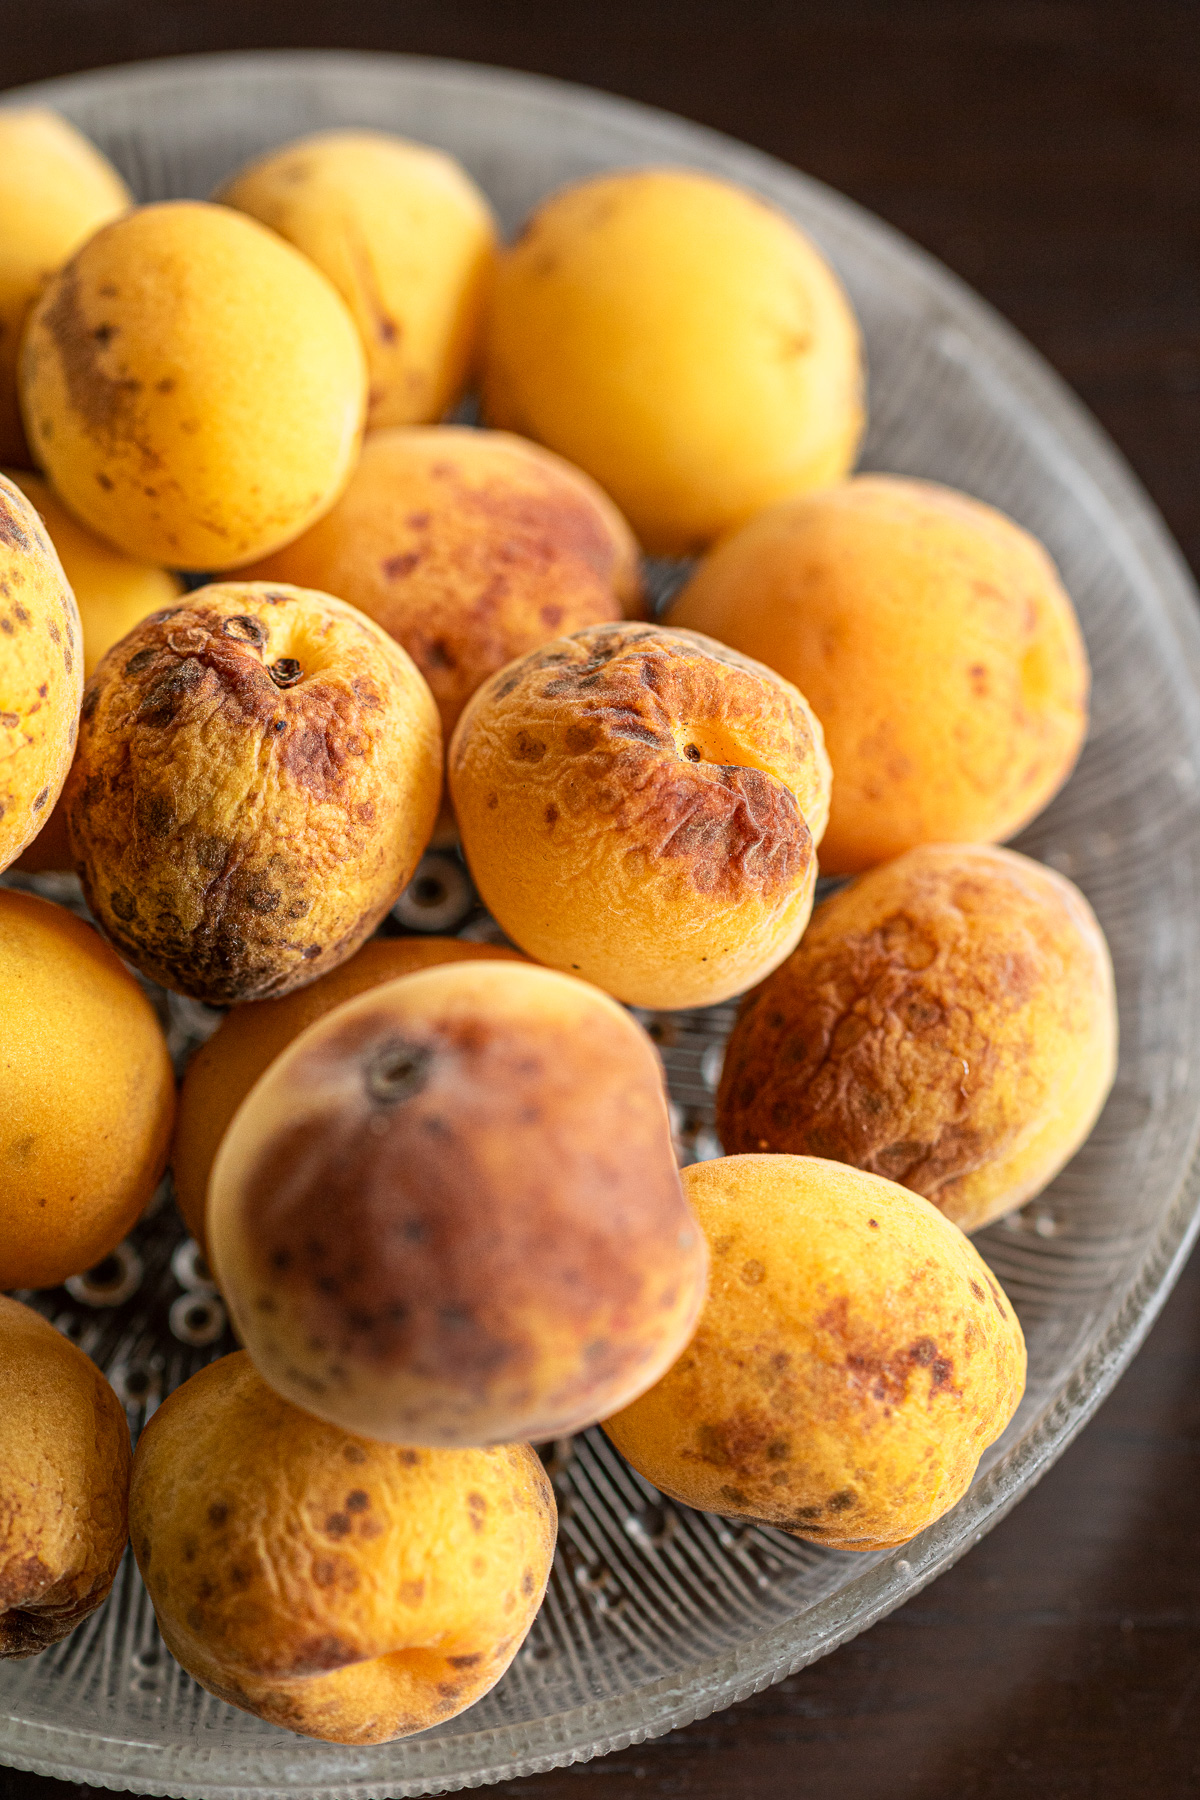
● Ripe Ume (Japanese Plums)
Fully ripe yellow ume are the key to this recipe. As they ripen, their aroma becomes sweeter and more fruity, creating a mellow, pulpy syrup.
I like to use bruised ripe ume that couldn't be used for umeboshi. The most important thing isn't how perfect the fruit looks, but how fully it has ripened. Make sure to use fully ripe ume for the best flavor.
● Sugar
Use any sugar you like. I used a blend of 3 parts white sugar to 1 part raw cane sugar. Use sugar equal to 70% of the prepared fruit's weight (after trimming away any damaged spots).
Exact quantities are in the recipe card at the bottom👇
🥣 Equipment
Ume is naturally acidic, so I recommend using enameled or glass cookware and containers whenever possible.
If you use metal tools such as a knife, simply wash them soon after use.
- Knife
- Toothpick or bamboo skewer (for removing the stem ends)
- Clean cloth or paper towels (for drying the ume)
- Enameled pot
- Silicone spatula or wooden spatula
- Glass or enameled storage container
📖 How to Make
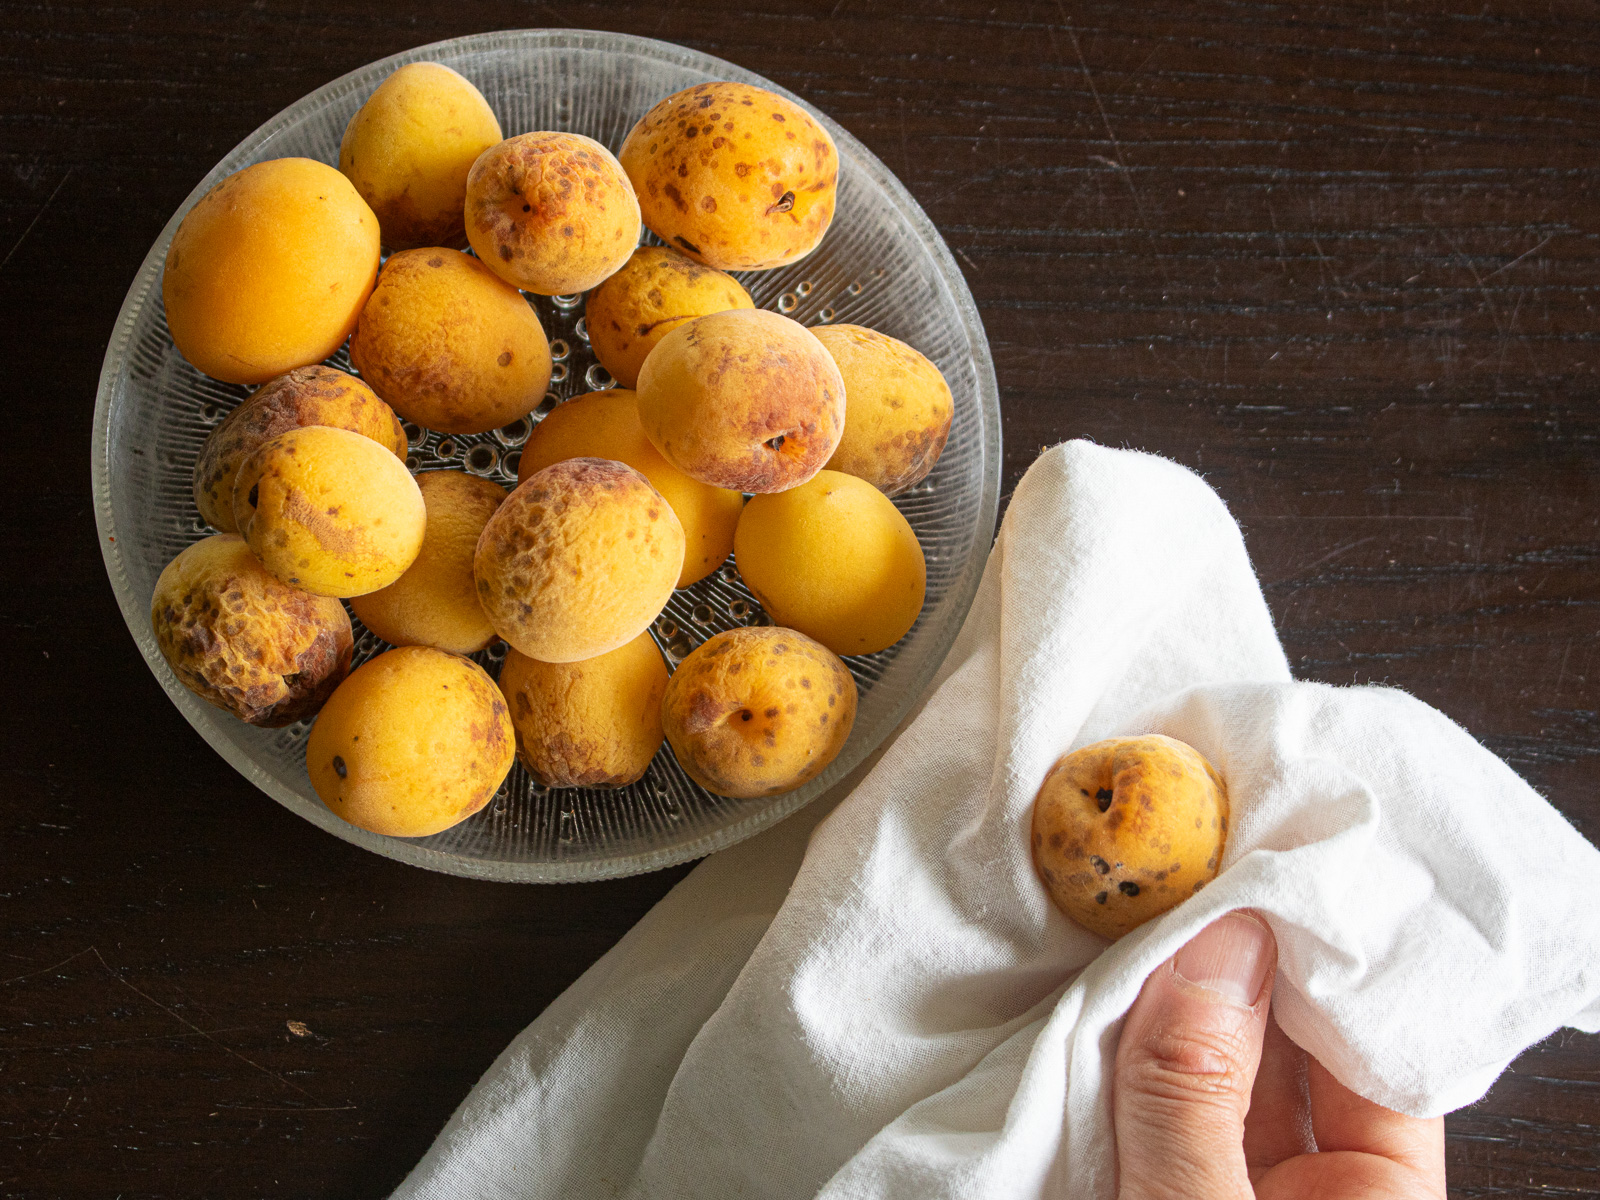
- Wash the ume
- Wash the ume thoroughly to remove any dirt from the surface.
- Drain well in a colander, then pat the ume completely dry with a clean cloth or paper towels.
- Prepare the ume
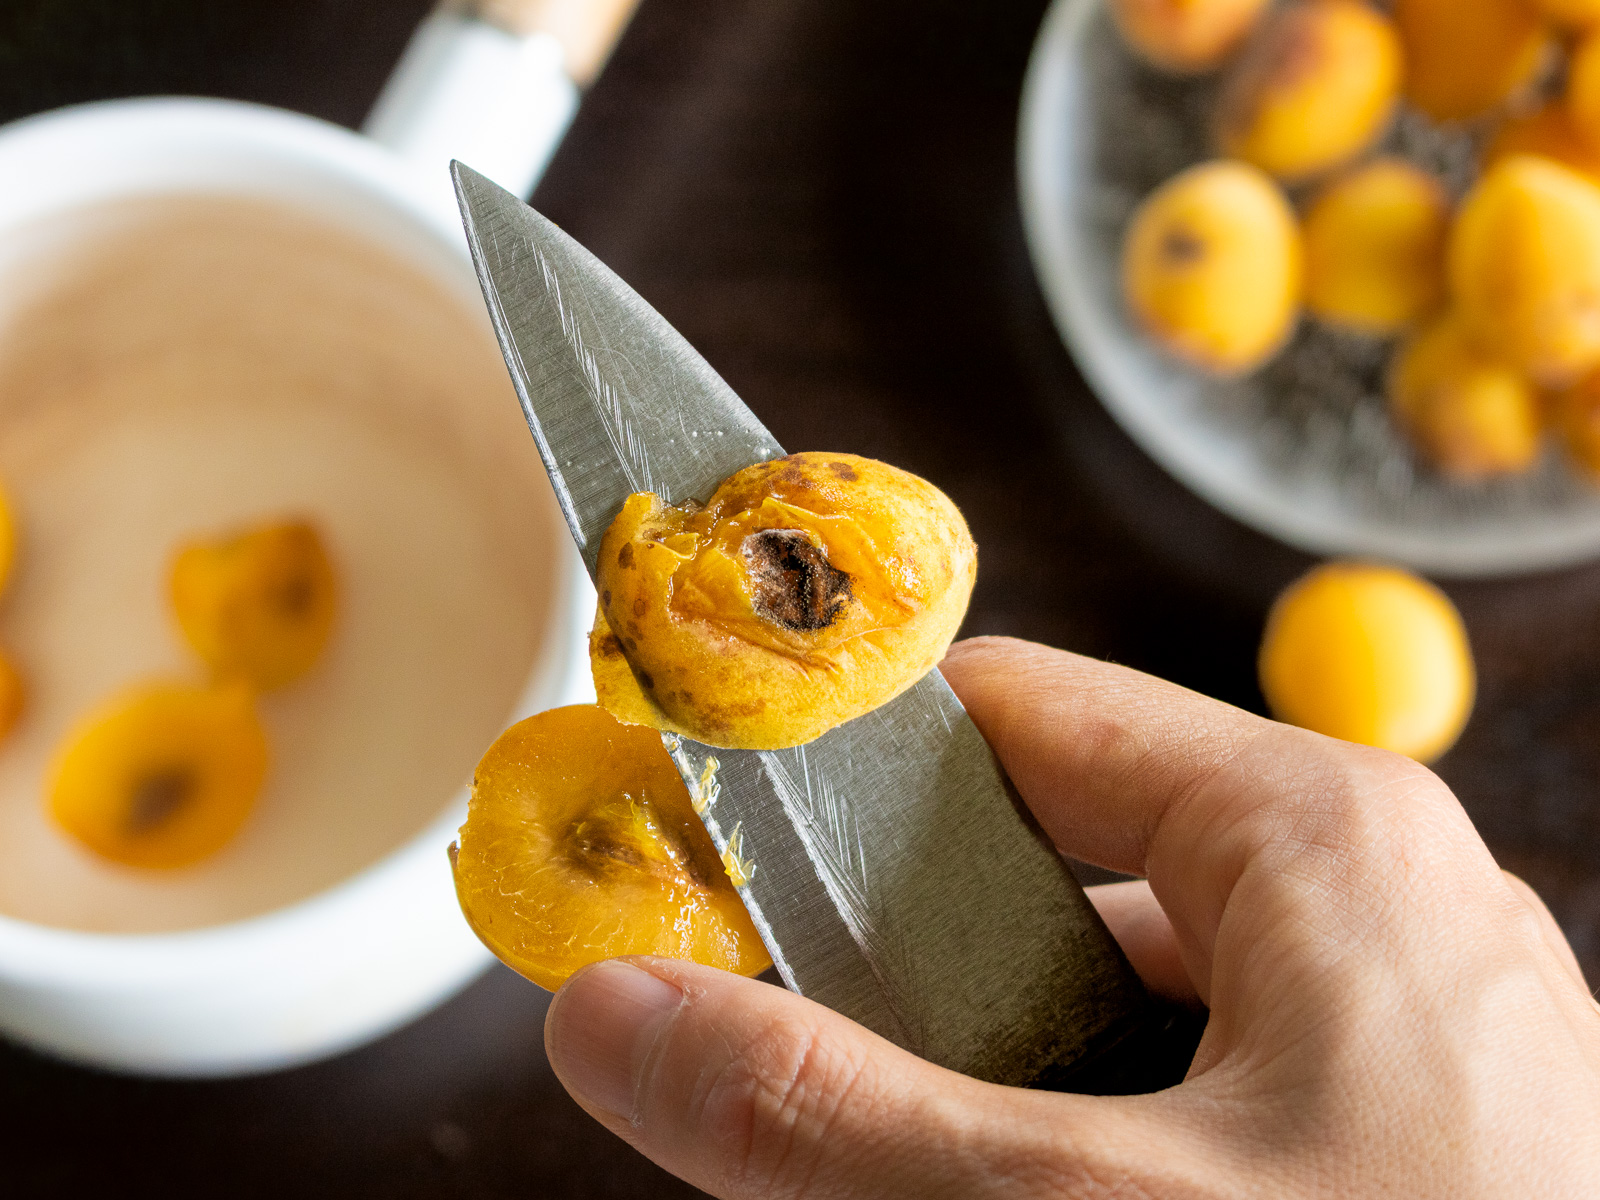
- Remove the stem ends with a toothpick or bamboo skewer.
- Carefully trim away any bruised or damaged spots with a knife.
- Coat with sugar
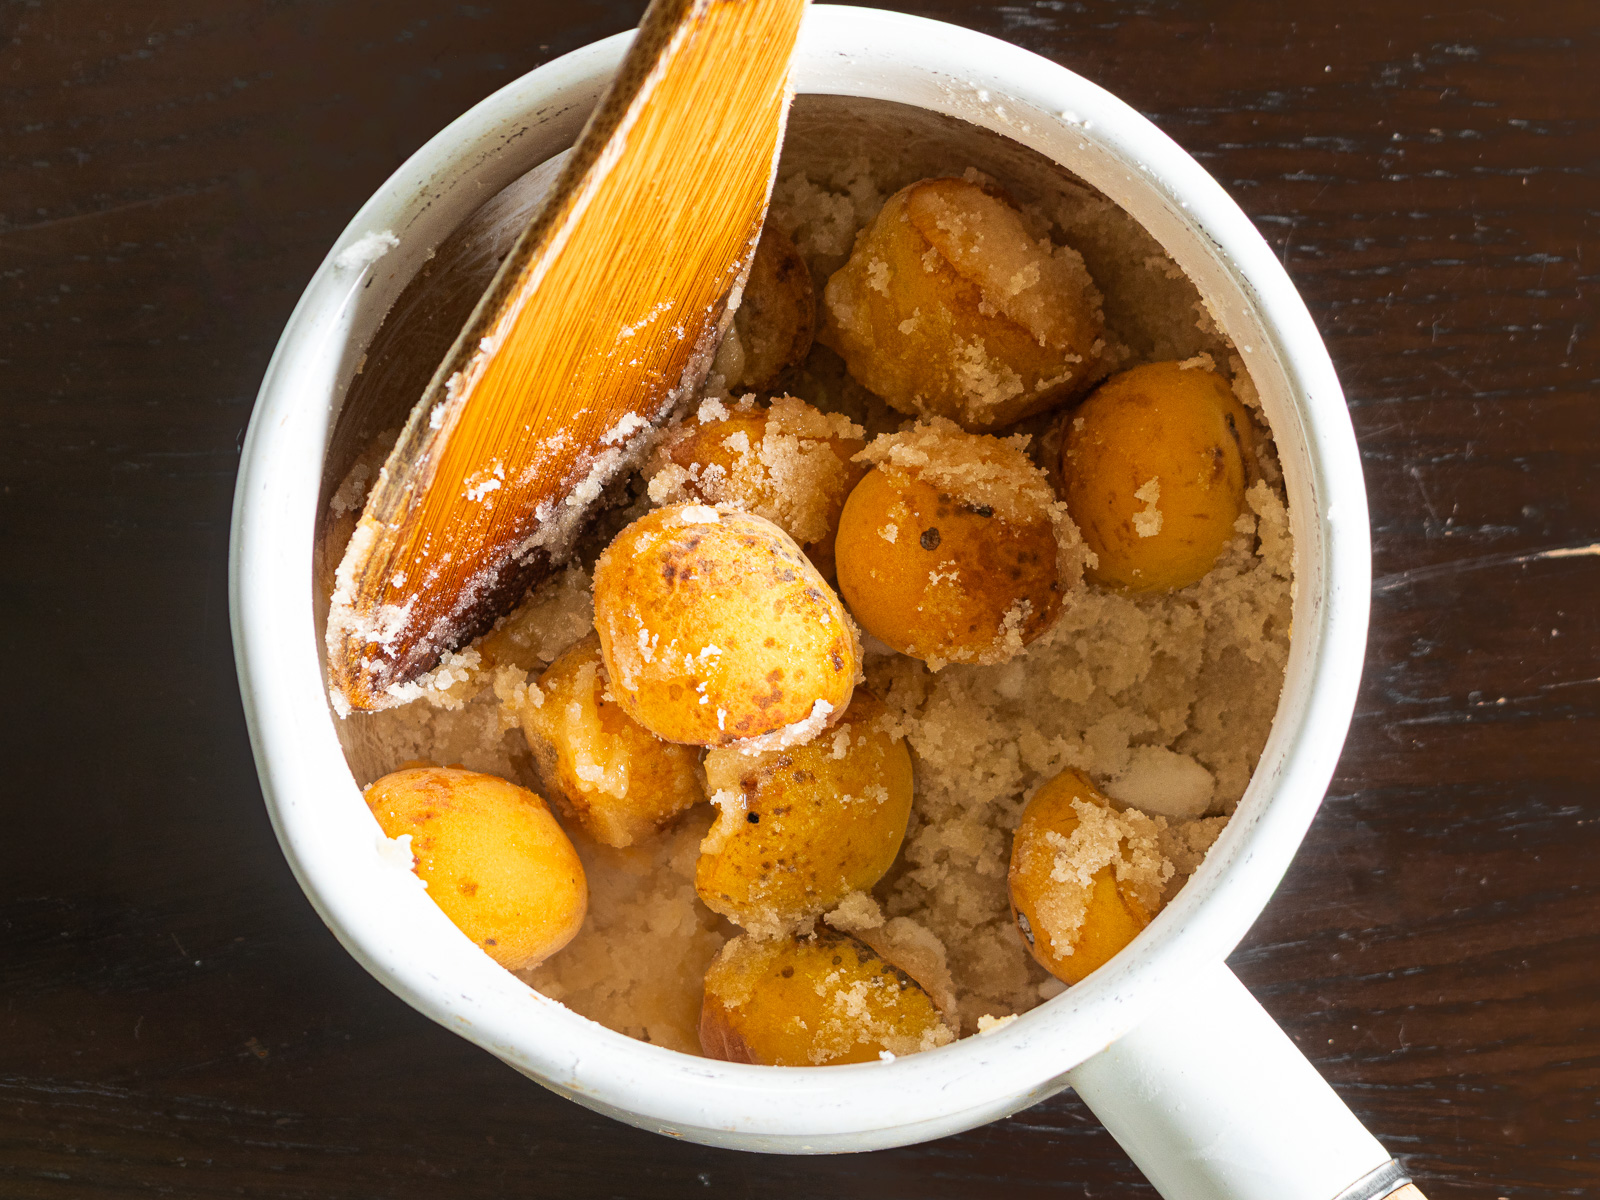
- Place the prepared ume in an enameled pot and weigh them.
- Add sugar equal to 70% of the fruit's weight, then toss well to coat.
- Let the ume sit for 15–30 minutes, until the sugar begins to dissolve.
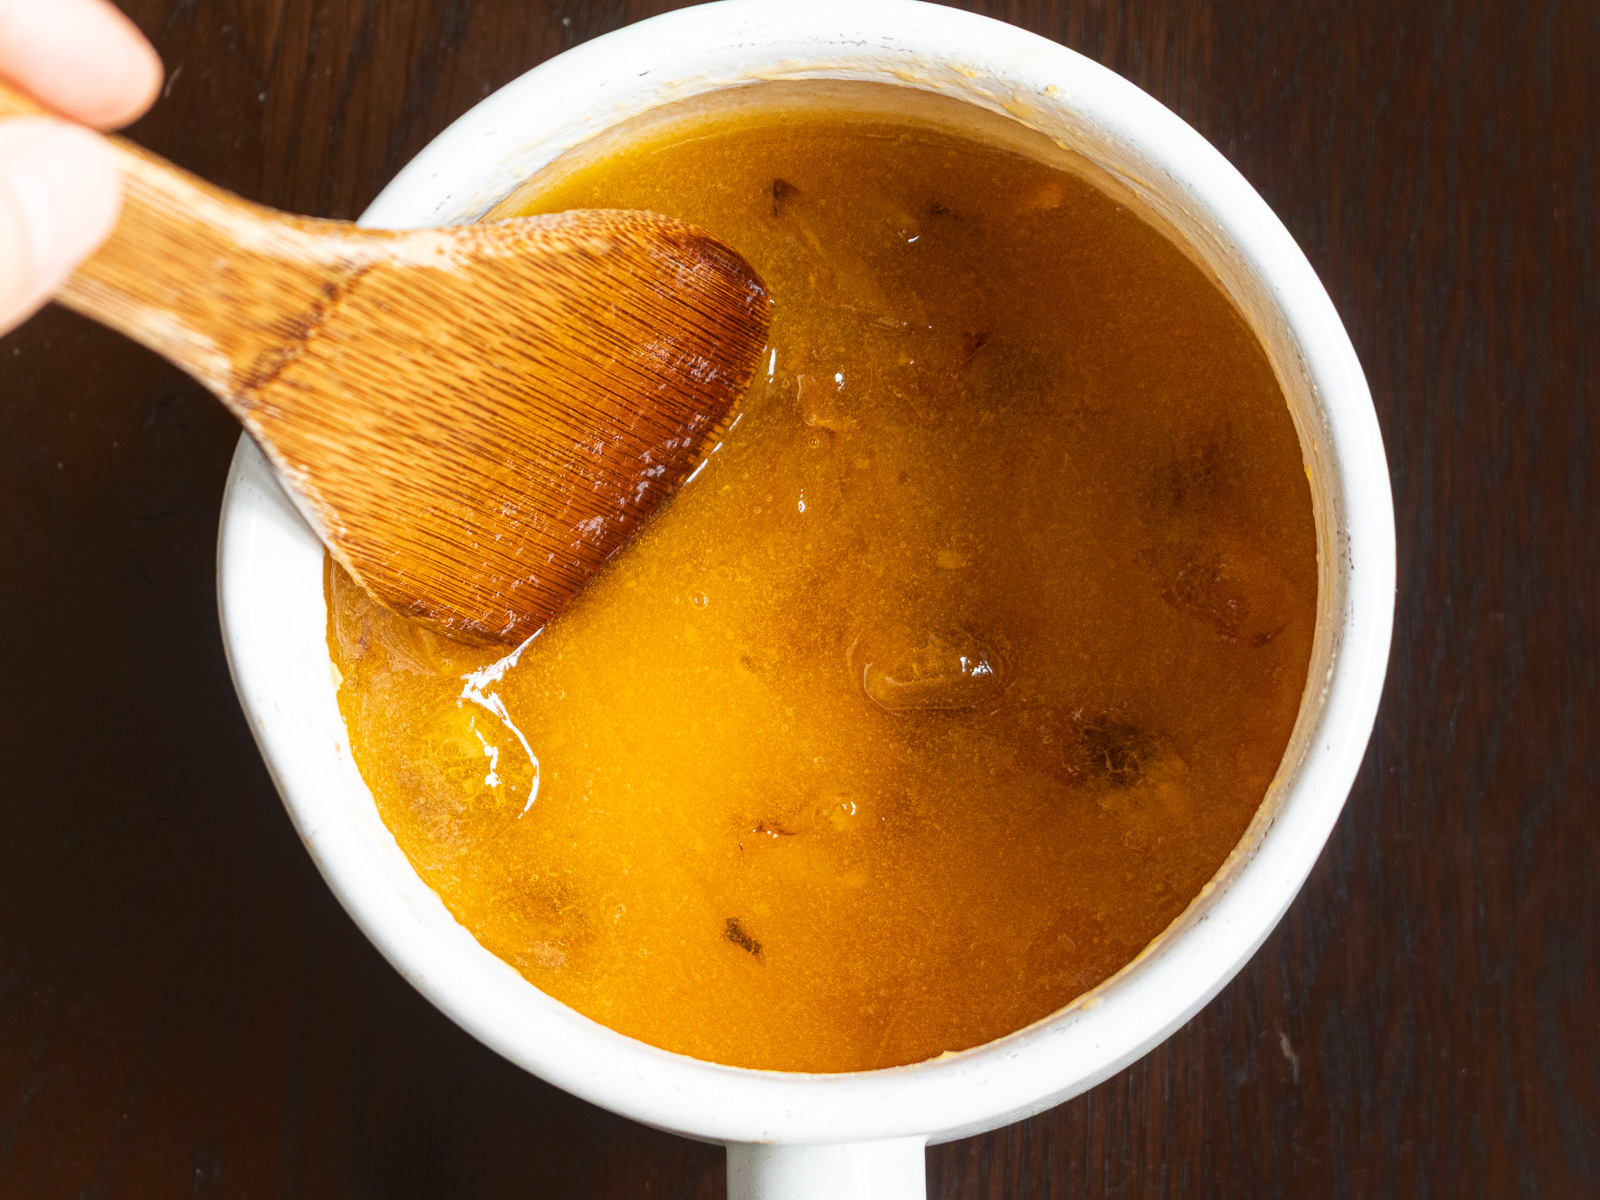
- Cook the syrup
- Place the pot over very low heat and stir continuously as the sugar melts.
- As the ume soften, gently mash them with a spatula.
🌿 Tip: Sugar can scorch easily, so keep the heat very low and stir continuously from the beginning.
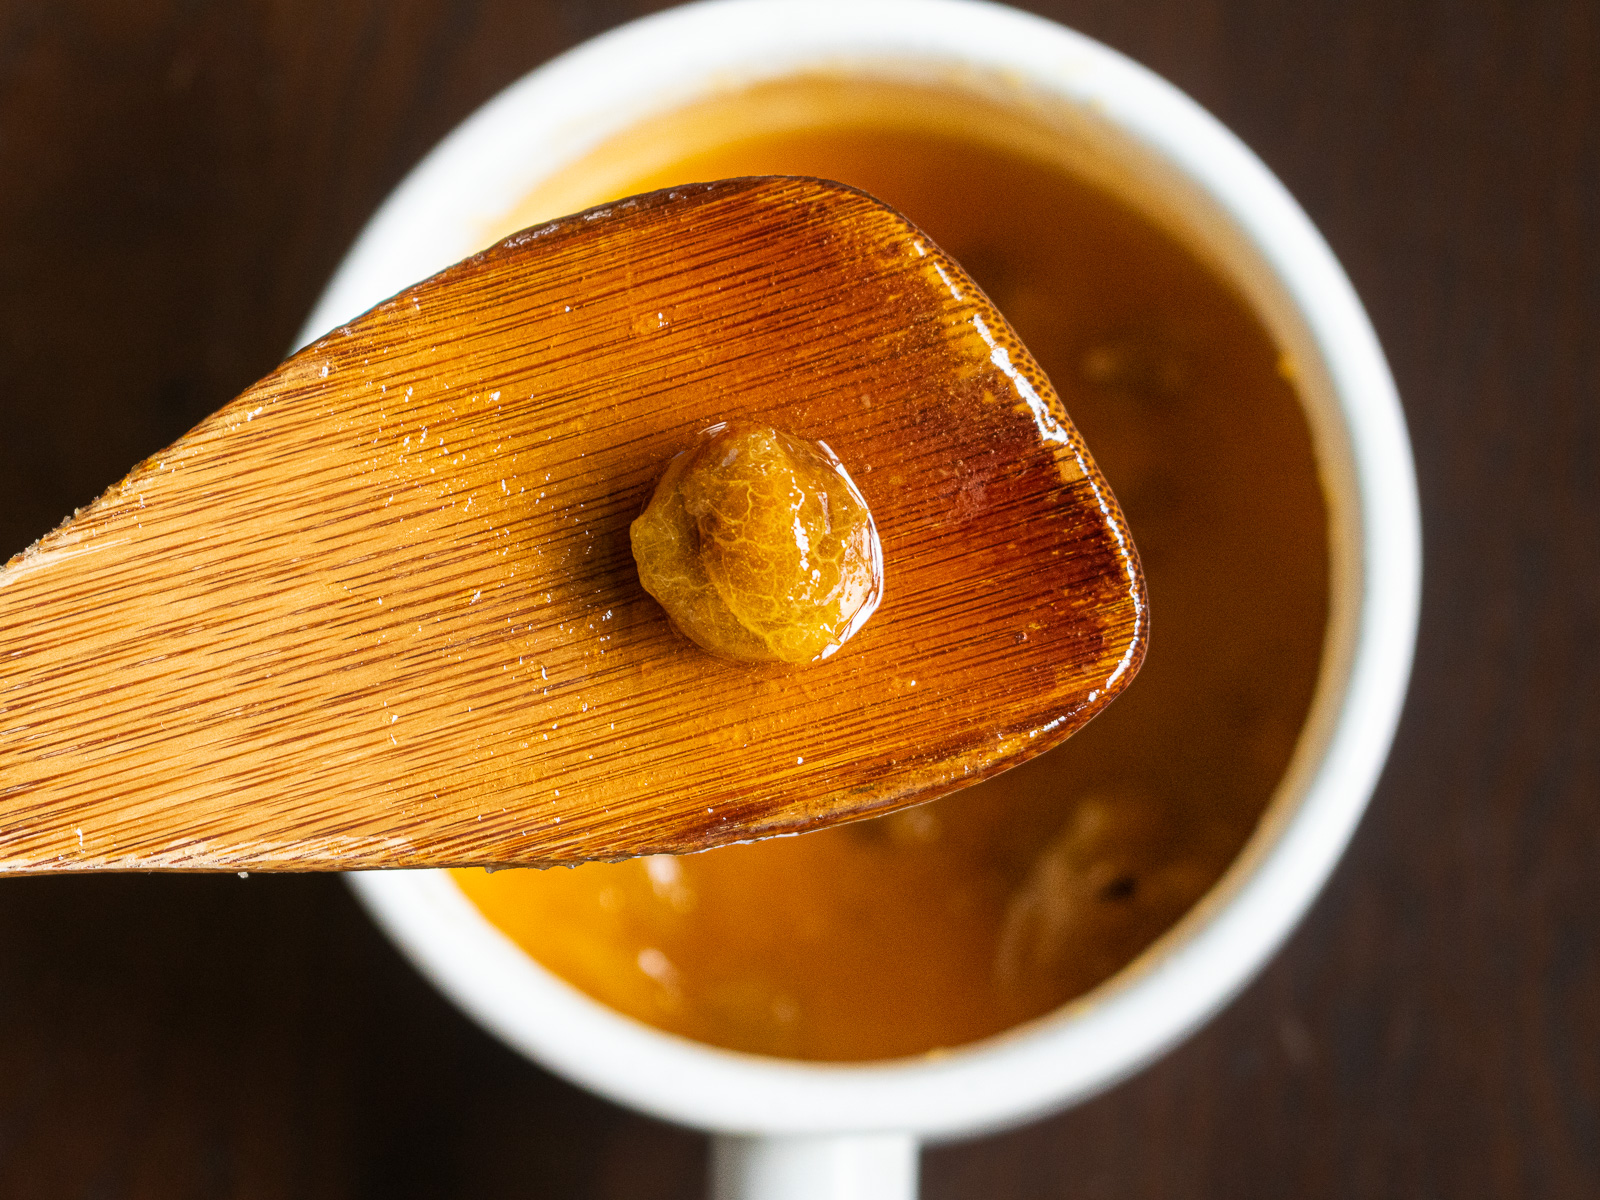
- Remove the pits
- Once the flesh has separated from the pits, remove the pot from the heat.
- When cool enough to handle, remove the pits.
🌿 Tip: If any flesh remains attached to the pits, scrape it off and stir it back into the syrup.
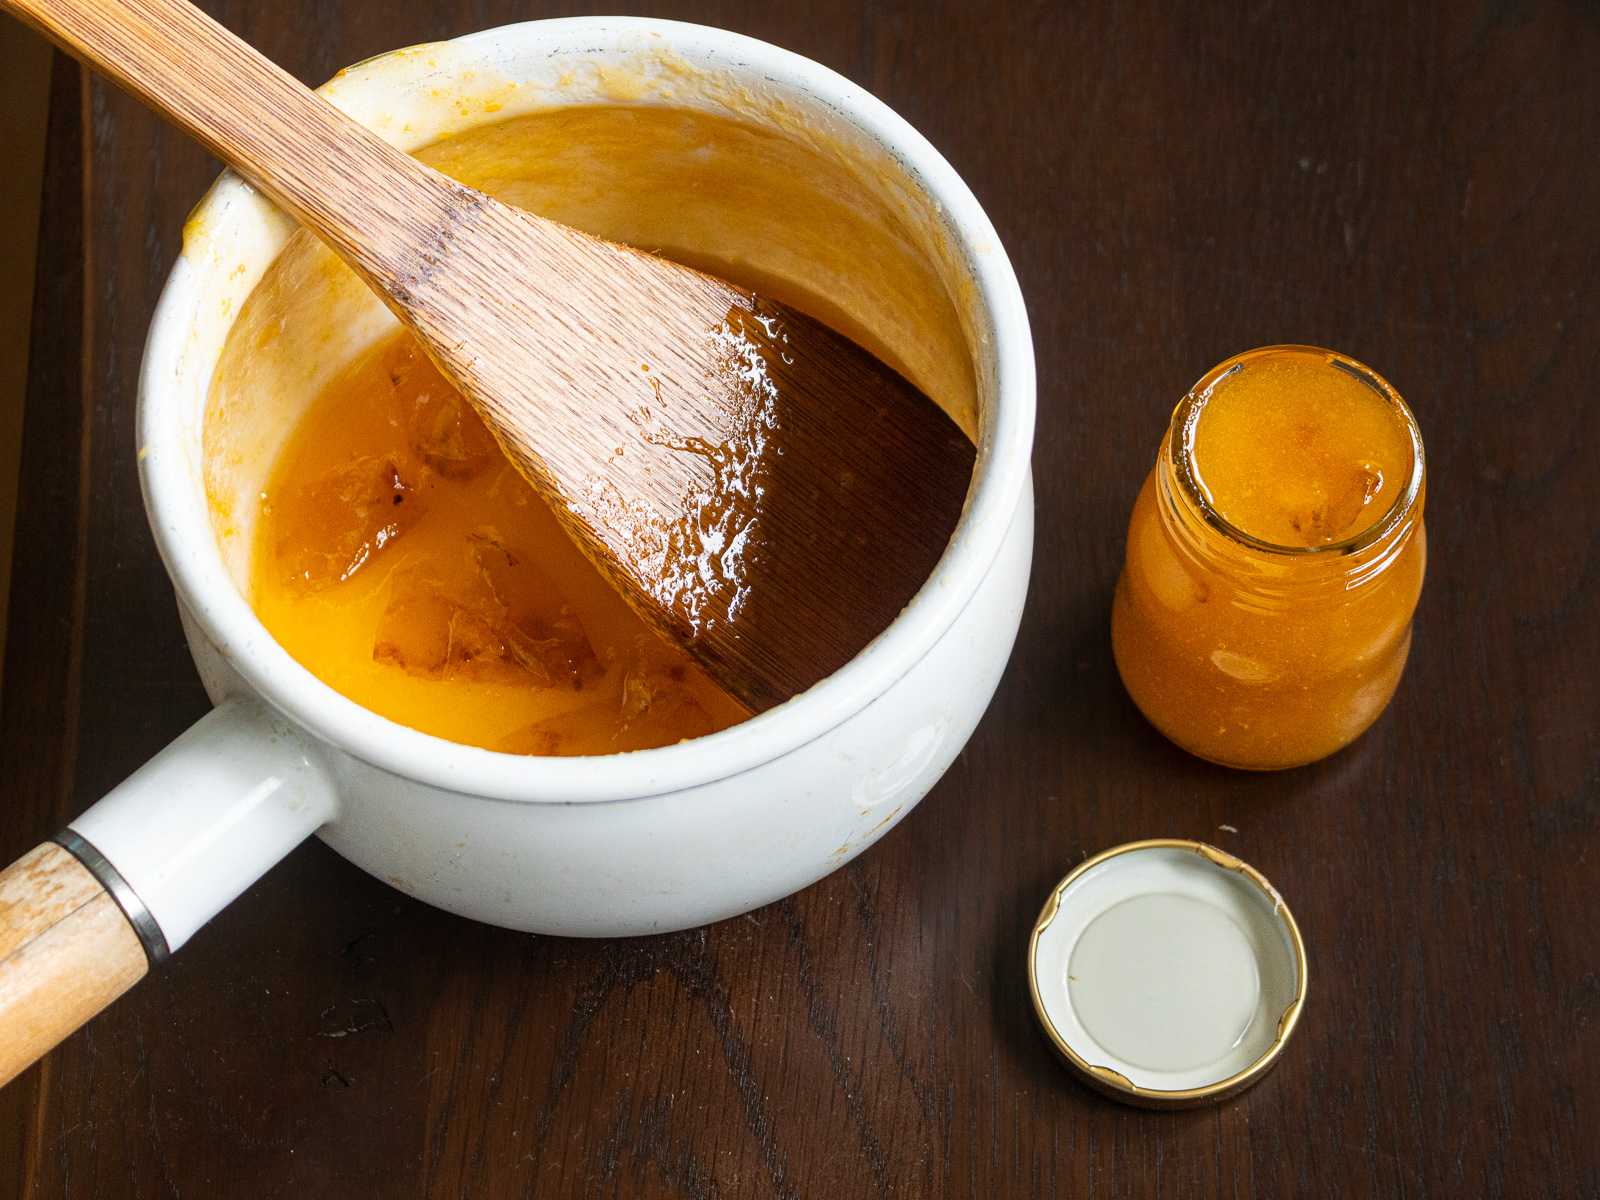
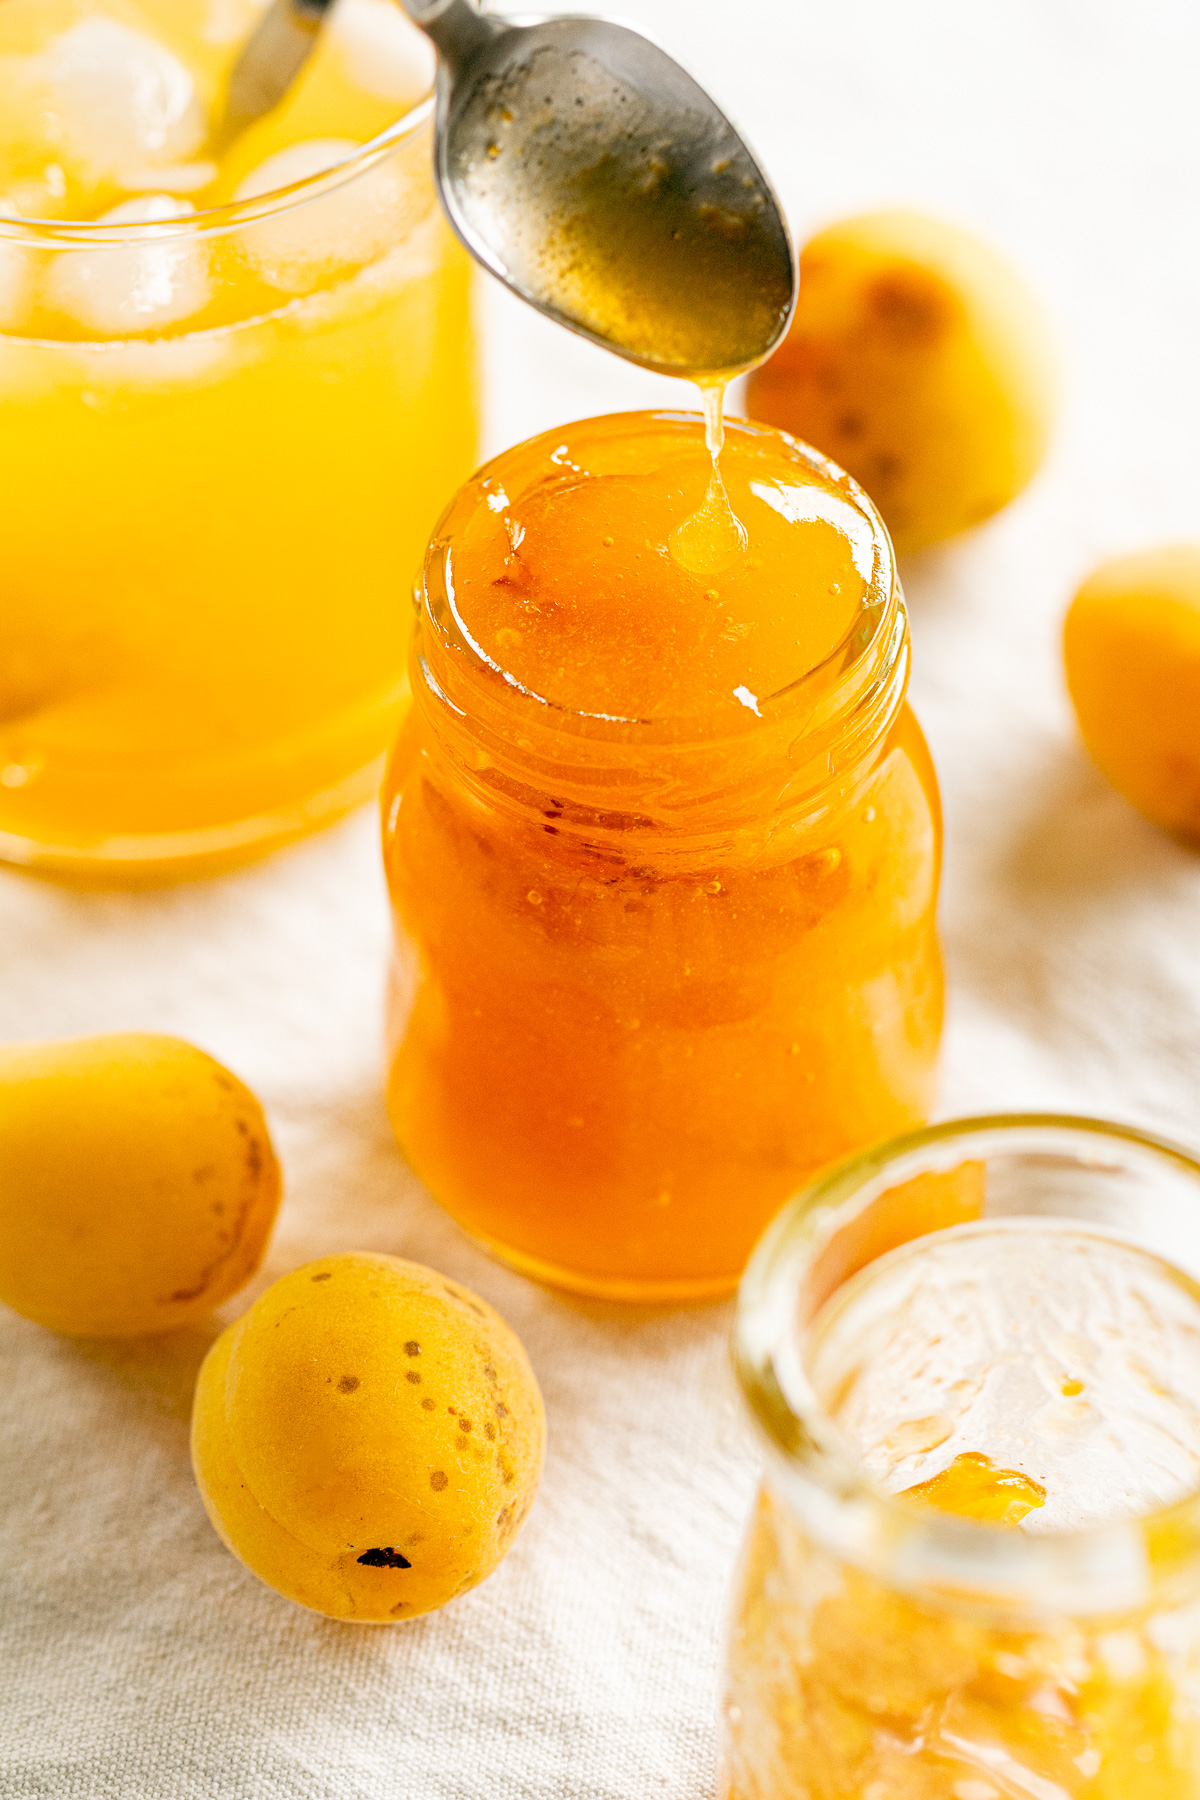
- Store
- Transfer the syrup to a clean storage container, cover, and refrigerate.
🫙 Storage
Store the syrup in a sealed glass or enameled container in the refrigerator.
To help keep the syrup fresh, always use a clean spoon when serving it.
This is the first year I've made this recipe, so I'm still seeing how well it keeps. For now, I plan to enjoy it within about a month.
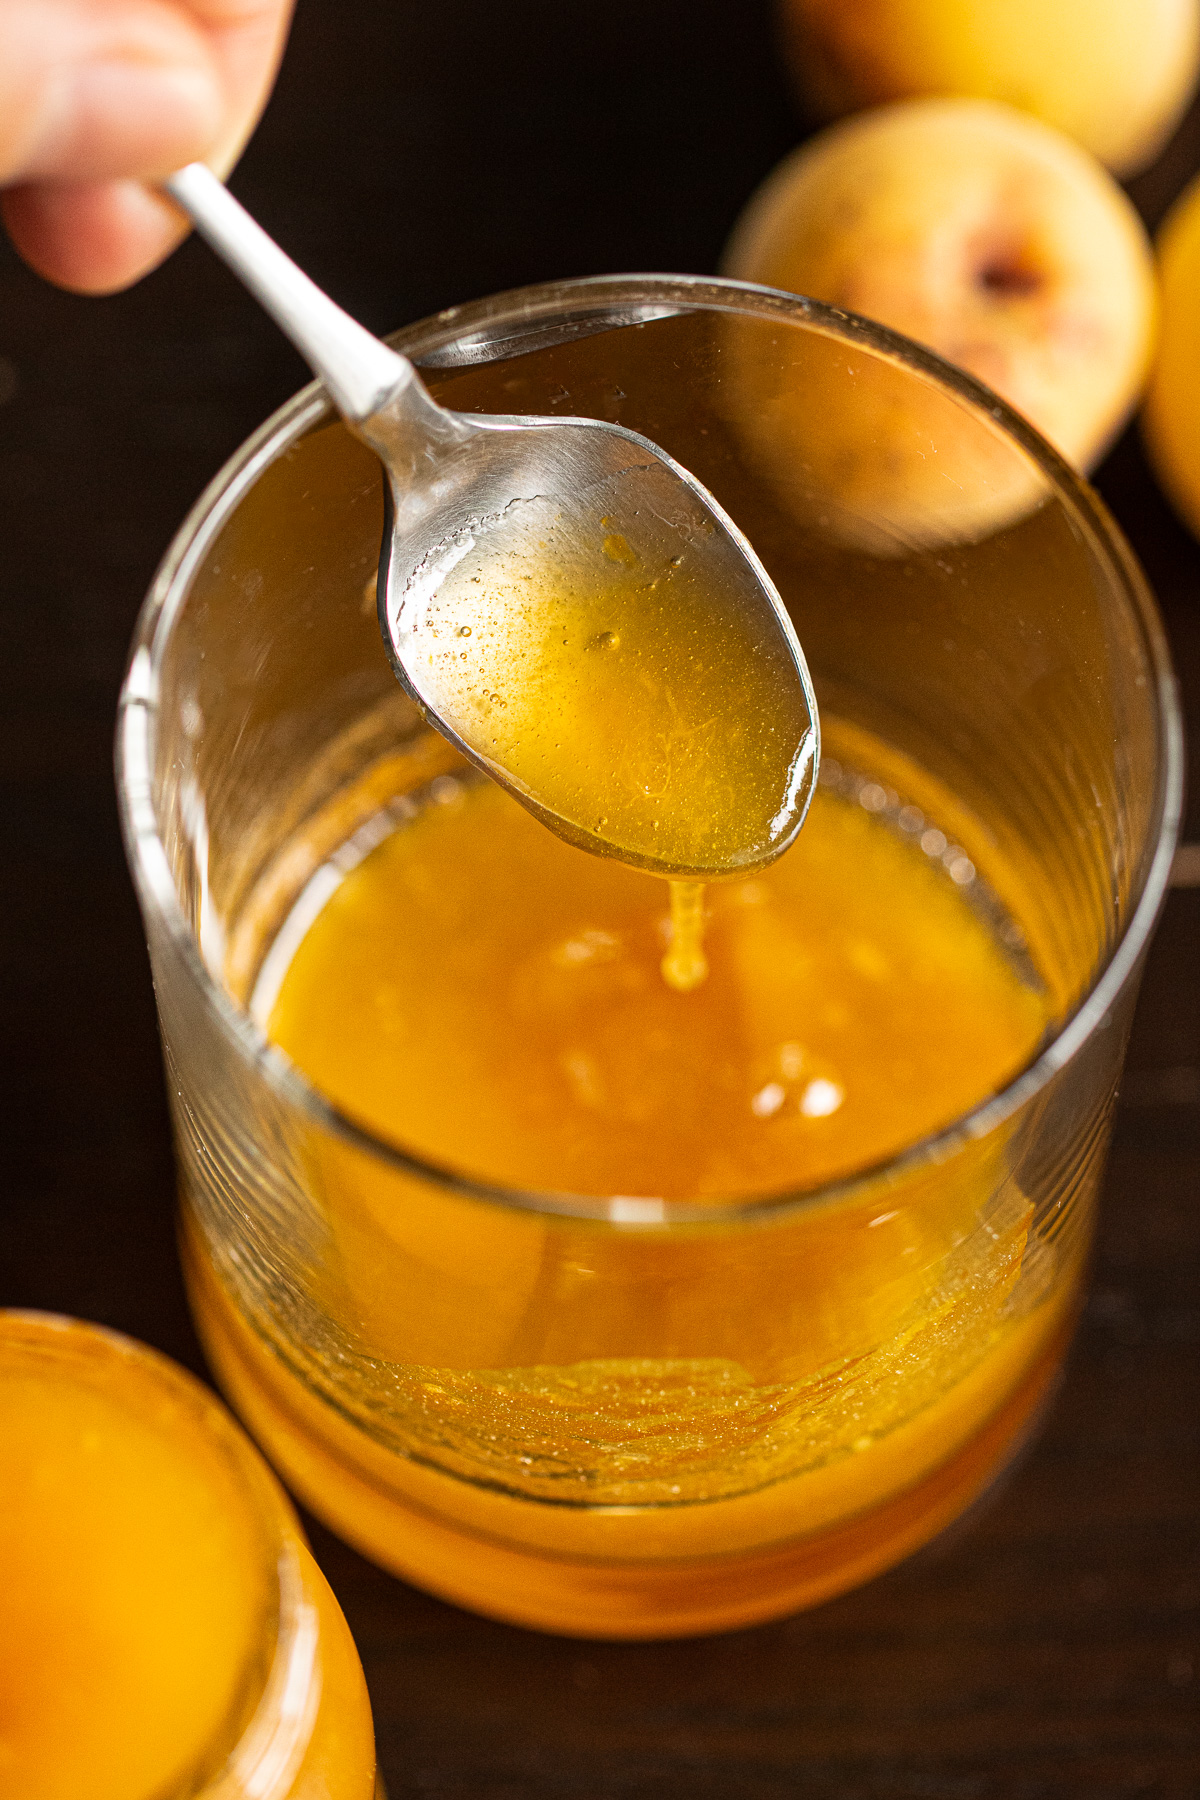
🥂 How to Enjoy
Enjoy it mixed with cold water, hot water, or sparkling water.
I usually start with about 3 tablespoons of syrup in a large glass, then add ice and cold water to taste.
It's also delicious drizzled over yogurt or cereal.
📚 FAQ
No. This recipe is specifically designed for ripe ume.
Green ume contain more bitterness and astringency, so following the same method won't produce the same result.
Yes. You can use any sugar you like.
White sugar works perfectly well on its own, but I like to mix in a little raw cane sugar for a slightly deeper flavor and color.
If you'd like to preserve the bright yellow color of the ripe ume, I recommend using only white sugar.
🍑 More Ripe Ume Recipes
Preserve the short ume season with these recipes made using ripe Japanese plums:
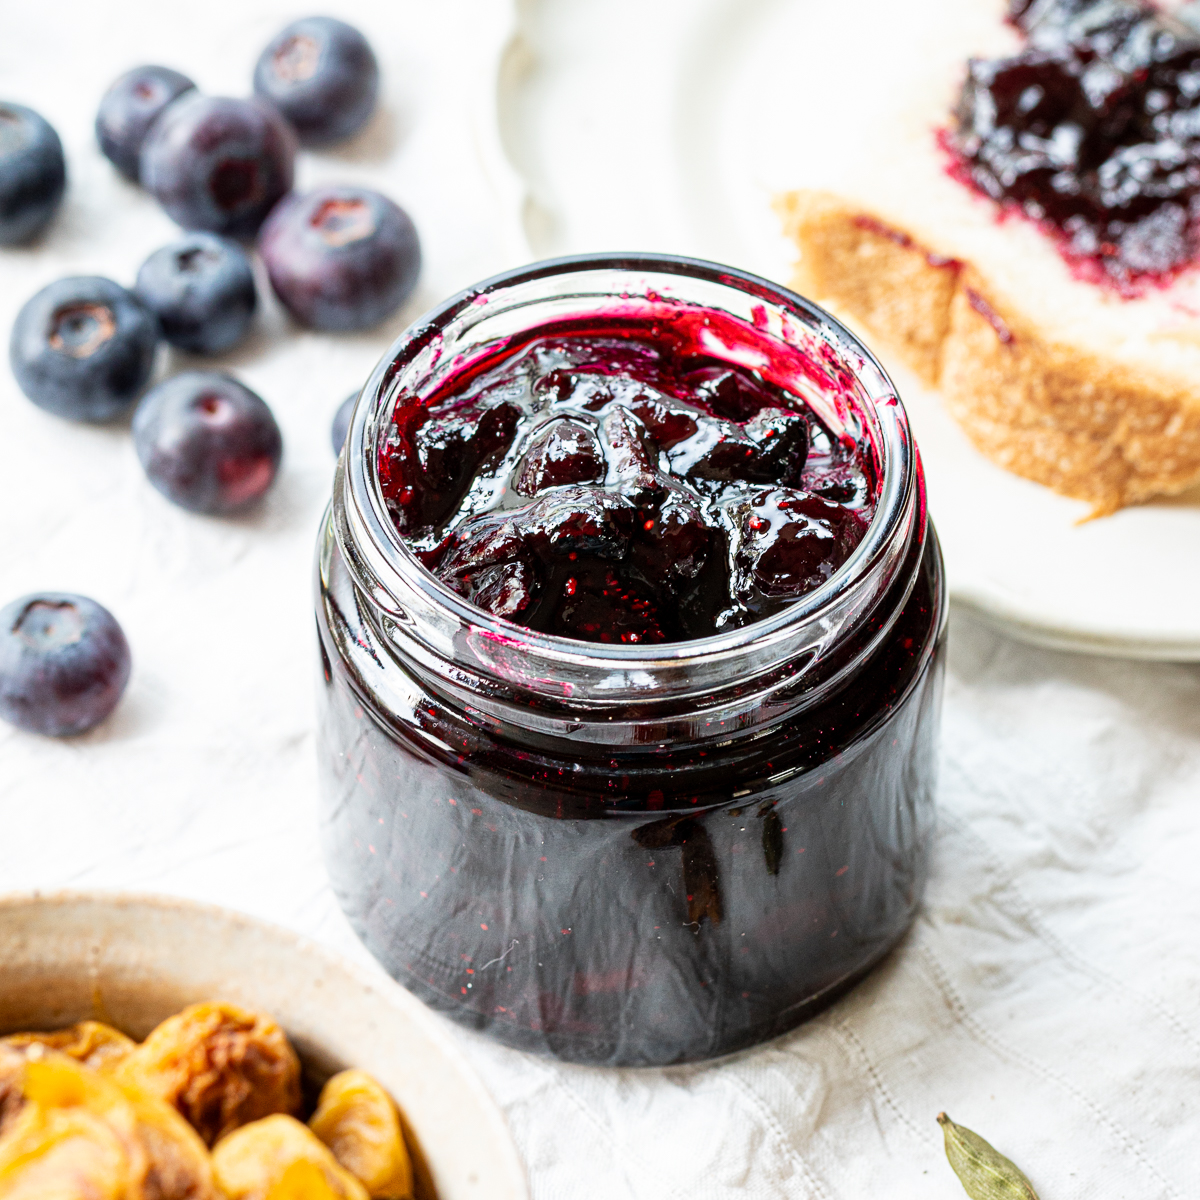
🍃 Seasonal Jam Recipes
Homemade jam recipes made with seasonal fruit:
🥄 More Preserving Recipes
More homemade preserves to enjoy during ume season:
✏️ Recipe Card
Ripe Ume Syrup (Homemade Ume Nectar)
Equipment
- Clean cloth or paper towels
- Knife
- Toothpick or bamboo skewer
- Enameled pot
- Spatula
- Glass or enameled storage container
Ingredients
- ripe ume plums (Japanese plums, use as many as you have)
- sugar (70% of the prepared ume's weight)
Instructions
- Wash the ripe ume thoroughly to remove any dirt.ripe ume plums
- Drain well and pat completely dry.
- Remove the stem ends with a toothpick or bamboo skewer, then trim away any bruised or damaged spots.
- Weigh the prepared ume in an enameled pot. Add sugar equal to 70% of the fruit's weight and toss well. Let stand for 15–30 minutes until the sugar begins to dissolve.sugar
- Cook over very low heat, stirring constantly. As the fruit softens, gently mash the ume with a spatula.
- Once the flesh has separated from the pits, remove from the heat. When cool enough to handle, remove the pits.
- Transfer to a clean storage container, cover, and refrigerate.
- To serve, mix with cold water, hot water, or sparkling water.

If this recipe made its way into your kitchen, and you'd like to share that moment, feel free to tag @veginveganvegun or use #vegin_vegan_vegun.
Your quiet stories inspire me deeply 🕊️

Comments
No Comments