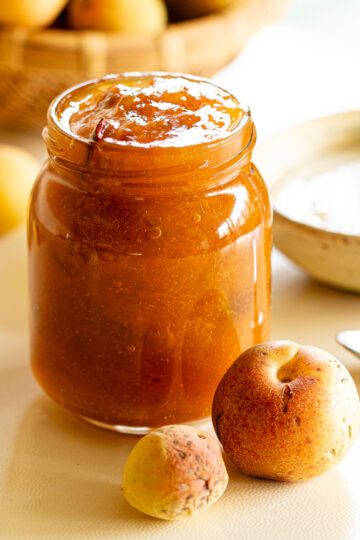
A traditional homemade umeboshi recipe made with just three ingredients — ripe ume plums, coarse salt, and shochu or ume plum vinegar.
With 15–18% salt, no refrigerator is needed for either pickling or storage.
Made without red shiso, for a soft, natural color all their own.
Jump to:
🌸 What is Umeboshi?
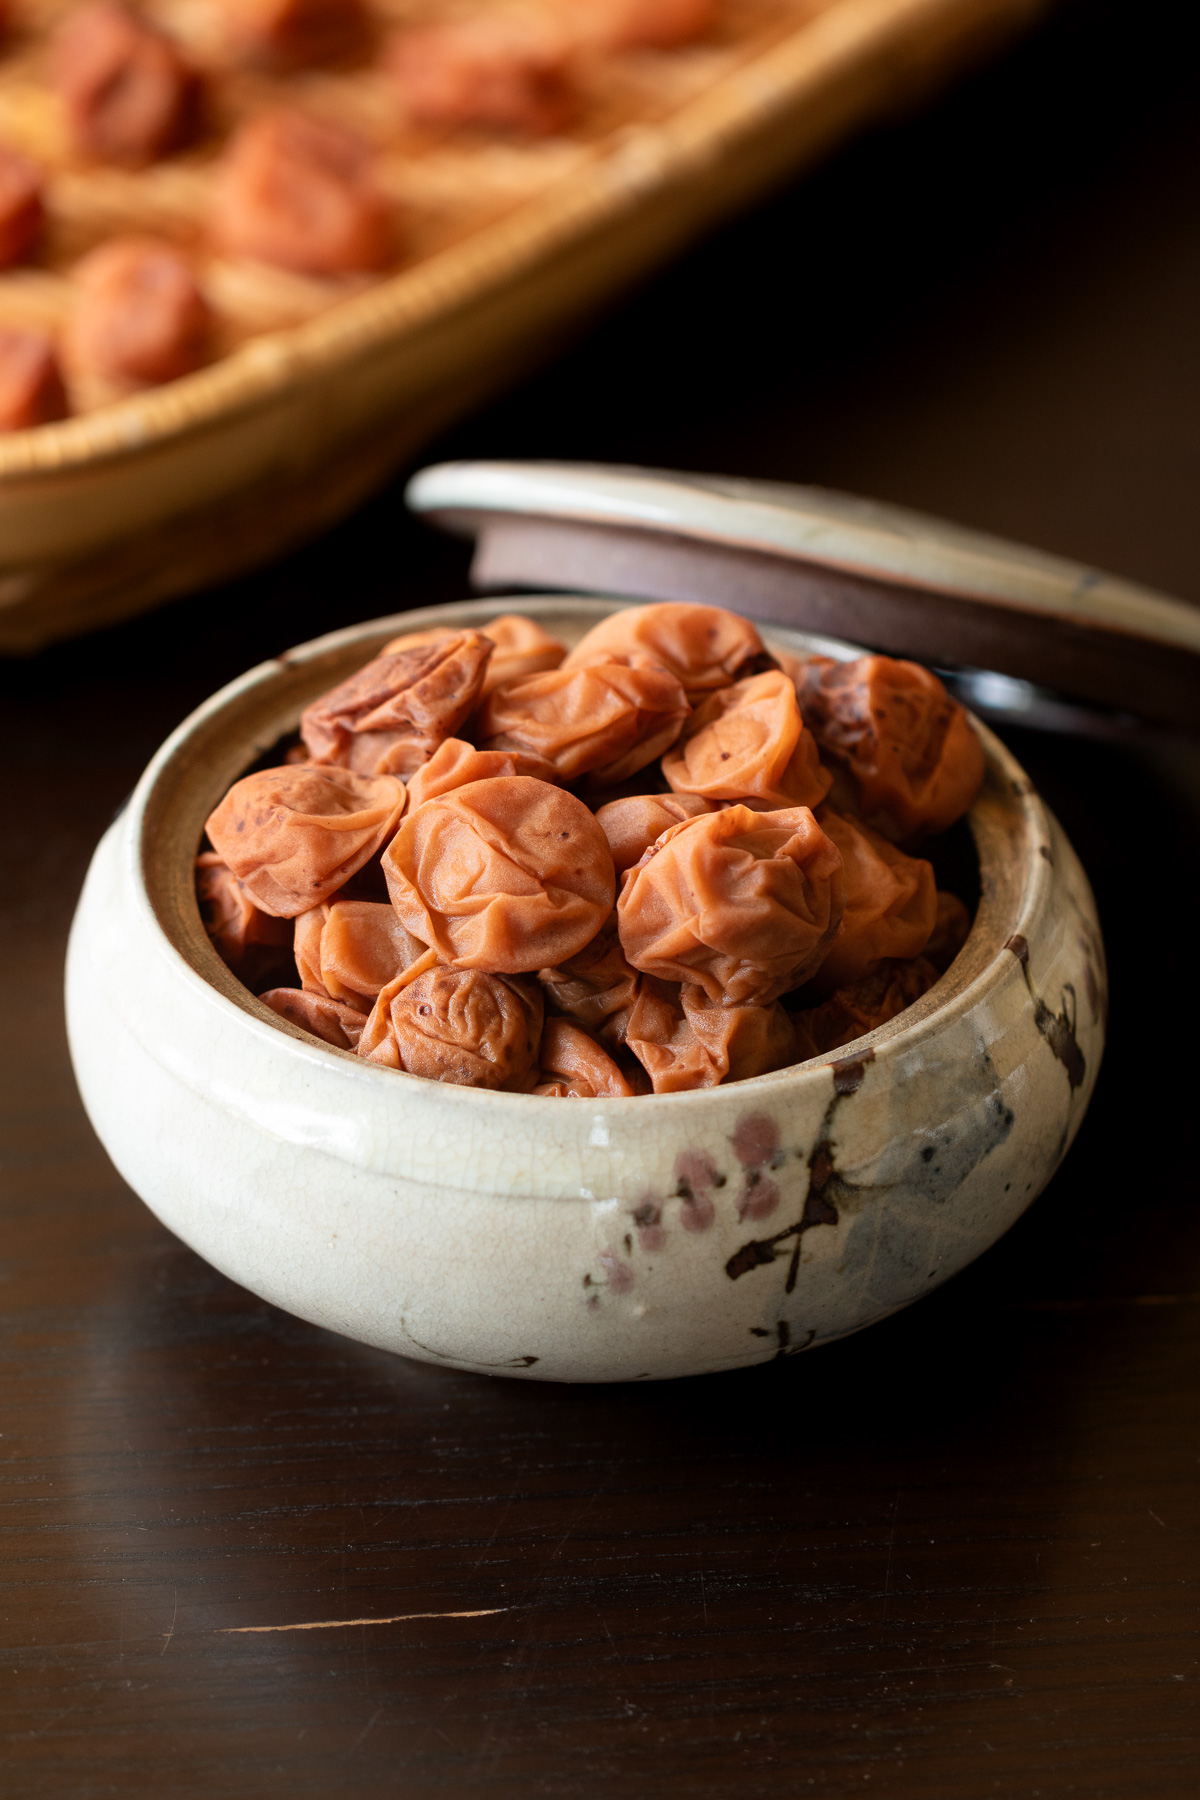
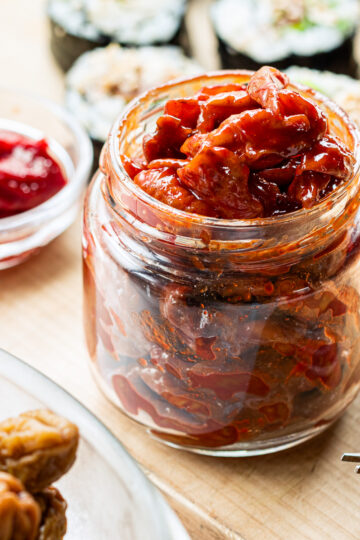
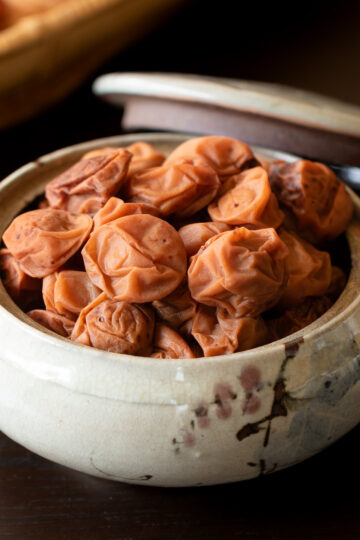
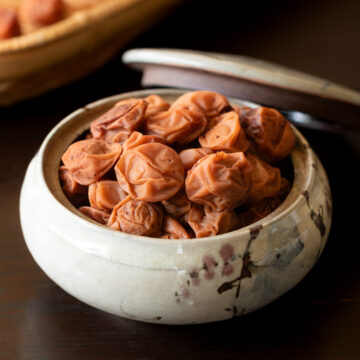
Umeboshi are traditional Japanese pickled plums — small, intensely sour, and salty, with a flavor unlike anything else. Despite being called "plums" in English, the fruit (ume) is botanically closer to an apricot, with a firmer flesh and a sharper acidity.
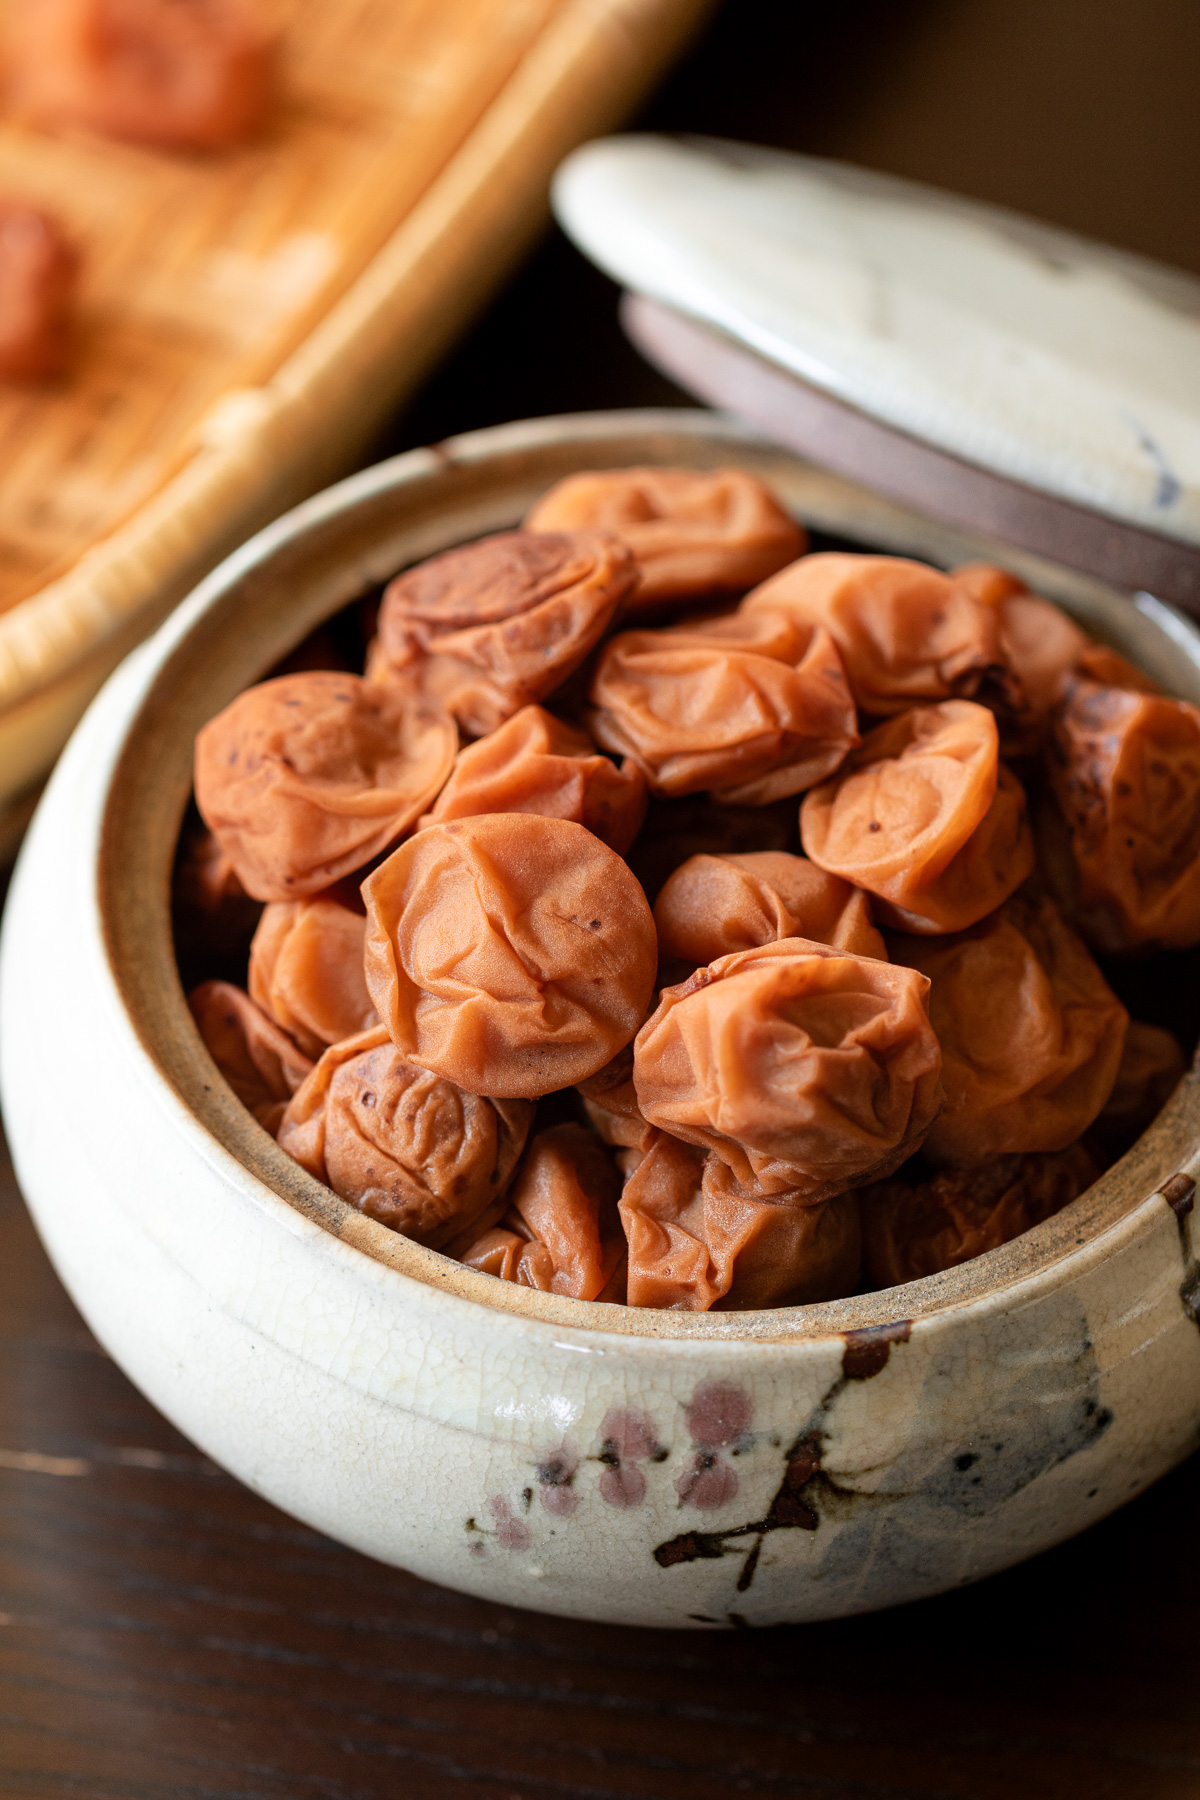
To make umeboshi, the ripe ume fruit is packed in salt and left to pickle for several weeks, then dried in the sun for three days. The result is a wrinkled, concentrated little fruit that keeps for years — even decades — at room temperature.
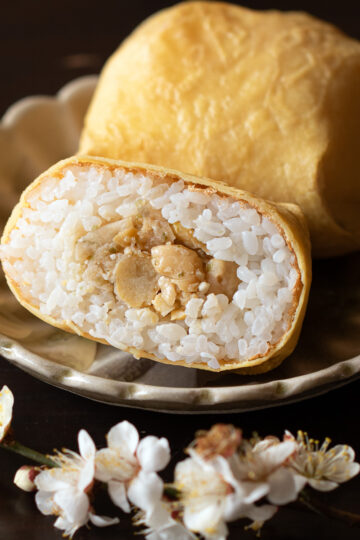
In Japan, umeboshi are everyday food. A single one tucked into a bowl of rice or an onigiri (rice ball) is enough to make a meal. They also appear in ochazuke, salad dressings, and sauces, and have long been a staple of Japanese home remedies — thought to aid digestion and help prevent spoilage.
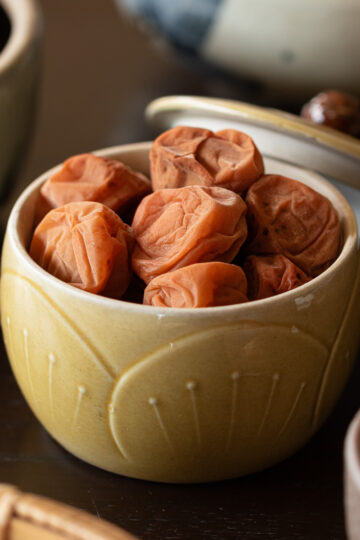
This recipe skips the red shiso, so the finished plums keep their natural color — soft pink to pale gold, rather than the deep red most people picture.

🌿 What Makes This Recipe Special
A traditional homemade umeboshi recipe made with just three ingredients: ripe ume plums, salt, and shochu. No red shiso, no shortcuts.
- 15–18% salt — enough for stable, long-term storage
- No refrigerator needed — pickling and storage are both at room temperature
- Natural color — without red shiso, the finished plums are soft pink to pale gold
- Naturally vegan — no honey, no fish sauce, nothing added
🍑 Ingredients & Tools
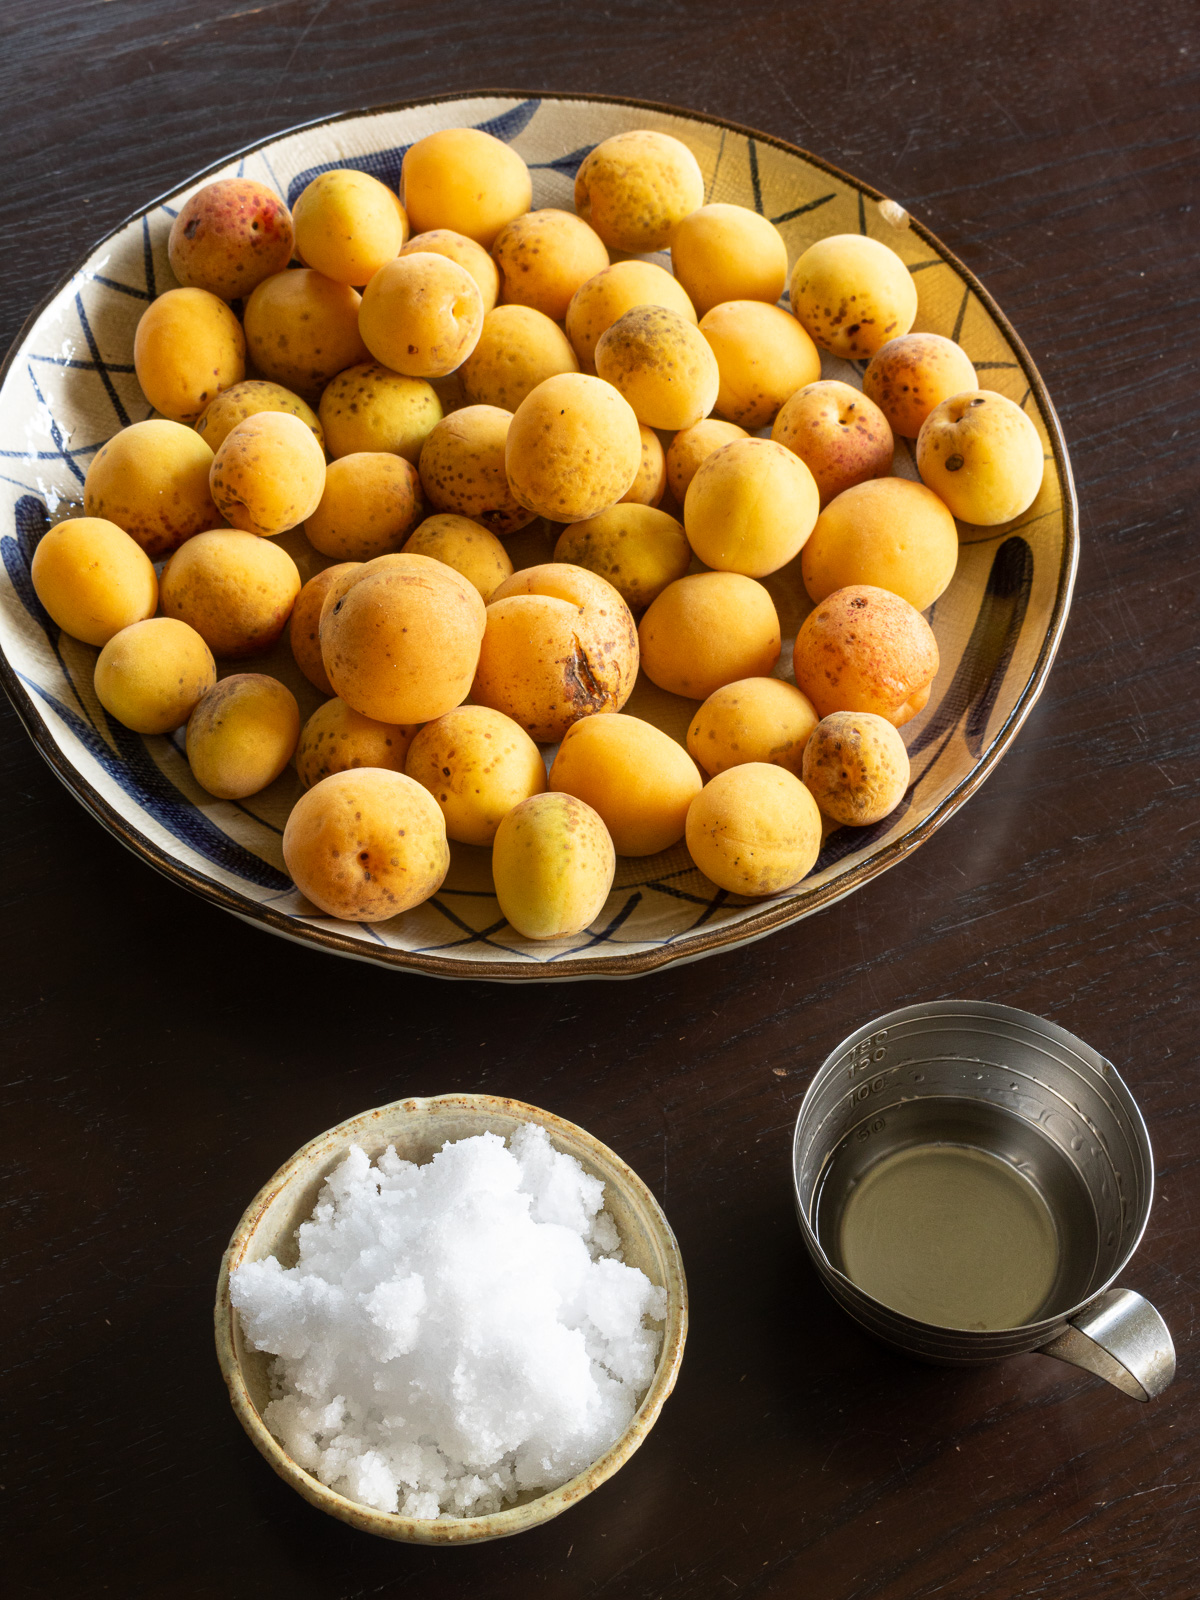
▶ Ingredients
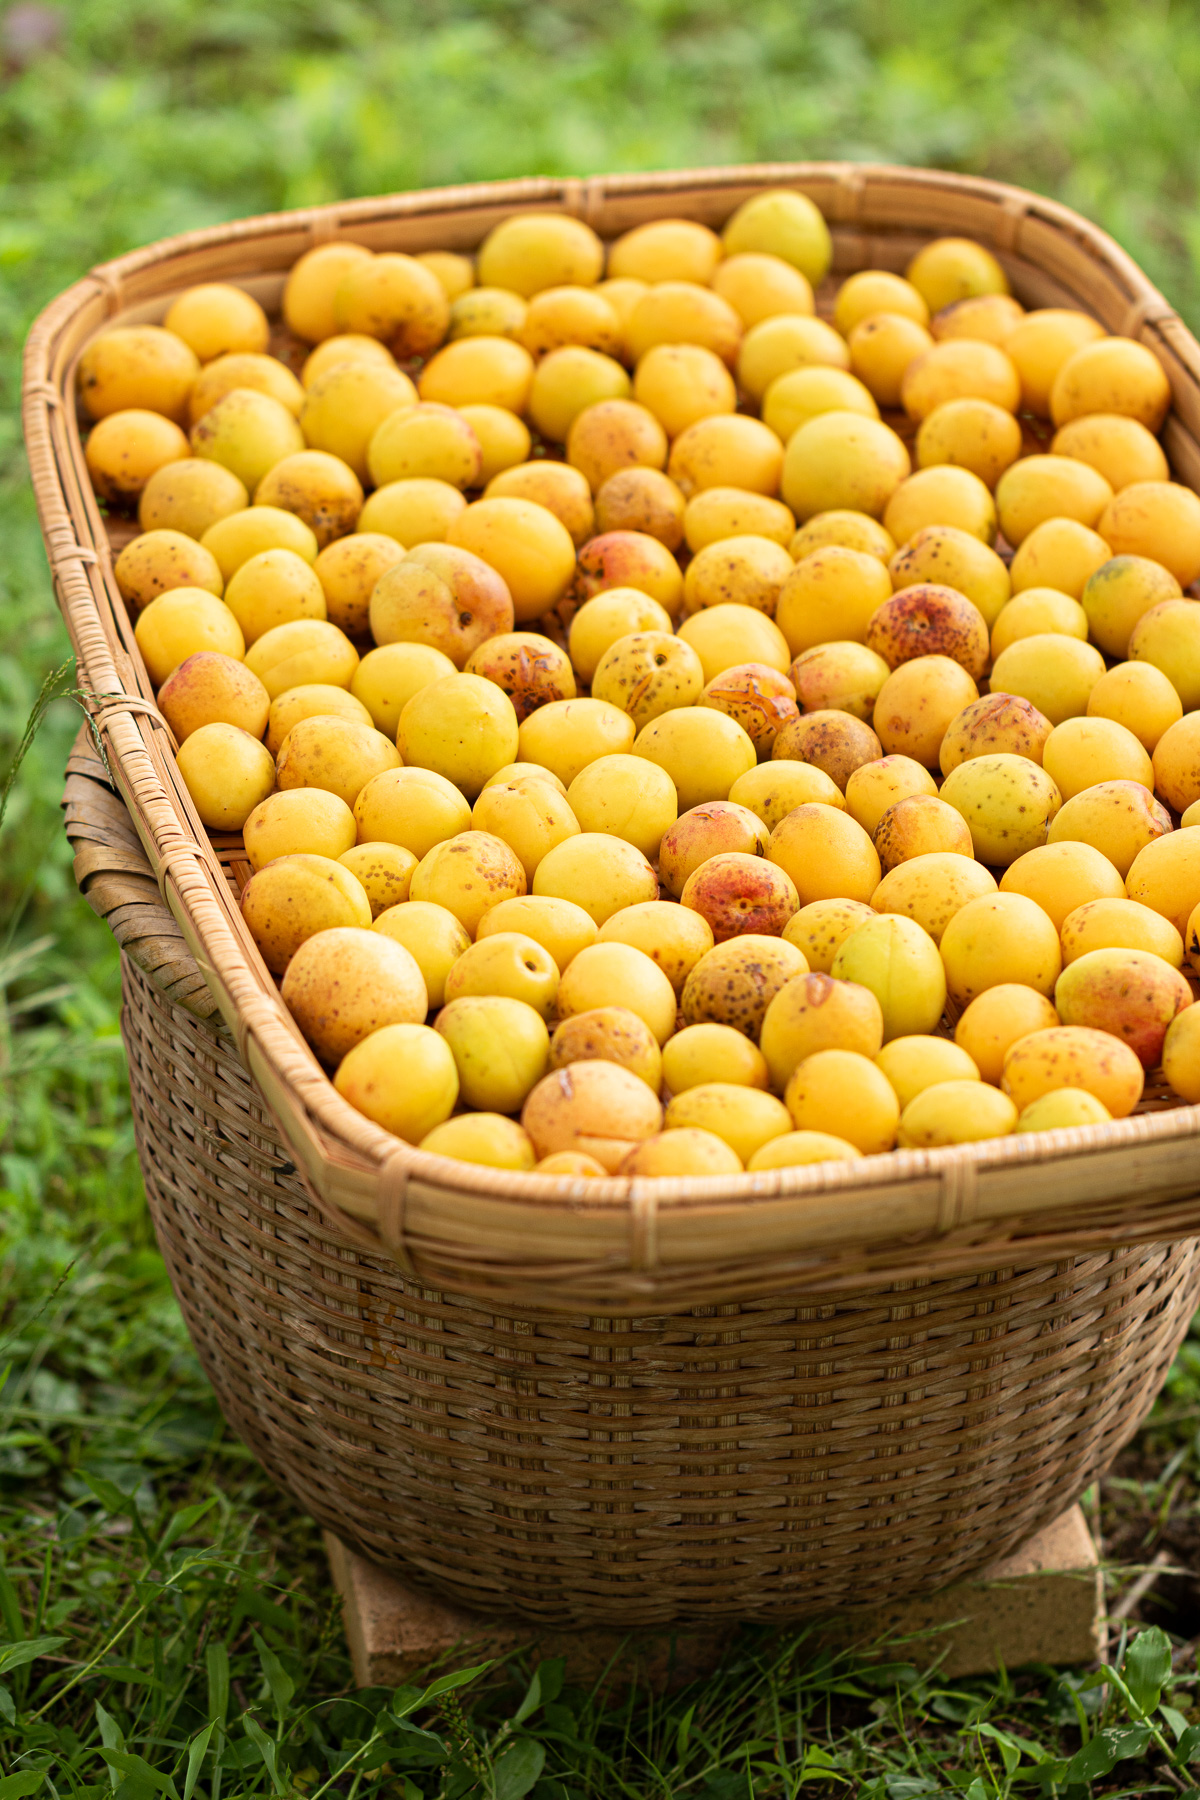
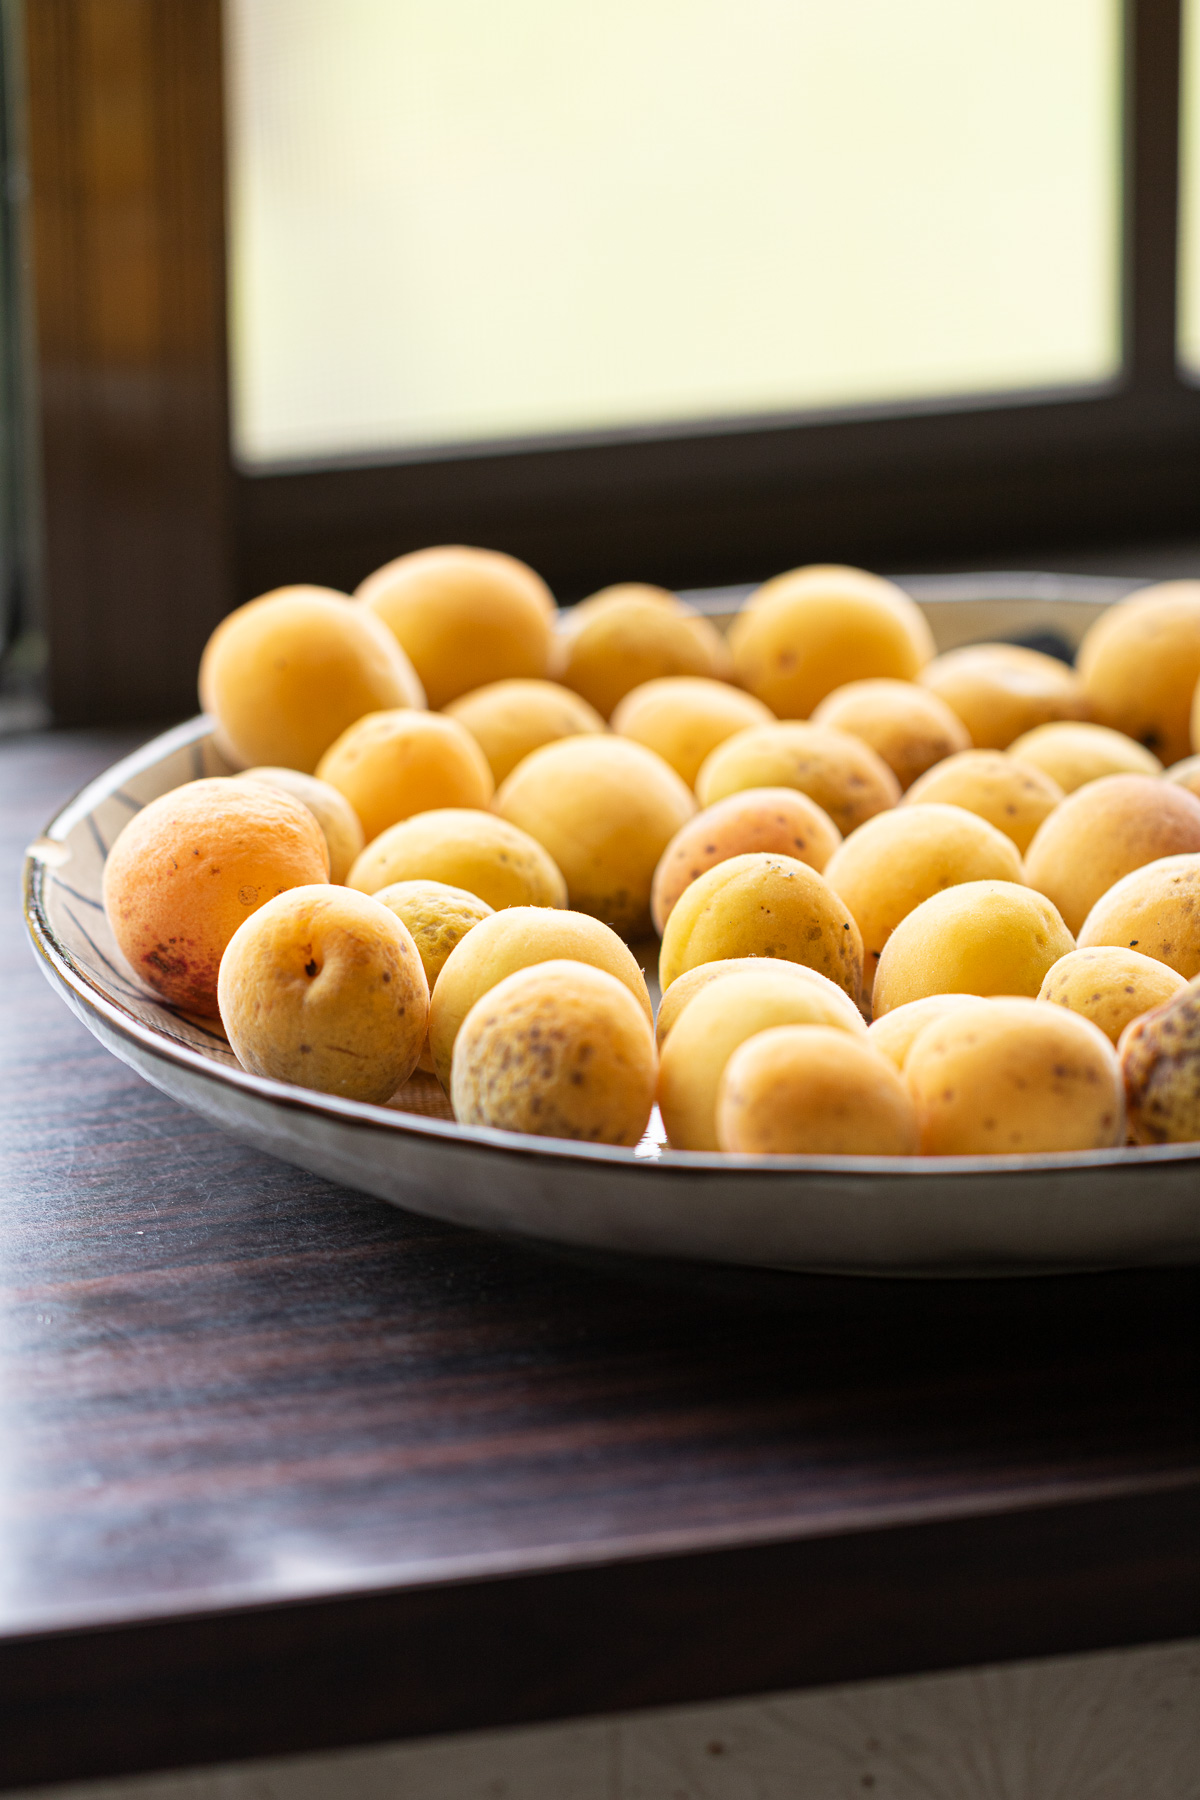
- Ripe ume plums — Use fully ripe fruit only. Unripe or firm green ume won't release enough liquid, which increases the risk of mold. See 📘Kitchen Notes below for how to ripen ume at home.
- Coarse salt — Choose a natural or sea salt with minerals, not refined table salt. Aim for 15–18% of the ume’s weight. More on salt in 🫙About the Salt below.
- Shochu or vodka — Helps the pickling liquid rise quickly. In Japan, white liquor (ホワイトリカー) is the most common choice and works perfectly. If you've made umeboshi before and have leftover white ume plum vinegar, that works too.
Exact quantities are in the recipe card below👇
▶ Tools
A few things to keep in mind before you start:
- Use acid-resistant containers — ceramic or glass are ideal. Avoid metal.
- Any metal tools that come into contact with the plums should be washed immediately after use.
What you'll need:
- Large bowl (for washing the ume)
- Plate or colander (for drying)
- Large container (for pickling)
- Weight (a plate works fine)
- Knife
- Spatula
📖 Instructions
🕊Before you start: Wipe down all containers and tools with shochu or white liquor and let them dry completely. This is one of the most important steps for preventing mold.
- Wash
- Gently wash the ripe ume in water to remove any surface dirt.
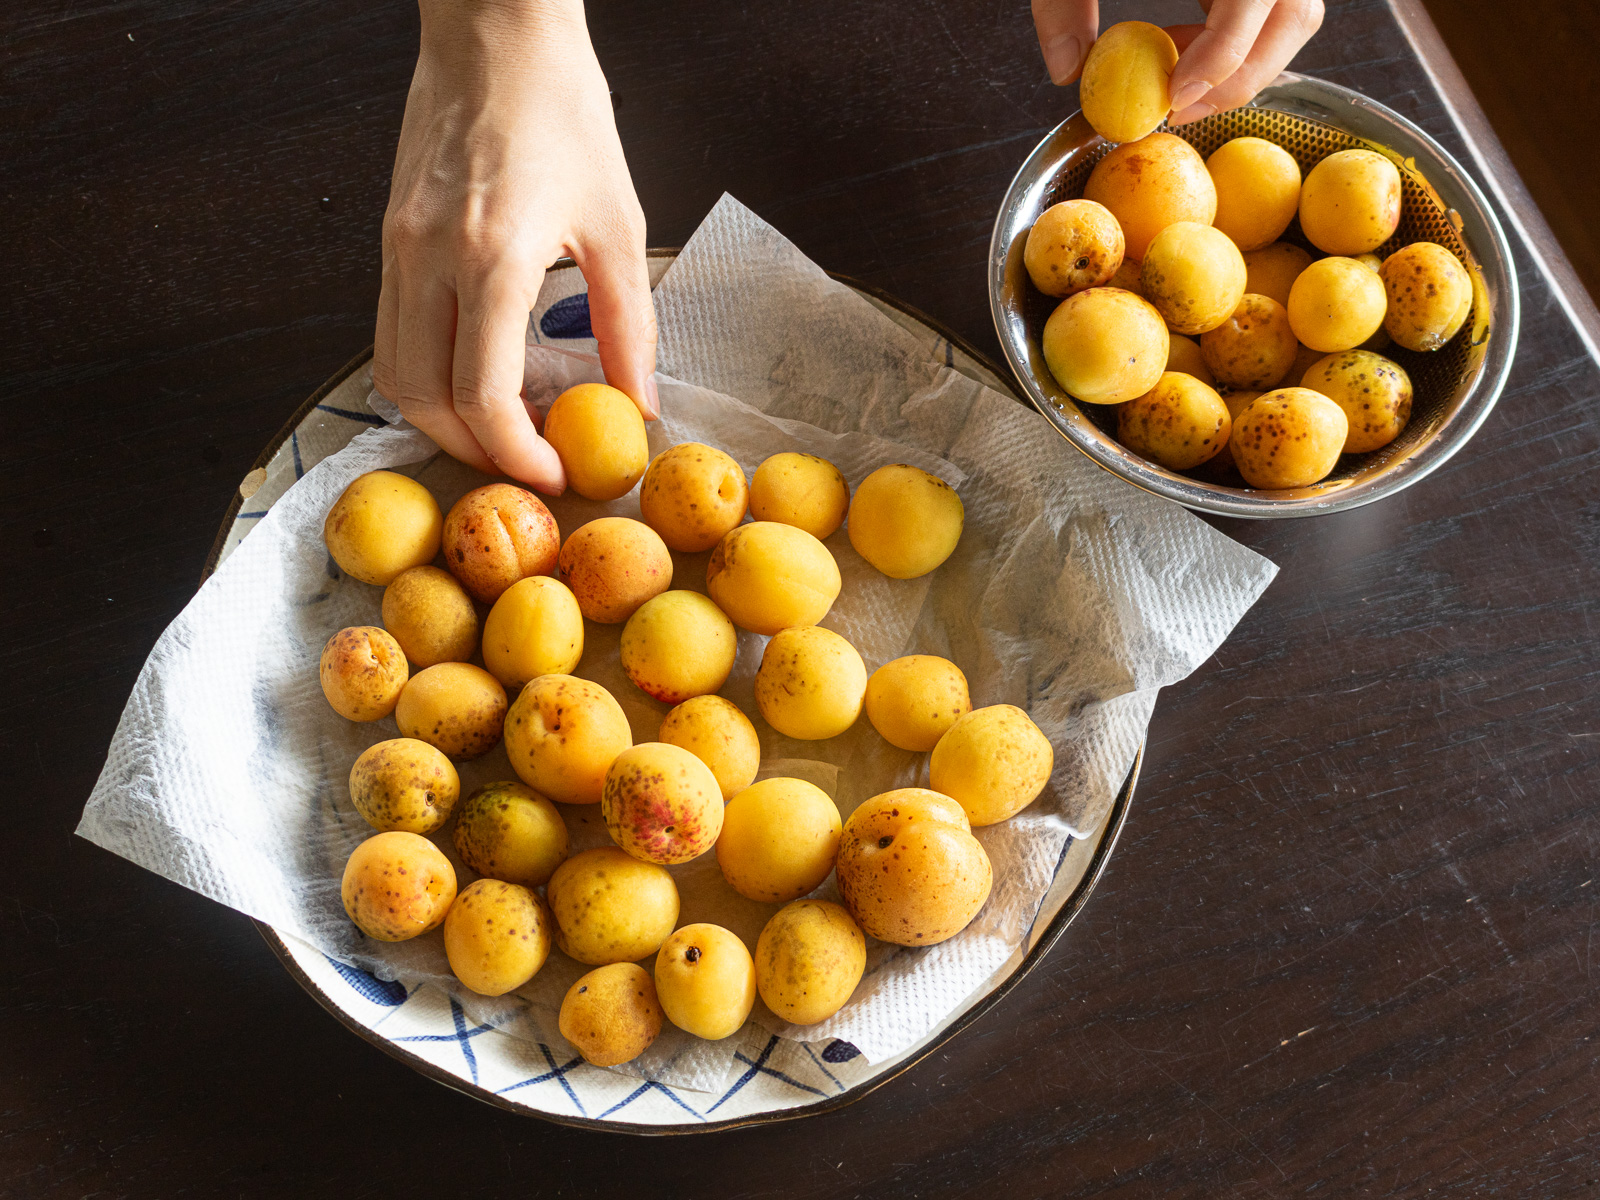
- Dry
- Transfer to a plate or colander and let dry completely.
- Patting them dry with a kitchen towel speeds things up.
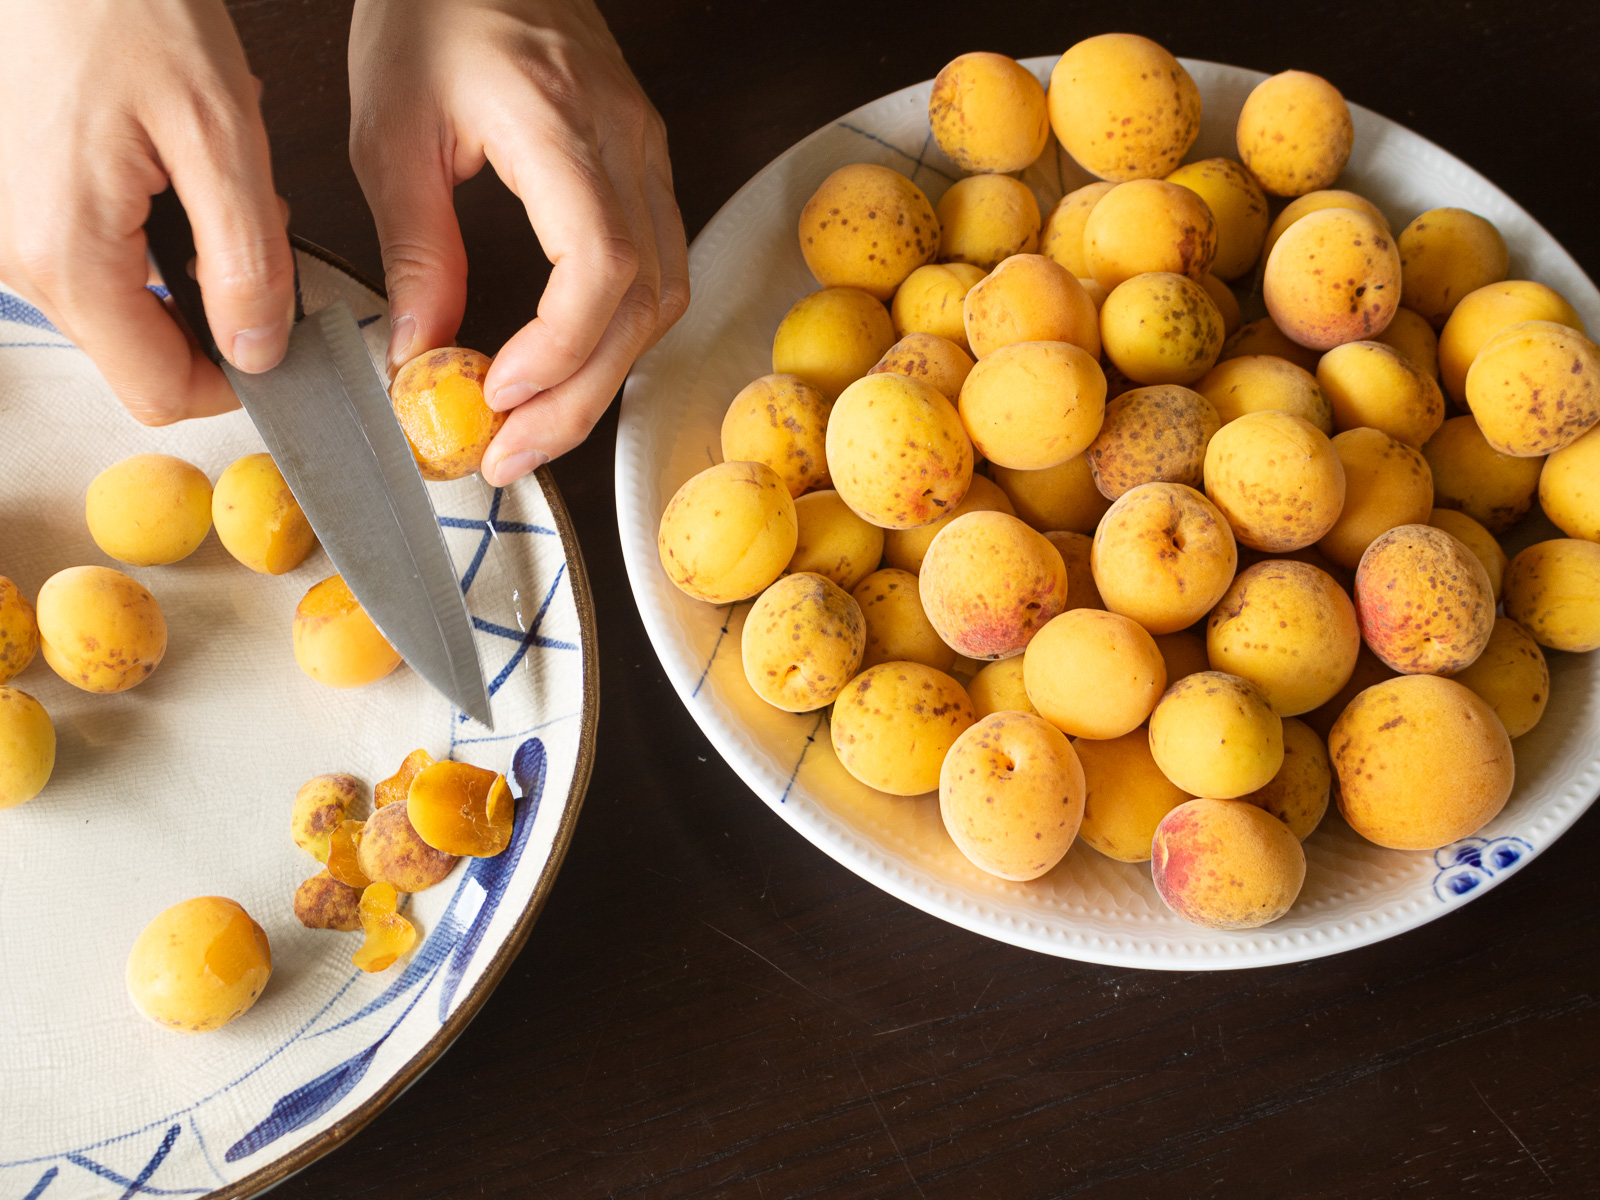
- Trim
- Cut away any damaged or discolored spots with a knife.
- Remove the stem ends using a bamboo skewer or the tip of a knife.
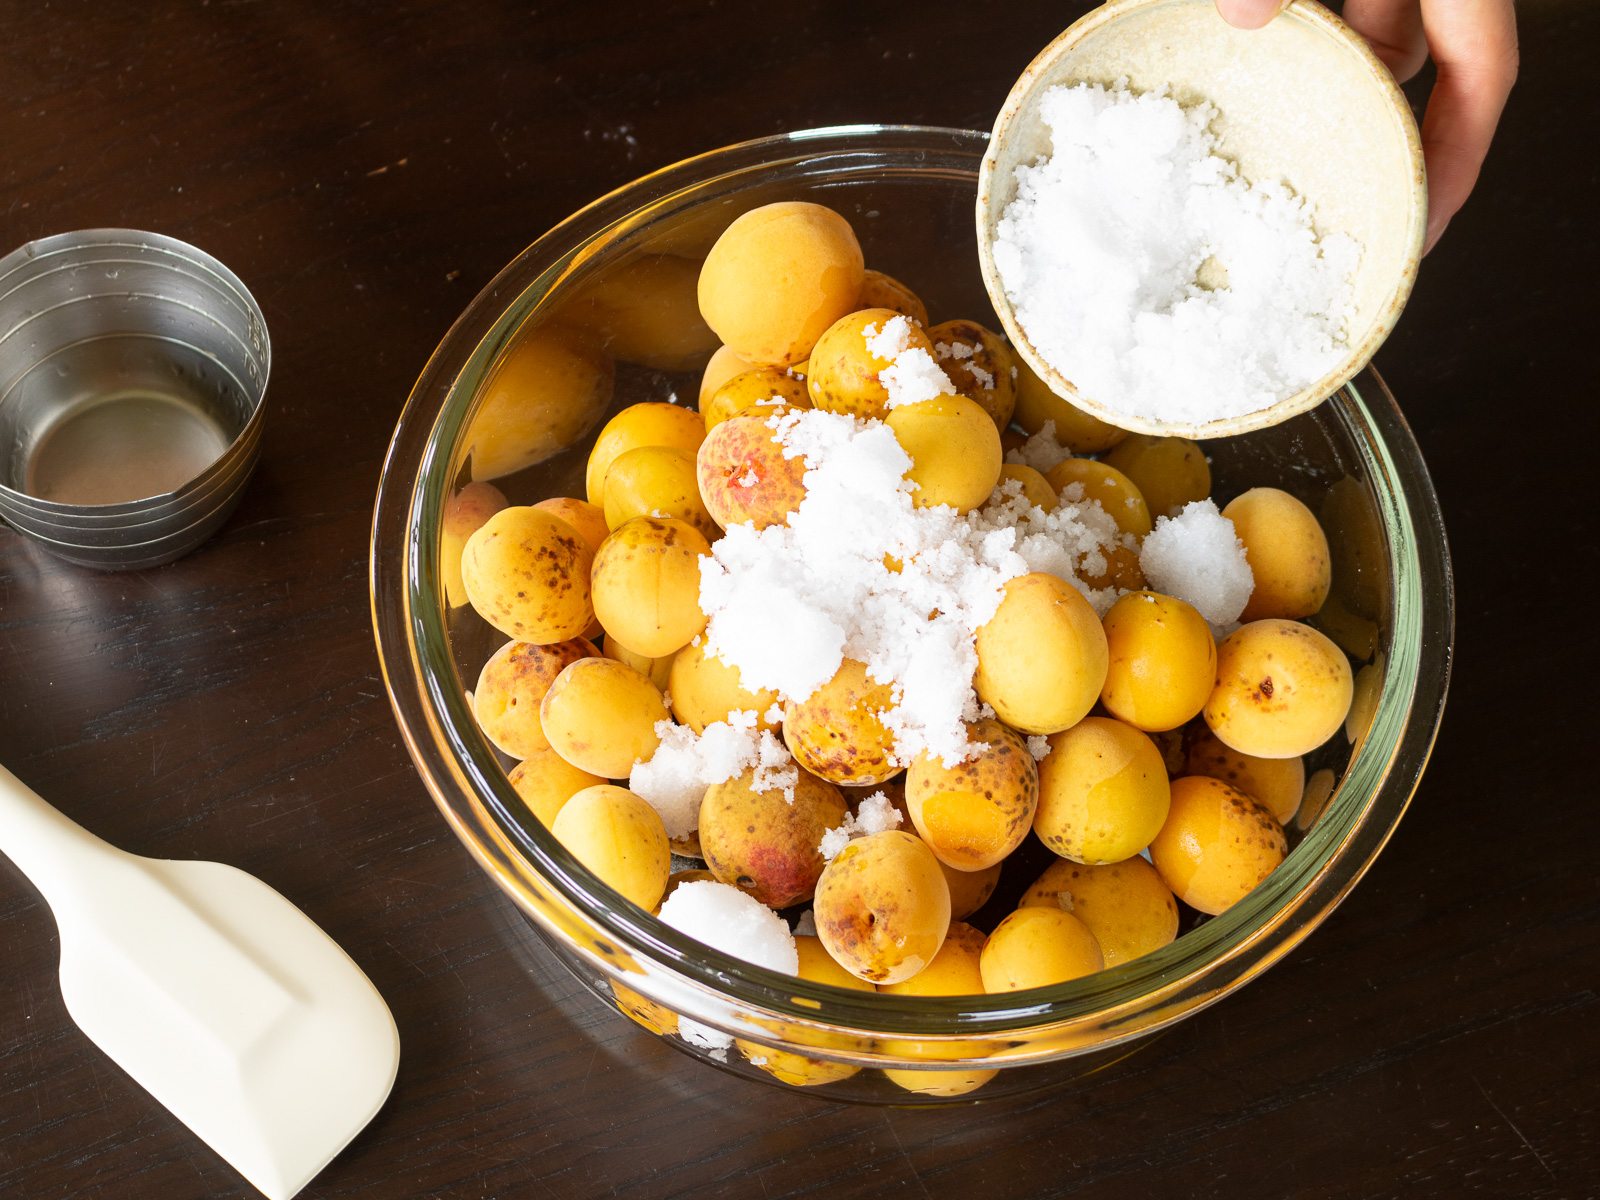
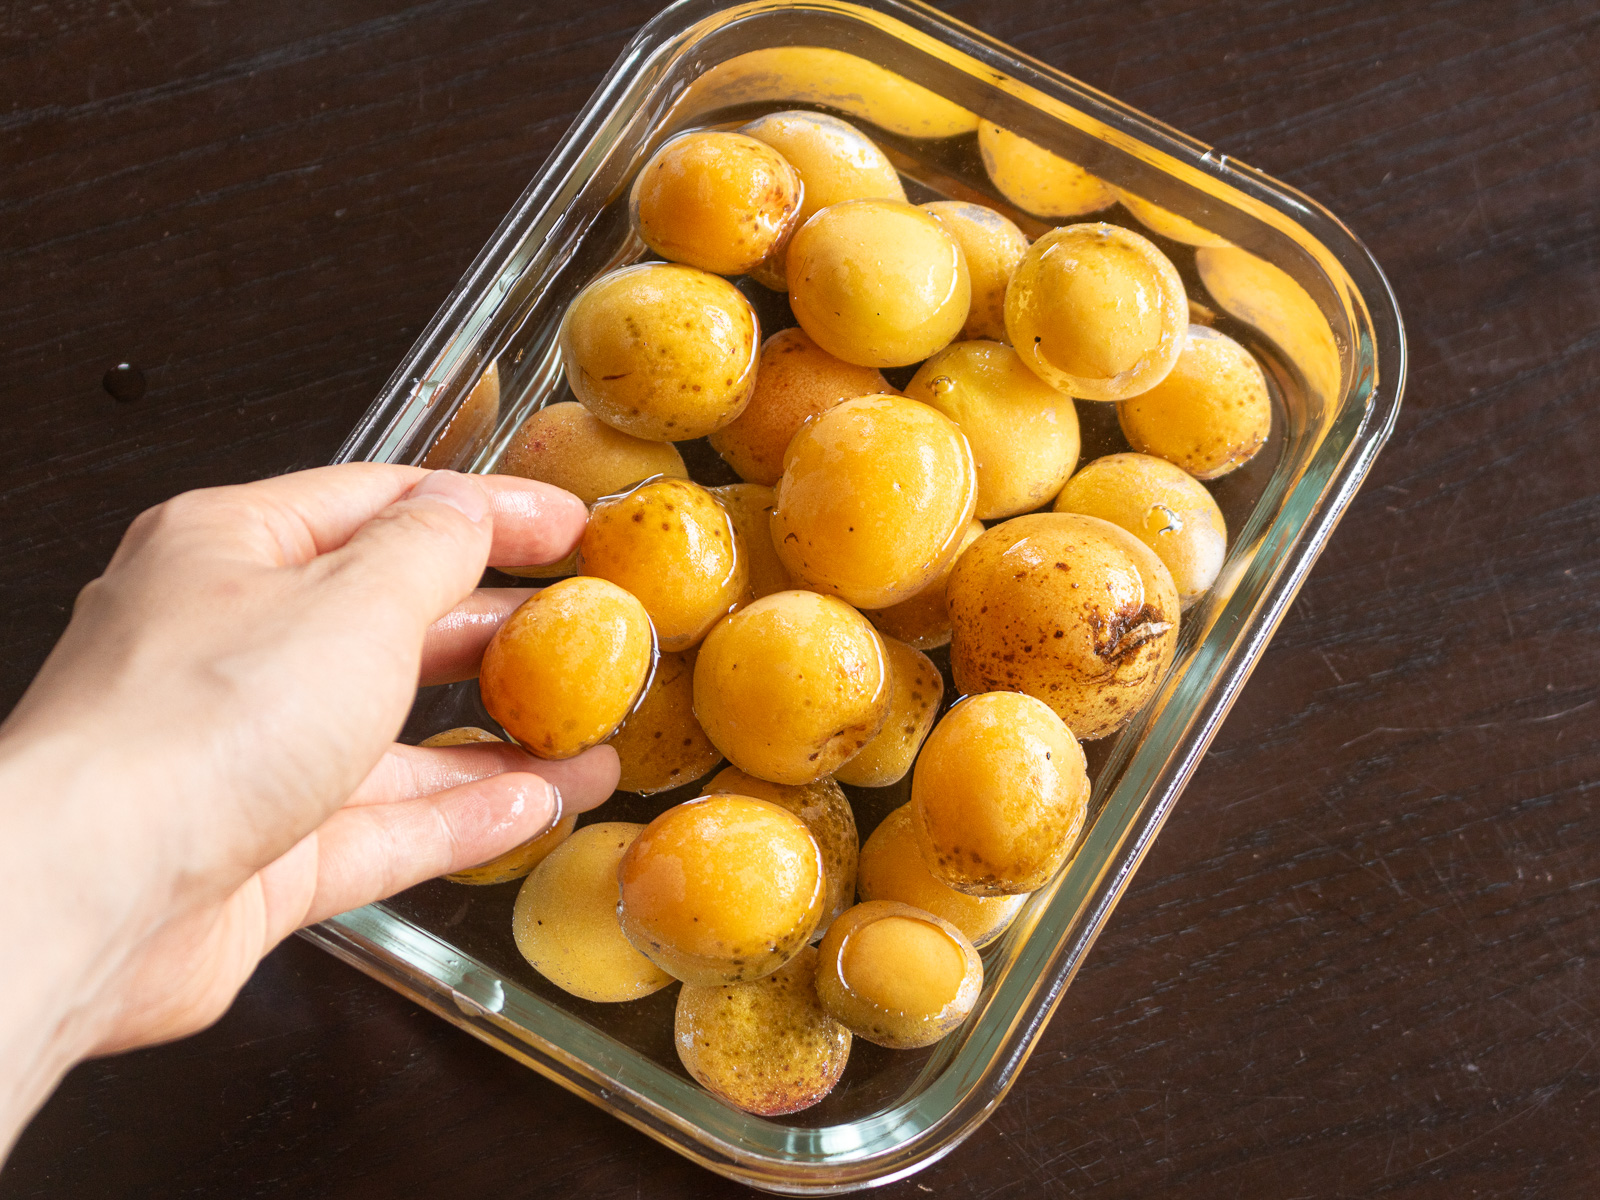
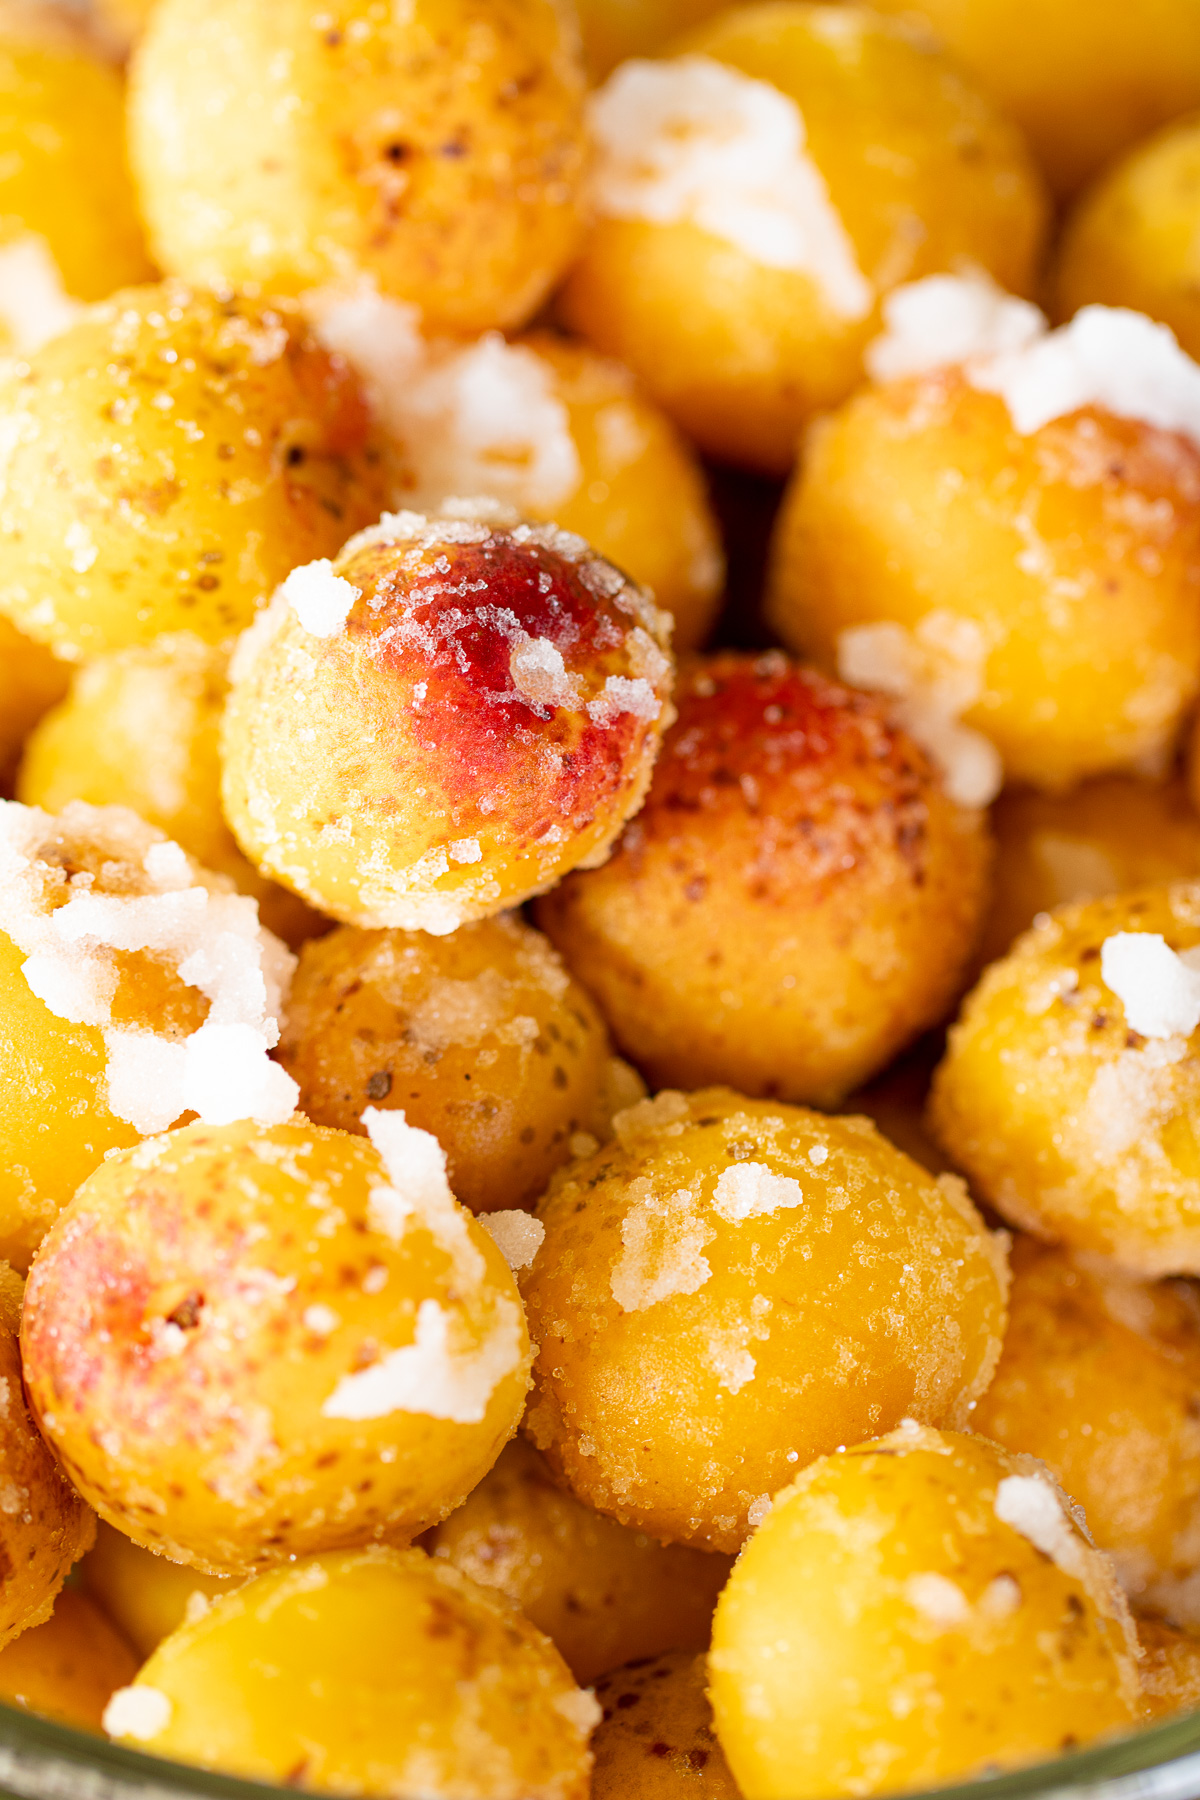
- Coat
- Place the ume in a large container.
- Sprinkle the shochu or ume vinegar over them first, then add the salt.
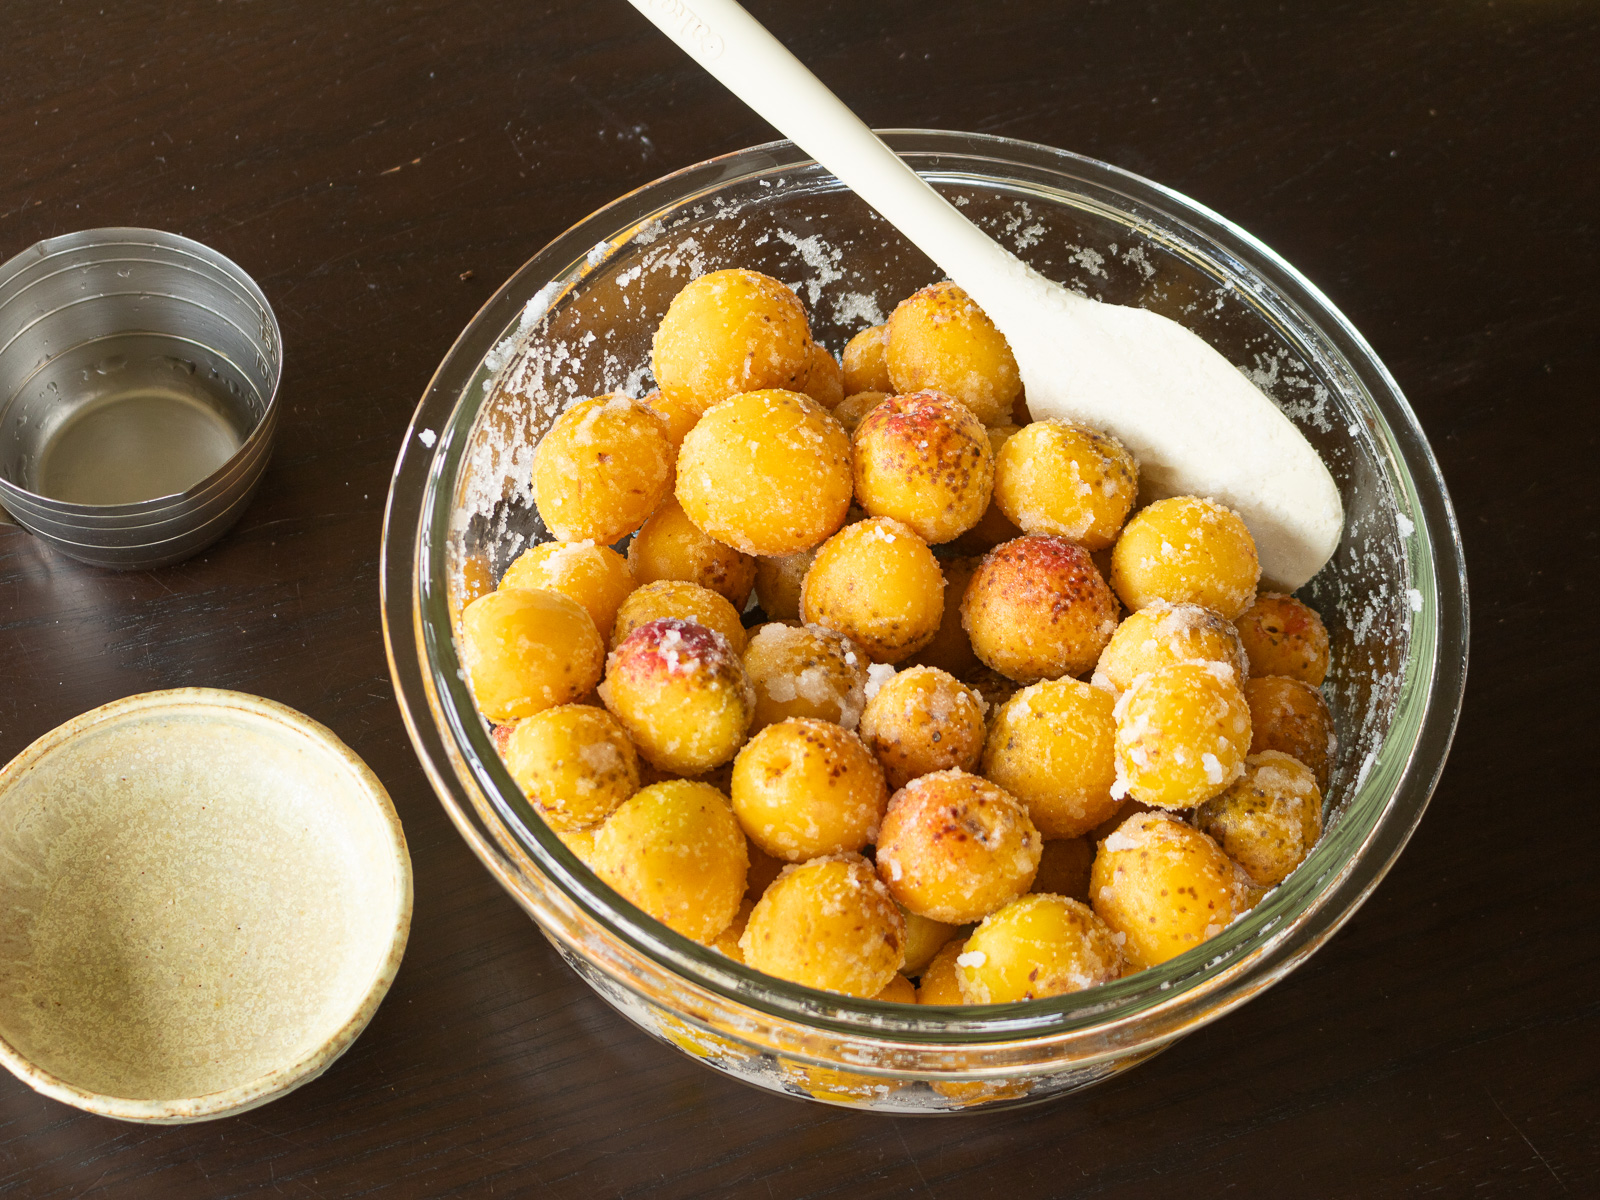
- Mix
- Mix gently but thoroughly until the salt clings to the surface of each plum in a damp, even coat.
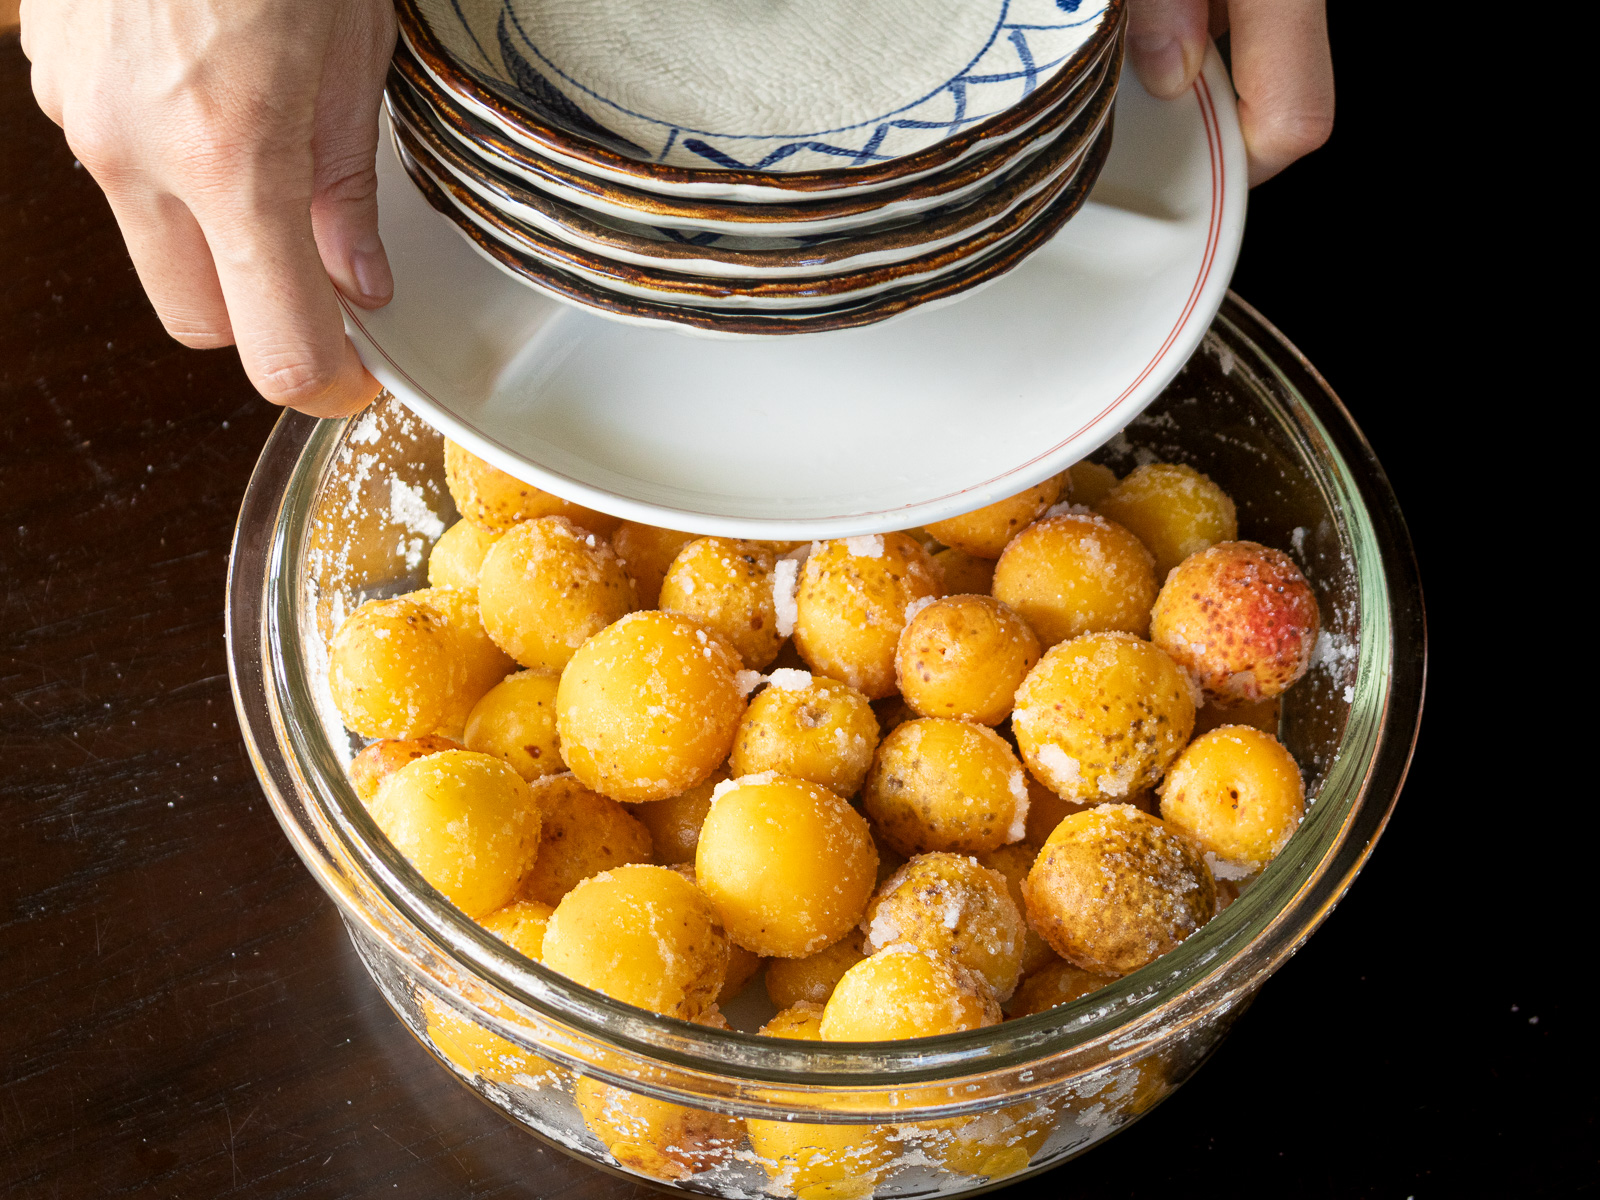
- Weight
- Place a weight equal to 1–2 times the weight of the ume on top.
- Store in a cool, dark place.
- Turn the ume gently once a day until the pickling liquid fully rises.
🌿 The liquid usually rises within a day — and almost always within three.
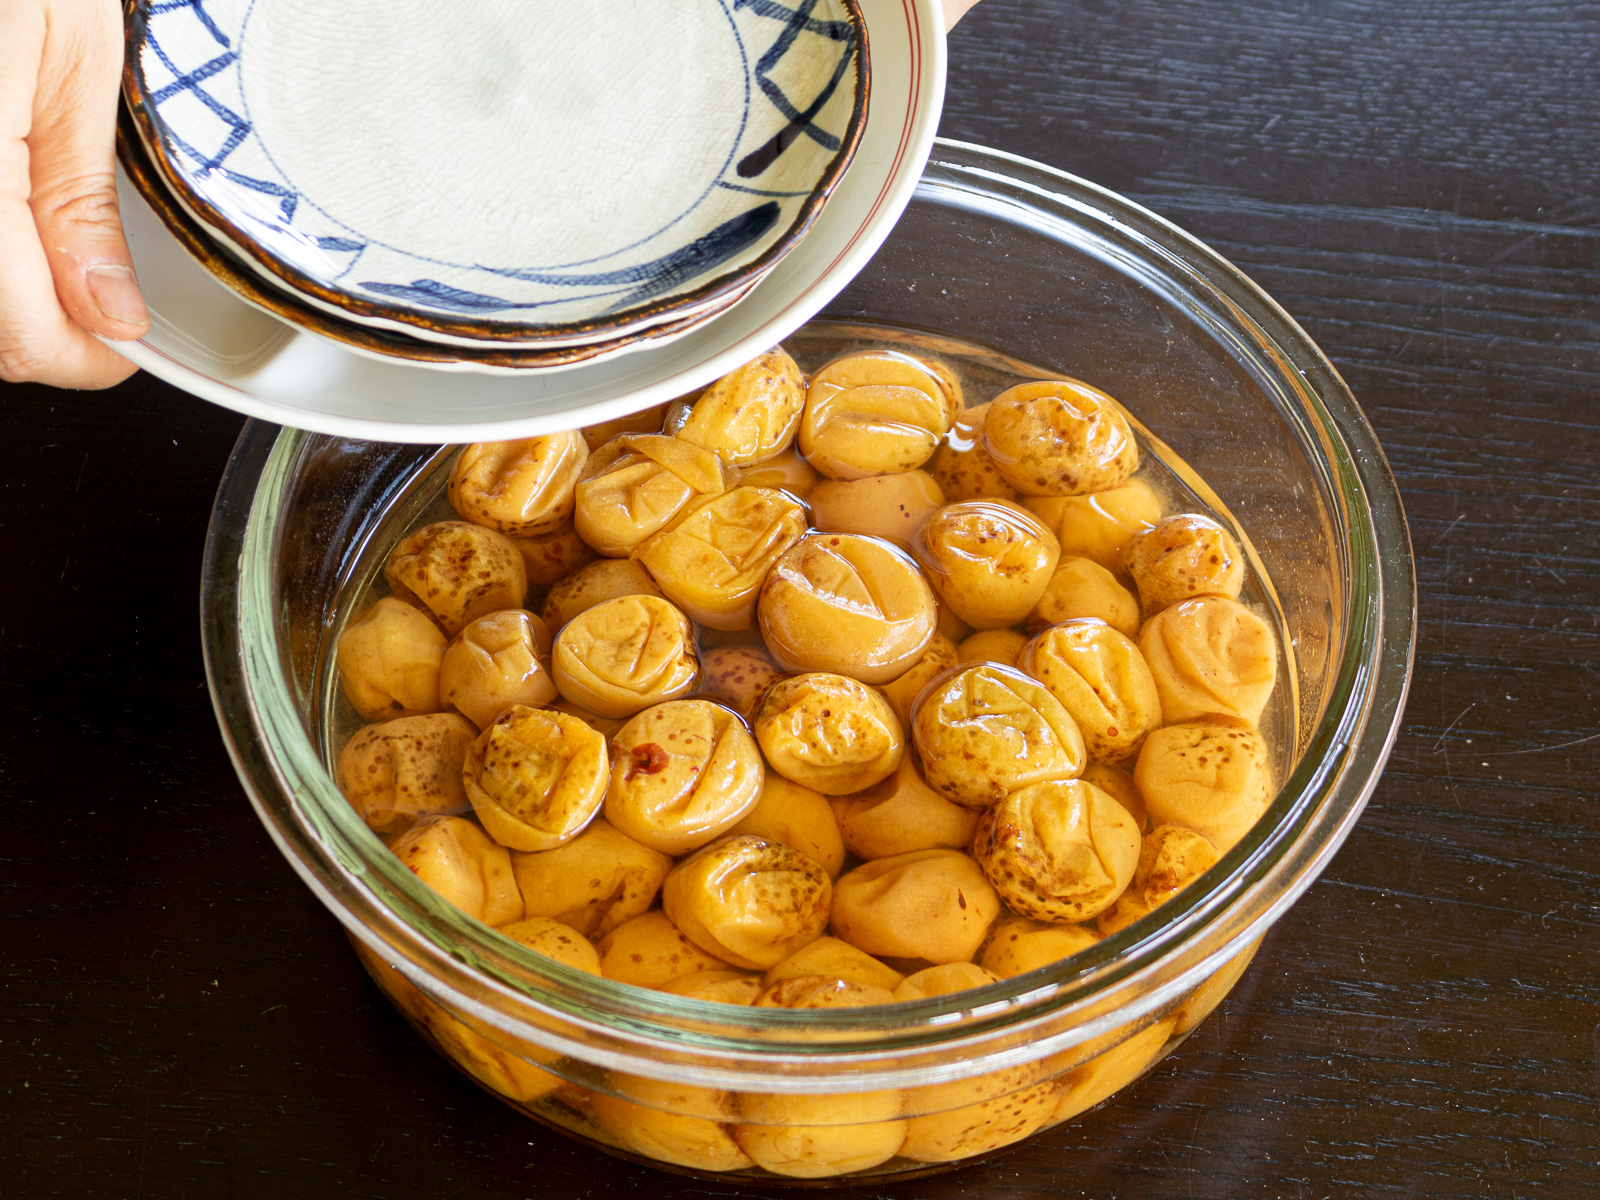
- Wait
- Once the liquid has fully risen, reduce the weight by half.
- Continue pickling until midsummer — ideally late July to early August, when heat and sunlight are at their peak.
- If your ume are very soft, leave them longer until the skins feel slightly firmer — late August or September works well.
🌿 At least one month of pickling lets the salt work its way through the flesh and the skins to firm up. Patience here makes all the difference.
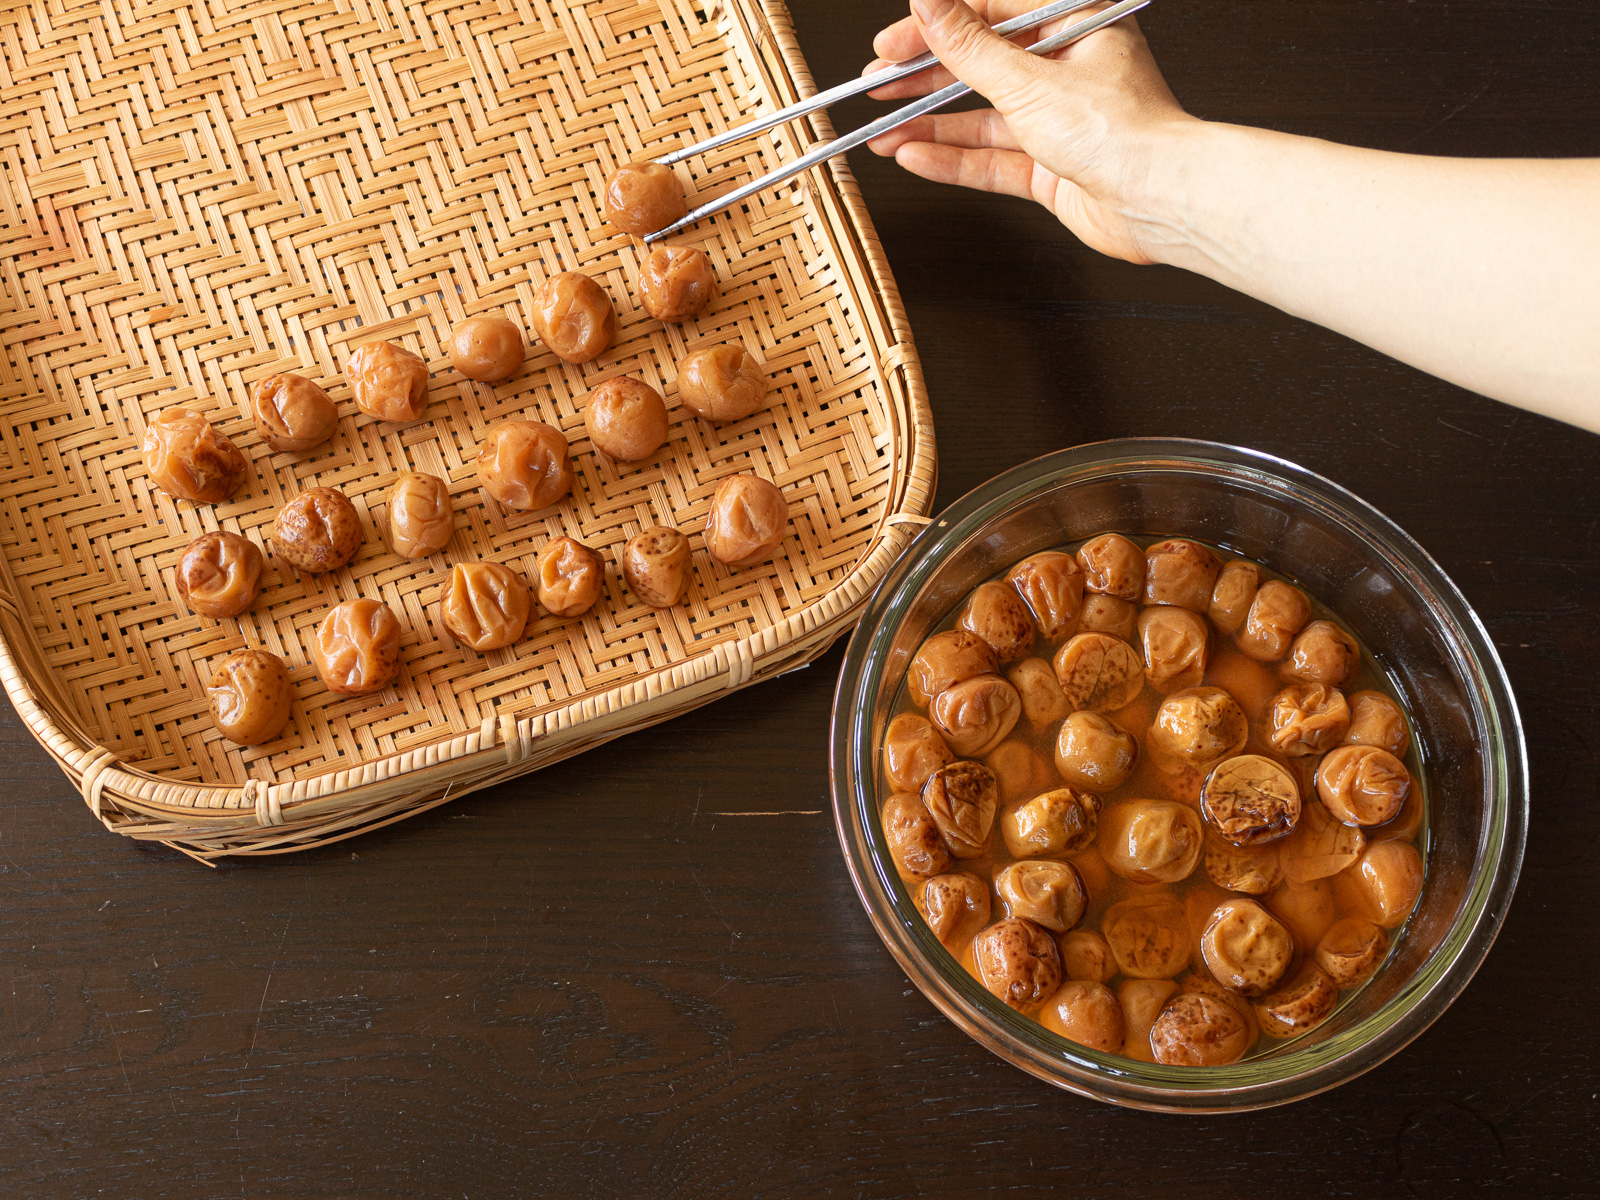
- Arrange
- Pick a run of at least three clear, sunny days.
- Arrange the ume in a single layer on a rack or net, making sure they don't touch each other.
🌿 Choose a spot with good airflow and direct sunlight.
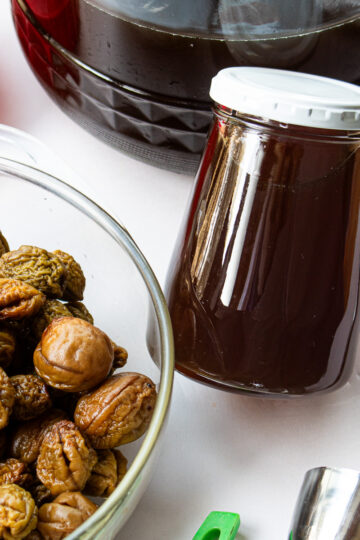
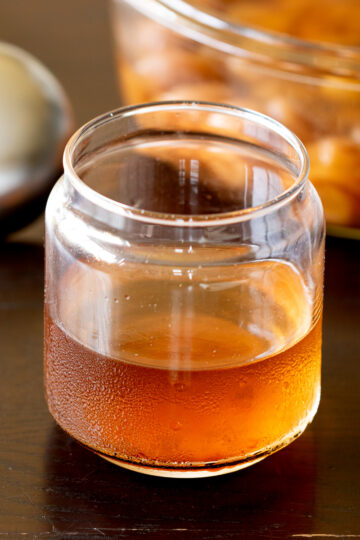
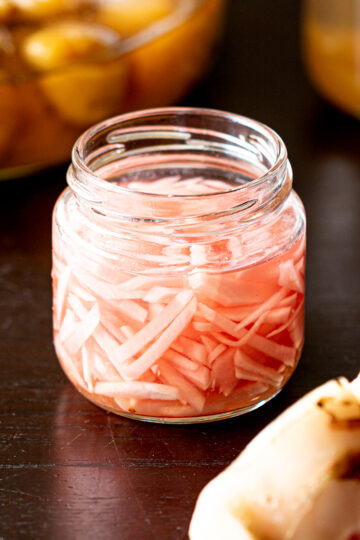
🌿 Pour the remaining liquid — white ume plum vinegar — into a clean jar and set aside. It's too good to waste. See recipes using white ume plum vinegar.
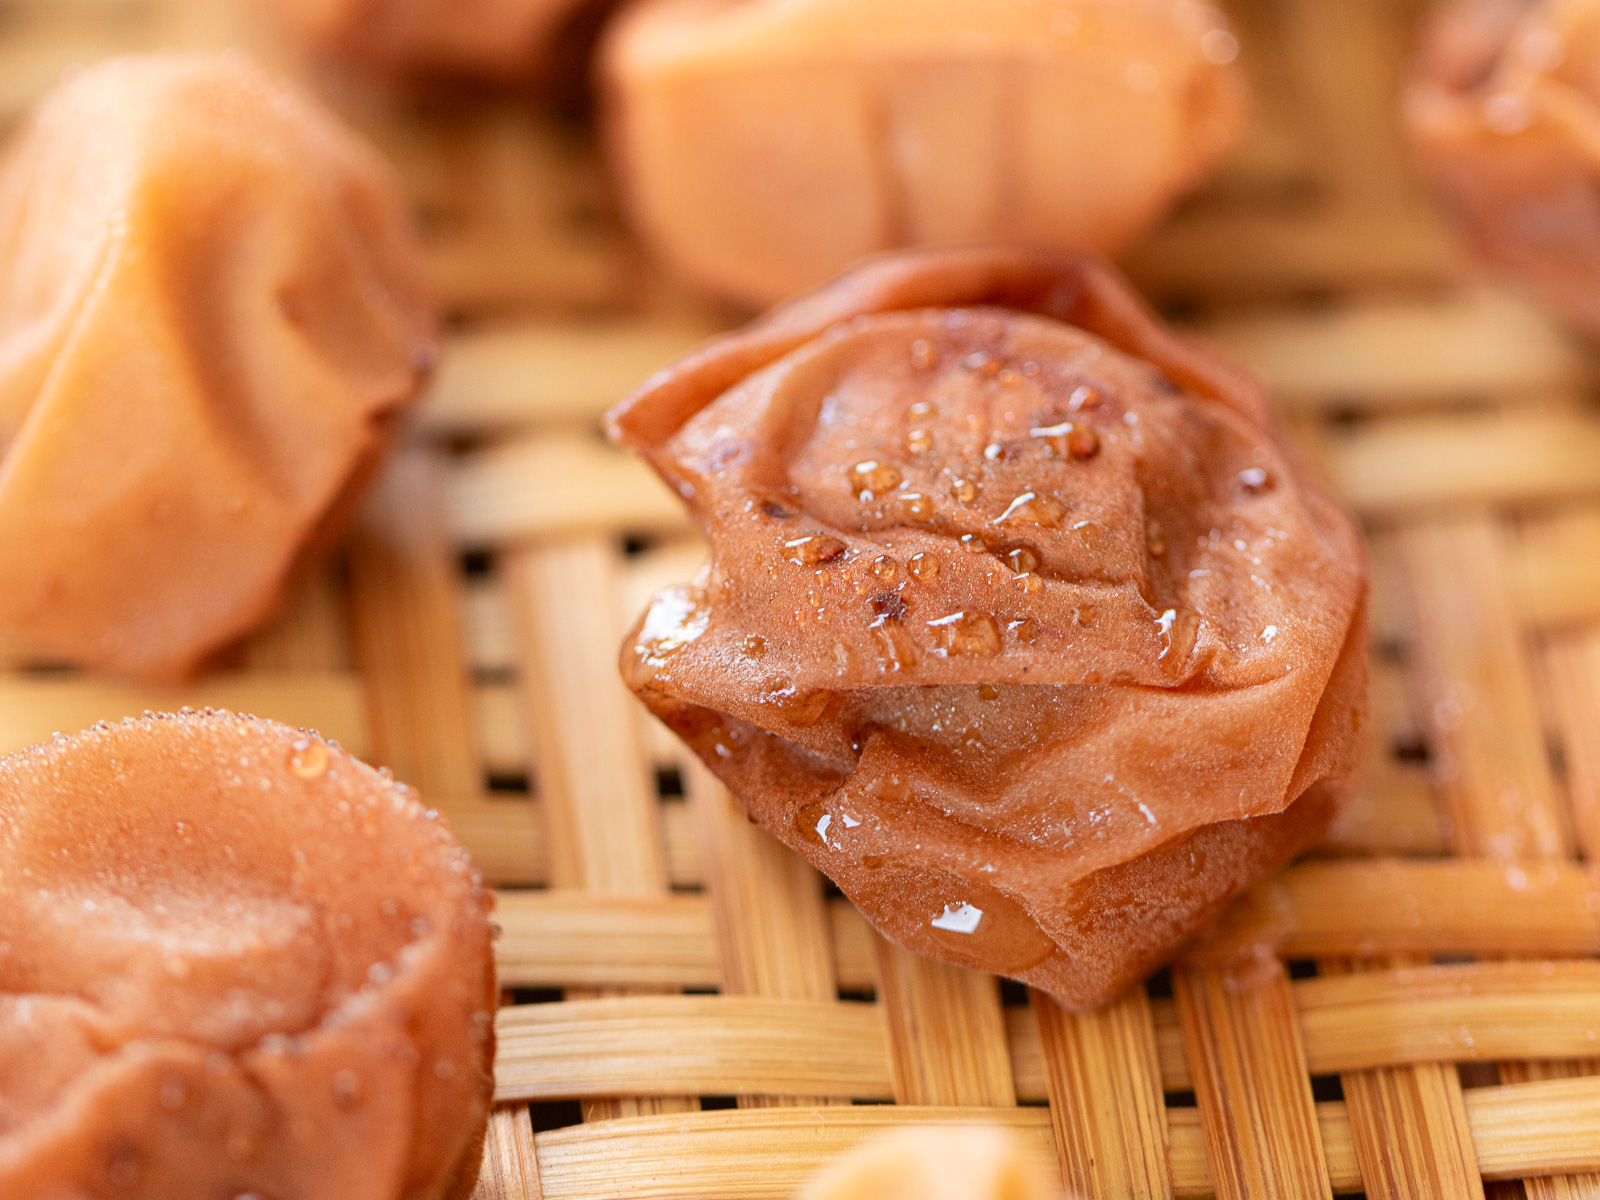
- Dry
- Bring the ume indoors on the first and second nights.
- On the third night, leave them outside under the eaves to catch the night air — this gives the skins a softer, more supple finish.
🌿 Flip each plum once a day to dry all sides evenly.

The best time is in the morning, just before bringing them outside — the skins are less likely to stick to the rack and tear.
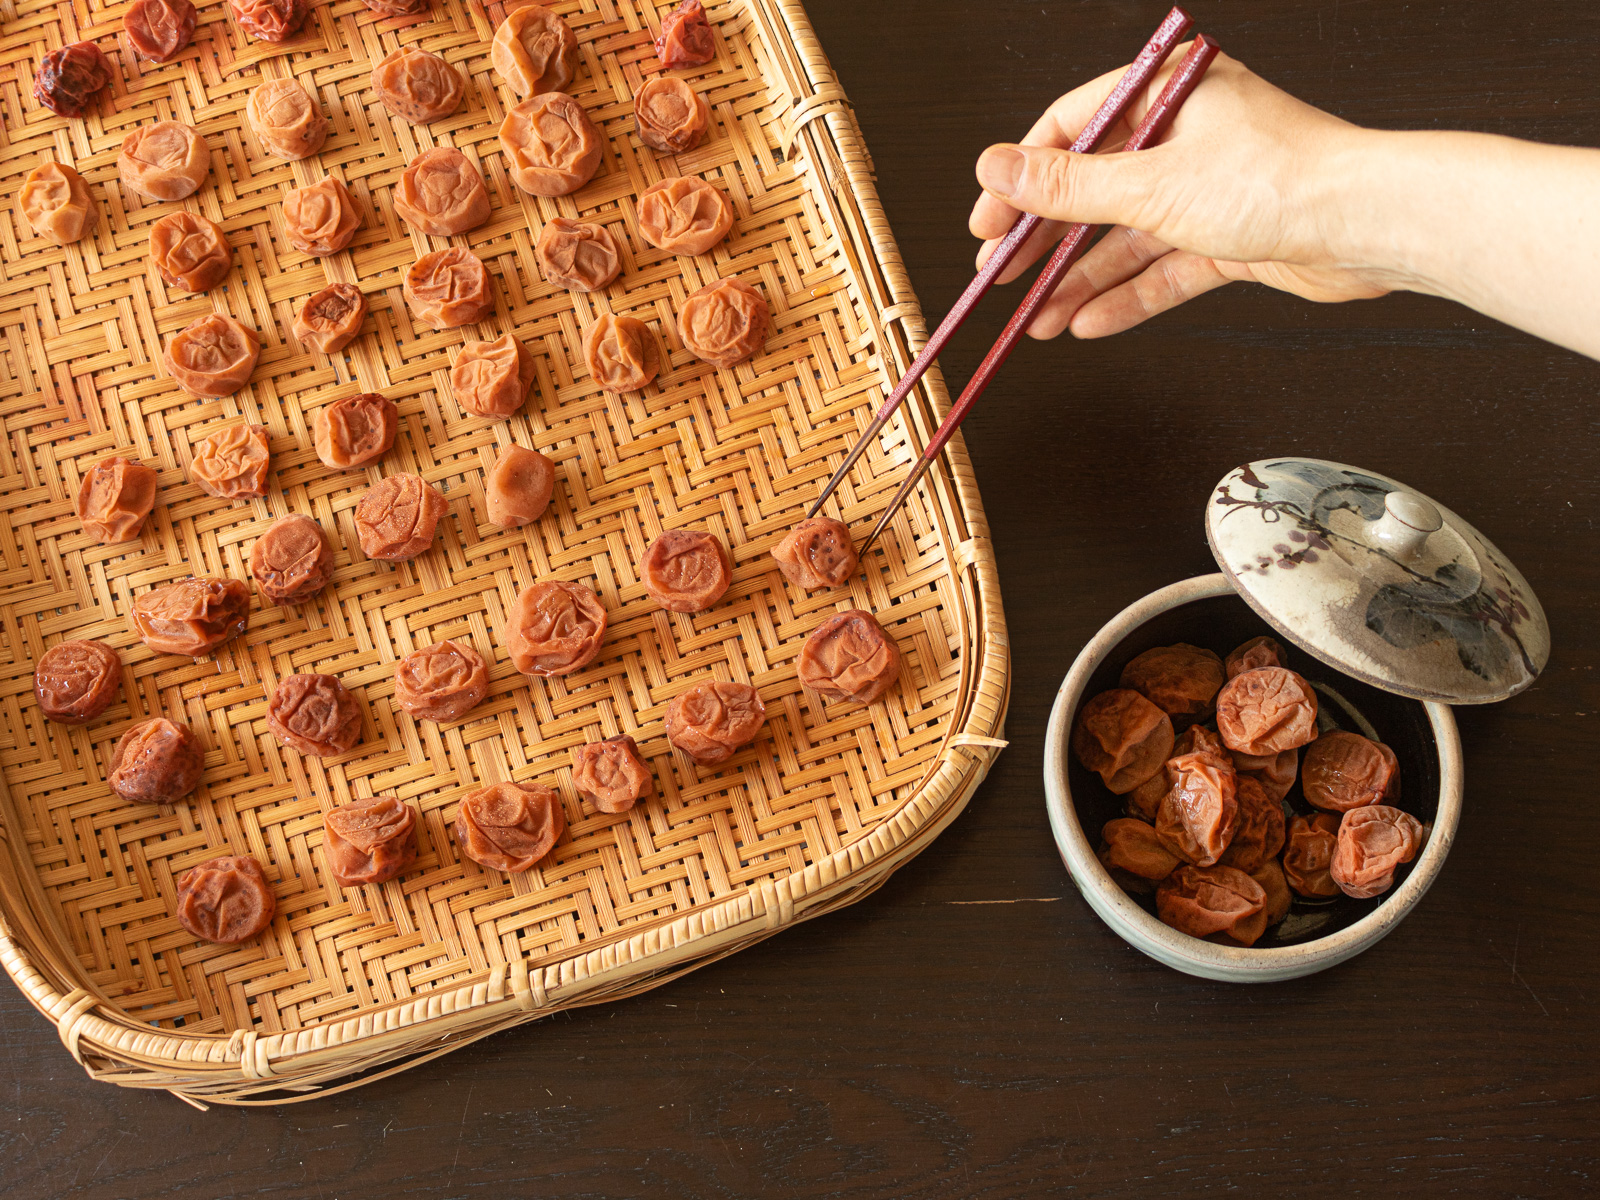
- Store
- On the morning of day four, transfer the finished umeboshi to a clean container and store at room temperature.
- They're ready to eat right away, but a month of resting rounds out the saltiness nicely.
🌿 Ceramic or glass containers are best for storage.
📌 Storage Tips
Finished umeboshi store well at room temperature at 15–18% salt — though conditions vary depending on your climate and storage environment.
- Store in a ceramic or glass container. Metal lids or containers react with the acidity, so avoid them for long-term storage. If a metal lid does come into contact with the liquid, a layer of plastic wrap between the lid and the jar can help protect it.
- White ume plum vinegar keeps well in a sealed glass jar at room temperature too. If the liquid reaches the lid, a layer of plastic wrap can help protect it.
📝 I once stored a batch wrapped in plastic wrap inside a storage bag — and the juices had leaked through before I knew it. Ceramic or glass really is the way to go.
🧂 About the Salt
▶ How much salt to use
This recipe uses 15–18% salt relative to the weight of the ume. More salt means better mold prevention and longer shelf life.
The right amount depends on your climate, storage environment, and the condition of your plums. If this is your first time making homemade umeboshi, starting at 18–20% is the safer choice. Once you're comfortable with the process, you can try reducing the salt — see low-sodium umeboshi for a 10% version.
If you have access to plenty of ume, making a few batches at different salt levels is a fun way to find your own perfect amount.
▶ Which salt to use
Use a coarse or natural sea salt, not refined table salt. Natural salts contain minerals — potassium, magnesium, calcium — that give the finished umeboshi a rounder, gentler flavor.
- Refined salt (99%+ sodium) → sharp, one-dimensional saltiness
- Coarse or natural salt (approx. 85–95% sodium) → mellower, with more depth
A sea salt or sun-dried salt with around 85–90% sodium content strikes a good balance.
📘 Kitchen Notes|How to Get the Pickling Liquid Rising
The most important thing in making umeboshi is getting the pickling liquid to rise quickly — because the faster it rises, the less chance mold has to take hold.
Three things make the difference:
❶ Start with fully ripe ume
Unripe or firm ume won't release enough liquid. Always use fully ripe ume.
If your ume aren't quite ready, ripen them at home:
- Spread them out in a single layer on a plate or colander, leaving space between each plum as much as possible.
- Leave in a cool, dark, well-ventilated spot for a few days.
- Turn them once a day if you can, so they don't sit in moisture.
❷ Coat the ume thoroughly
Once the salt is added, mix gently but thoroughly until the salt clings to every plum in a damp, even coat. This is what draws the liquid out quickly and keeps mold away.
❸ Use the right amount of weight
1–2 times the weight of the ume is the guideline.
If the liquid is slow to rise, increase the weight. Try to distribute it as evenly as possible across the surface so the pressure reaches every plum.
🌿 Without a weight, the liquid tends to rise slowly — and in my experience, it can turn cloudy. If you want clean, clear white ume plum vinegar, a weight is worth using. See Q&A for more.

📚 Q&A
Yes. Cut away any damaged or discolored areas deeply — down to clean flesh — and they're fine to use.
The tradeoff: trimmed ume are more fragile during both pickling and drying, and the flesh breaks down more easily.
On the plus side, they tend to release liquid faster.
It's a bit of both — so it really comes down to how you're feeling that year, and how much time you have. If you do use damaged ume, keeping them in a separate batch makes things easier and safer.
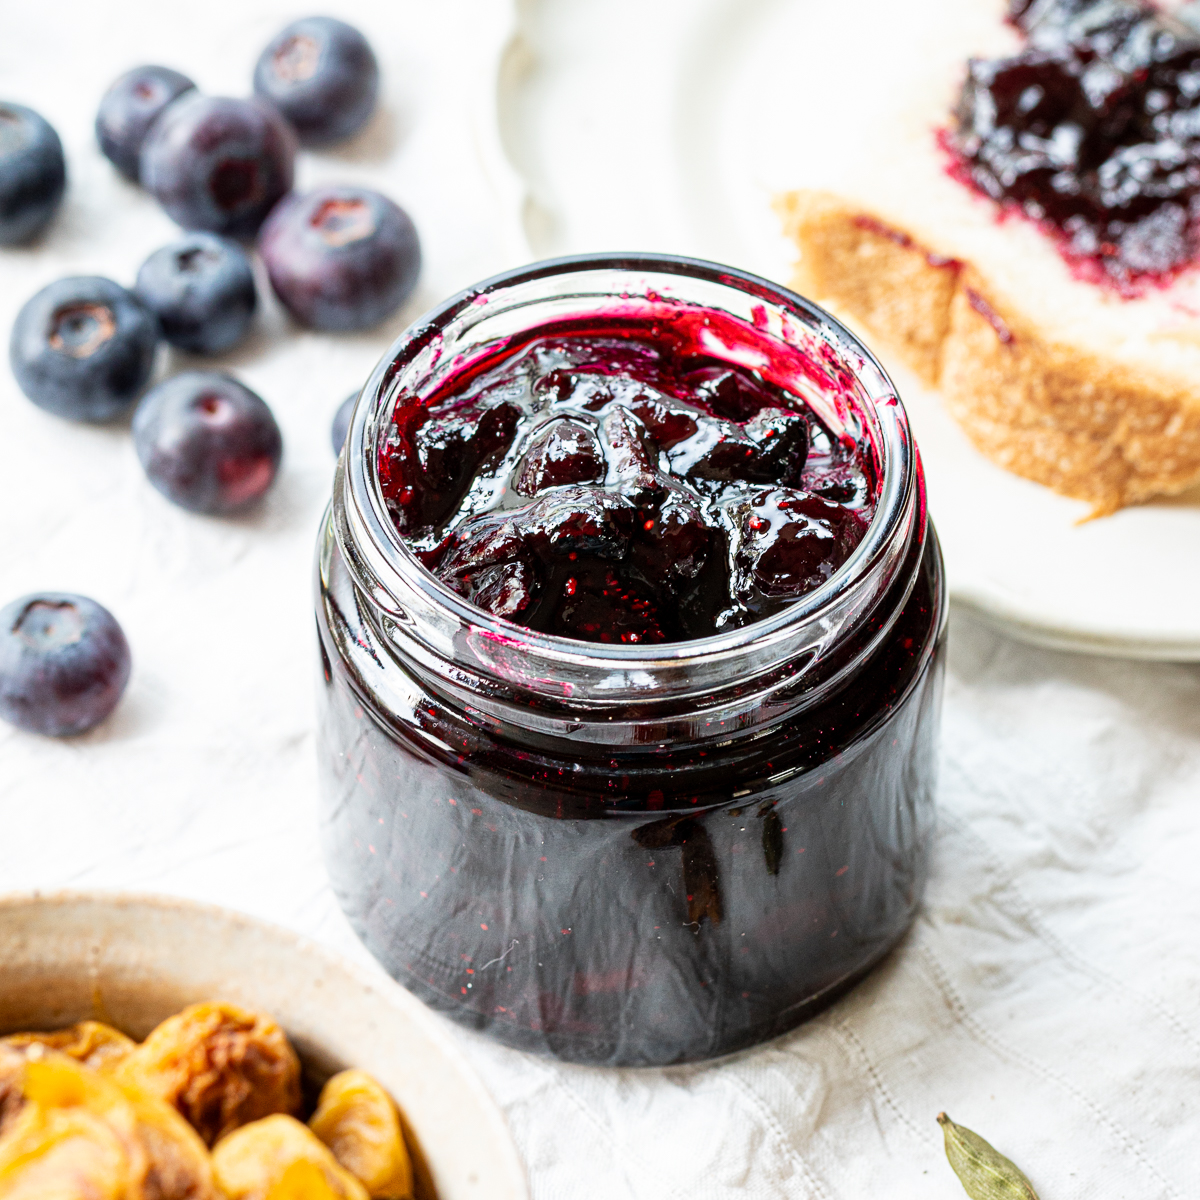
Another option: use damaged ume for homemade ripe ume jam instead.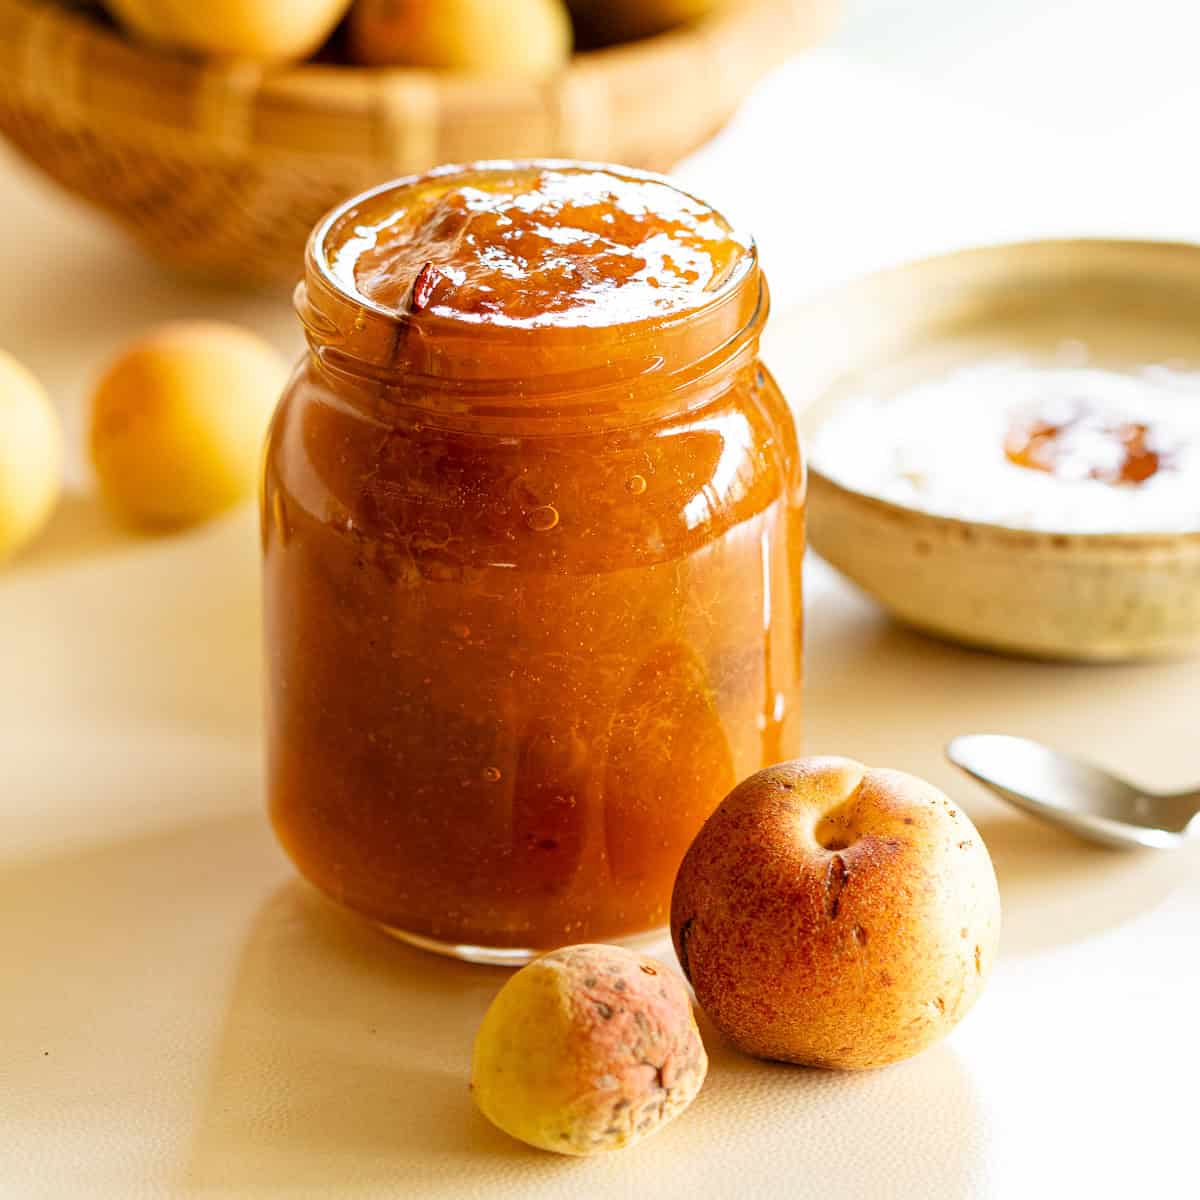
Lowering the salt increases the risk of mold and makes room-temperature storage unreliable.
For a 10% low-sodium version, pickling in the refrigerator is the safer approach.
It's possible. I tried it once — 18% salt, no weight, left at room temperature — shaking the container morning and evening to distribute the liquid.
It worked, but the liquid was slow to rise and I spent the whole time worrying about mold. If you're comfortable with that uncertainty, it's worth a try. The finished umeboshi turned out well.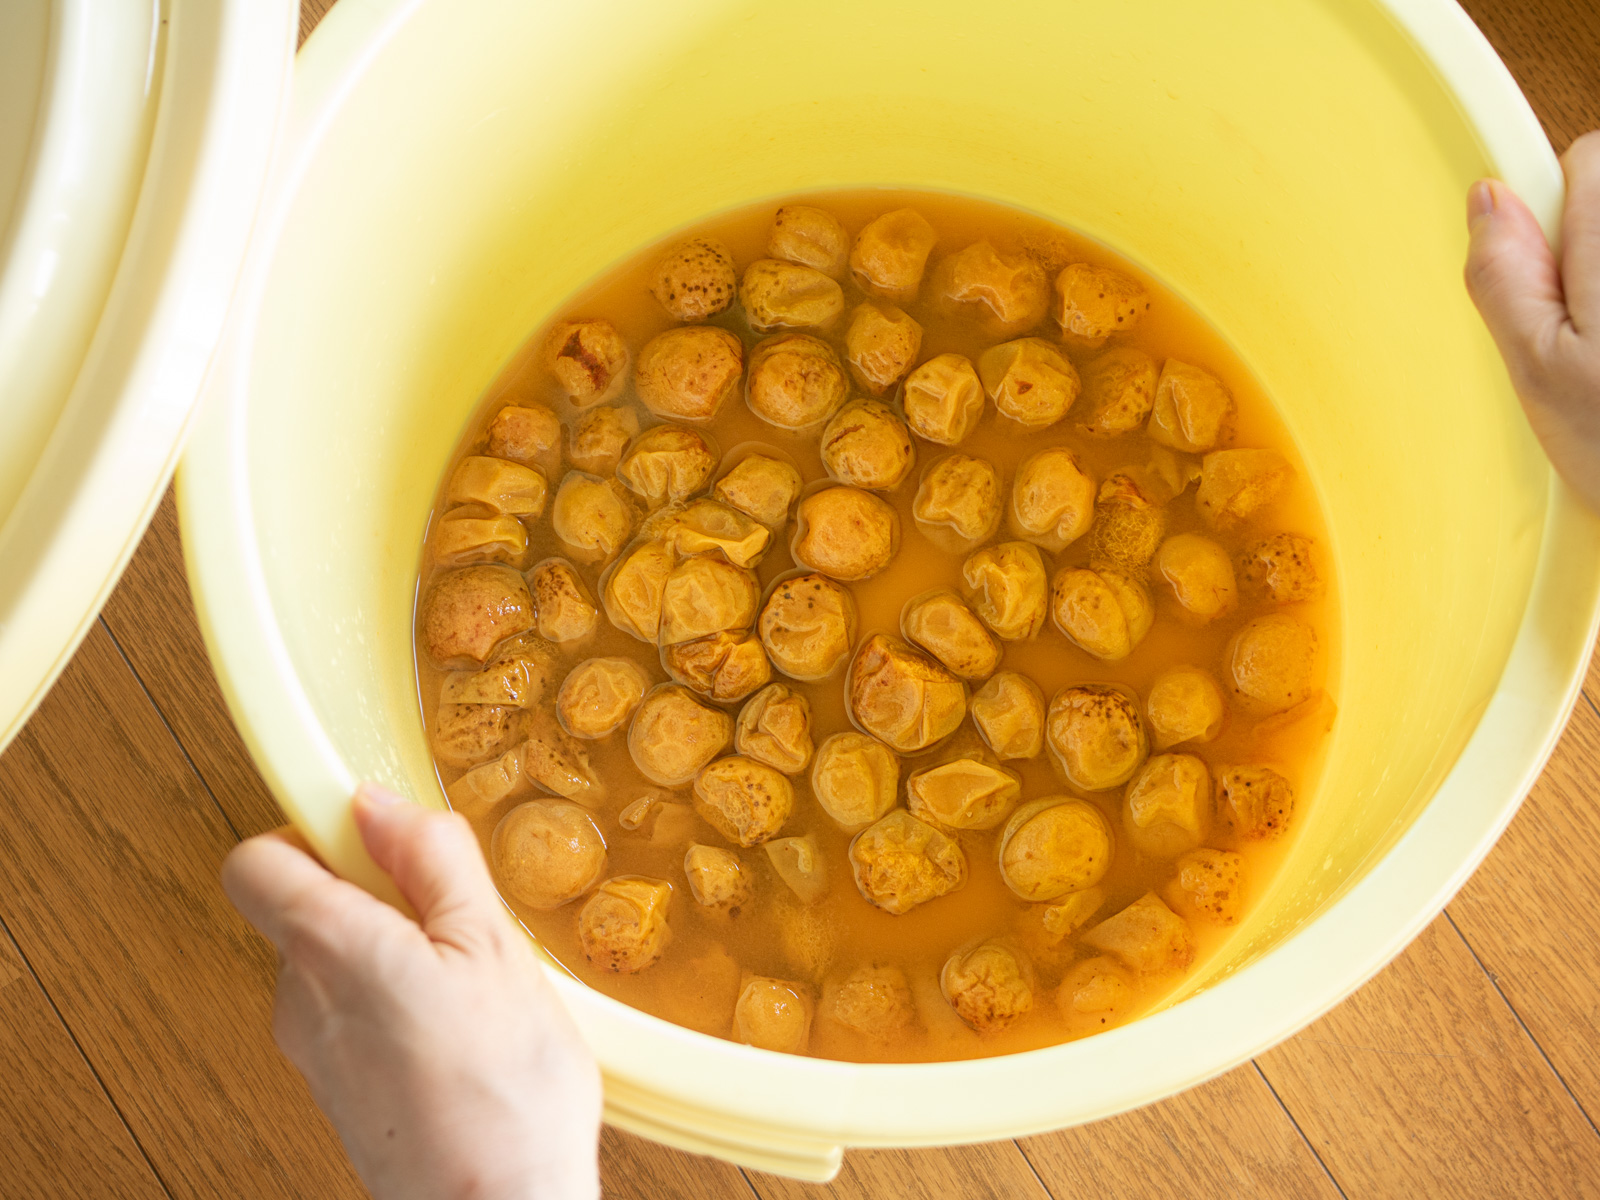
It doesn't mean leaving the plums fully exposed outdoors overnight. It means placing them under the eaves or a covered area where they can take in the cool night air and morning moisture. This gives the skins a softer, more supple finish.
The plums will often soften naturally during storage on their own. It's optional — go with what suits your setup.
Most likely, it's just salt crystals — a white, powdery coating that feels dry to the touch. It tends to appear on trimmed areas where salt is more concentrated. Nothing to worry about.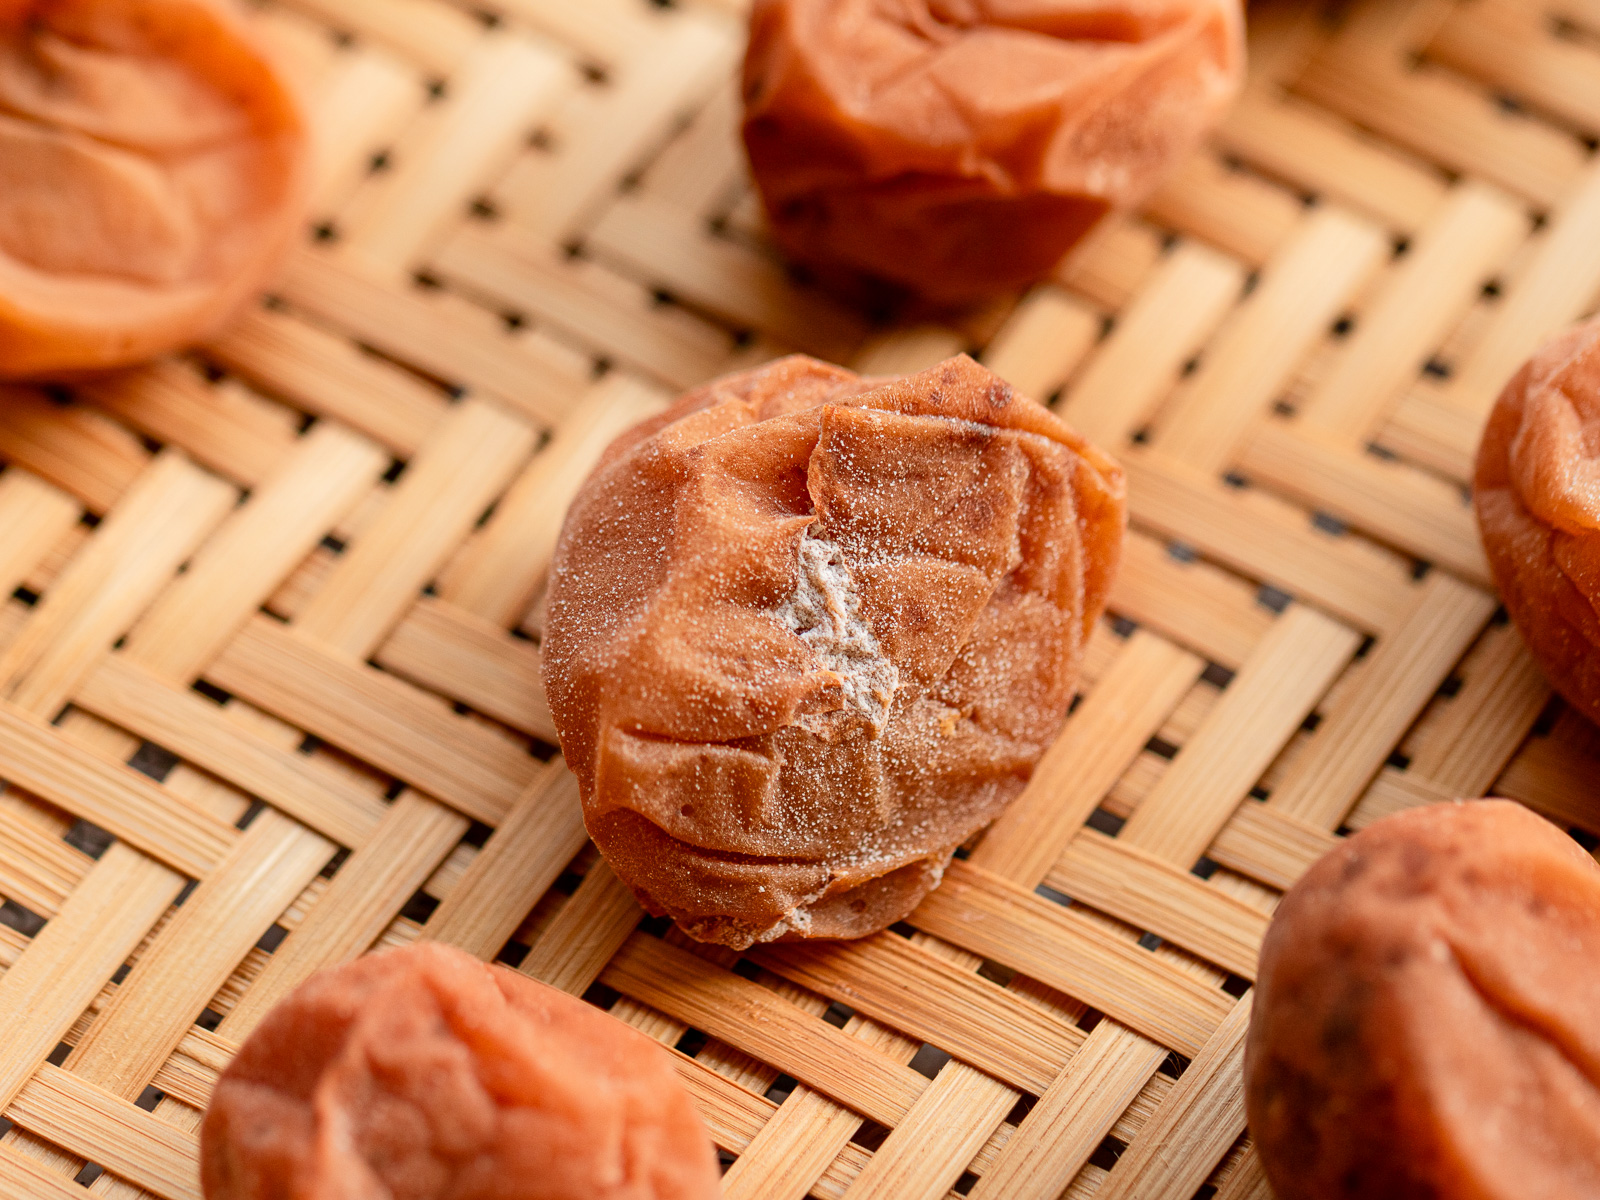
📝 What to watch for instead:
➤ Salt crystals — white and powdery, dry to the touch
➤ Mold — fluffy or fibrous in texture, sometimes gray, green, or black
If you spot anything fluffy or discolored, cut that section away deeply and check the surrounding plums carefully. If mold has spread widely, discard that plum. Wash any tools or hands that came into contact with it, and keep a close eye on the rest of the batch.
🧺 More Ume Recipes
▶︎ Other ume preserves
If this is your first year making umeboshi, these might be next:
- Golden Ripe Ume Jam|A Jar of Hope in Winter
- Vegan Chai Plum Syrup (Japanese Ume Syrup with Spices)
- Korean Green Plum Syrup (Maesil-cheong)
- Vegan Chai-Spiced Blueberry Plum Jam (Using Leftover Plums from Syrup)
- Maesil Jangajji (Korean Pickled Green Plums) – Sweet, Spicy, and Crunchy!
- How to Make Umeboshi (Japanese Pickled Plums)|15–18% Salt
- How to Make Low-Sodium Umeboshi|10% Salt, Refrigerator Method
- How to Make Ume Plum Vinegar (Umezu / 梅酢)
▶︎ Recipes using umeboshi
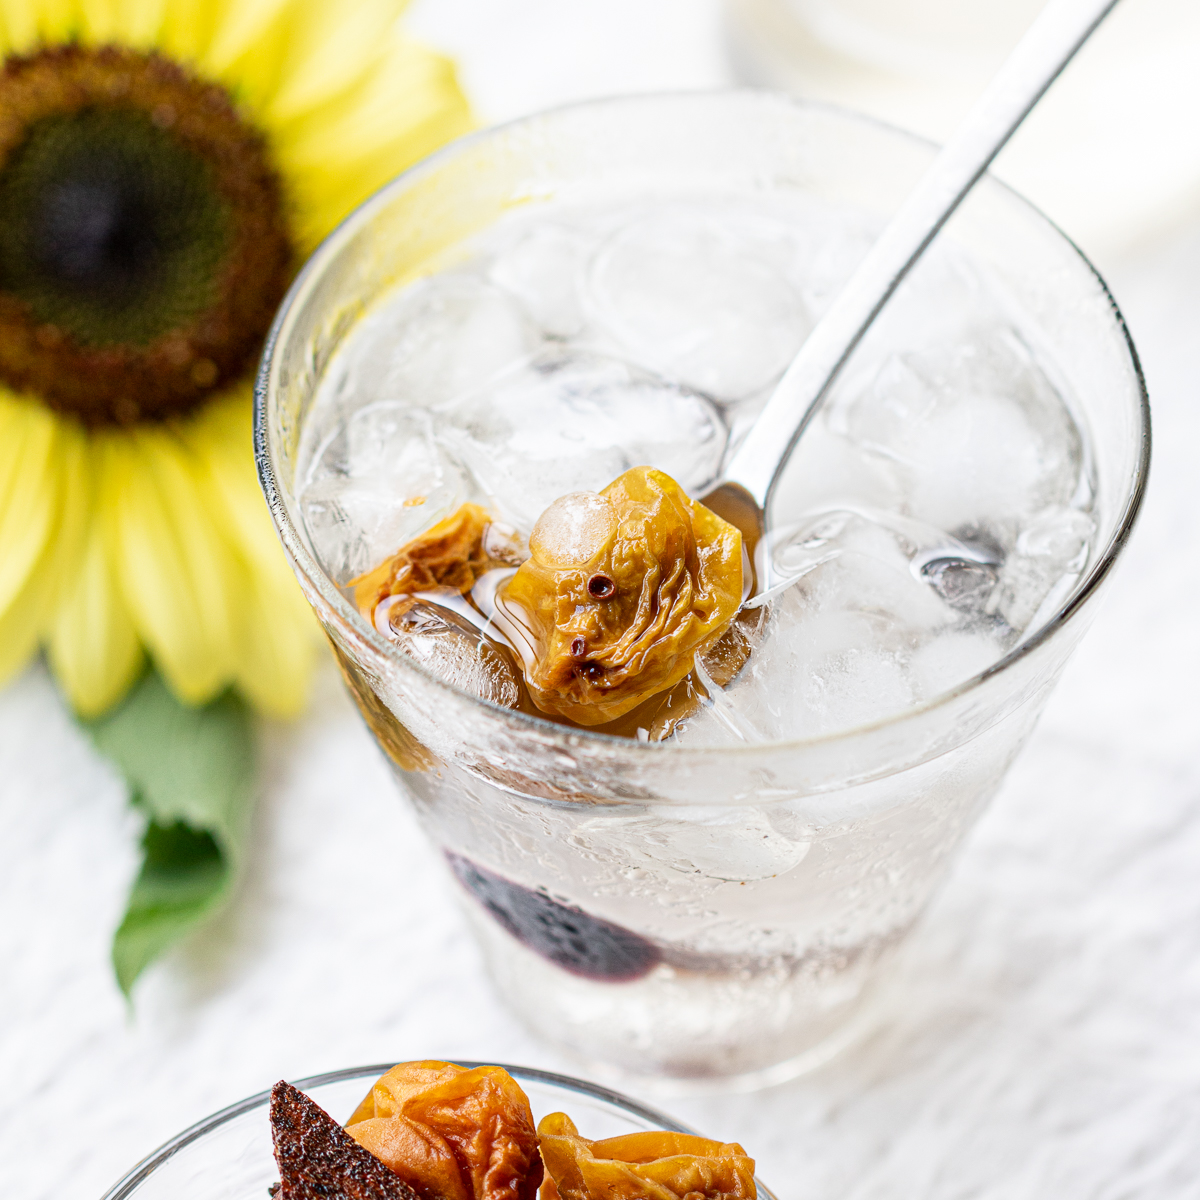
A few vegan recipes built around that sour, salty punch — useful even when appetite is low:

▶︎ Recipes using white ume plum vinegar
The liquid left over from pickling — white ume plum vinegar — is one of the best byproducts of homemade umeboshi. Bright, salty, and deeply savory, it works in dressings, marinades, and more:
✏️ Recipe Card
How to Make Umeboshi (Japanese Pickled Plums)
Equipment
- Large bowl - for washing the ume
- Plate or colander - for drying
- Large container - for pickling
- Weight - a plate works fine
- Knife
- Spatula
Ingredients
- 500 g ripe ume plums
- 90 g coarse salt (18% of ume weight (adjust to 15–18% to taste))
- 2 tablespoon shochu (or vodka, or white ume plum vinegar— use 35% alcohol or higher if using shochu)
Instructions
Preparing the ume
- Prep: Wipe down all containers and tools with shochu and let dry completely. This helps prevent mold.
- Wash: Gently wash the ripe ume in water to remove any surface dirt.500 g ripe ume plums
- Dry: Transfer to a plate or colander and let them dry completely. Patting them dry with a kitchen towel speeds things up.
- Trim: Cut away any damaged or discolored spots with a knife. Remove the stem ends using a bamboo skewer or the tip of a knife.
- Coat: Place the ume in a large container. Sprinkle the shochu or white ume plum vinegar over them first, then add the salt.90 g coarse salt2 tablespoon shochu
- Mix: Using a spatula, mix gently but thoroughly until the salt clings to every plum in a damp, even coat.
- Weight: Place a weight equal to 1–2 times the weight of the ume on top. Store in a cool, dark place. Turn the ume gently once a day until the pickling liquid fully rises.
- Wait: Once the liquid has fully risen, reduce the weight by half. Continue pickling until midsummer — ideally late July to early August, when heat and sunlight are at their peak.
Drying the umeboshi
- Arrange: Pick a run of at least three clear, sunny days. Arrange the ume in a single layer on a rack or net, making sure they don't touch.
- Dry: Bring the ume indoors on the first and second nights. On the third night, leave them outside under the eaves to catch the night dew — this gives the skins a softer, more supple finish.
- Store: On the morning of day four, transfer the finished umeboshi to a clean container and store at room temperature.
Notes
- Spread them out in a single layer on a plate or colander, leaving space between each plum as much as possible.
- Leave in a cool, dark, well-ventilated spot for a few days.
- Turn them once a day if you can, so they don't sit in moisture.
☕️ Closing
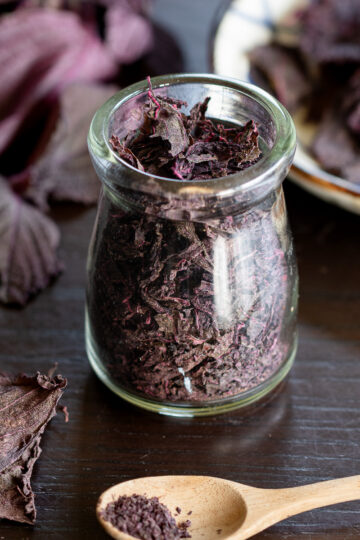
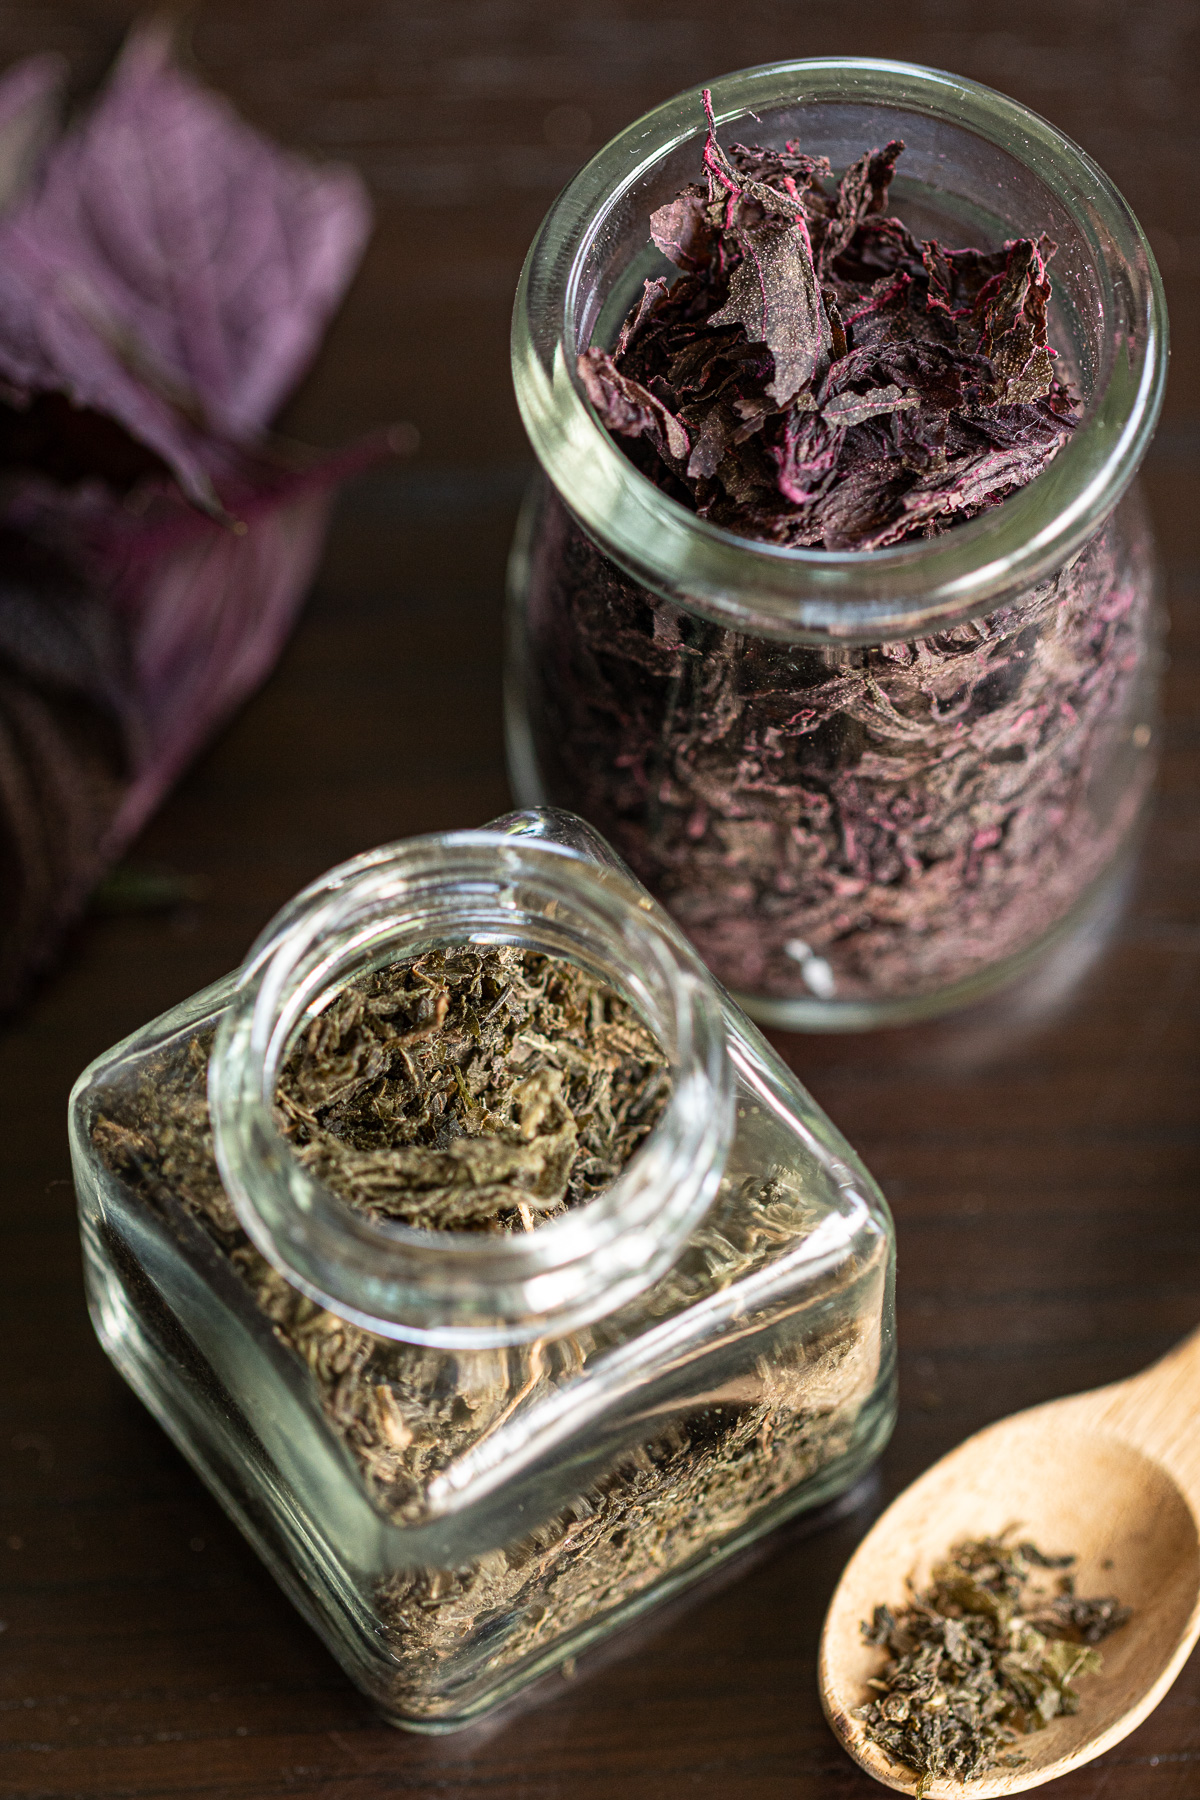
By the time the umeboshi were done, the shiso had gone to seed. I made small batches of salt-pickled shiso seeds — both red and green — and around the same time, a furikake from fresh Korean perilla leaves.
Earlier in the summer, I'd also made a yukari-style red shiso furikake. It works just as well with green shiso.
Seasonal preserving takes time. But there's something quietly luxurious about working with your hands while the kitchen fills with fragrance — feeling the season through all your senses rather than just watching it pass.
I wonder what next year's kitchen will bring 🍃

Comments
No Comments