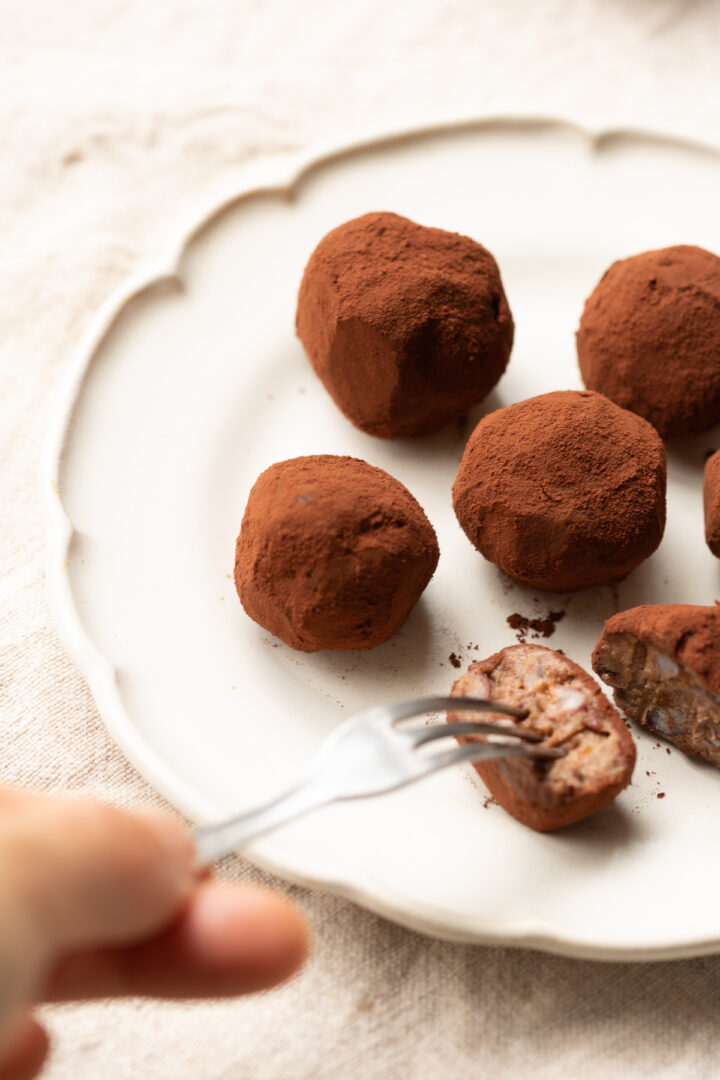
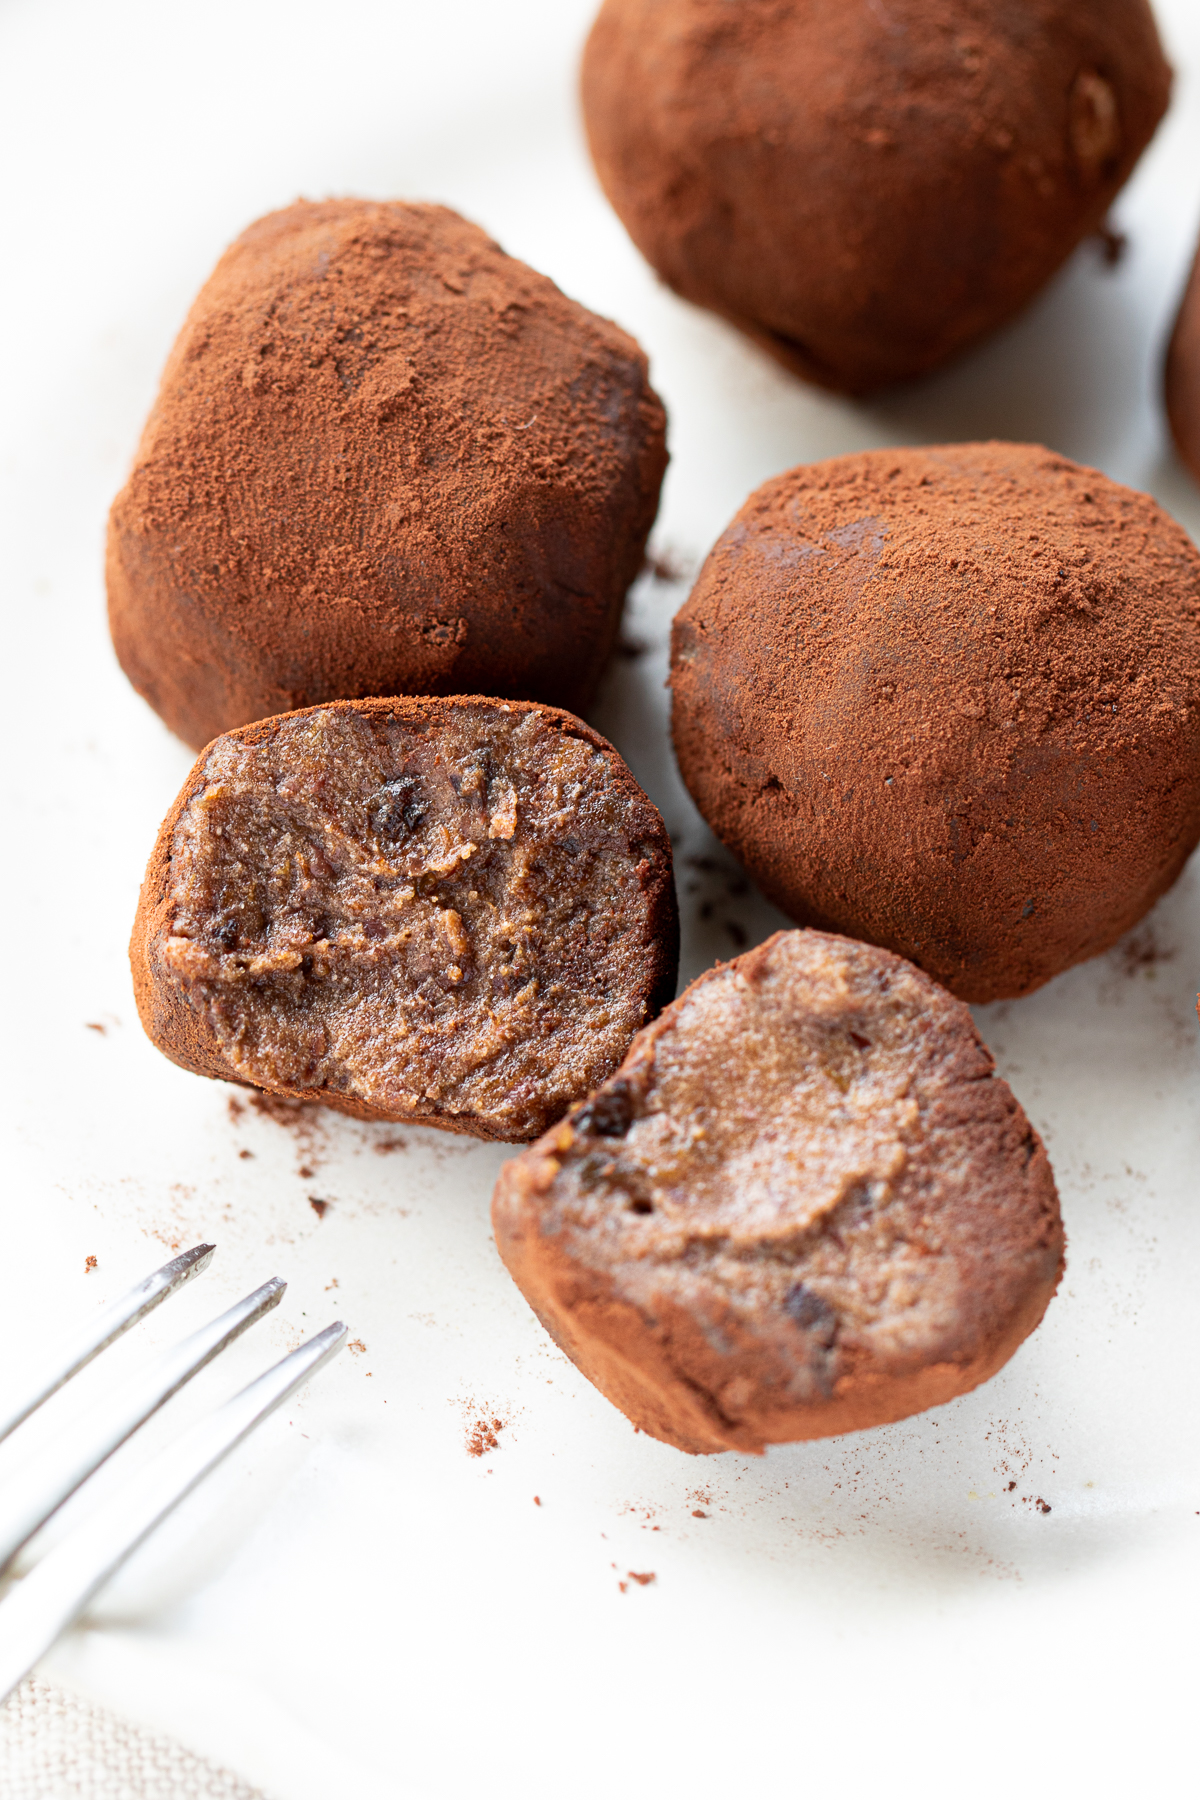
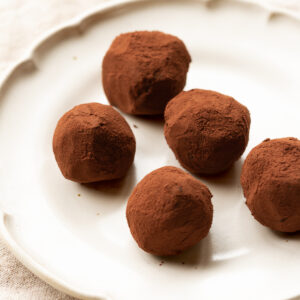
These vegan chocolate truffles are one of my favourite adzuki bean desserts — and probably the most unexpected.
No chocolate, no dairy, no refined sugar. Just cooked adzuki beans, prunes, cocoa powder, and a little coconut oil, blended into a soft, rich mixture and rolled into truffle-sized balls.
The result is surprisingly close to Japanese nama chocolate — that silky, melt-in-your-mouth texture you might know from ROYCE'. Easy to make, naturally sweet, and hard to stop at just one.
Jump to:
🍫 What Is Nama Chocolate?
Nama (生) means "raw" or "fresh" in Japanese, and nama chocolate is essentially a silky, melt-in-your-mouth ganache — cut into squares and dusted with cocoa powder. It's nothing like the snappy texture of a regular chocolate bar. The moment it hits your tongue, it just... dissolves.
The most famous version is probably ROYCE', a Hokkaido-based brand known as a souvenir staple in Japan. If you've ever tried it, you'll know exactly what I mean by that texture.
This recipe is my dairy-free, chocolate-free interpretation of the same idea. Instead of chocolate and cream, I use cooked adzuki beans and prunes as the base — which may sound unusual, but the combination creates the same soft, melt-in-your-mouth quality. Rolled into truffle-sized balls and dusted with cocoa powder, they're richer than you'd expect.
🫘 Ingredients
Just four ingredients — that's all you need.
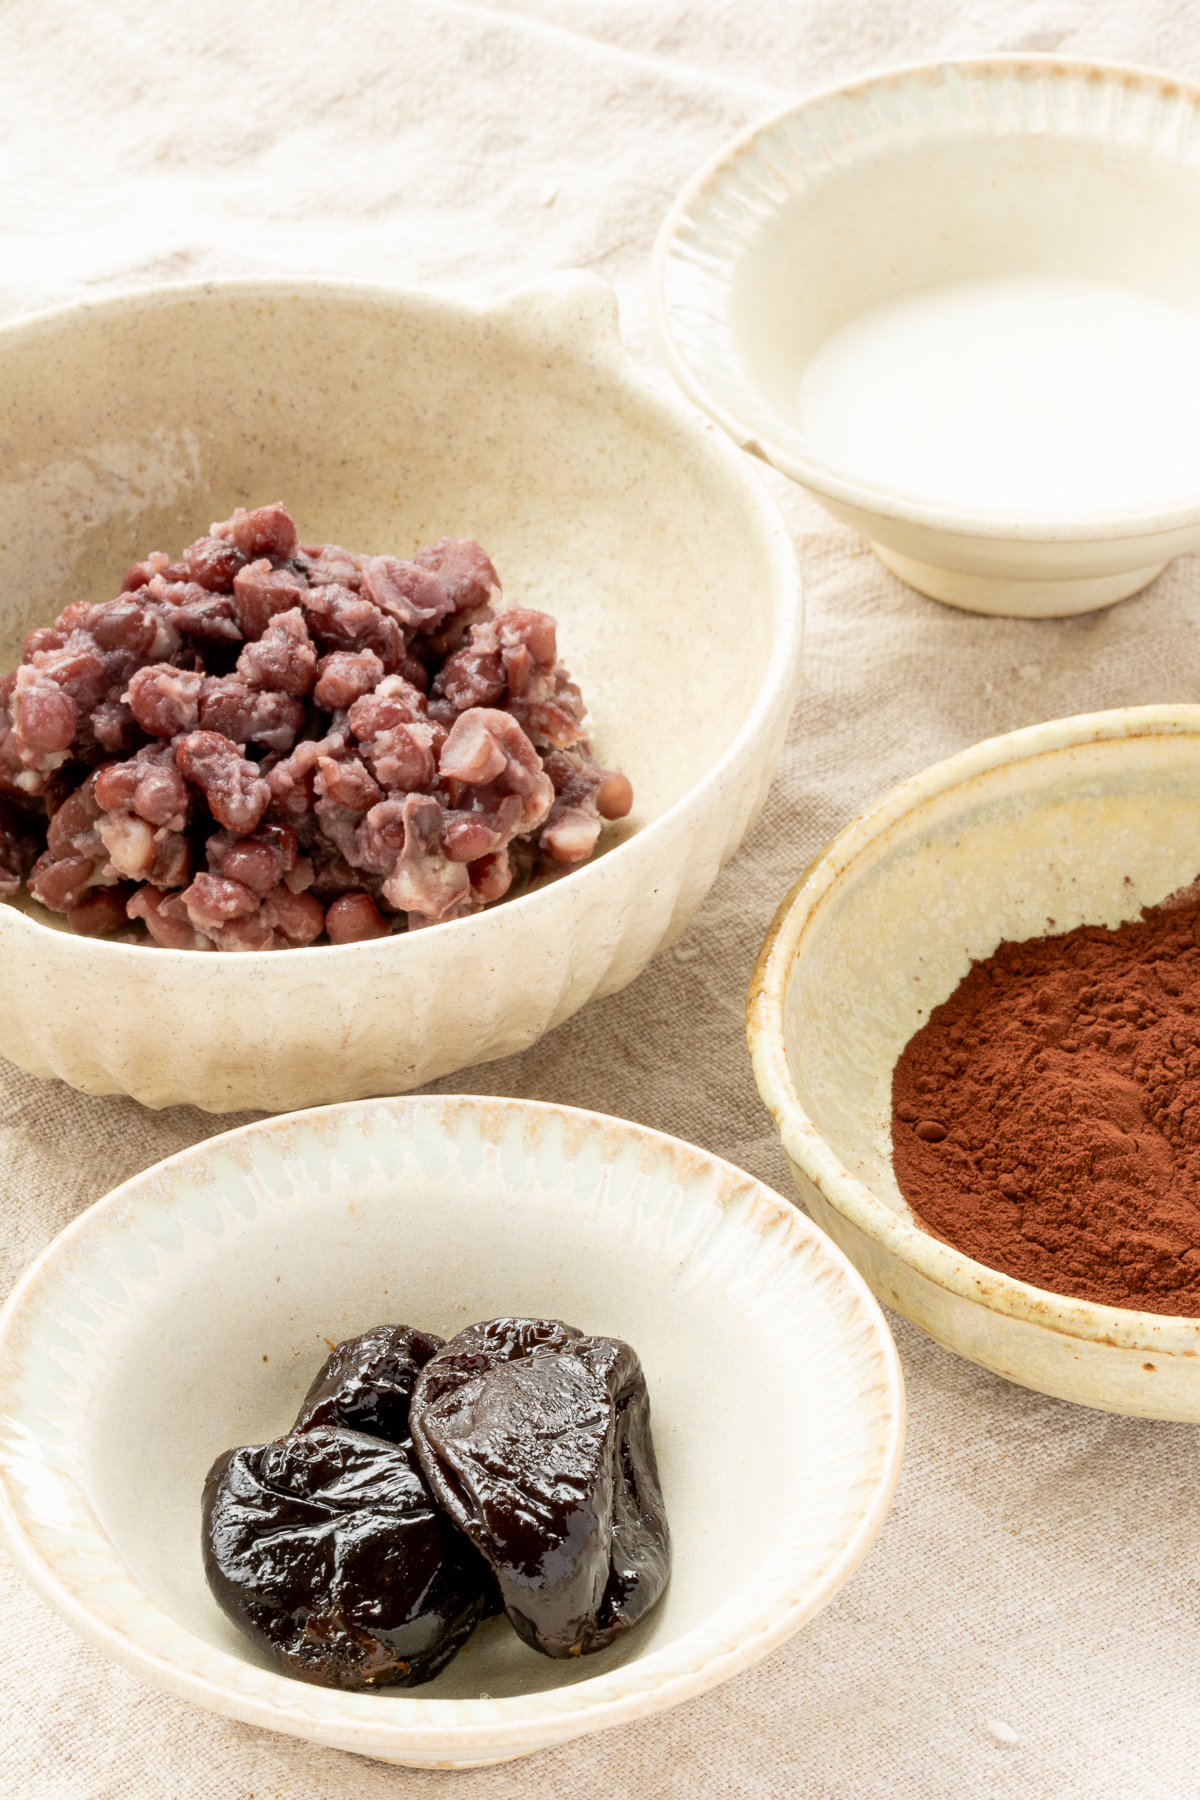
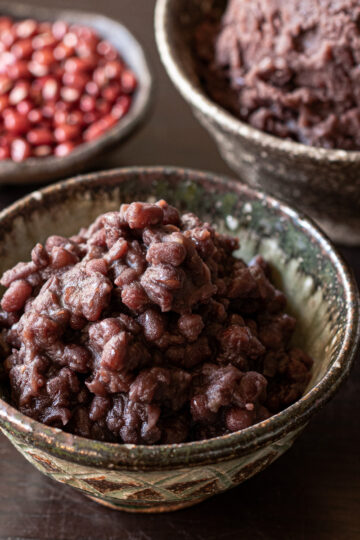
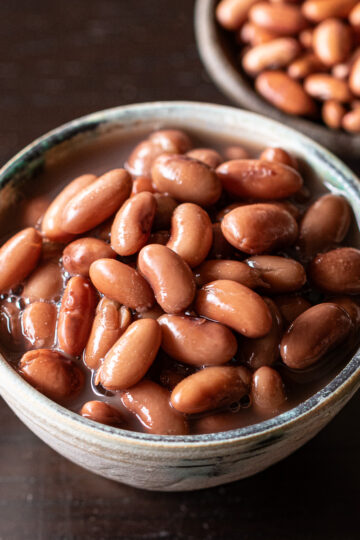
- Cooked adzuki beans (unsweetened) — the base of the truffles. If you need a starting point, see my guide on how to cook dried adzuki beans.
Make sure they're well-drained before using — too much moisture will make the mixture difficult to work with. If you're using my cooked adzuki beans, drain them once they've cooled down and refrigerate until ready to use. - Prunes — add natural sweetness and help bind everything together. Choose the sweetest ones you can find.
- Cocoa powder — for a deep, chocolate-like flavour, plus extra for dusting.
- Coconut oil (refined) — gives the truffles their rich, smooth texture and helps them hold their shape. Use a refined coconut oil with a mild coconut flavour.
Optional:
- Raisins — to add sweetness without adding sugar.
- Your preferred sweetener — if you want a little extra sweetness beyond the prunes. Maple syrup works well, but adding a little extra cocoa powder helps keep the mixture firm.
Full quantities in the recipe card below👇
🥣 Instructions
1. Make the mixture
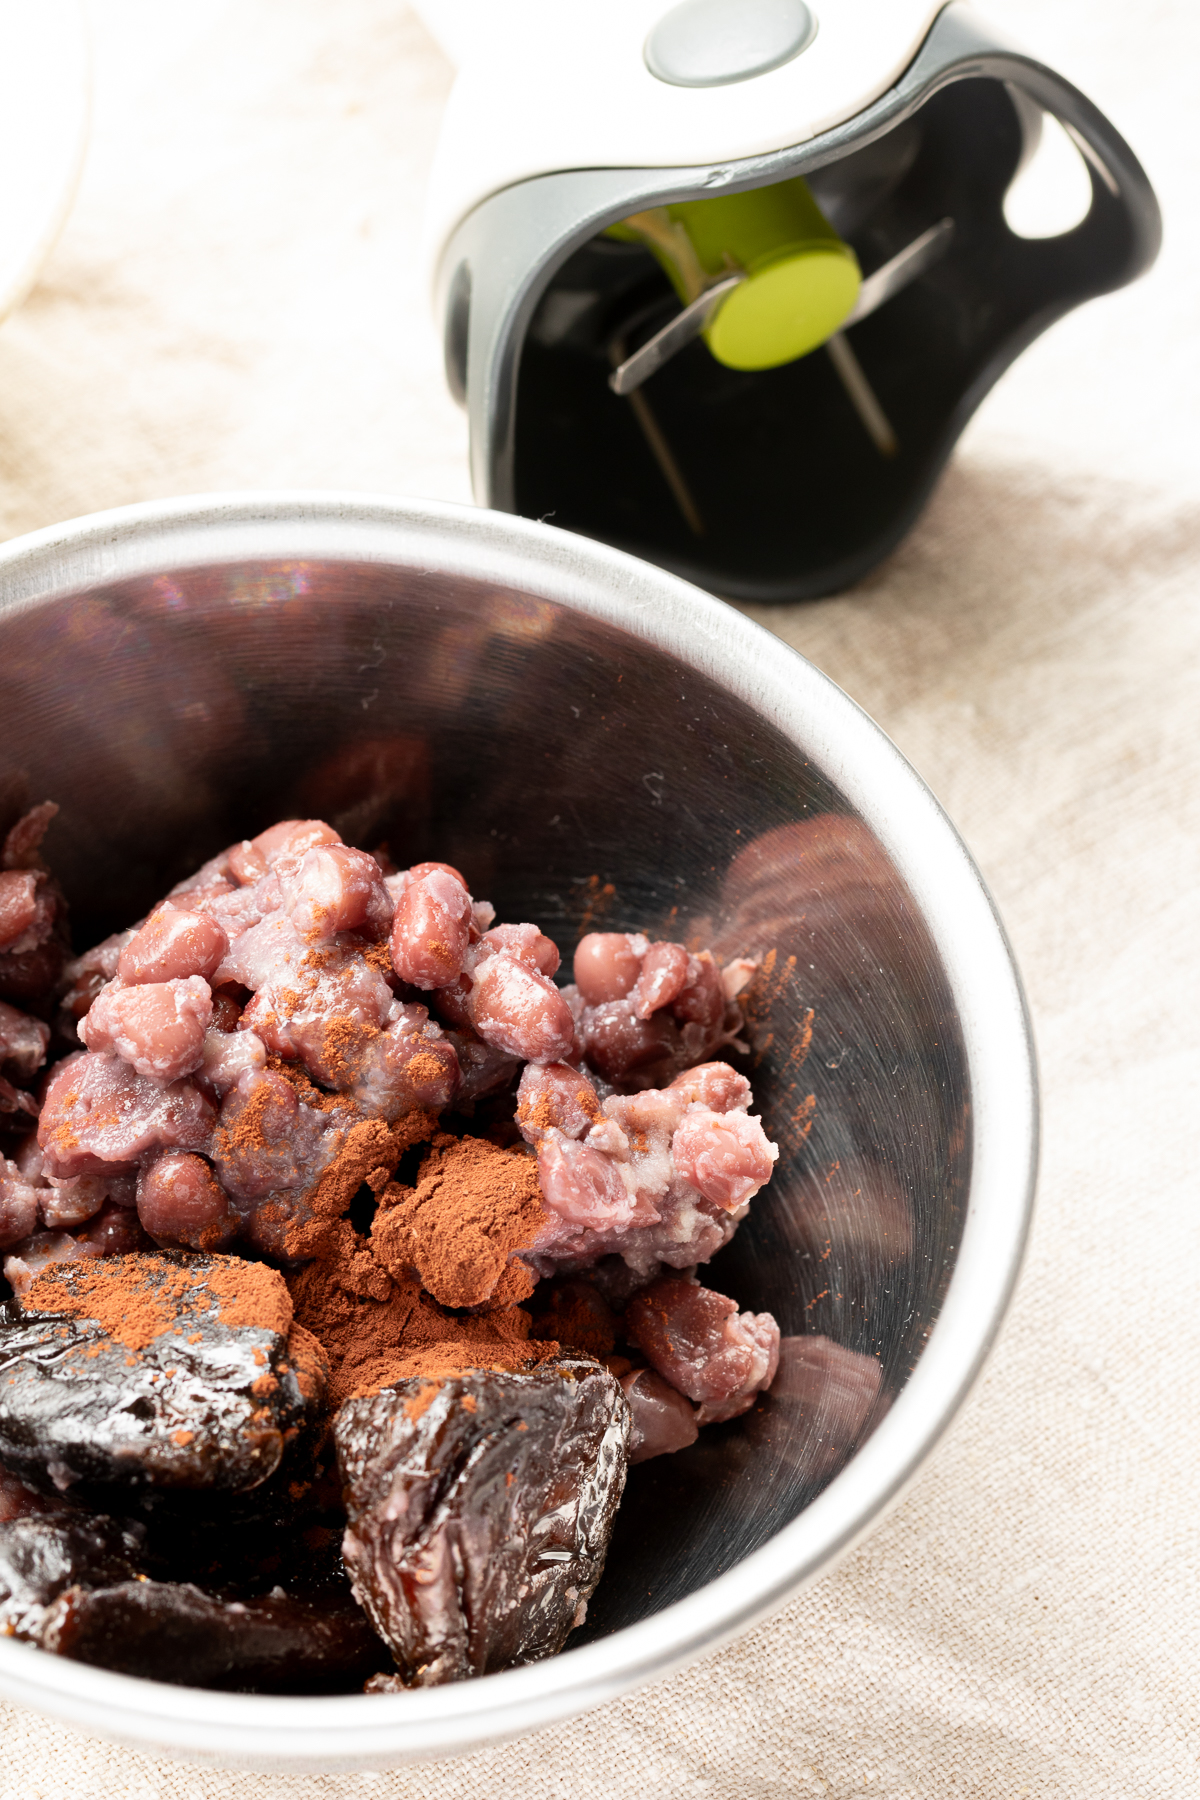
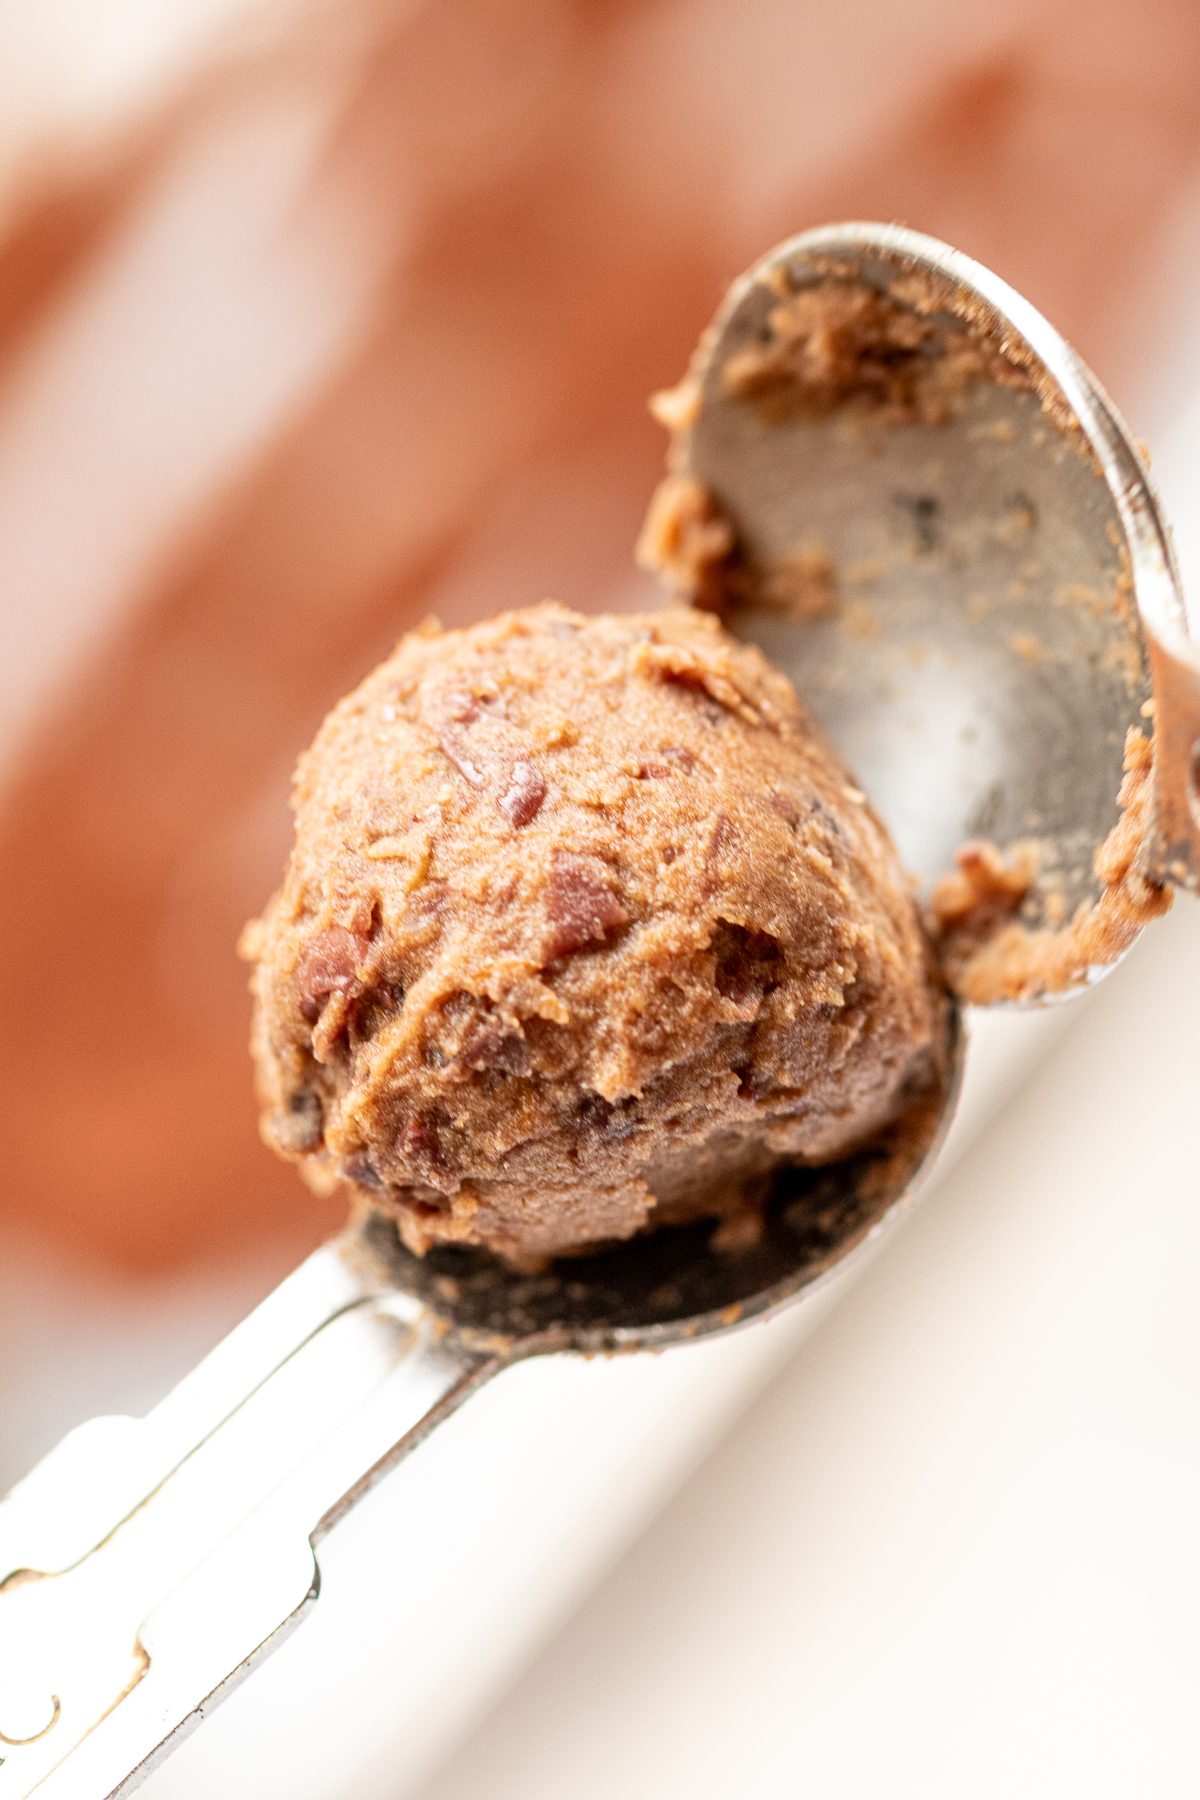
- Add the cooked adzuki beans, prunes, and cocoa powder to a bowl and blend until smooth using a hand blender.
- Pour in the melted coconut oil and mix well with a rubber spatula.
2. Adjust the sweetness
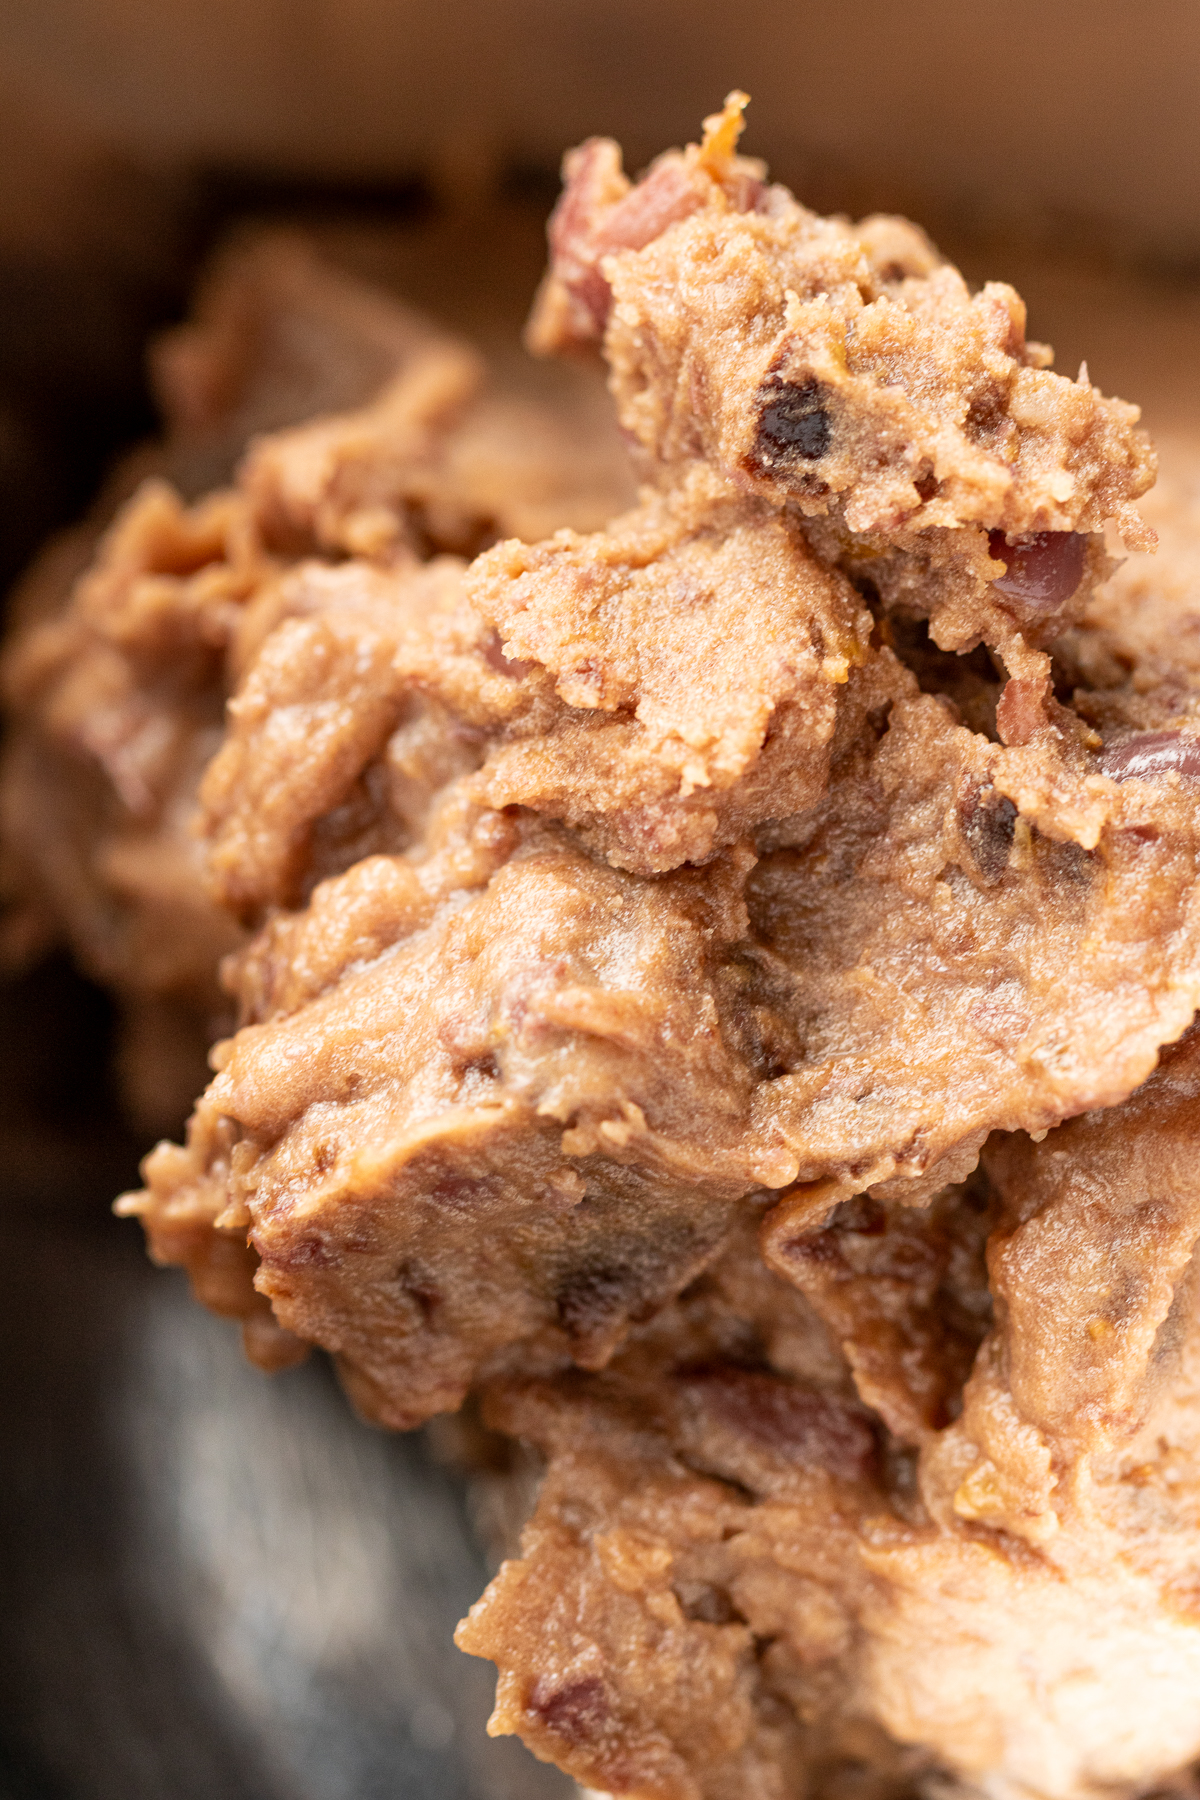
- Taste the mixture and adjust as needed — stir in finely chopped raisins or a small amount of your preferred sweetener if it needs more sweetness.
3. Shape the truffles
- Dust a tray with cocoa powder.
- Using two spoons — a 1 teaspoon and a ½ teaspoon works well — scoop the mixture and shape into balls (video)
🌿 TIP: If the mixture is difficult to shape, chill it in the fridge for 15–20 minutes first — it will be much easier to handle once cold.
4. Drop onto the tray
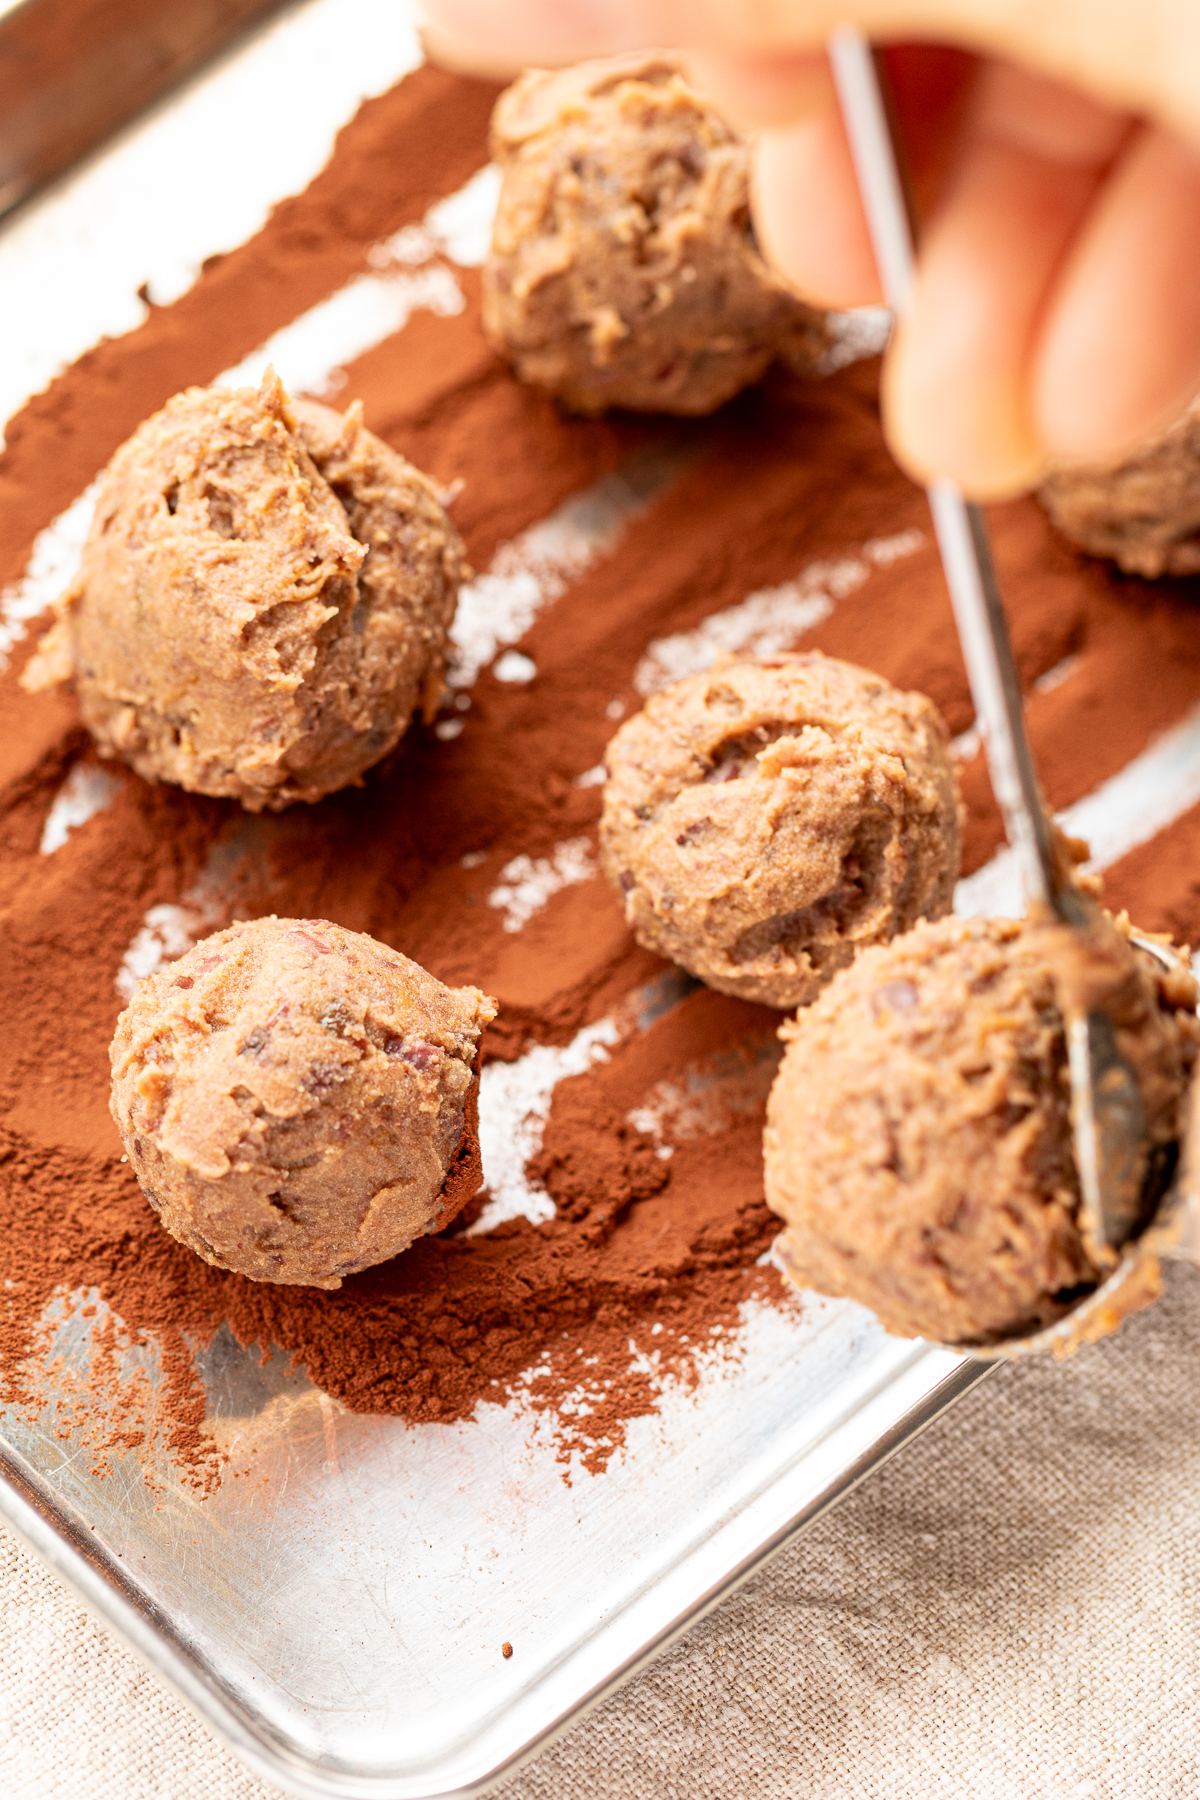
- Then drop onto the prepared tray.
- You should get around 6 truffles.
🌿 TIP: They don’t need to look perfect at this stage — you’ll smooth them out in the next step.
5. Coat in cocoa powder
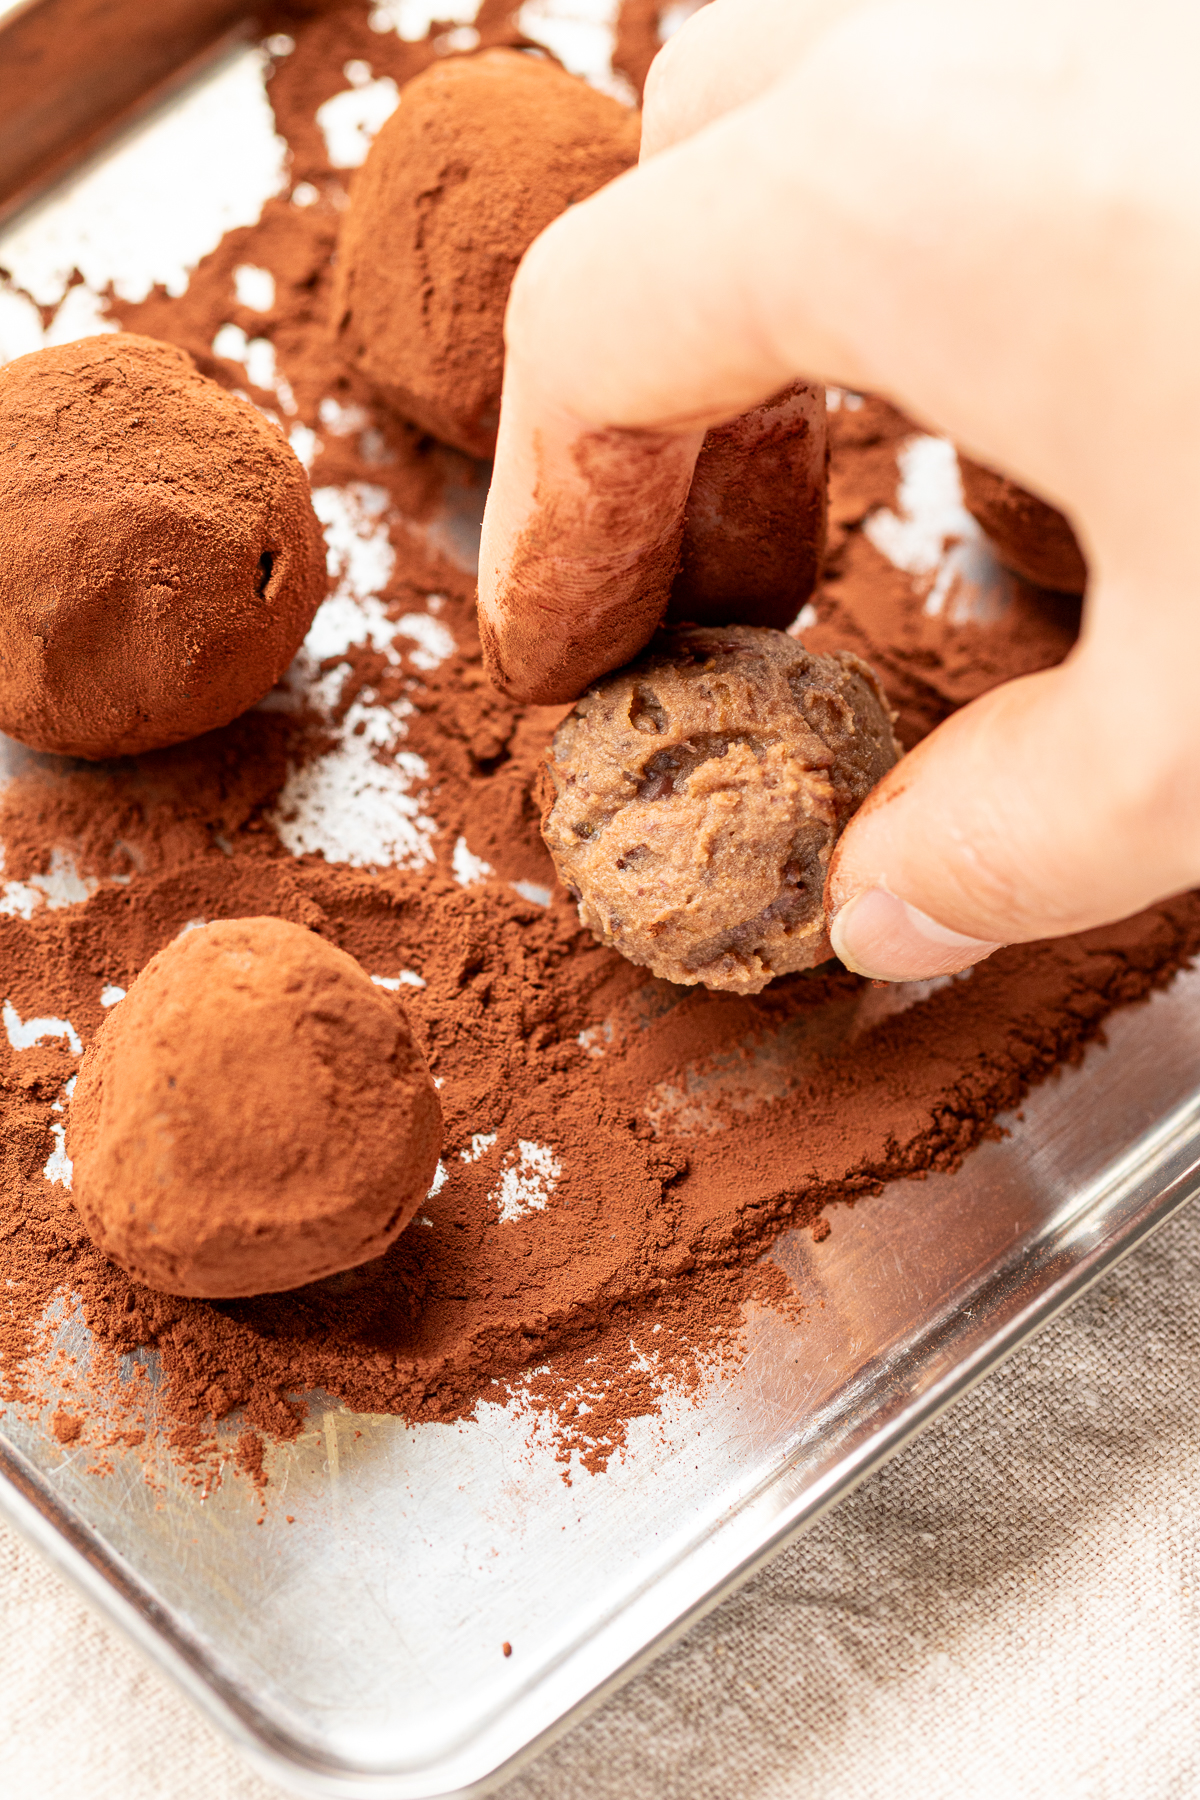
- Roll each truffle in cocoa powder until the surface is evenly coated.
🌿 TIP: Lightly dust your fingers with cocoa powder to keep them from sticking
6. Chill
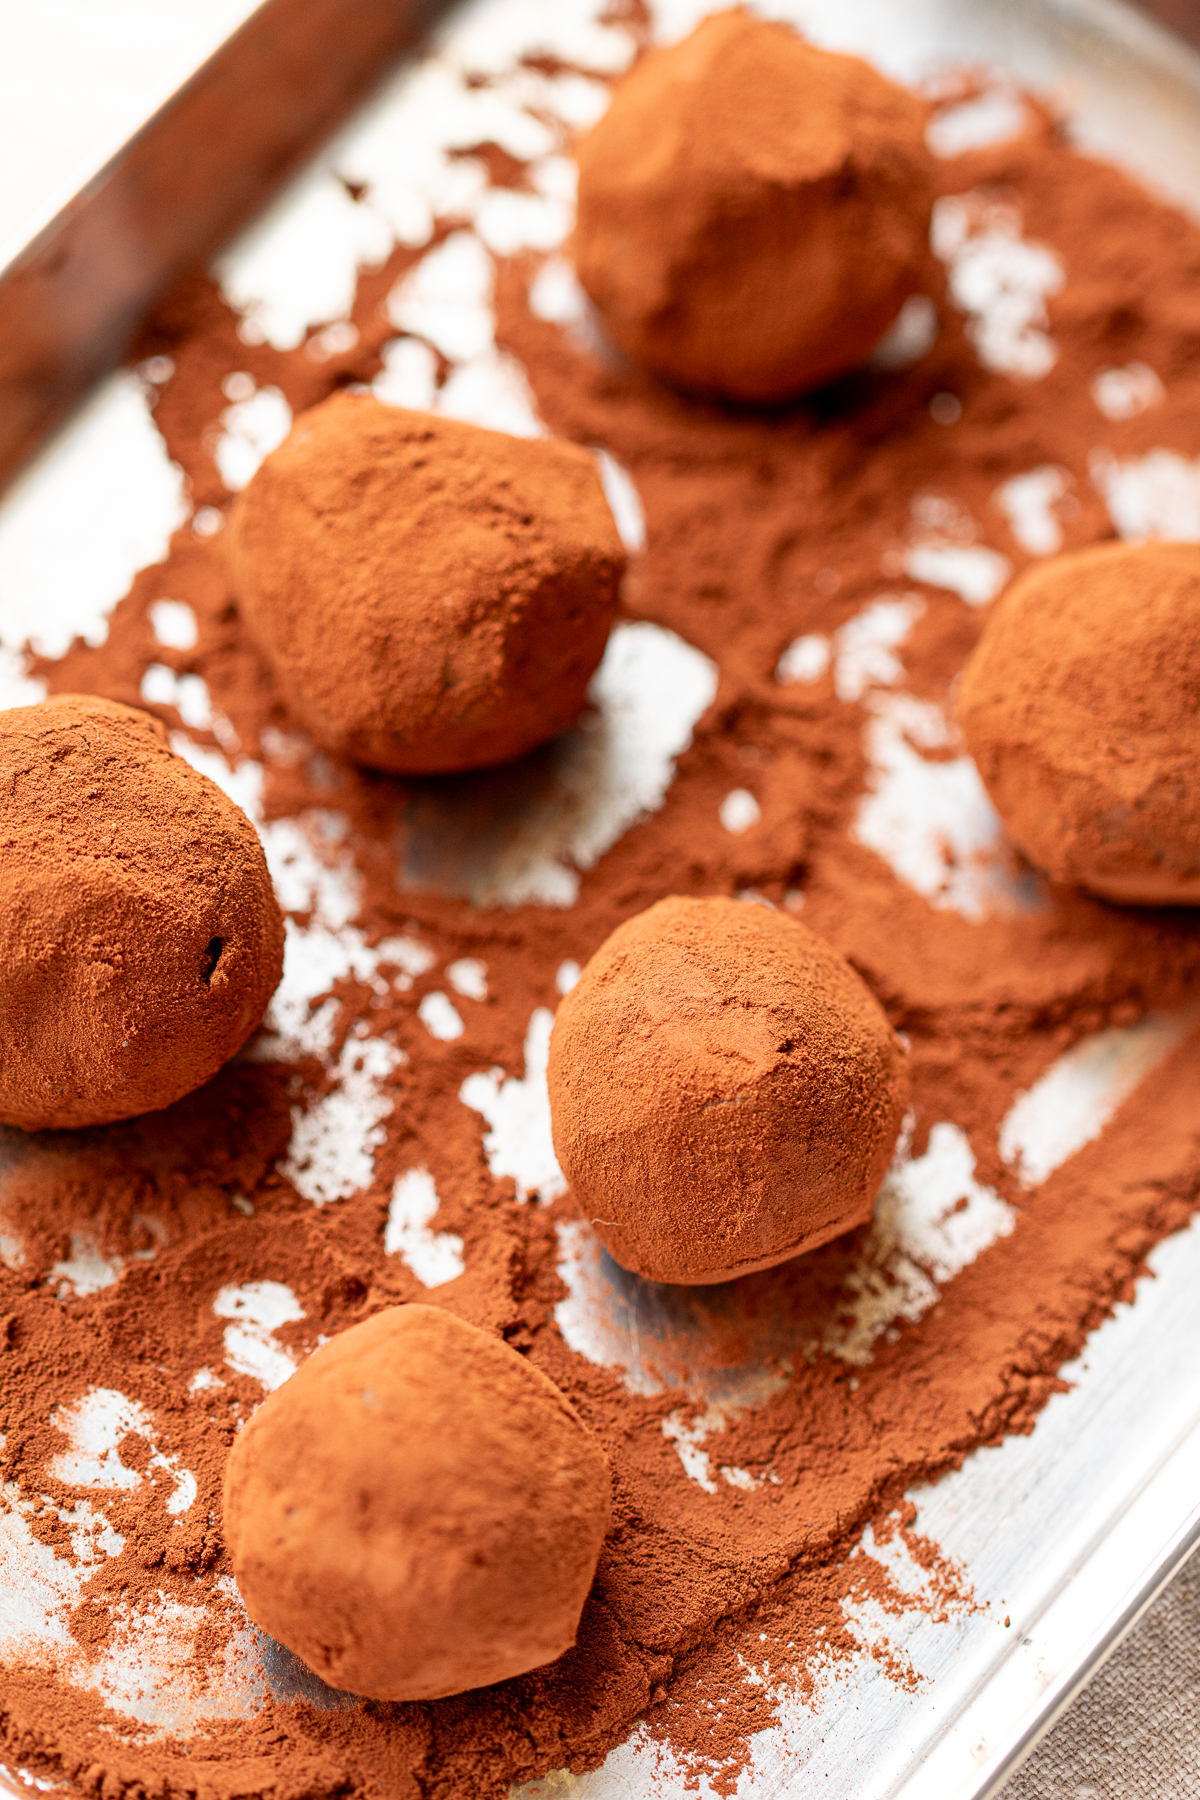
- Transfer to an airtight container and chill until firm.
- Serve cold.
🥥 No Coconut Oil? No Problem
These truffles work without coconut oil — a good option if you prefer to keep things oil-free.
You'll lose some of the richness and a slight chew that coconut oil brings, but the truffles will still be soft and pleasant in their own way.
The one thing to note: coconut oil helps firm up the mixture, making it easier to shape. Without it, chill the mixture in the fridge before shaping — the natural starch in the adzuki beans will help it come together and make it easier to handle.
📘 Variations
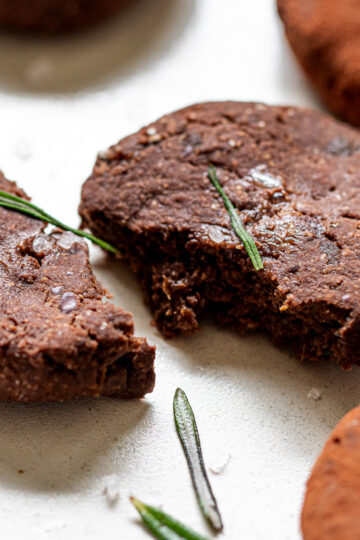
Rum Raisin — for a more grown-up flavour
Make a small batch of rum raisins using 10 g raisins and ½ teaspoon of rum. Finely chop them, then fold into the mixture. The boozy, fruity sweetness pairs really well with the cocoa.
➤ How to make rum raisins: If your raisins are coated in vegetable oil, soak them in hot water for 30 seconds first, then drain and pat dry — or toast them briefly in a dry pan to remove the moisture. Once dry, toss with a small amount of rum and leave for at least 30 minutes to absorb.
🫙 Storage
Store the truffles in an airtight container in the fridge and eat within 3–4 days. The longer they sit, the more they dry out and lose that soft texture, so sooner is better.
The cocoa coating starts off dry and powdery, but after a while it absorbs into the surface and turns slightly moist — if you prefer the powdery finish, give them a fresh dusting of cocoa powder just before serving.
📚 FAQ
Cooked adzuki beans, prunes, cocoa powder, and coconut oil. Raisins and a sweetener of your choice are optional.
The sweetness depends largely on the prunes you use, so choose the sweetest ones you can find. Adding finely chopped raisins is a good way to boost sweetness without adding sugar — they blend into the mixture and add a nice depth of flavour. Or simply add your preferred sweetener.
Most likely the adzuki beans had too much moisture. Make sure they're well-drained before using. If the mixture is still too soft, add a little extra cocoa powder a bit at a time until it reaches a workable consistency.
For the next time, if you feel like the beans are too moist, you can also heat them over low heat to remove some moisture.
Yes — the texture will be better once it has chilled well. You can make them the day before and store in an airtight container in the fridge until ready to serve.
Yes, all the ingredients are naturally gluten-free. Just make sure the cocoa powder you use is certified gluten-free if you're sensitive to cross-contamination.
They're similar in concept — no-bake, whole food ingredients, rolled into balls. But the texture is closer to Japanese namachocolate than a typical bliss ball, thanks to the adzuki beans and coconut oil combination.

If you feel like whispering a thought, asking a question, or simply saying hello — the comment section is always open 📮
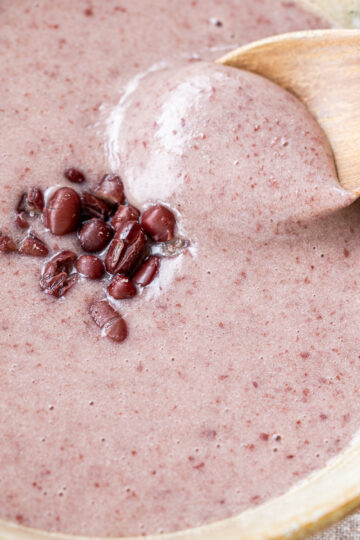
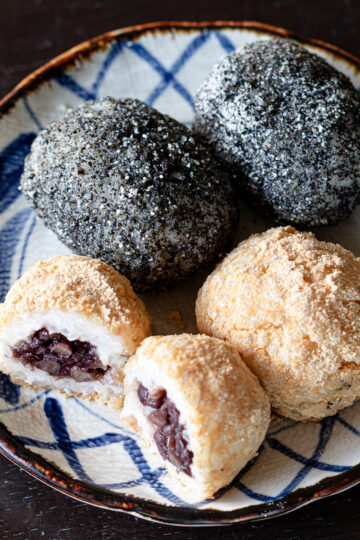
🥄 Leftover Adzuki Beans Recipes
To use up leftover cooked adzuki beans:
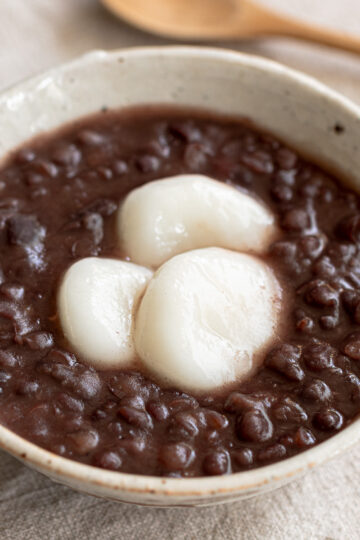
🍡 Japanese Anko Desserts
Traditional vegan Japanese sweets recipes:
📖 Recipe Card
Vegan Nama Chocolate Truffles (Made with Adzuki Beans)
Equipment
- Mixing bowl
- Hand blender or food processor
- rubber spatula
- 2 spoons
- Tray or plate
Ingredients
- 30 g prunes
- 70 g cooked adzuki beans (unsweetened)
- 1 teaspoon cocoa powder (add more as needed)
- 10 g coconut oil (melted)
For coating:
- ½ teaspoon cocoa powder (add more as needed)
Optional — if more sweetness is needed:
- raisins (finely chopped, to taste)
- sweetener of your choice
Instructions
- Blend the prunes, cooked adzuki beans, and cocoa powder using a hand blender or food processor until smooth.30 g prunes70 g cooked adzuki beans1 teaspoon cocoa powder
- Add the melted coconut oil and mix well with a rubber spatula.10 g coconut oil
- Taste and adjust sweetness if needed — stir in finely chopped raisins or a small amount of your preferred sweetener.raisinssweetener of your choice
- Spread cocoa powder over a tray.½ teaspoon cocoa powder
- Using two spoons, scoop and shape the mixture into 6 balls, then place on the prepared tray.
- Dust your fingers with cocoa powder and roll each truffle until evenly coated.
- Chill in the fridge until firm before serving.
Notes
- The sweetness depends on your prunes — choose the sweetest ones you can find.
- If the mixture is too sticky, add extra cocoa powder a little at a time to adjust the consistency.
- Without coconut oil, chill the mixture in the fridge before shaping — it will be easier to handle.
- The cocoa coating starts off dry and powdery, but will turn slightly moist over time. Dust with fresh cocoa powder just before serving if you prefer the powdery finish.
- Store in an airtight container in the fridge for up to 3–4 days.

If this recipe made its way into your kitchen, and you'd like to share that moment, feel free to tag @veginveganvegun or use #vegin_vegan_vegun.
Your quiet stories inspire me deeply 🕊️

Comments
No Comments