This is a simple way to cook pinto beans from scratch in a pressure cooker.
Cooking dried pinto beans takes time — mostly for soaking — but the process itself is straightforward. Once properly soaked, the beans cook evenly and become soft all the way through.
Here's how I cook them at home, including soaking time, pressure cooking time, storage tips, and a few ways to use them.
This recipe makes enough to last for a few days, and having a batch ready in the fridge makes those days easier 🕊️
Jump to:
🧺 What are pinto beans?
Pinto beans are medium-sized beans with a distinctive brown speckled pattern — the name comes from the Spanish word for "painted." They have a mild, earthy flavor and a soft, floury texture when cooked.
A staple in Mexican and American cooking, pinto beans turn up in everything from chili and tacos to refried beans and soups.
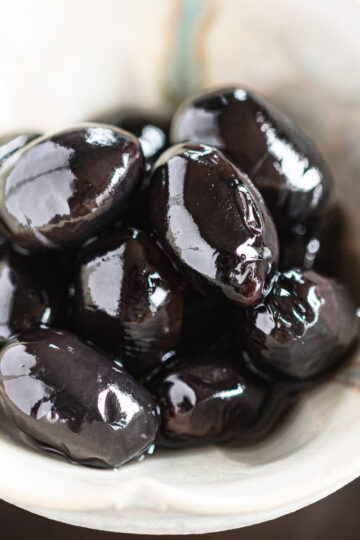
In Japan, pinto beans are known as uzuramame (うずら豆). They are traditionally simmered with sugar and served in small portions — as a side dish in meals, packed in bento, or as a little snack with tea.
The recipe I'm sharing here — a plain, unseasoned batch cooked in a pressure cooker — works as the base for the sweet uzuramame, and any other pinto bean dish.
Cook a generous amount, keep it in the fridge, and you'll have it ready to use in all sorts of ways over the next few days.
▼ Ways to use cooked pinto beans:
🫘 Ingredients
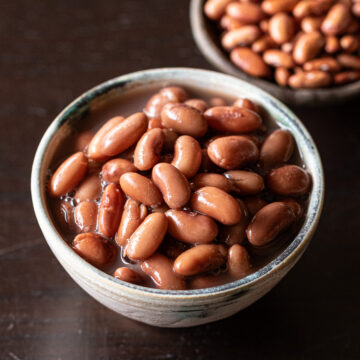
- Dried pinto beans: I use pinto beans from Ambika Shop. Each bean measures roughly 15×8mm — on the larger side. Soaking and cooking times vary depending on the size and age of the beans. Smaller or fresher beans will need less time; larger or older beans may need more. Use the times in this recipe as a baseline and adjust from there.
- Water
Exact quantities are in the recipe card at the bottom of this page 👇
🥣 Equipment
- Bowl
- Colander
- Pressure cooker: I use a Pearl Metal pressure cooker with switchable low and high pressure settings.
- Storage container
🕰️ How long to soak pinto beans (and why it matters)
When it comes to cooking pinto beans in a pressure cooker, soaking is the step that makes the biggest difference.
Without enough soaking, the outside of the bean softens before the center has a chance to catch up — leaving a hard core, no matter how long it’s cooked in the pressure cooker. A small thing to get right, but the one worth getting right.
Here's how to tell when they're ready:
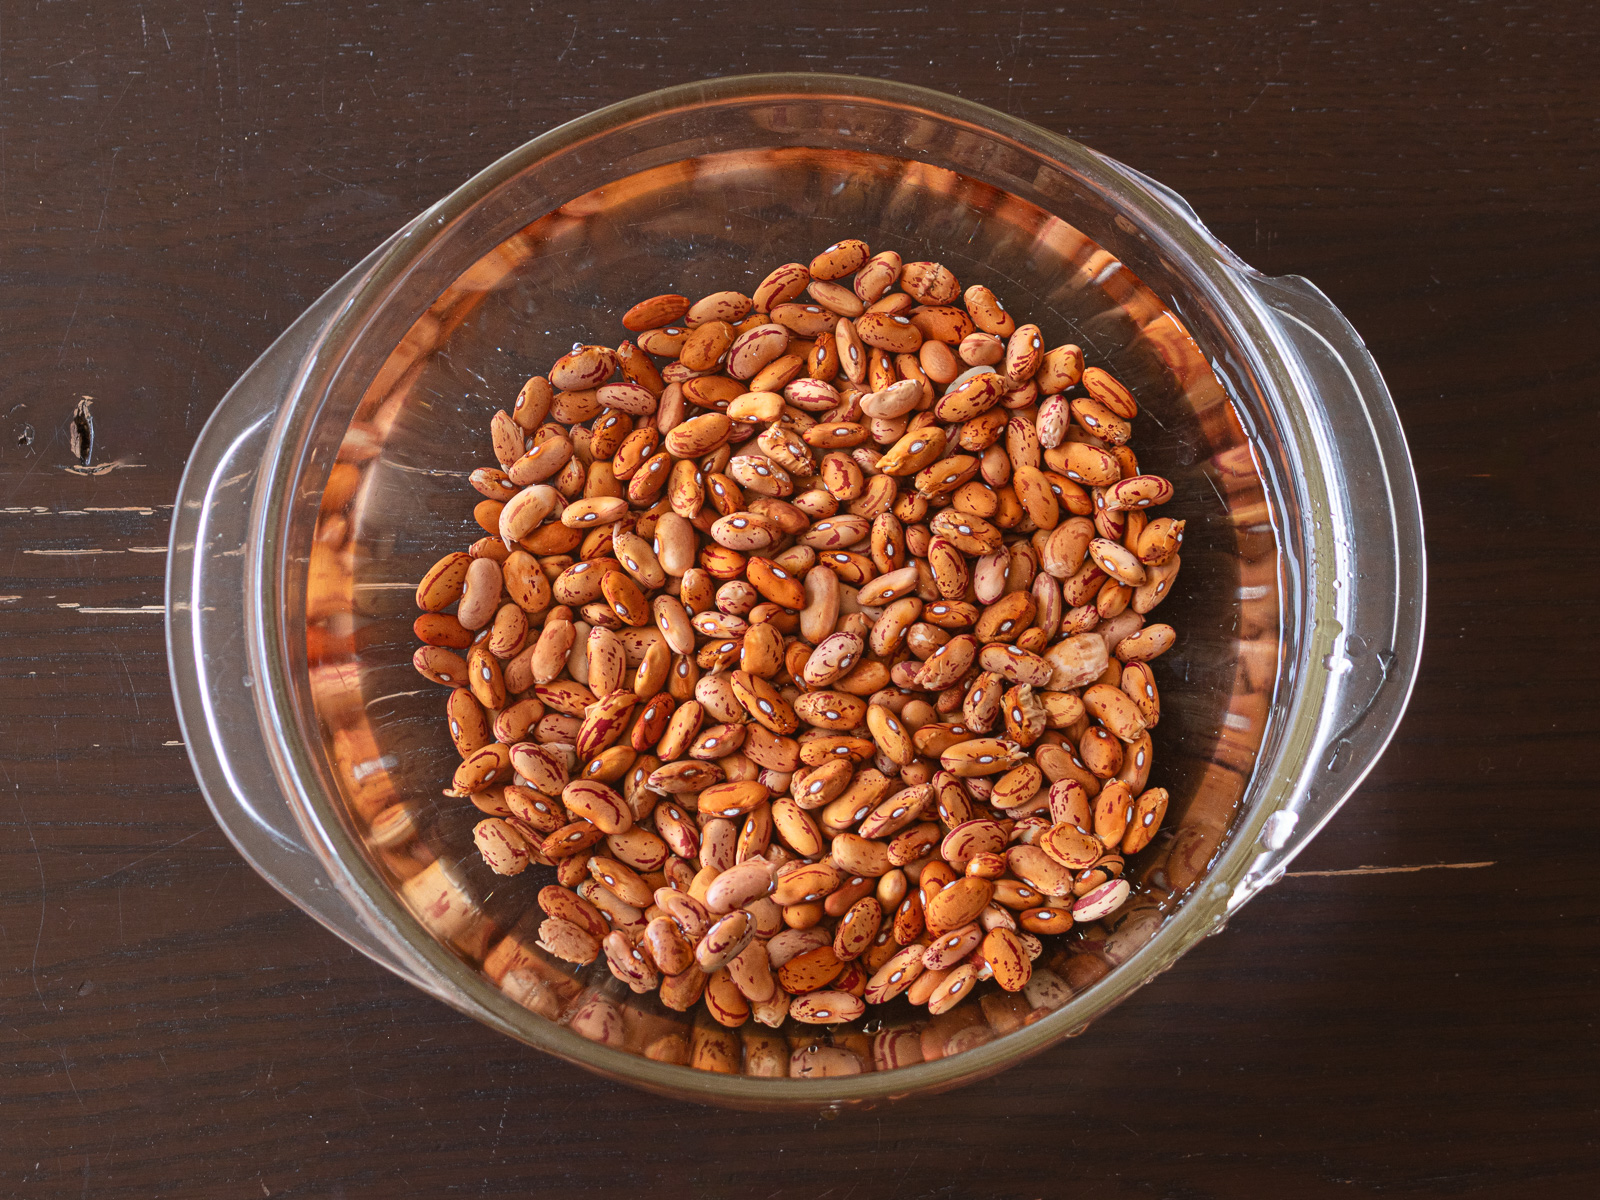
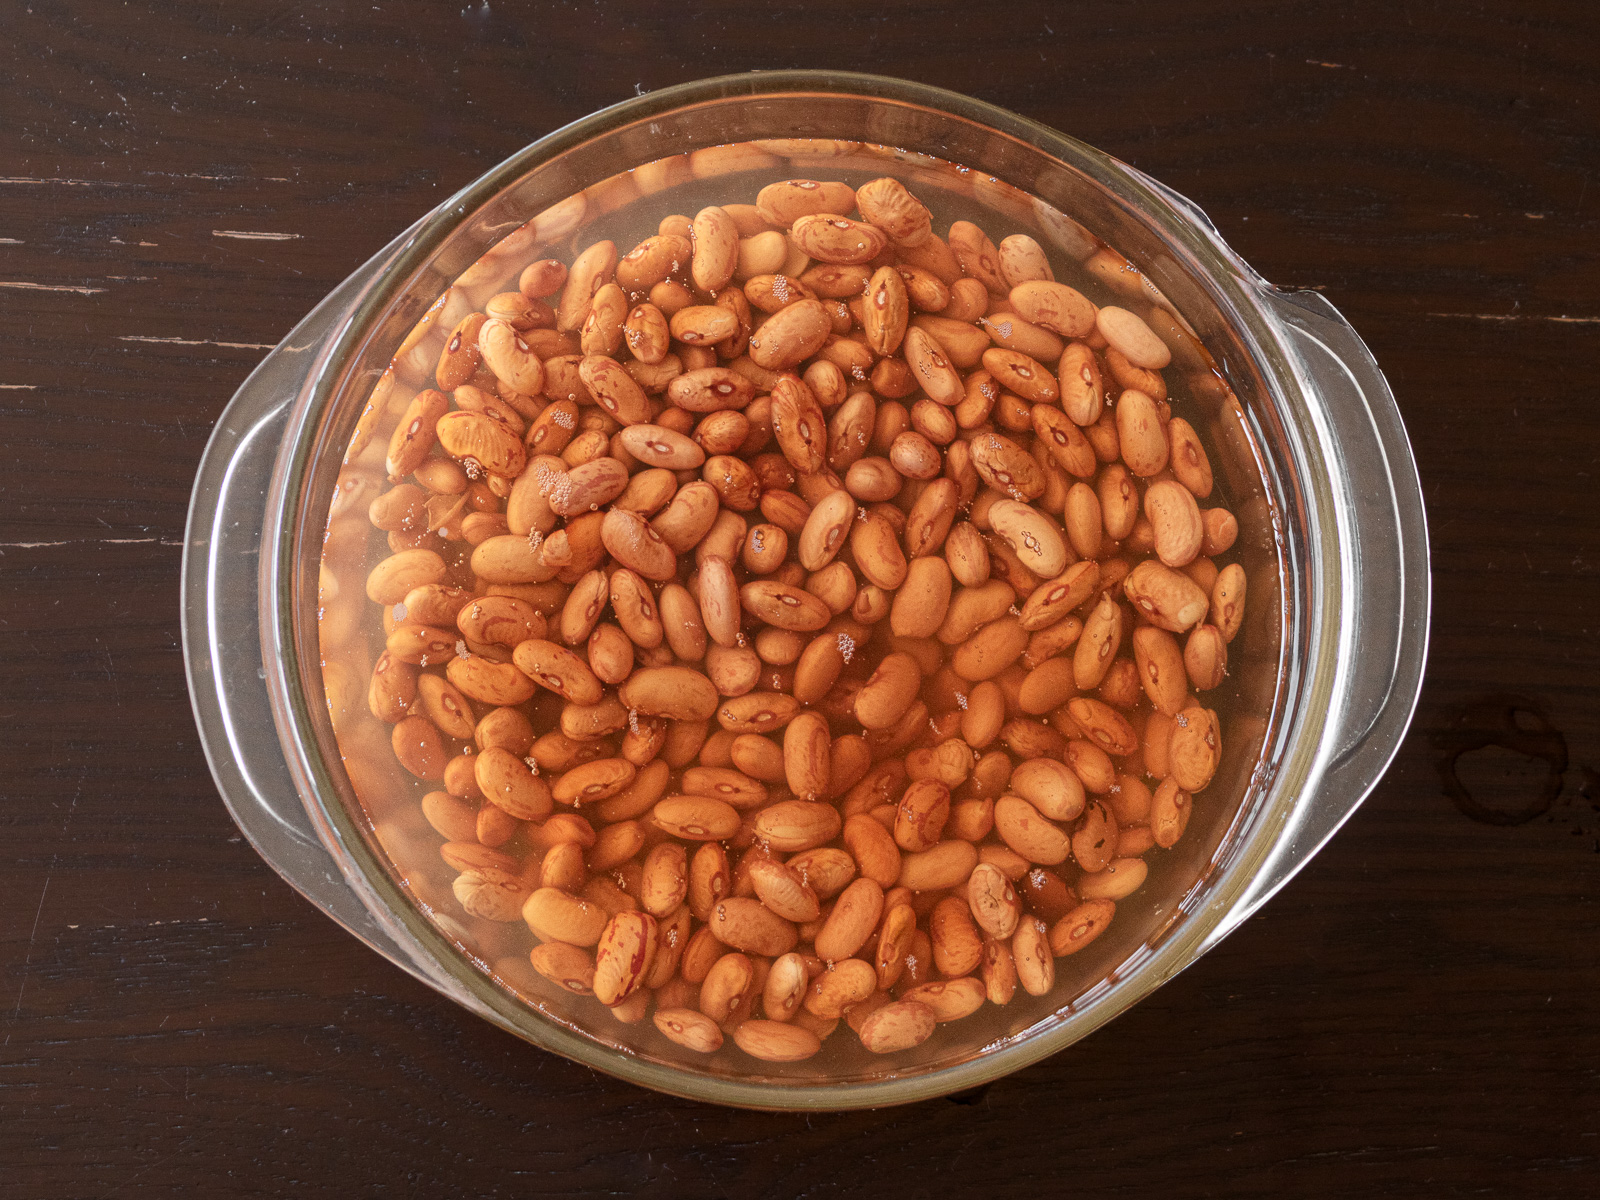
Soak the beans in plenty of water until...
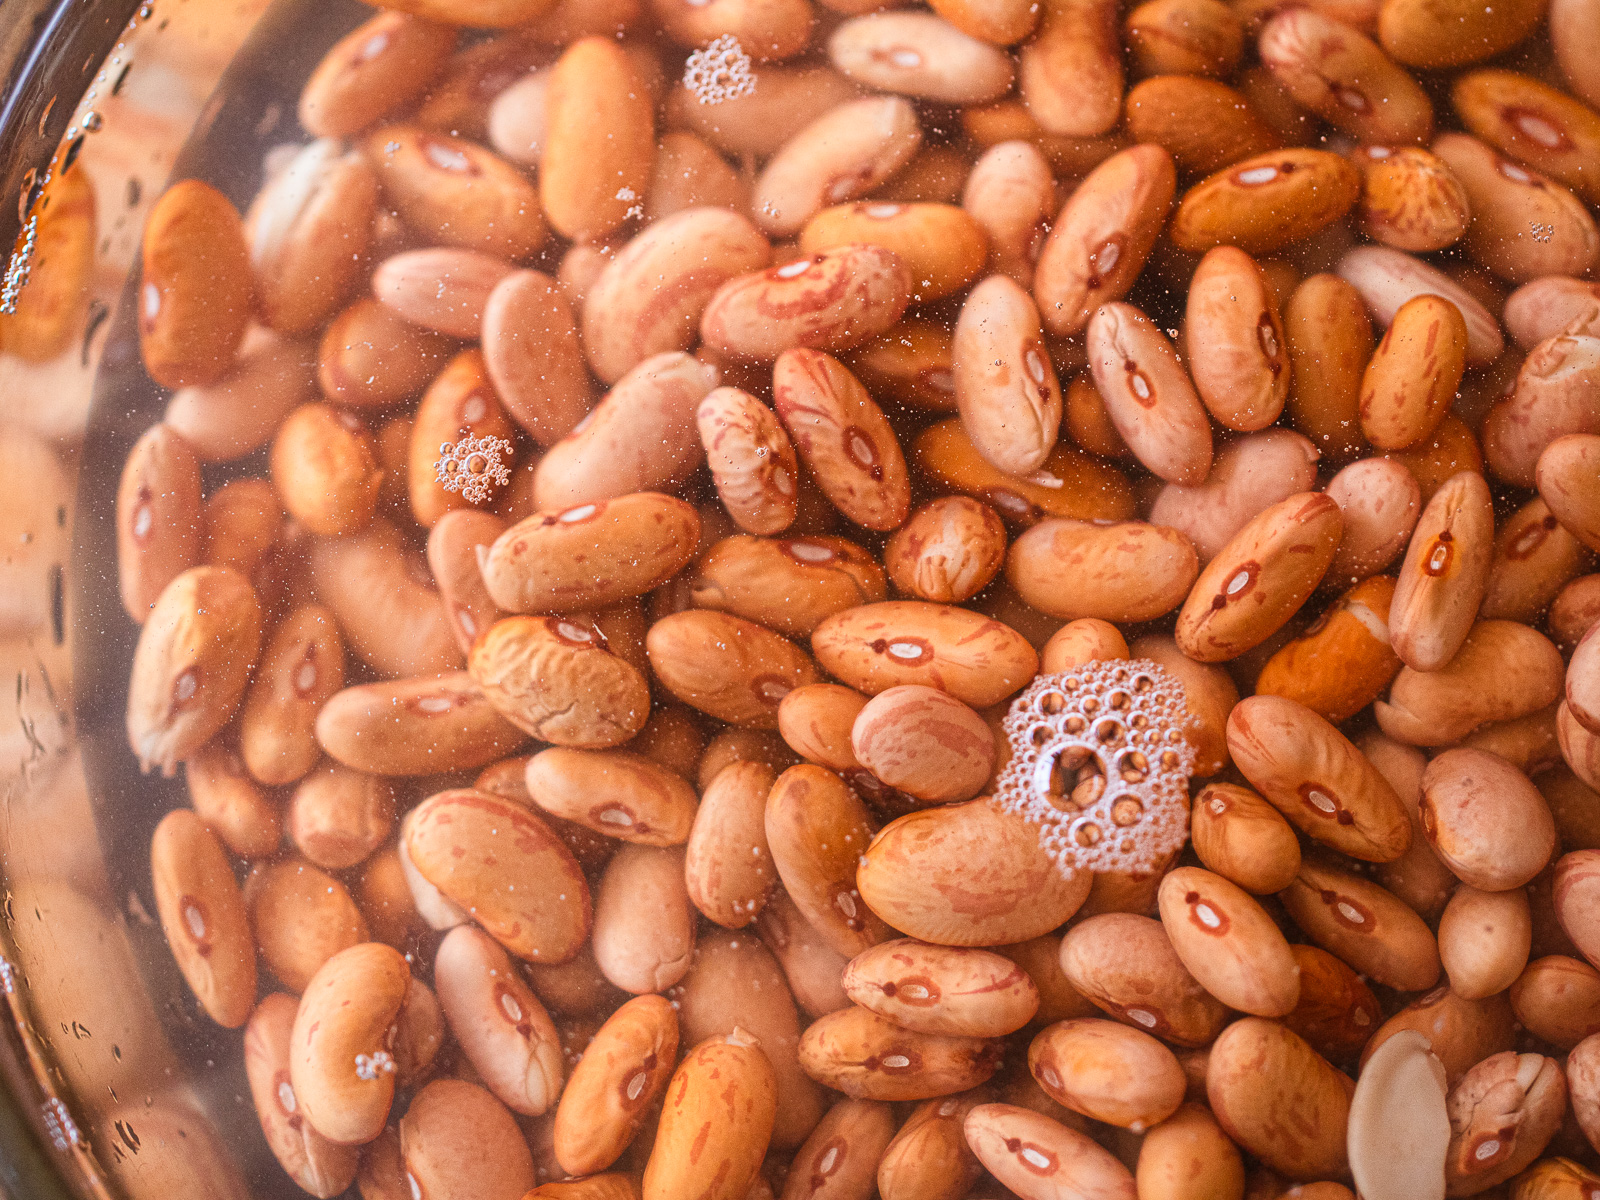
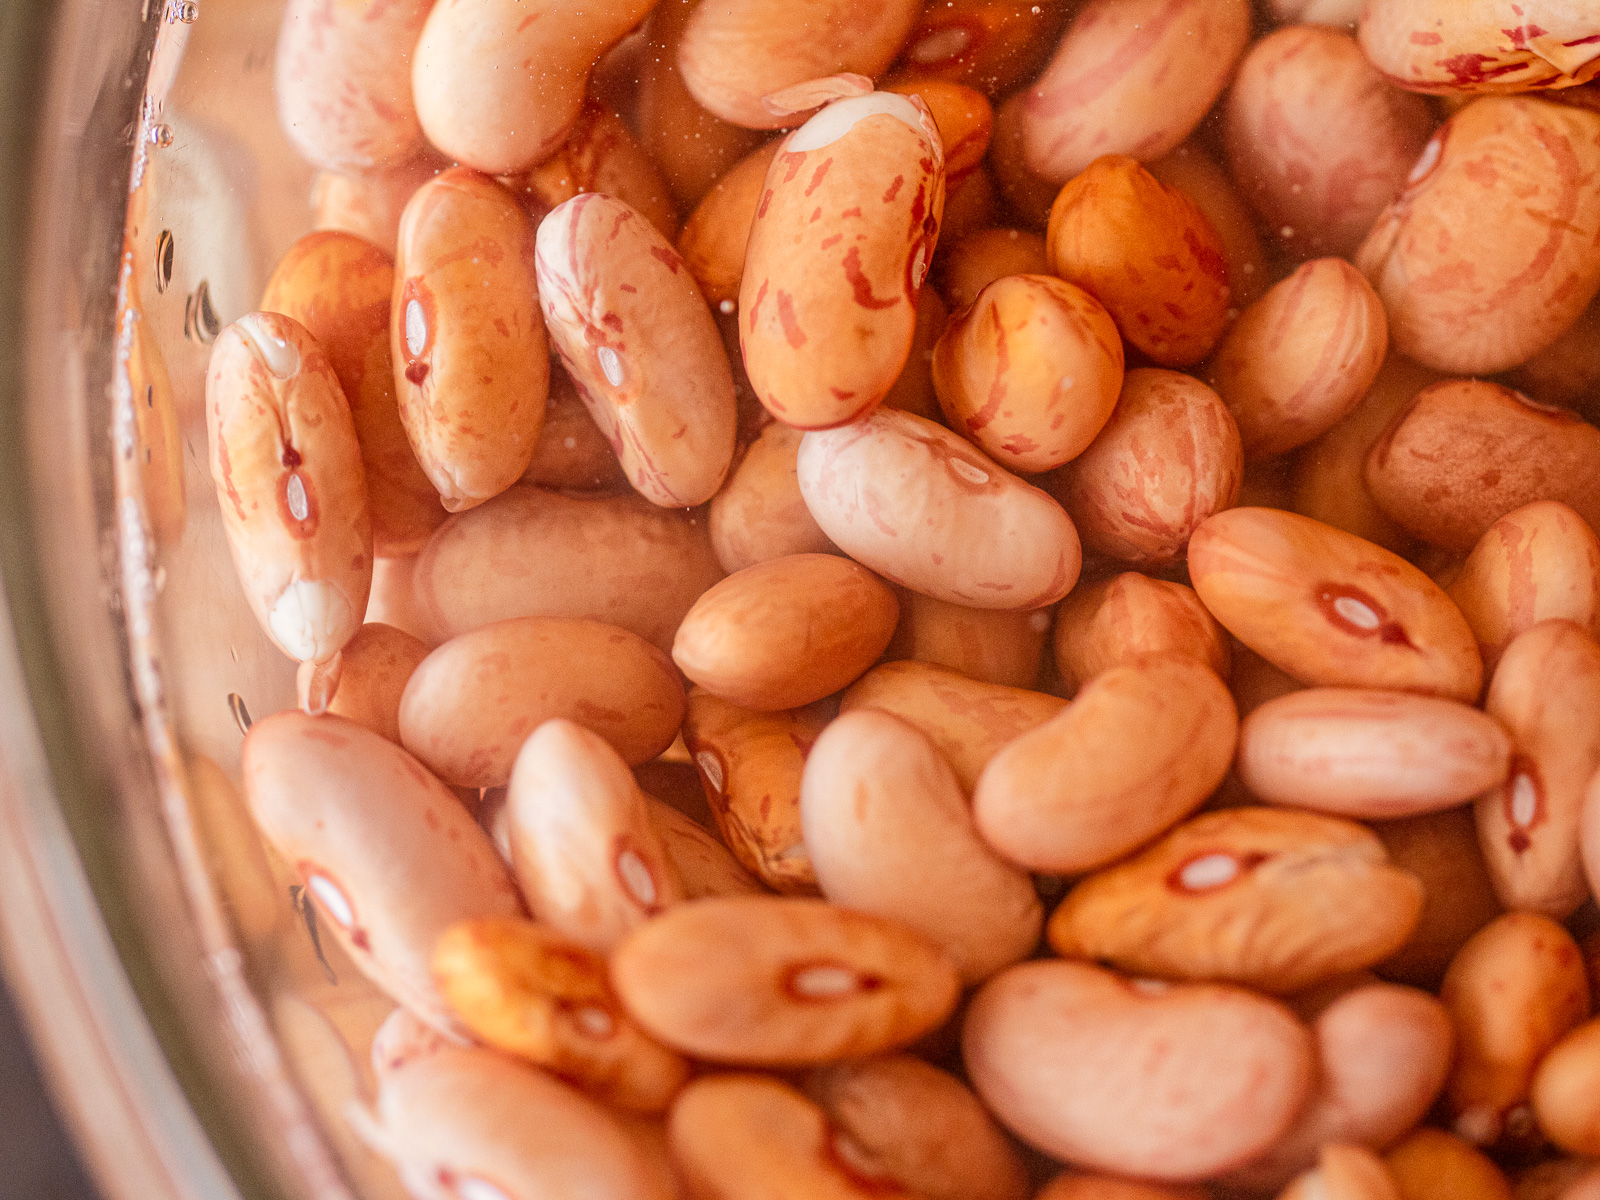
...the skins are smooth and the beans have plumped up fully — roughly doubled in size. Then they're ready to cook.
Timing depends on the beans and the season — 8 to 24 hours is a good range. Shorter in summer, longer in winter.
It takes time — but done right, the beans come out tender and even all the way through.
🌿 If you're soaking overnight in warm weather, make sure to move the bowl to the fridge to keep the water fresh.
📖 Instructions
🕊️ The soaking time and pressure cooking time in this recipe are based on Ambika Shop pinto beans. Times will vary depending on the size and freshness of your beans.
- Soak the beans
- Rinse the dried pinto beans and remove any debris.
- Place in a bowl and cover with water to about twice the height of the beans.
- Soak until the skins are smooth and the beans are fully plumped.
🌿 Aim for 8–24 hours. Shorter in summer, longer in winter. In warm weather, soak in the fridge to keep the water fresh.
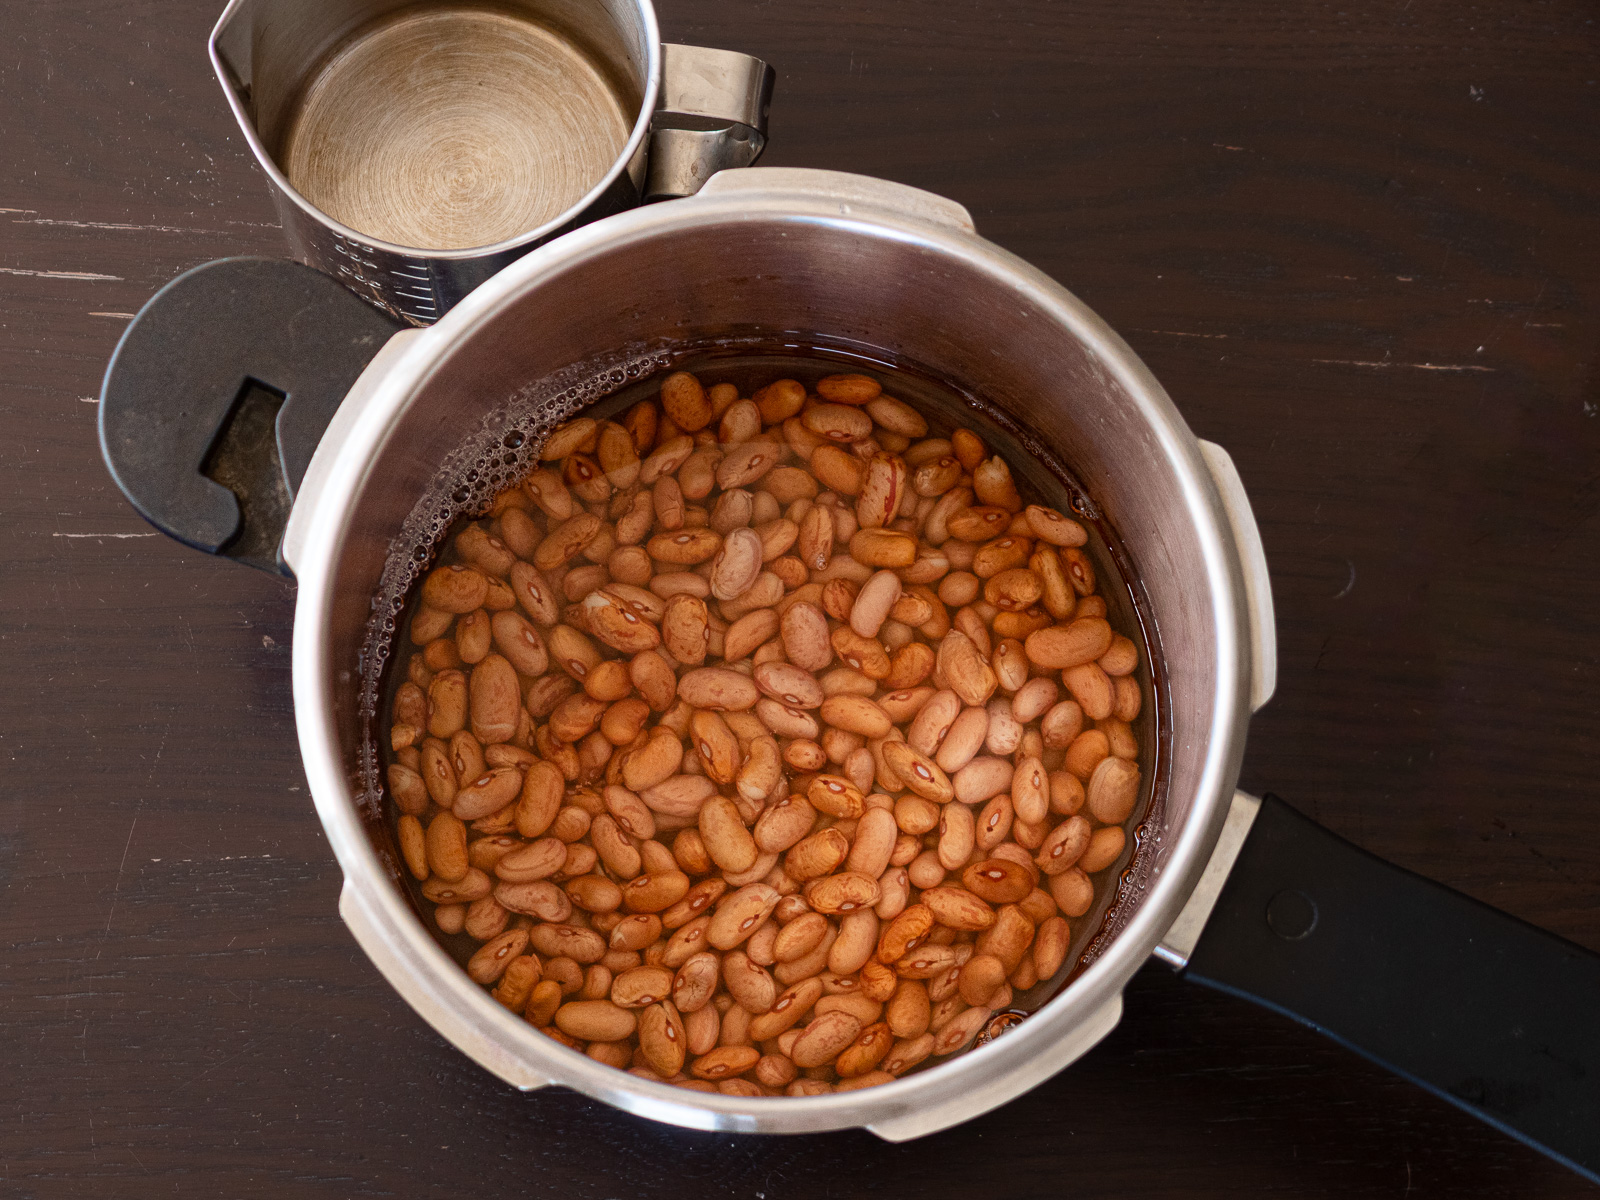
- Add to the pressure cooker
- Drain the soaked beans in a colander.
- Add the beans and 700ml (about 3 cups) of water to the pressure cooker and close the lid.
- Pressure cook
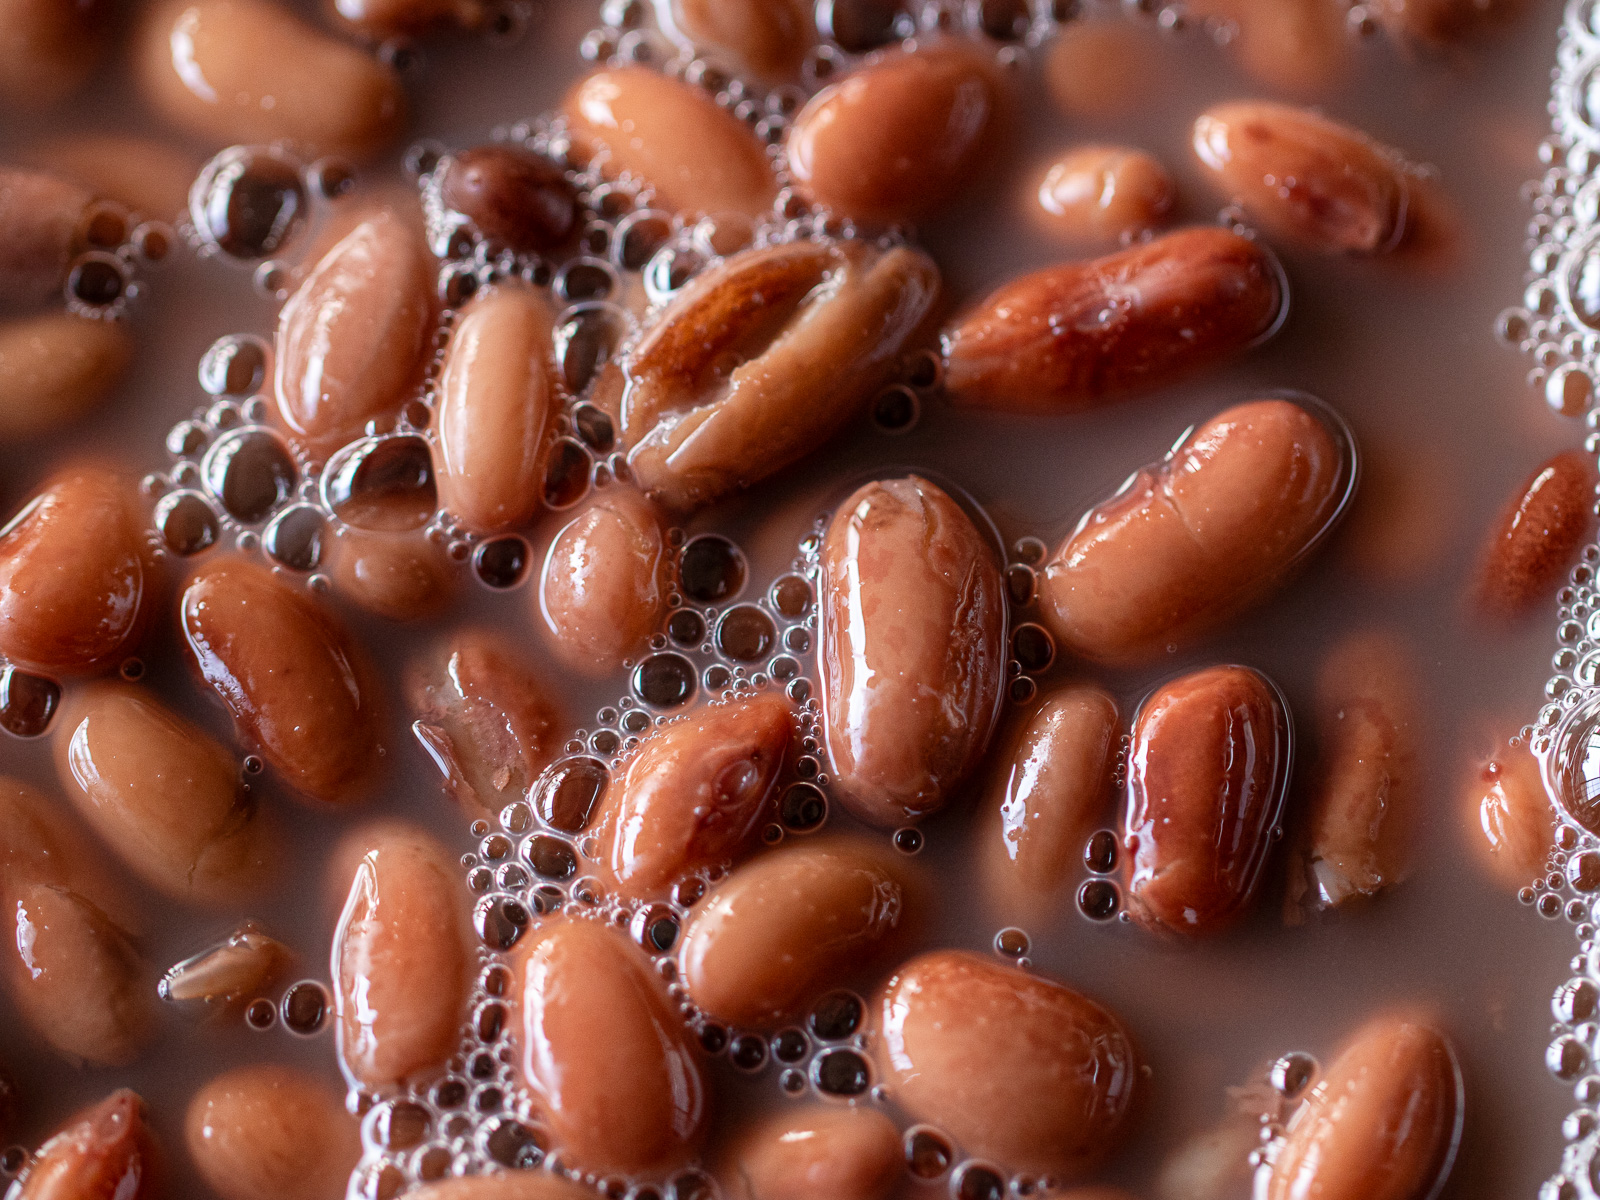
- Bring to high pressure over high heat, then reduce to low and cook for 15 minutes.
- Turn off the heat and allow the pressure to release naturally.
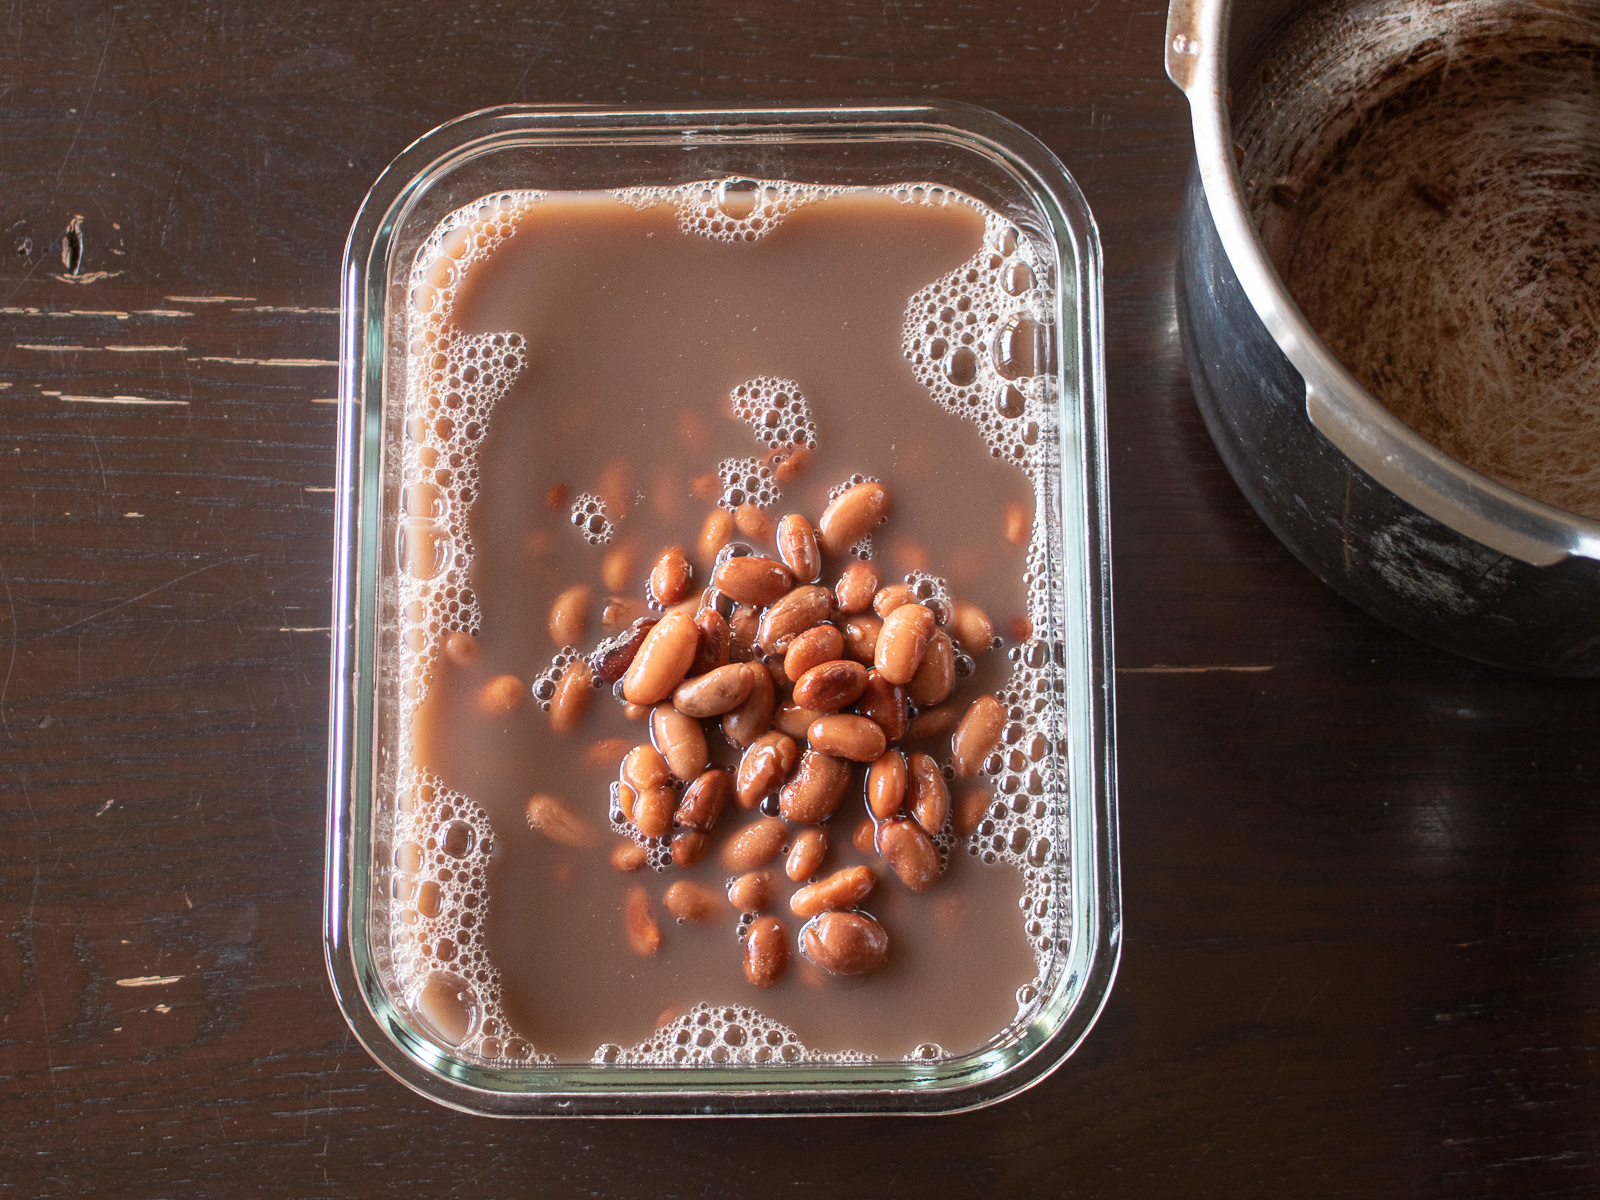
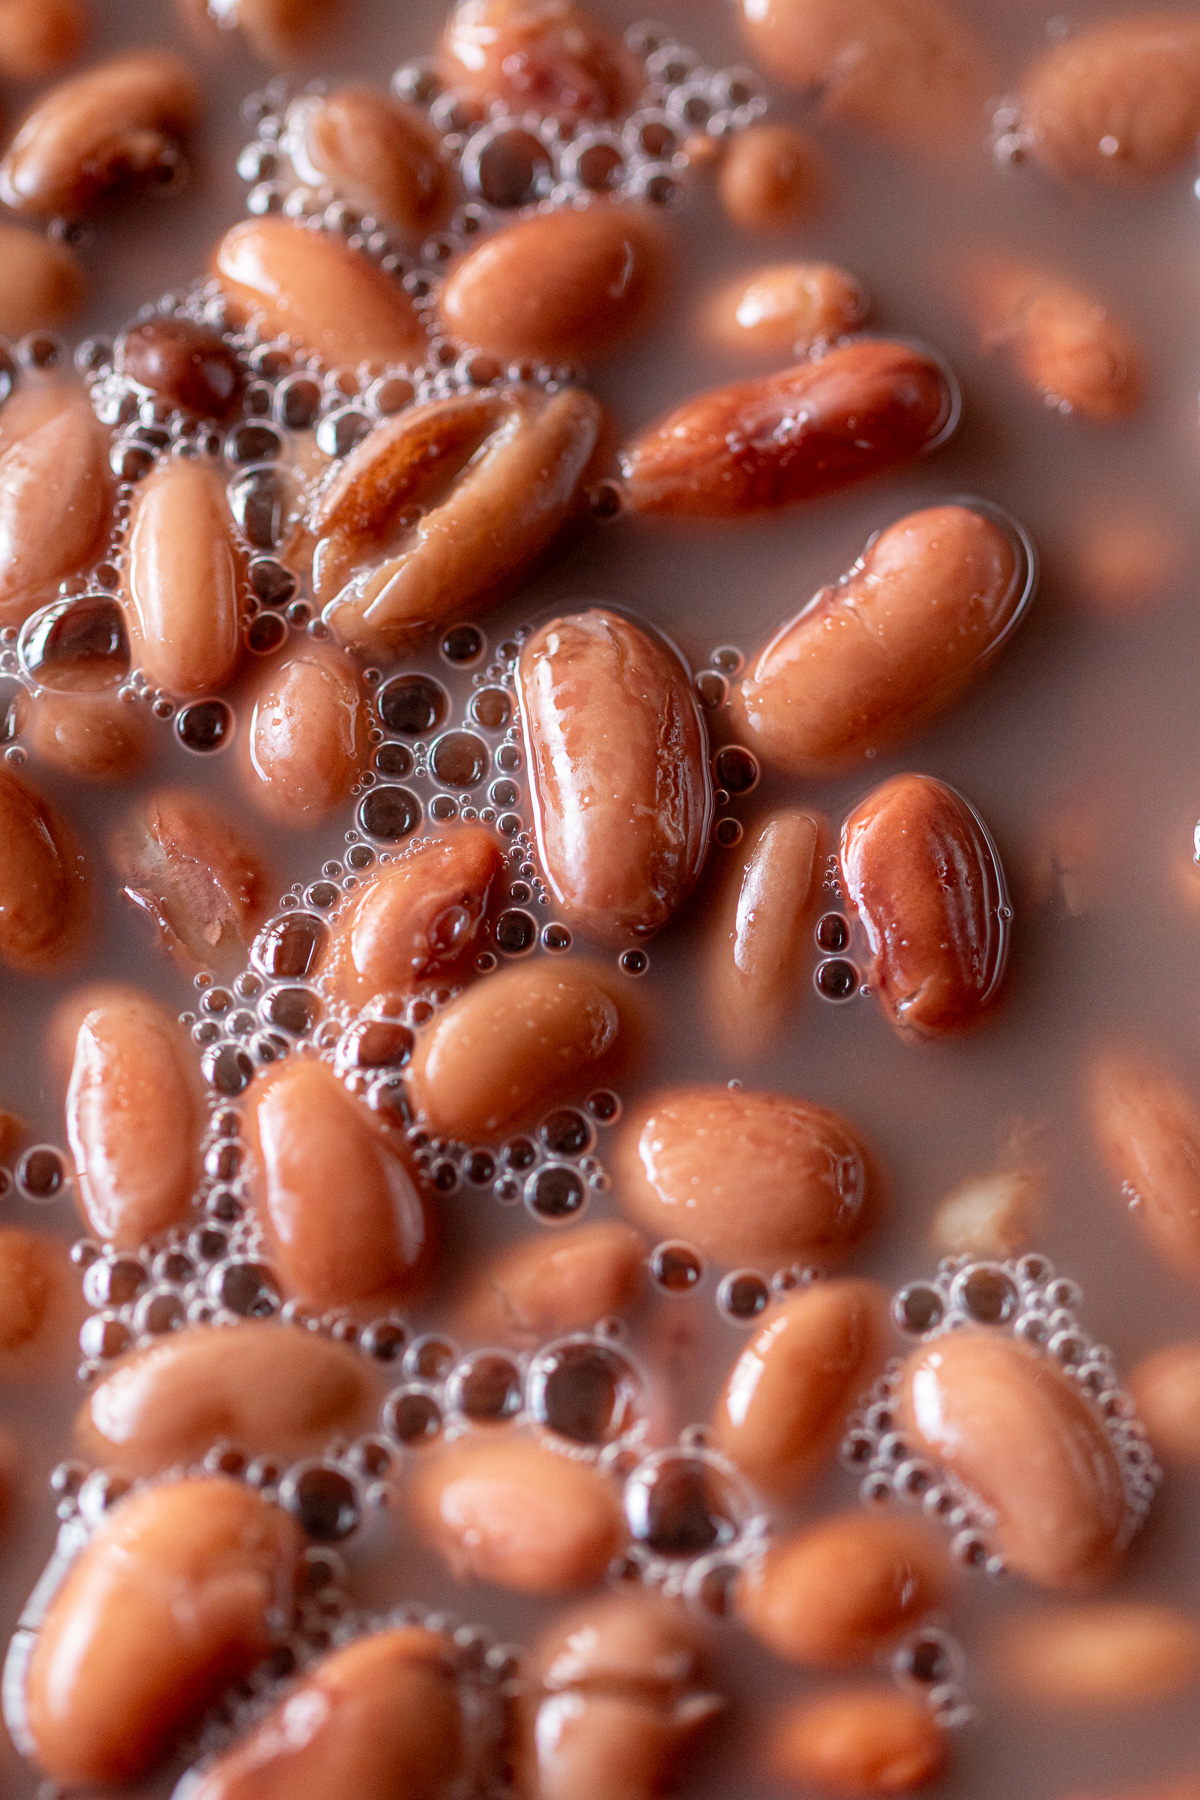
- Check & store
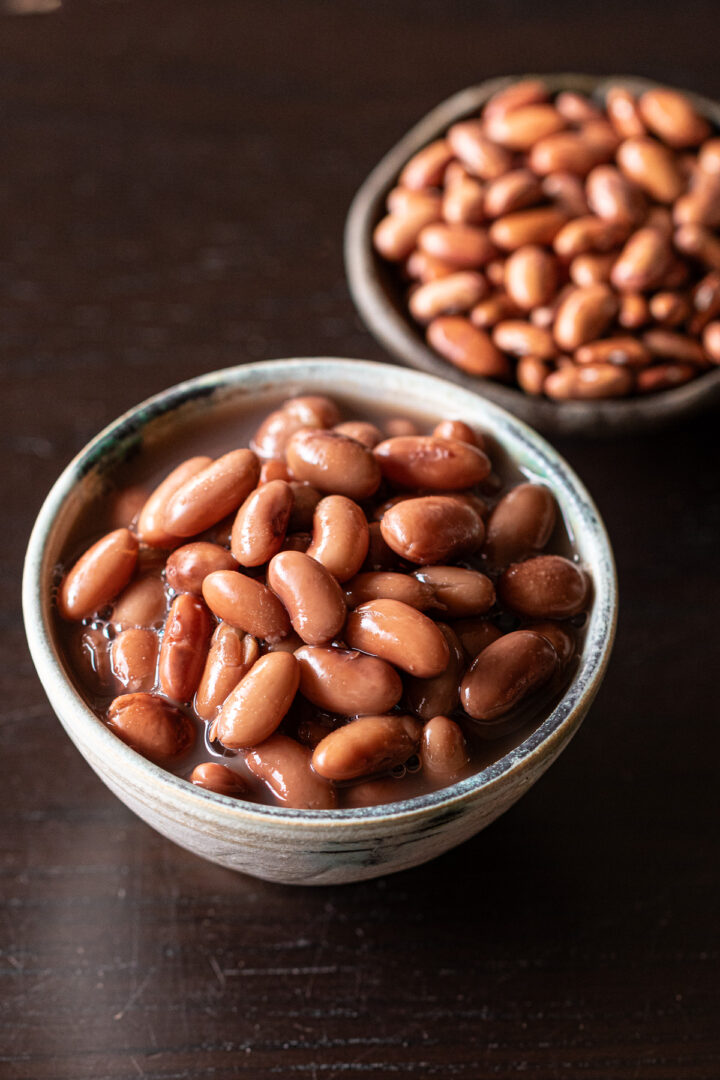
- Once the pressure has released, open the lid and check if the beans are cooked through.
- If still firm, return to the heat. If they feel slightly underdone, leave the lid on and let the residual heat finish the job.
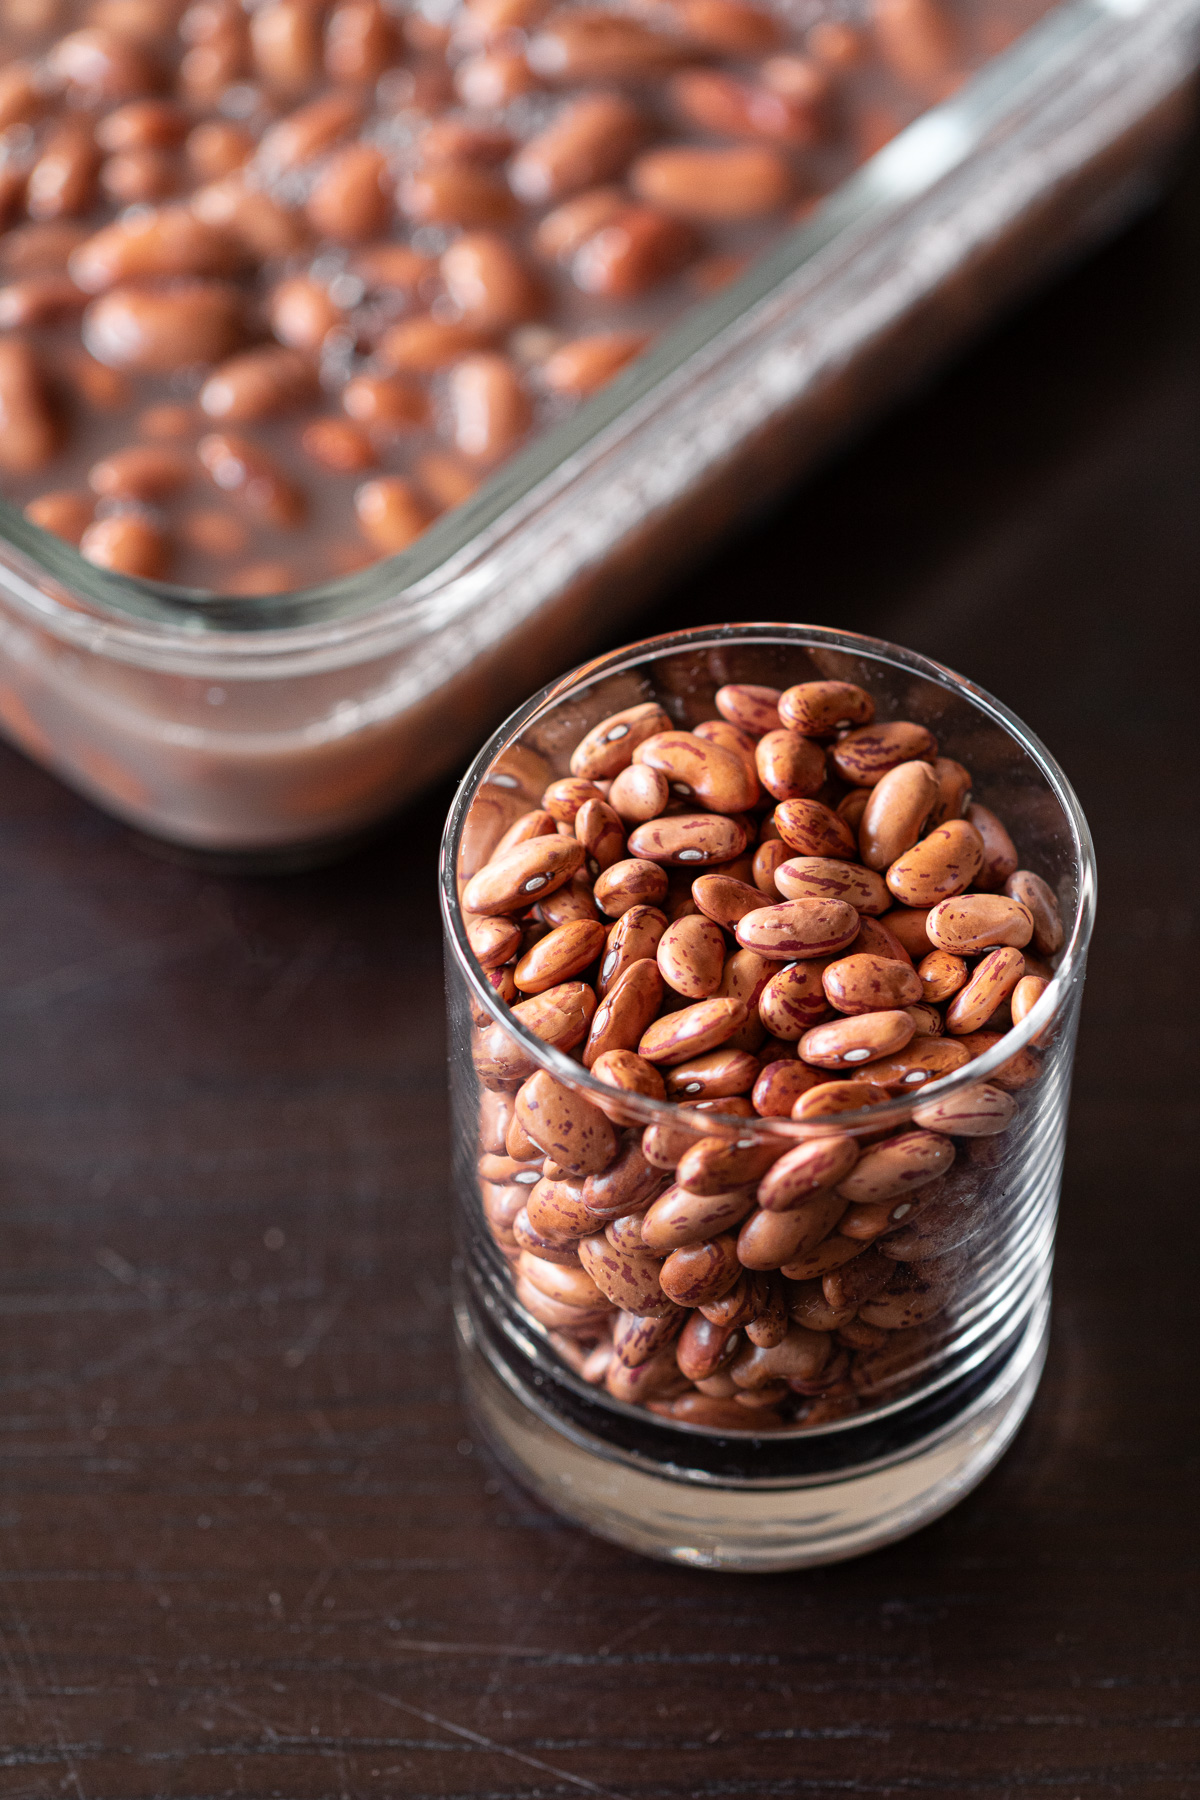
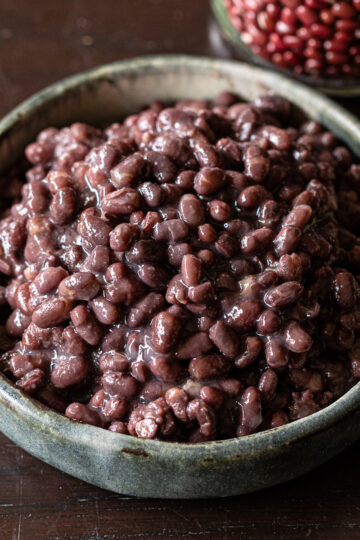
- Once cooled, transfer to a storage container along with the cooking liquid and refrigerate.
🌿 Beans firm up as they cool, so when checking, they should feel a bit softer than your preferred final texture.
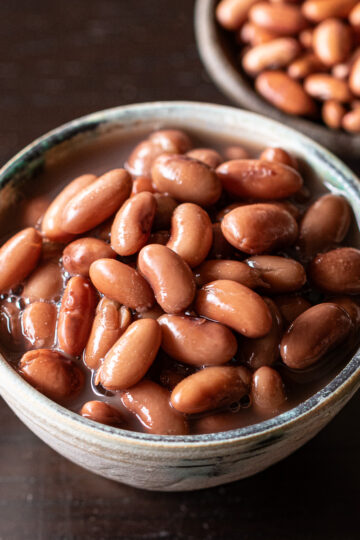
🫙 Storage
Transfer to a clean container along with the cooking liquid and refrigerate.
Best used within a few days.
To freeze: drain the beans and freeze in portions.
The cooking liquid can be frozen separately — it makes a light, flavorful broth.
Frozen beans keep for about 2–3 weeks.
📘 How to use cooked pinto beans
Salt and seasonings can interfere with softening, so I always cook the beans plain until they're perfectly tender.
Seasoning them later also gives you more flexibility — you can decide how to use them once you're actually cooking.
Plain cooked pinto beans are endlessly versatile.
A batch in the fridge opens up a lot of options:
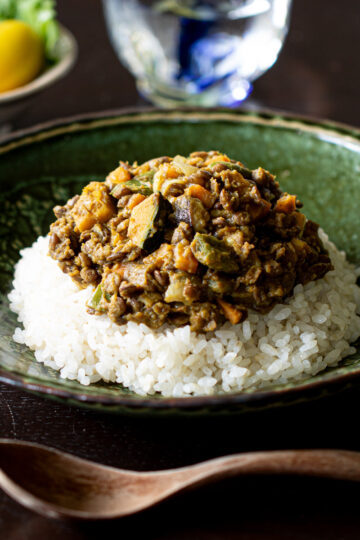
- Meat sauce
- Chili con carne
- Taco and burrito filling
- Bean dip (frijoles-style)
- Soup
📚 FAQ
8 to 24 hours is a good target. The time varies — size, freshness, and season all play a role. Shorter in summer, longer in winter. Fresher or smaller beans need less time; older or larger beans need more.
Both approaches exist. The case for keeping it is that nutrients leach into the water — but I always discard it anyway.
After 12 or more hours, the water feels stale, and I like the idea of starting fresh before cooking.
There's no right answer — it comes down to the dish and personal preference.
Yes. The cooking liquid is full of flavor from the beans, and adding it to soups or braises adds real depth.
Technically yes, but I personally don't recommend it.
Without soaking, the skins and the center cook at different rates — you're more likely to end up with mushy beans on the outside but a hard core inside.
Soaking also reduces cooking time significantly. The 8–24 hour soak is the step that makes the difference.
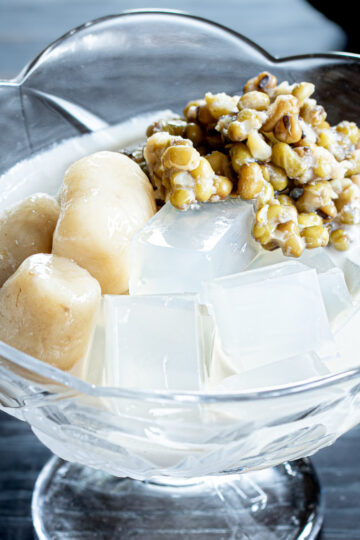
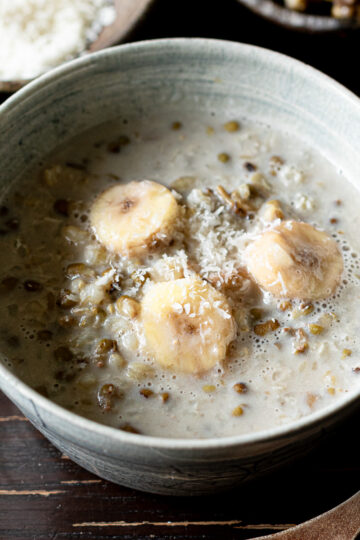
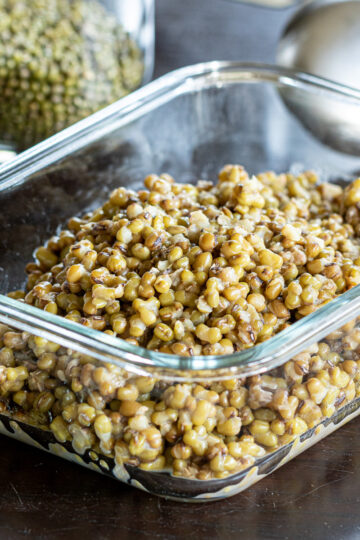
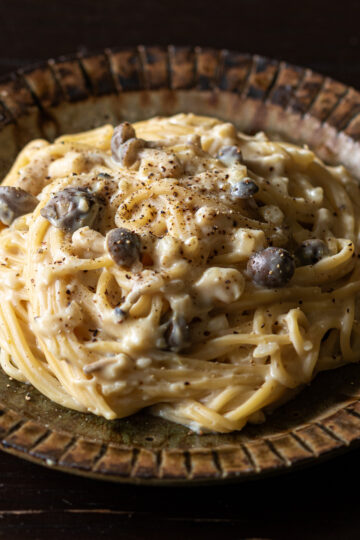
🌸 Recipes using cooked pinto beans
Dishes made with cooked pinto beans:
🕊 More bean cooking guides
How to cook dried beans from scratch:
🚲 Vegan bean recipes
Bean-forward vegan recipes:


If you feel like whispering a thought, asking a question, or simply saying hello — the comment section is always open 📮
✏️ Recipe card
Pinto Beans in a Pressure Cooker
Ingredients
- 200 g pinto beans (dried)
- 700 ml water (for pressure cooking)
- water (for soaking: enough to cover the beans by twice their height)
Instructions
- Rinse the beans: Rinse the dried pinto beans and remove any debris.
- Soak: Place in a bowl and cover with water to about twice the height of the beans. Soak until the skins are smooth and the beans are fully plumped — 8 to 24 hours.
- Add to the pressure cooker: Drain the soaked beans in a colander. Add the beans and 700ml (about 3 cups) of water to the pressure cooker and close the lid.
- Pressure cook: Bring to high pressure over high heat, then reduce to low and cook for 15 minutes. Turn off the heat and allow the pressure to release naturally.
- Check: Once the pressure has released, open the lid and check if the beans are cooked through. If still firm, return to the heat. If they feel slightly underdone, leave the lid on and let the residual heat finish the job.
- Store: Once cooled, transfer to a storage container along with the cooking liquid and refrigerate.
Notes
- The soaking time and pressure cooking time in this recipe are based on Ambika Shop pinto beans (approx. 15×8mm). Times will vary depending on the size and freshness of your beans.
- Best used within a few days.
- To freeze: drain the beans and freeze in portions. The cooking liquid can be frozen separately — it makes a light, flavorful broth. Frozen beans keep for about 2–3 weeks.

If this recipe made its way into your kitchen, and you'd like to share that moment, feel free to tag @veginveganvegun or use #vegin_vegan_vegun.
Your quiet stories inspire me deeply 🕊️
Once you get used to cooking pinto beans in a pressure cooker, other dried beans start to feel much more approachable.
Adzuki beans, soybeans, mung beans, and chickpeas all cook easily in a pressure cooker.
A kitchen with beans is easier — and more flexible — than it looks 🕊️
Comments
No Comments