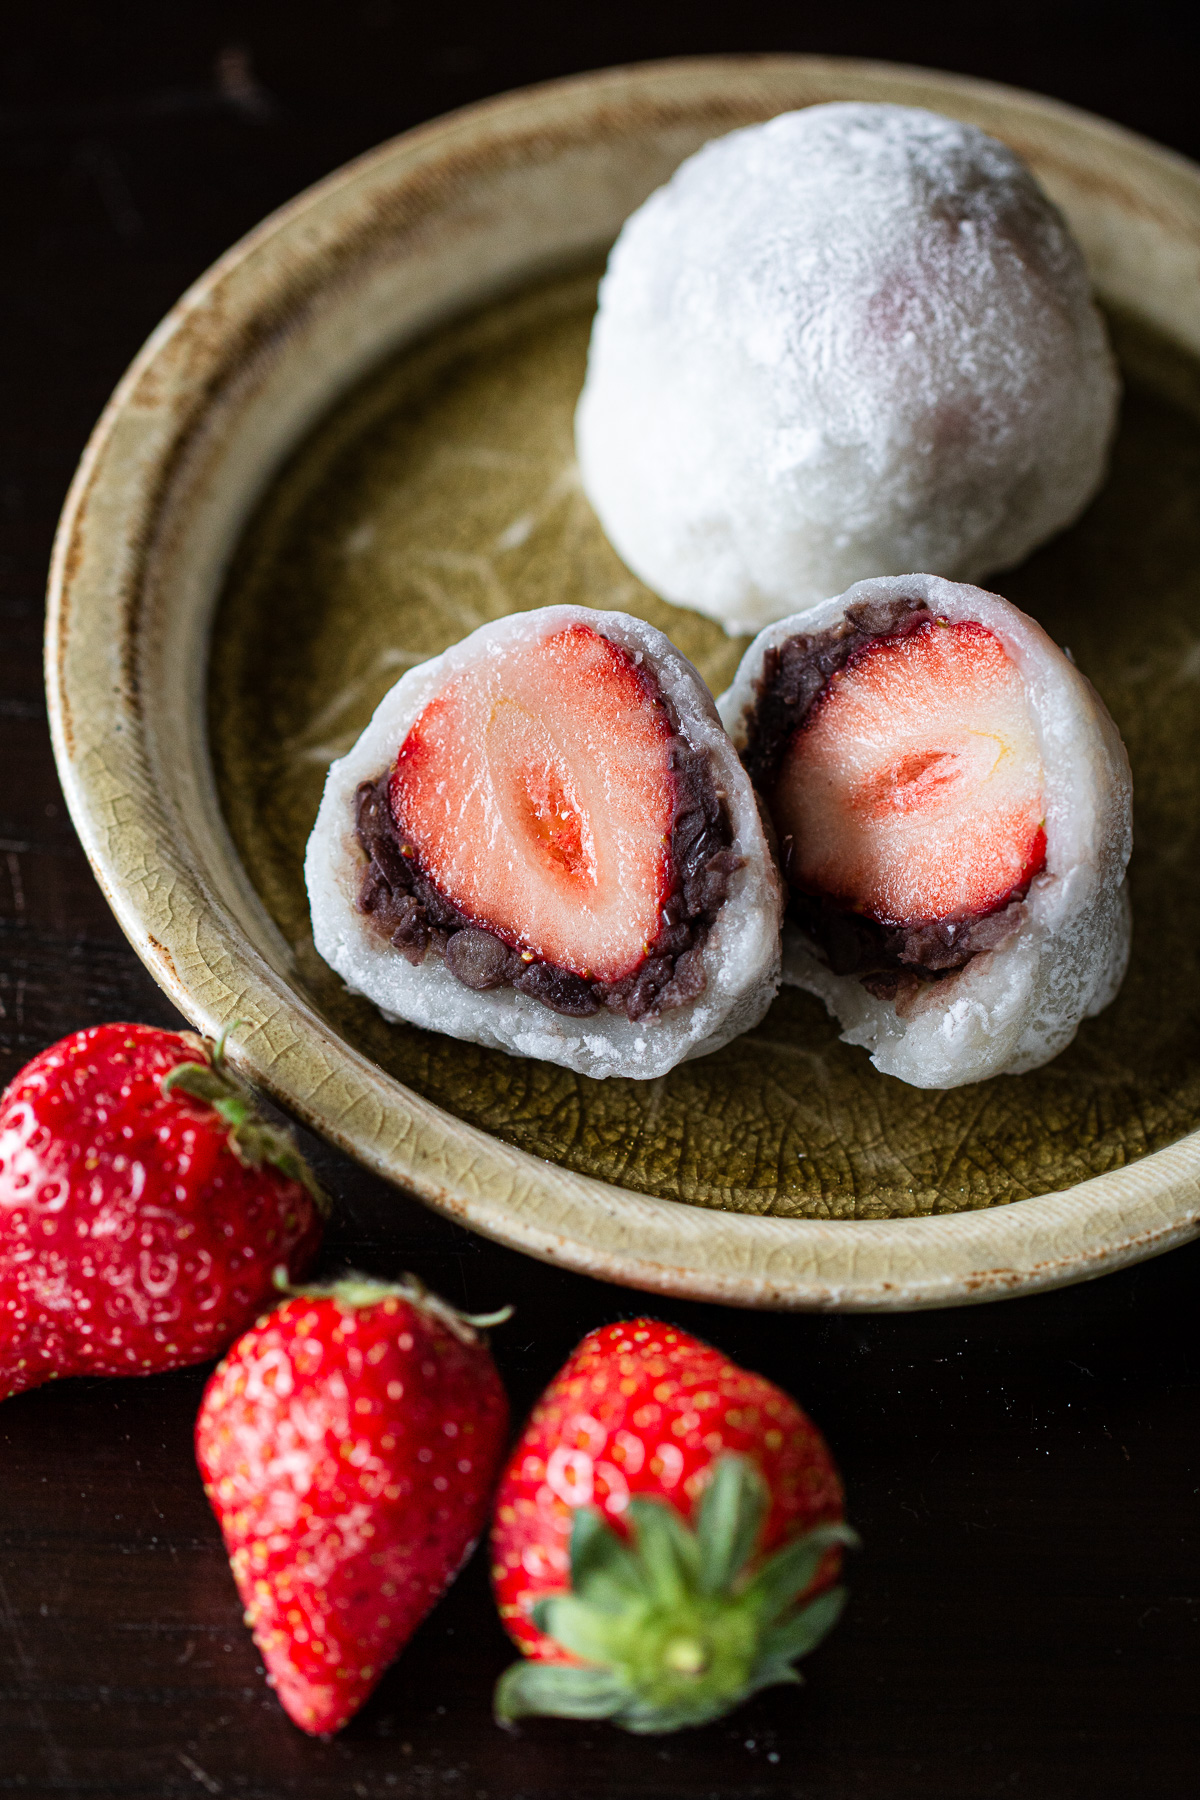
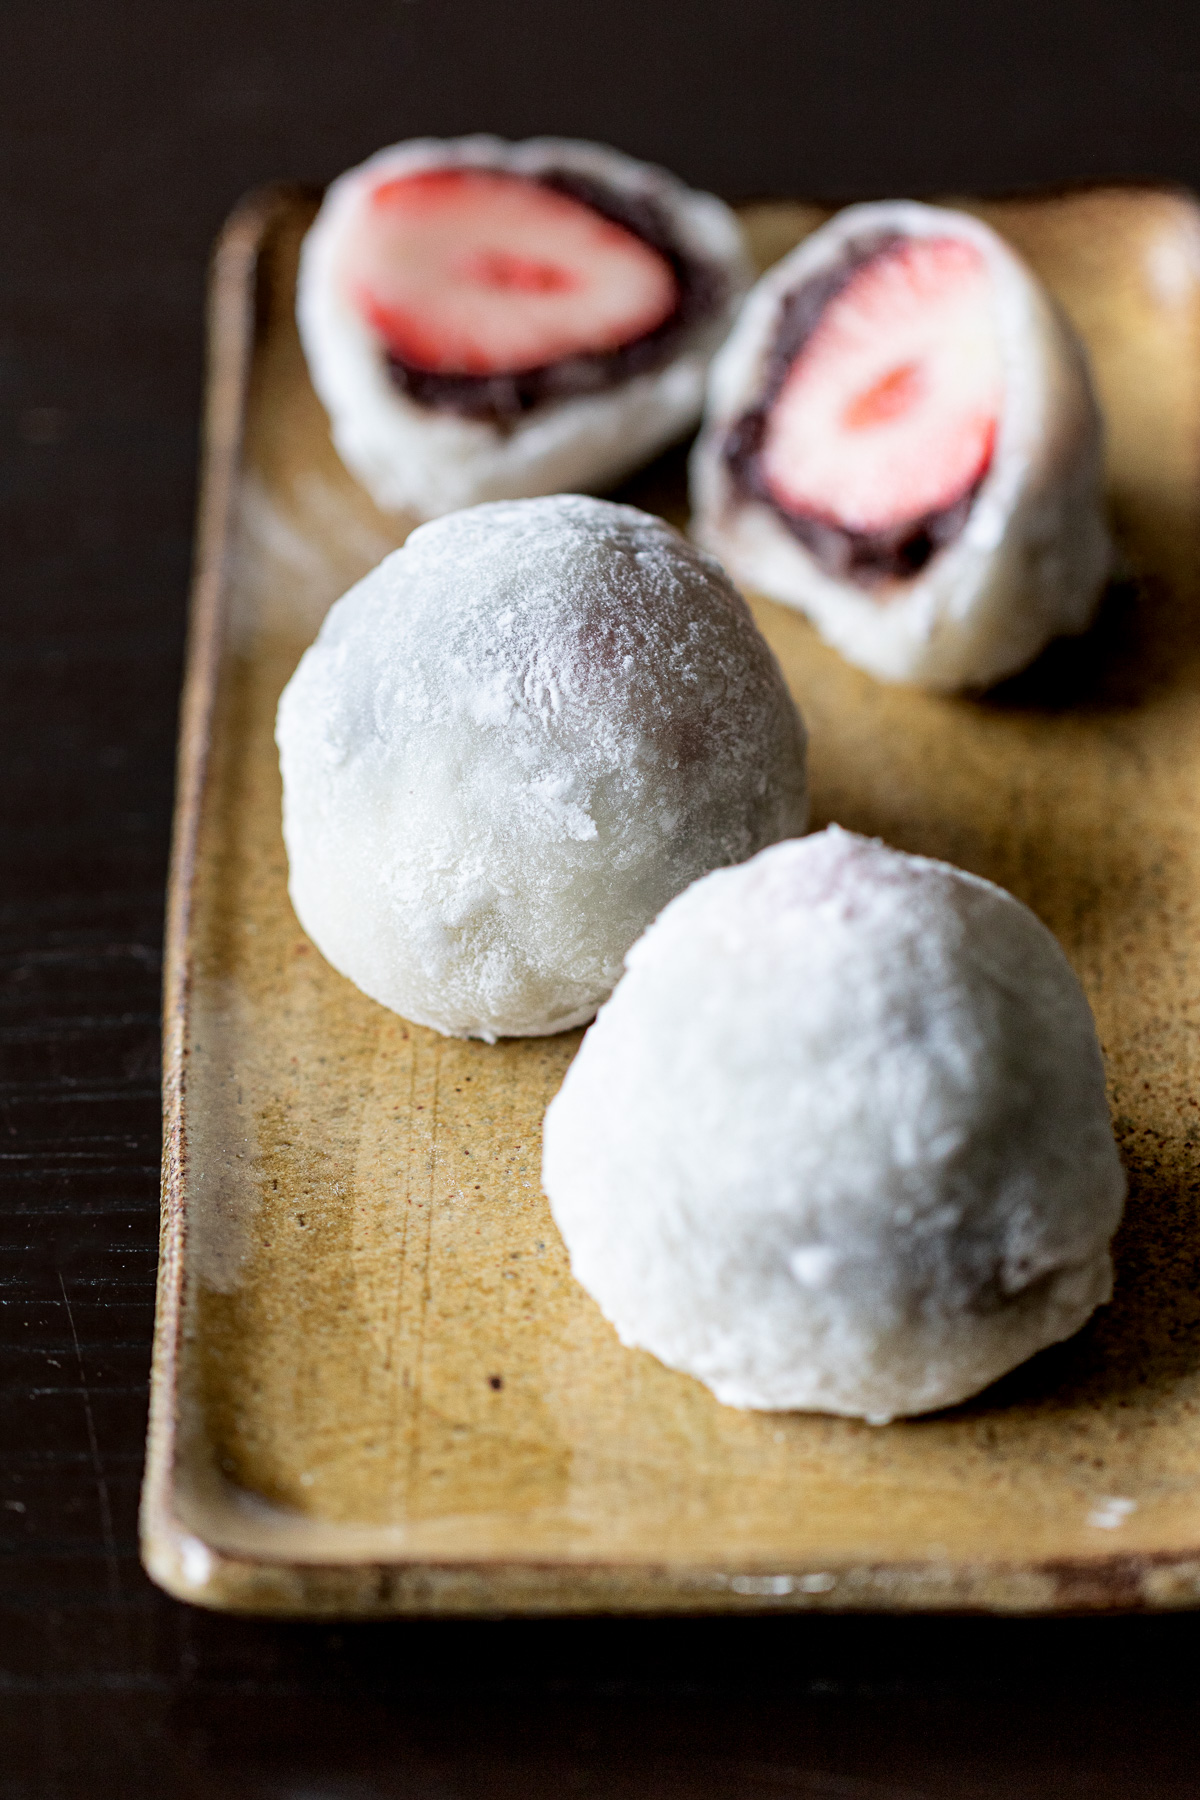
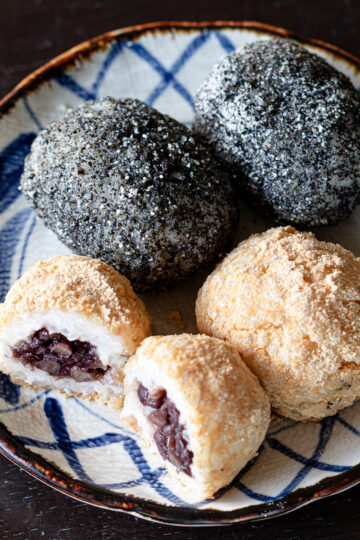
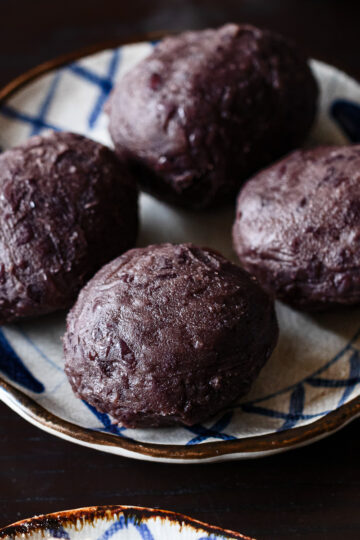
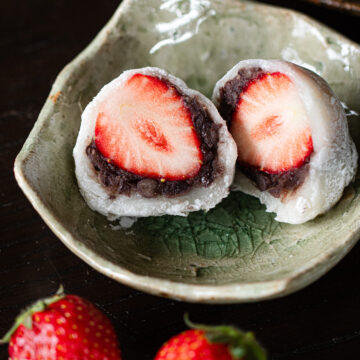
Ichigo daifuku (いちご大福) is a vegan Japanese sweet — soft mochi wrapped around sweet red bean paste, with a whole fresh strawberry tucked inside.
It's a classic winter-to-spring treat in Japan, when strawberries are at their best.
This recipe uses mochiko (もち粉) and a steamer, giving the mochi a defined, springy chew that stays soft into the next day.
No kneading, minimal cleanup, and just four pieces — a small batch, perfect for making at home.
Jump to:
🌾 Why Mochiko + Steamer?
In Japan, there are several options for making daifuku skin at home — kirimochi (pre-made rice cake), shiratamako, joshinko, and mochiko, among others. Each produces a slightly different texture.
Some recipes favor shiratamako/白玉粉 for its smooth, yielding texture.
It melts easily on the palate and is forgiving to work with, though I find it a bit too soft and stretchy for my taste. It’s a valid choice, but tends to be more expensive and, outside of Japan, harder to find.
For this recipe, I use mochiko/もち粉 (finely ground glutinous rice flour).
It’s more affordable, widely available, and produces a skin closer to what you’d find in a traditional wagashi shop — with a defined chew (what we call koshi in Japanese, the same quality valued in good udon) that stays soft into the next day.
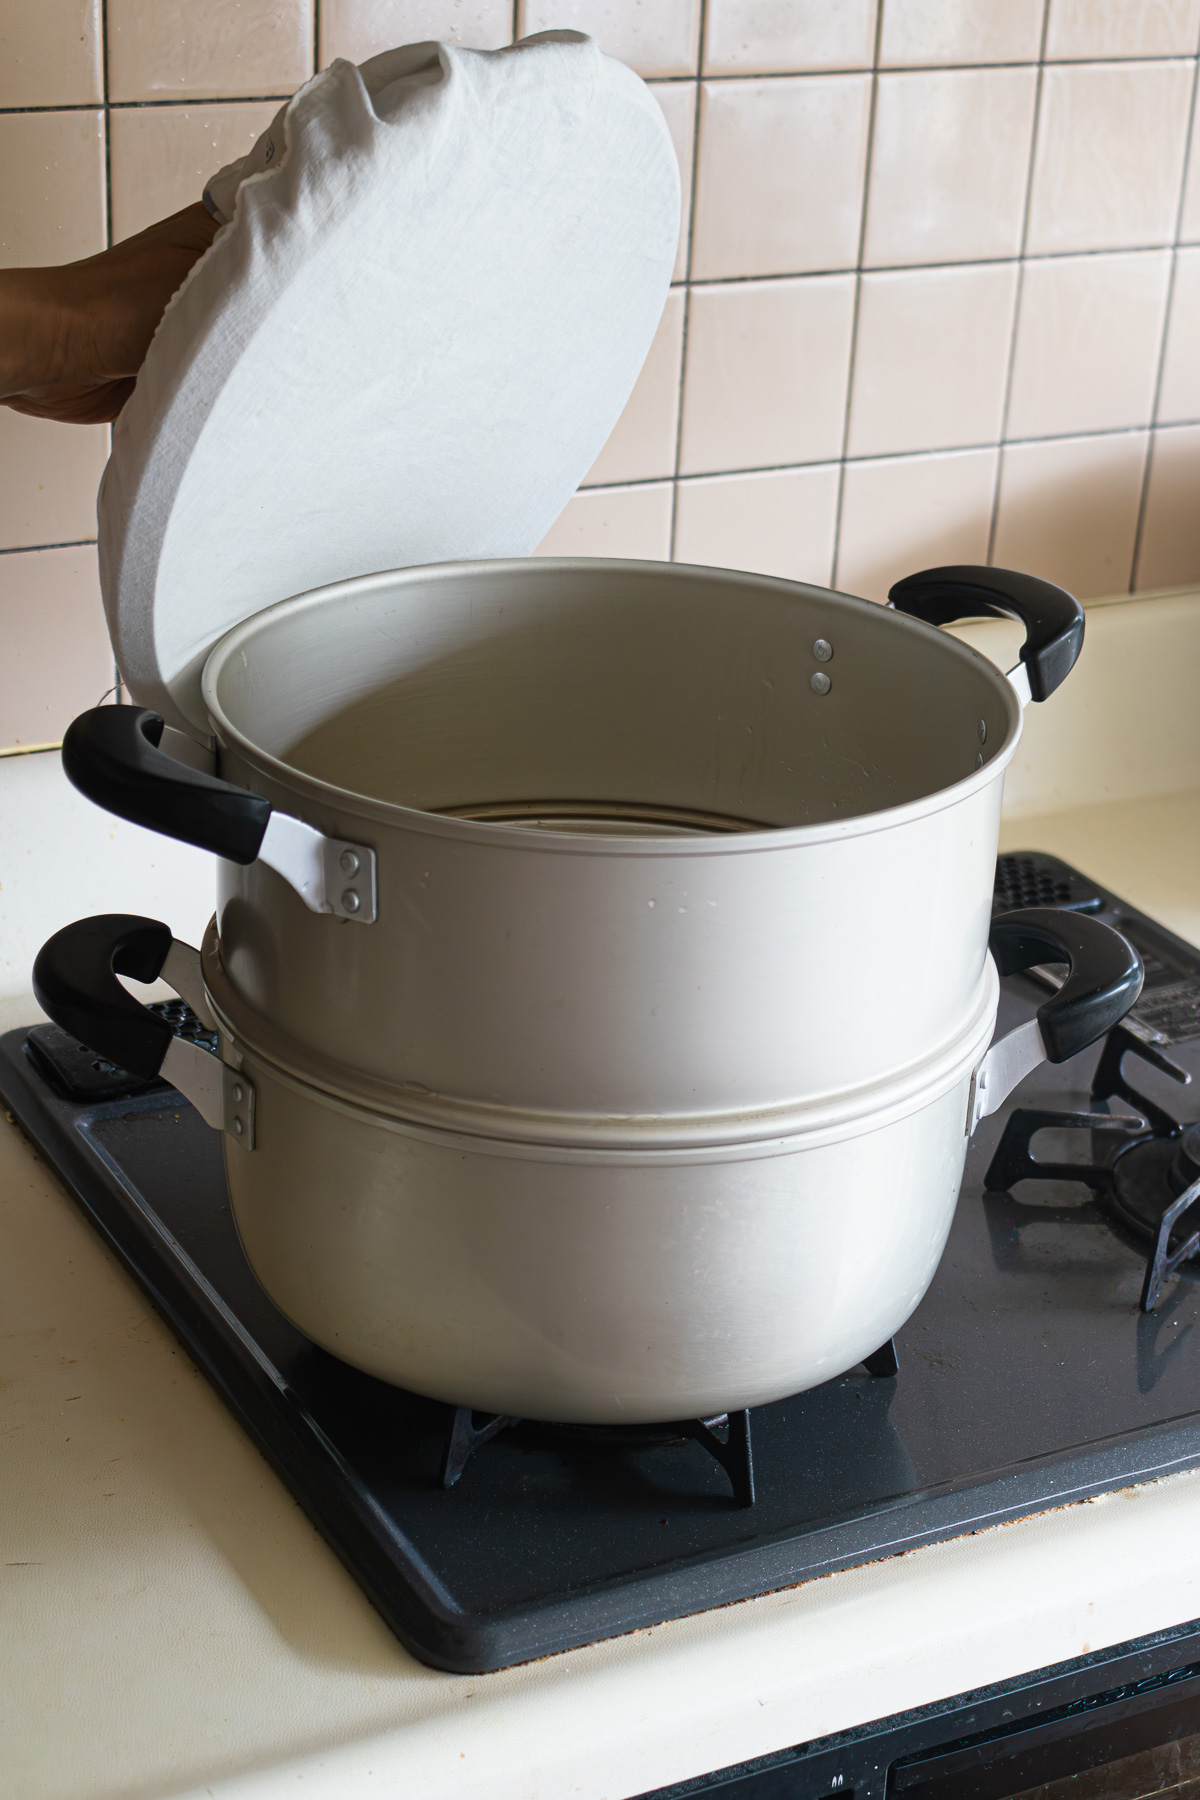
As for the steamer, it’s the more traditional method — and surprisingly straightforward. The dough cooks evenly without kneading, lifts cleanly off the cloth once done — no wrestling with sticky mochi, no messy bowls — and cleanup is minimal.
This approach does require a steamer, so it may not suit every kitchen. But if you’ve made daifuku before and want to refine the texture a little further, this is one approach worth trying.
▼ Where shiratamako shines
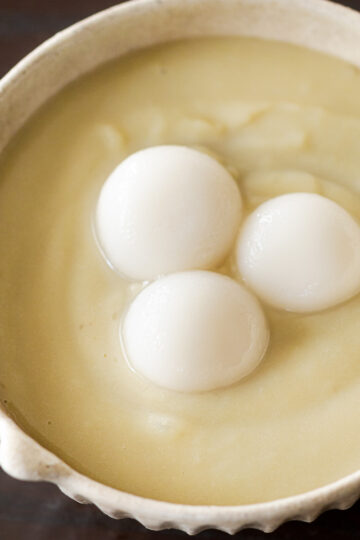
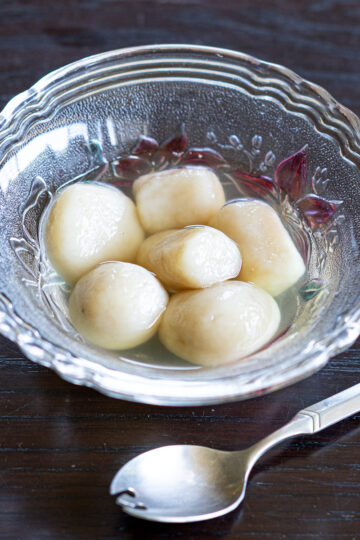
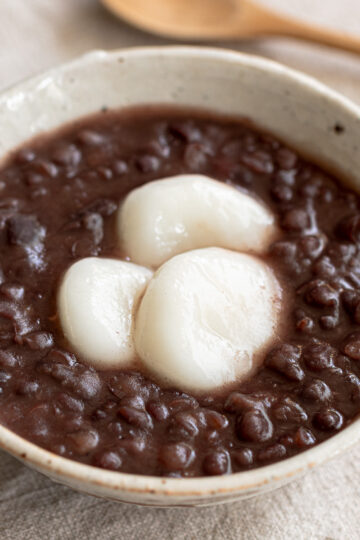
I use shiratamako for making shiratama dumplings — to enjoy its silky smoothness and soft, springy texture, which mochiko can't quite replicate.
🍓 Ingredients
Mochi Skin
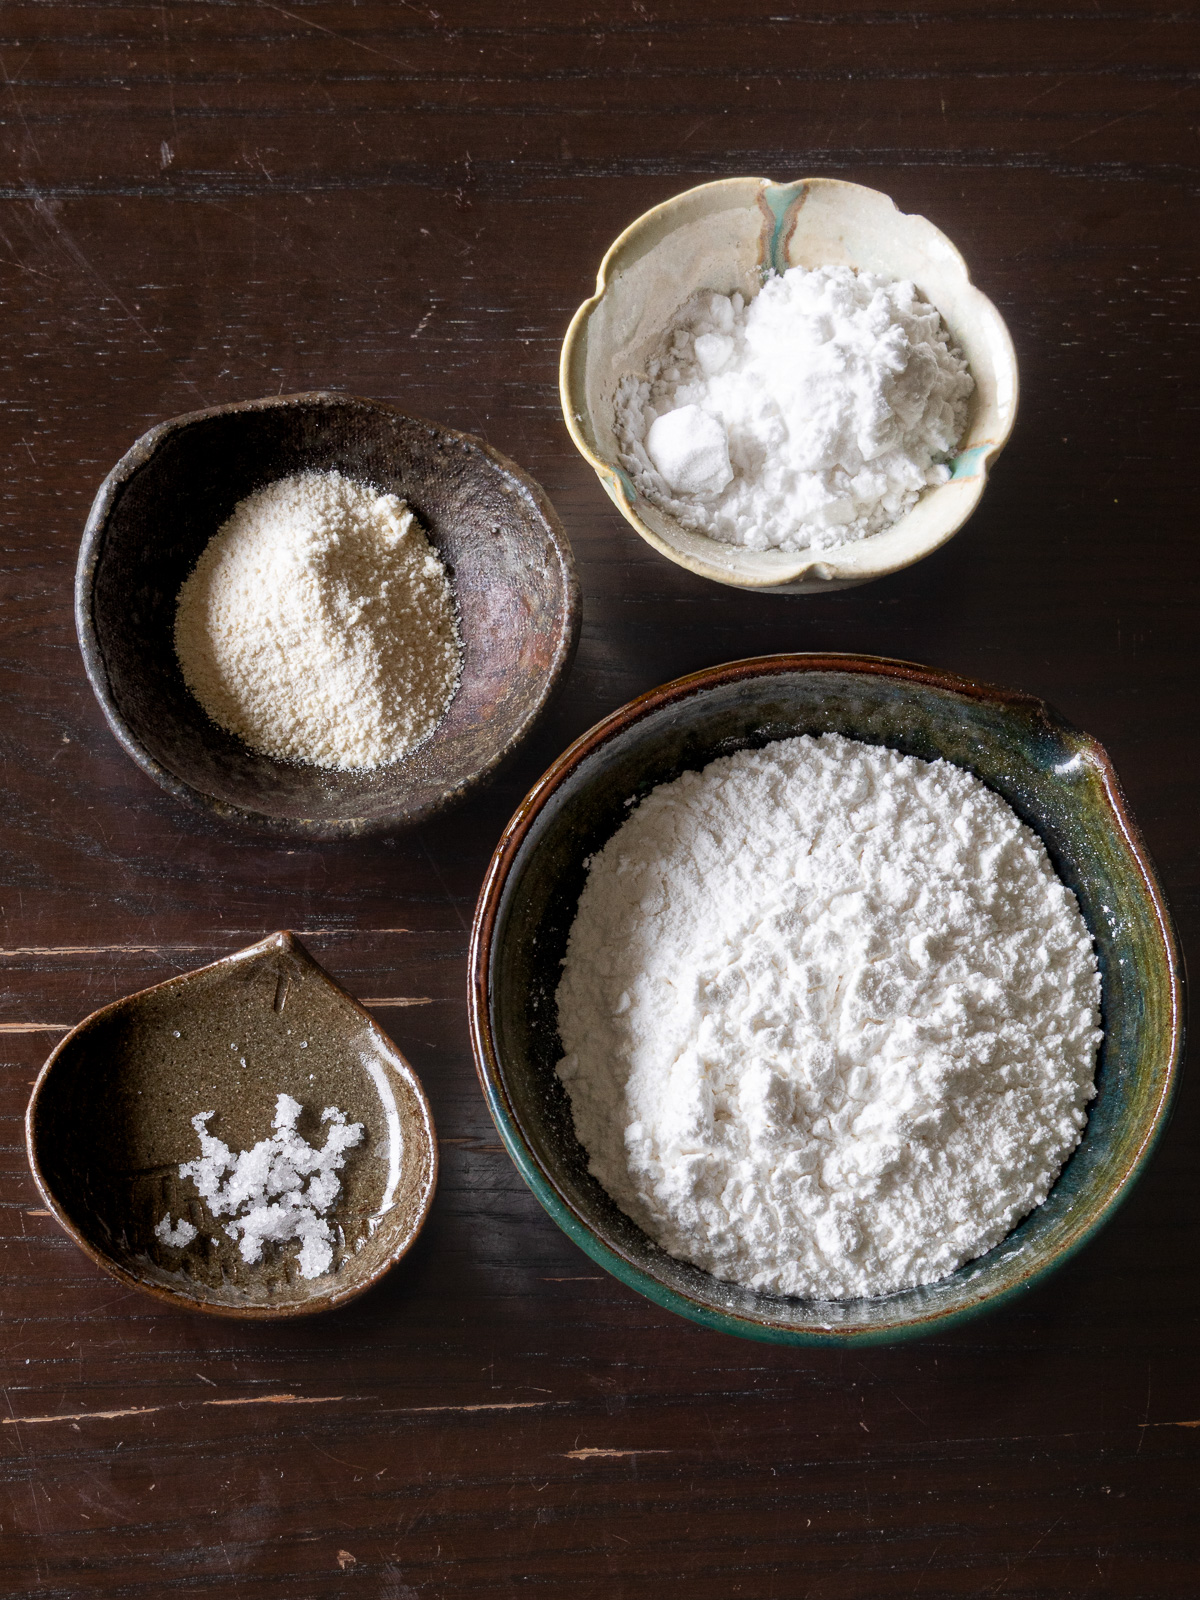
● Mochiko — My go-to flour for daifuku. I use Maehara Seifun brand, available at most budget supermarkets (業務スーパー / Gyomu Super) in Japan (package photo here). In the US, Koda Farms' Mochiko is the most widely available option.
● Beet sugar powder — A fine-grain sugar with a light, mild sweetness. Regular caster sugar works too.
● Salt — Just a pinch, to bring out the overall flavor.
● Water
● Katakuriko (potato starch) — For dusting, to prevent sticking. Cornstarch works as a substitute.
Anko Balls
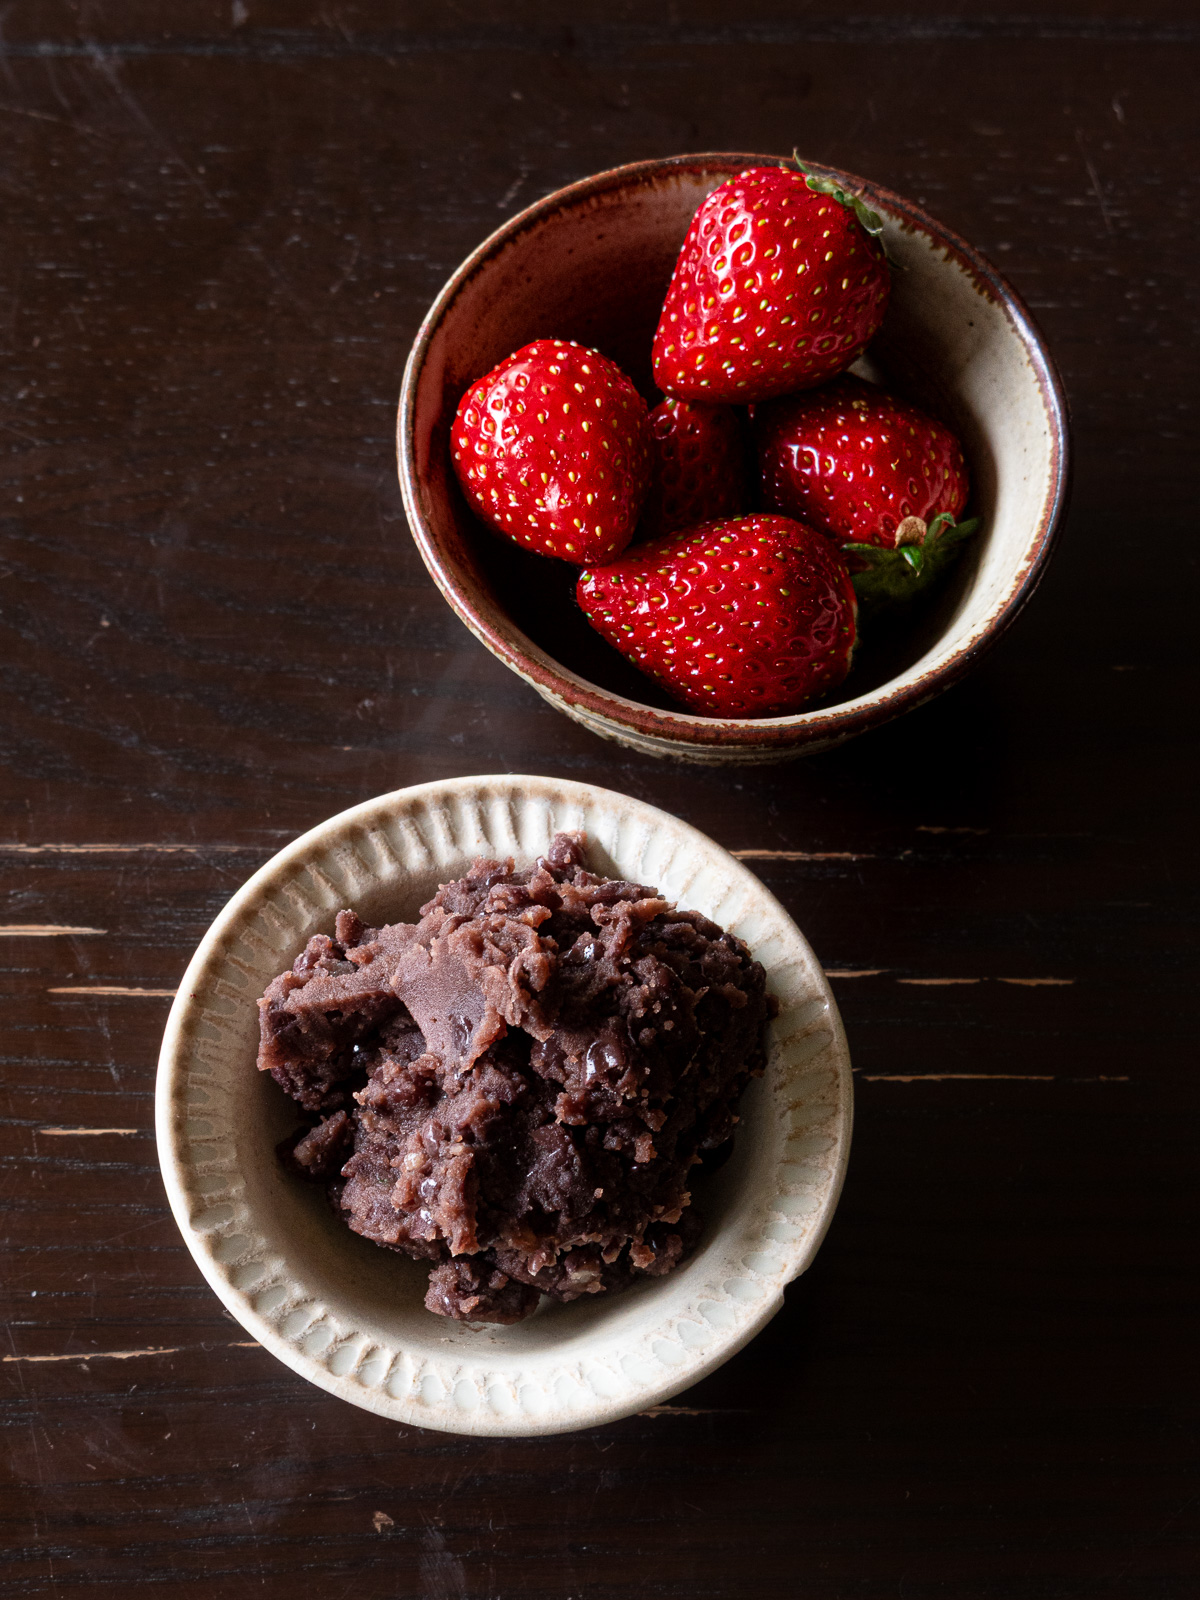
● Strawberries —Use fully ripe ones. Smaller berries (around 13g each) are easier to wrap — look for ones that are juicy and deeply sweet.
In Japan, good-quality strawberries are widely available at most supermarkets. When I lived in Canada, I found that non-sprayed berries from farmers’ markets came closest in flavor.
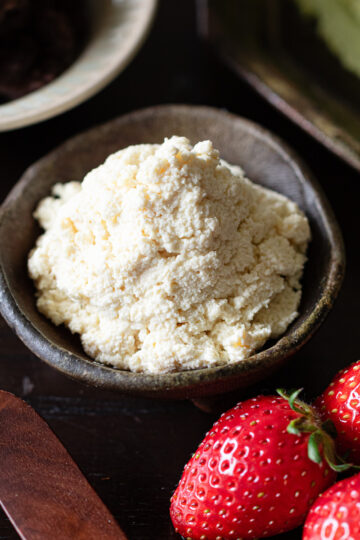
● Tsubu-an (chunky red bean paste) — About 20g per piece. If you’d like to make your own, you can find my homemade tsubu-an recipe here. If using store-bought anko, check the consistency first. If it feels too loose, cook it over low heat to reduce excess moisture, stirring constantly to prevent scorching. Let it cool completely before shaping.
Optional
● Tofu whipped cream — Adds a light, mild creaminess for a cream daifuku variation (see recipe →Vegan Tofu Whipped Cream)
Exact quantities are listed in the recipe card below👇
🥣 Tools
Having everything ready beforehand makes the process much easier.
For the mochi skin
- Mixing bowl
- Whisk
- Sarashi (thin cotton cloth) — dampened and wrung out, used to line a colander for steaming
- Colander
- Steamer pot
- Extra cloth — drape over the lid to prevent water from dripping onto the mochi
- Tray or plate
For the anko balls
- Knife
- Paper towels — to pat the strawberries dry
- Tray or plate
- Plastic wrap — for shaping the anko
- Spoon
For wrapping
- The same tray used for the mochi skin
📖 How to Make — Mochi Skin
A simple, straightforward method for making daifuku dough. Once you’re familiar with it, you can apply it to other daifuku variations too.
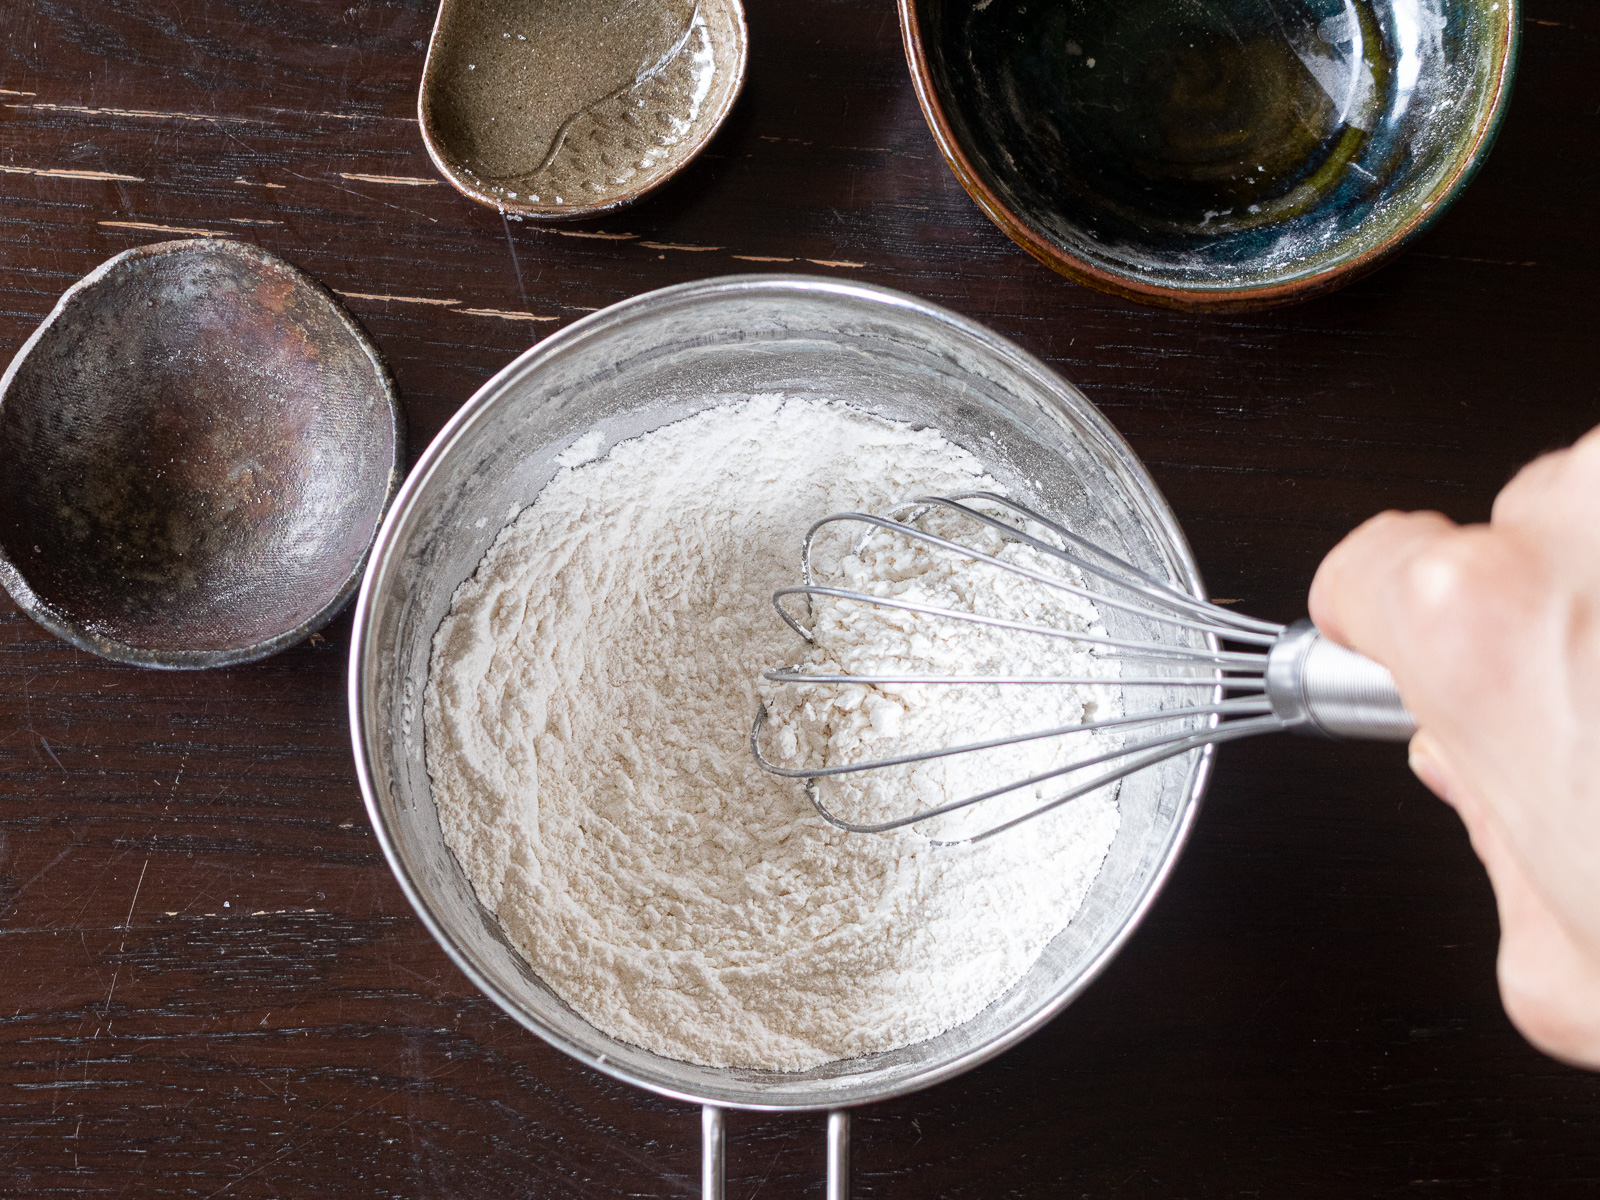
- Mix the dry ingredients
- Combine mochiko, sugar, and salt in a mixing bowl. Whisk well.
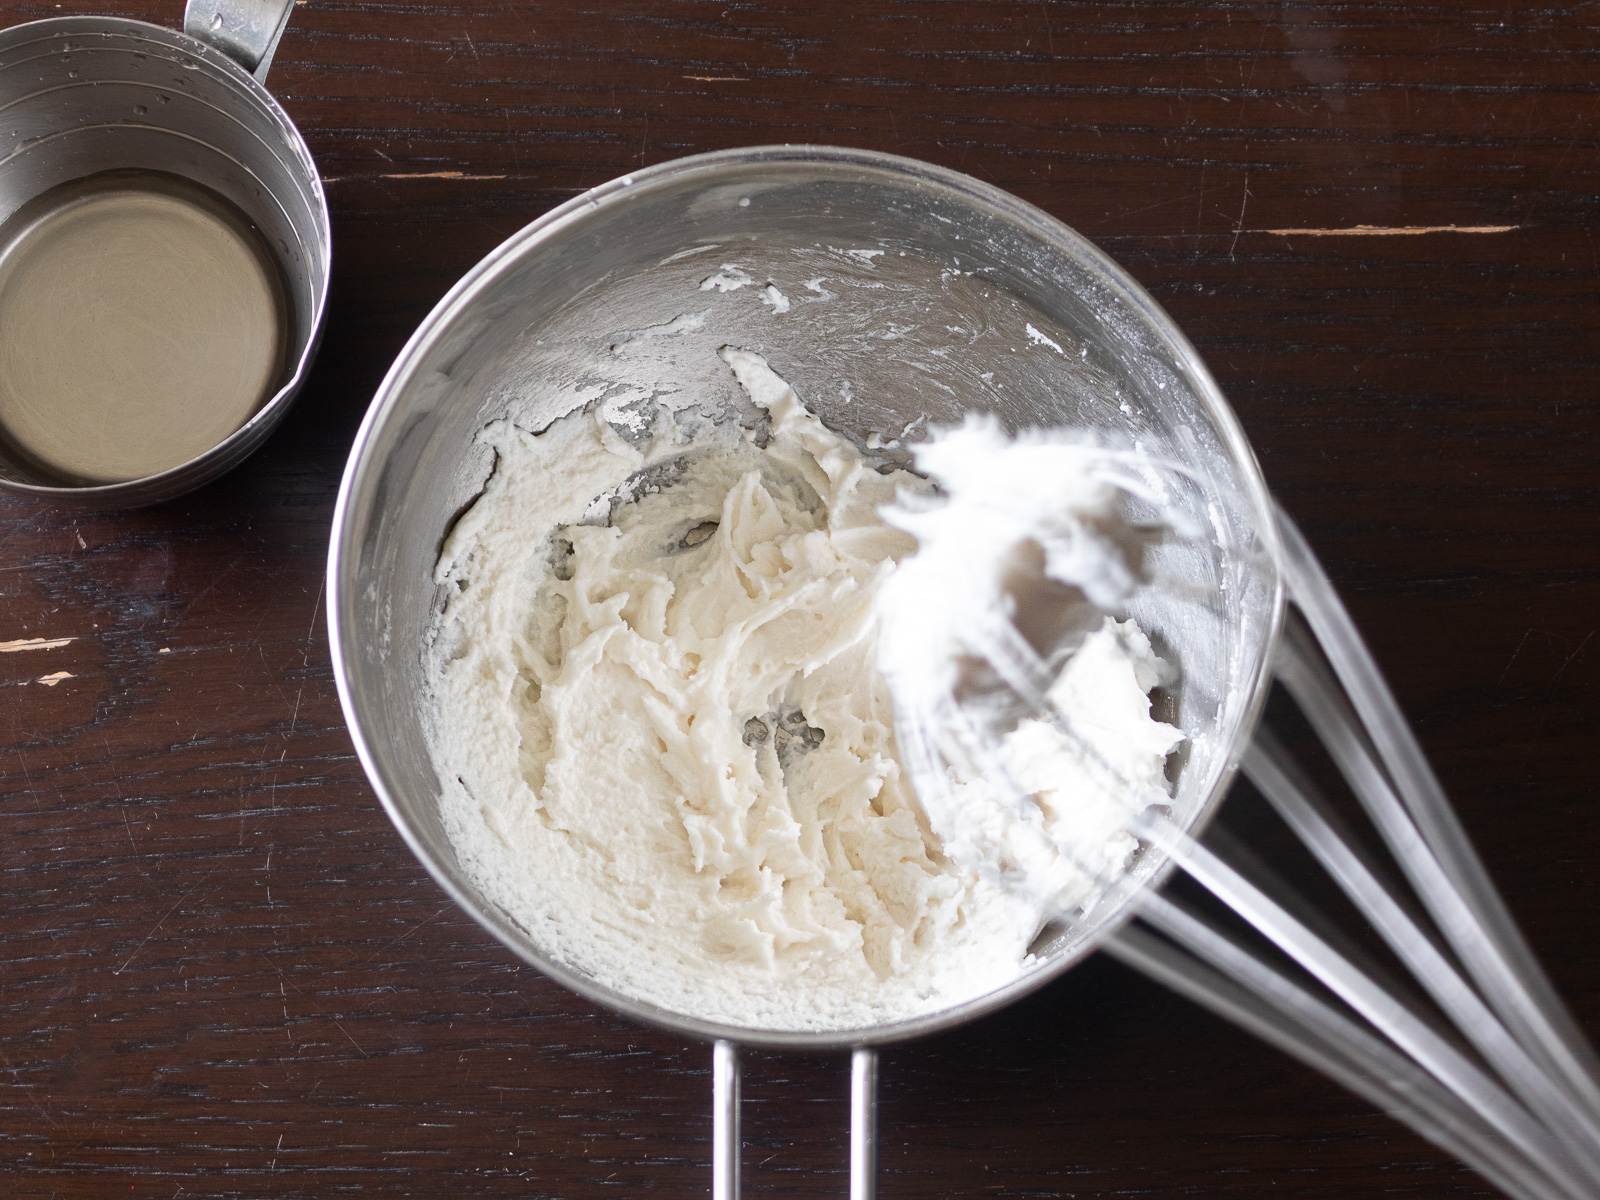
- Add water
- Pour in the water and whisk until smooth.

- Prepare for steaming
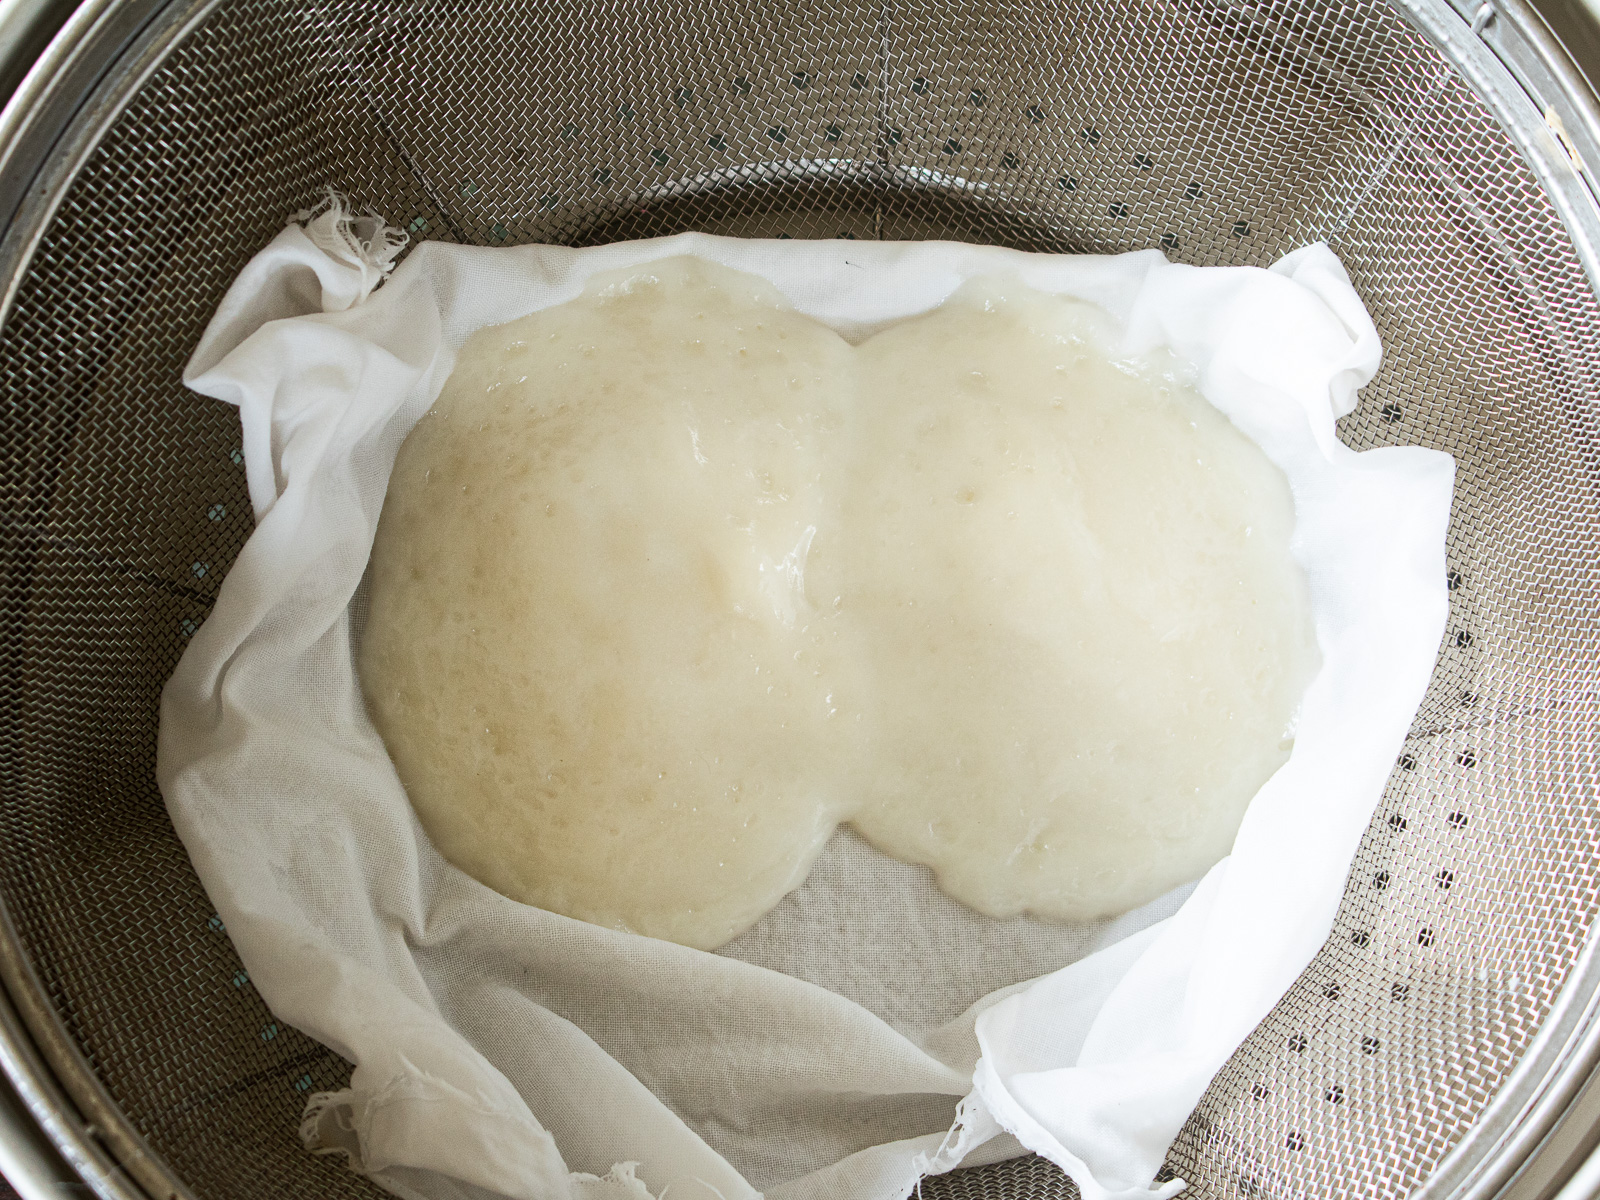
- Dampen the sarashi (thin cloth), wring it out, and lay it over the colander.
- Divide the mochi batter in half and place both portions on the cloth.
- Steam
- Once the steamer is producing steam, place the colander inside.
- Steam over medium-high to high heat for 10 minutes.
🌿 The mochi is ready when it pulls away without sticking to the cloth.
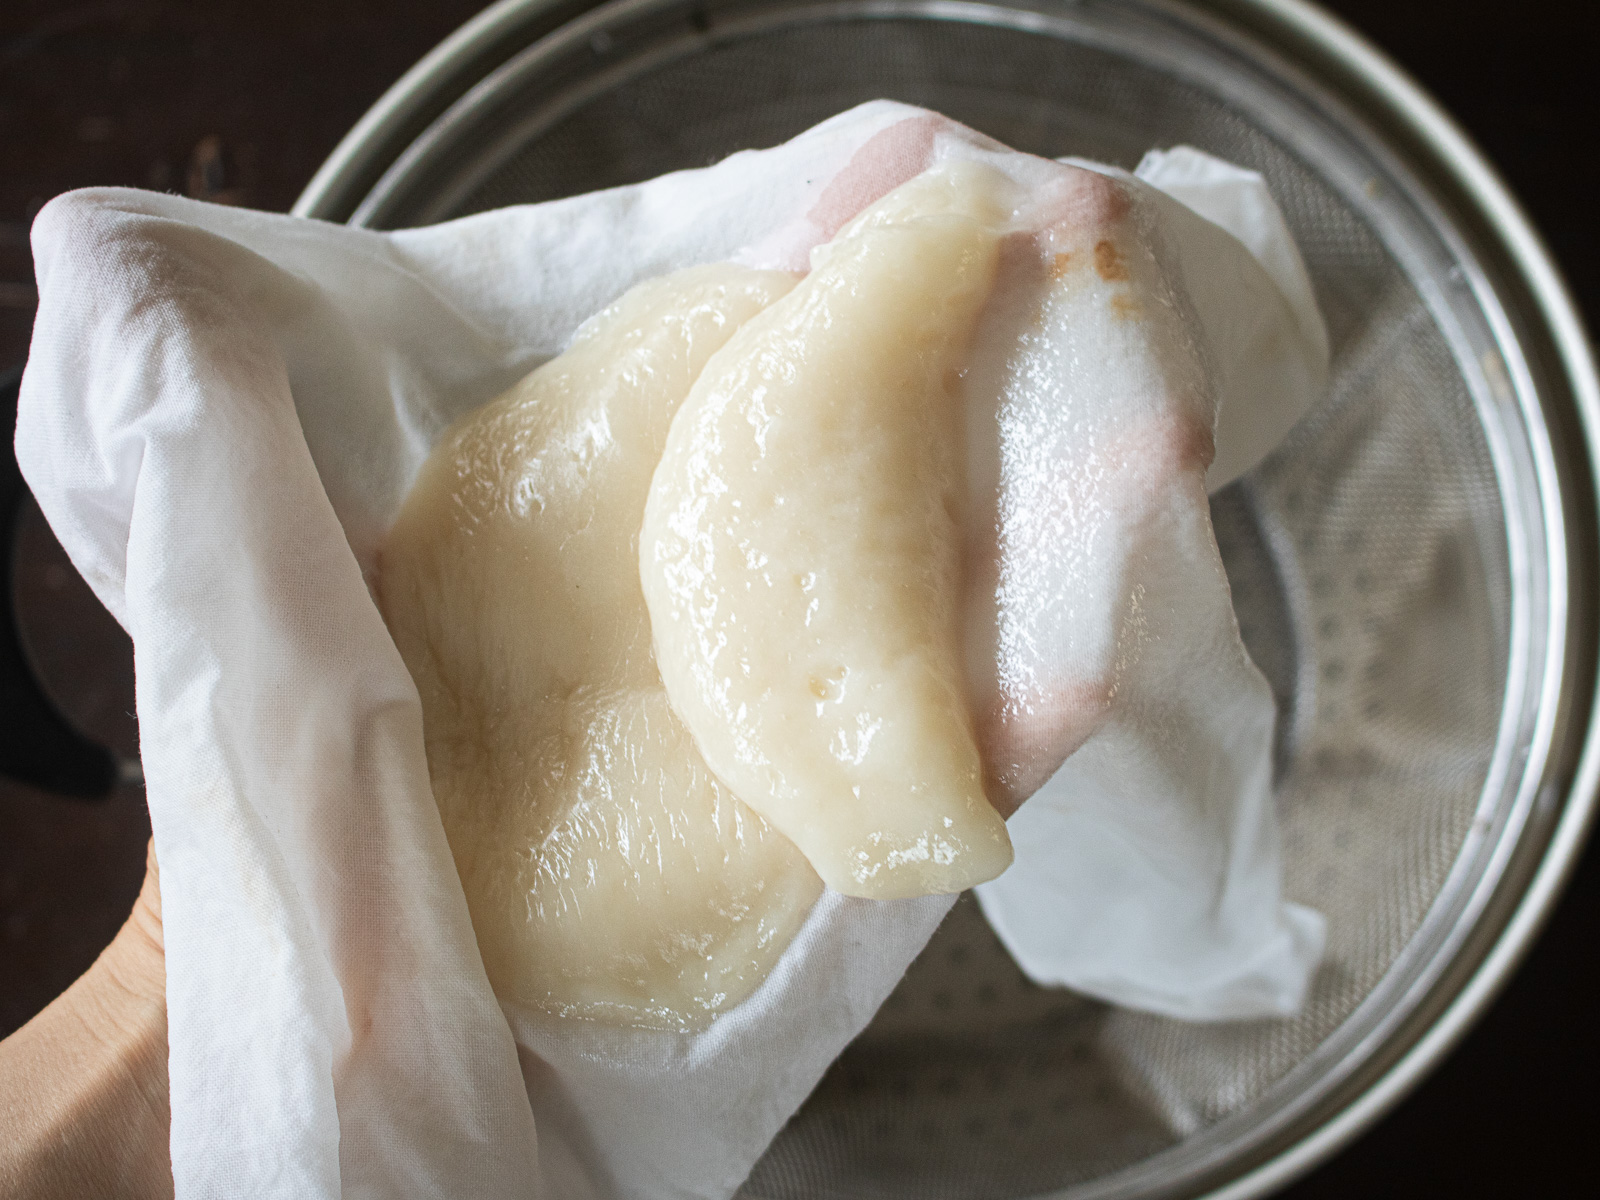
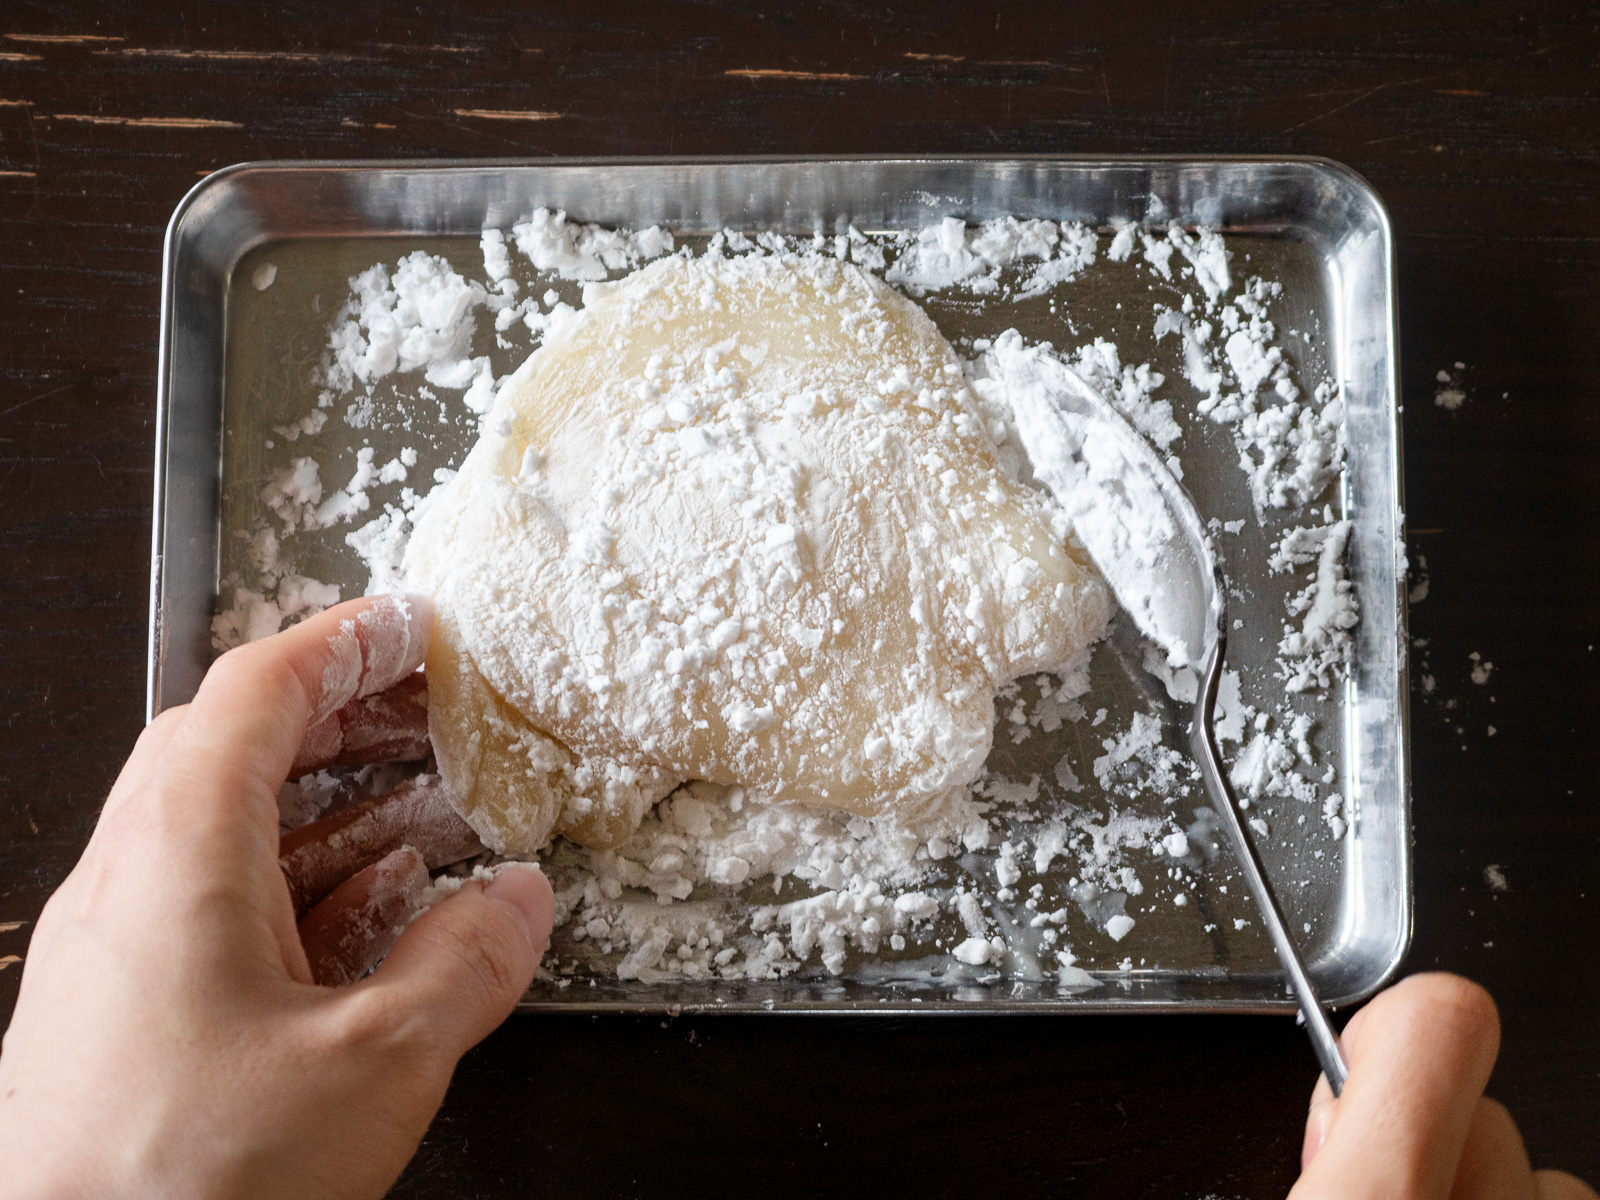
- Transfer
- Dust a tray with katakuriko
- Lightly wet your hands and transfer the mochi onto the tray
- Dust the surface lightly to prevent drying and sticking
🌿 Fresh from the steamer, the mochi will be very hot. Wait until it's cool enough to handle.
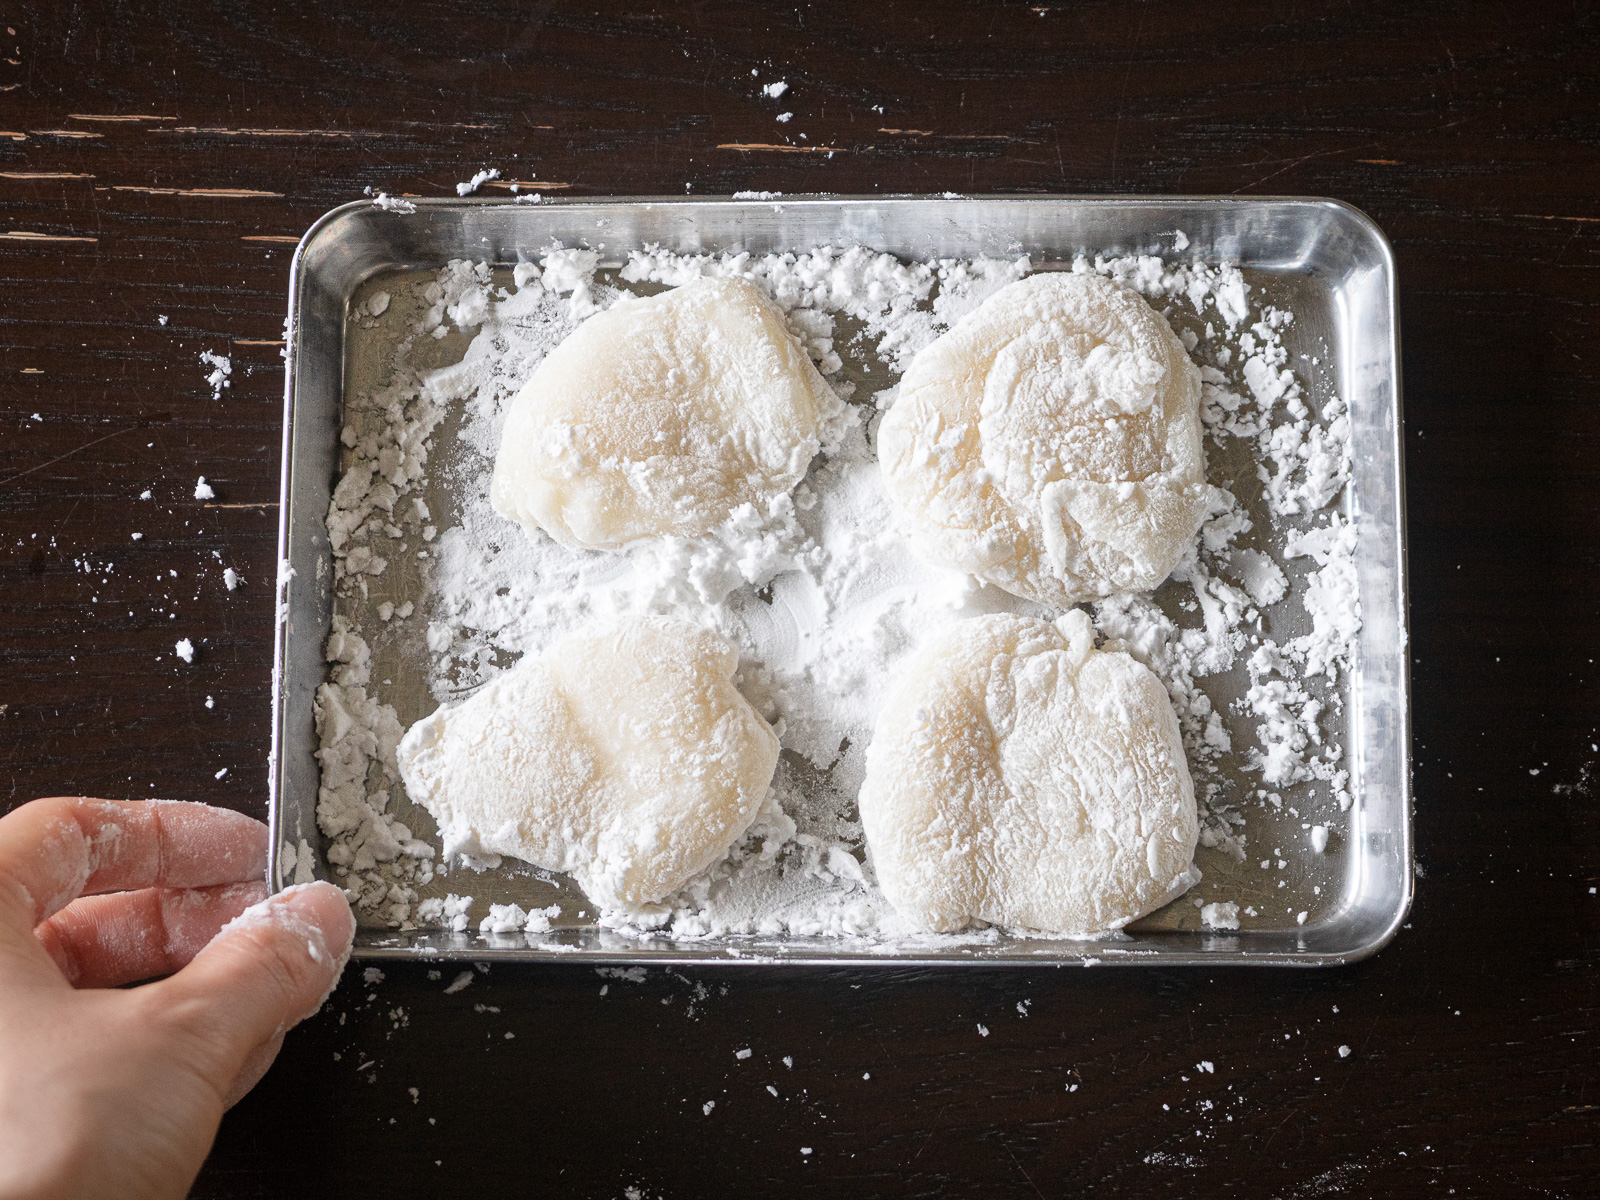
- Divide
- Tear the mochi into four equal pieces by hand.
🌿 Keeping your fingers dusted with katakuriko helps prevent sticking.
🔪 How to Make — Anko Balls
Once the mochi skin is ready, move on to the anko balls. You can also prepare these while the mochi is steaming.
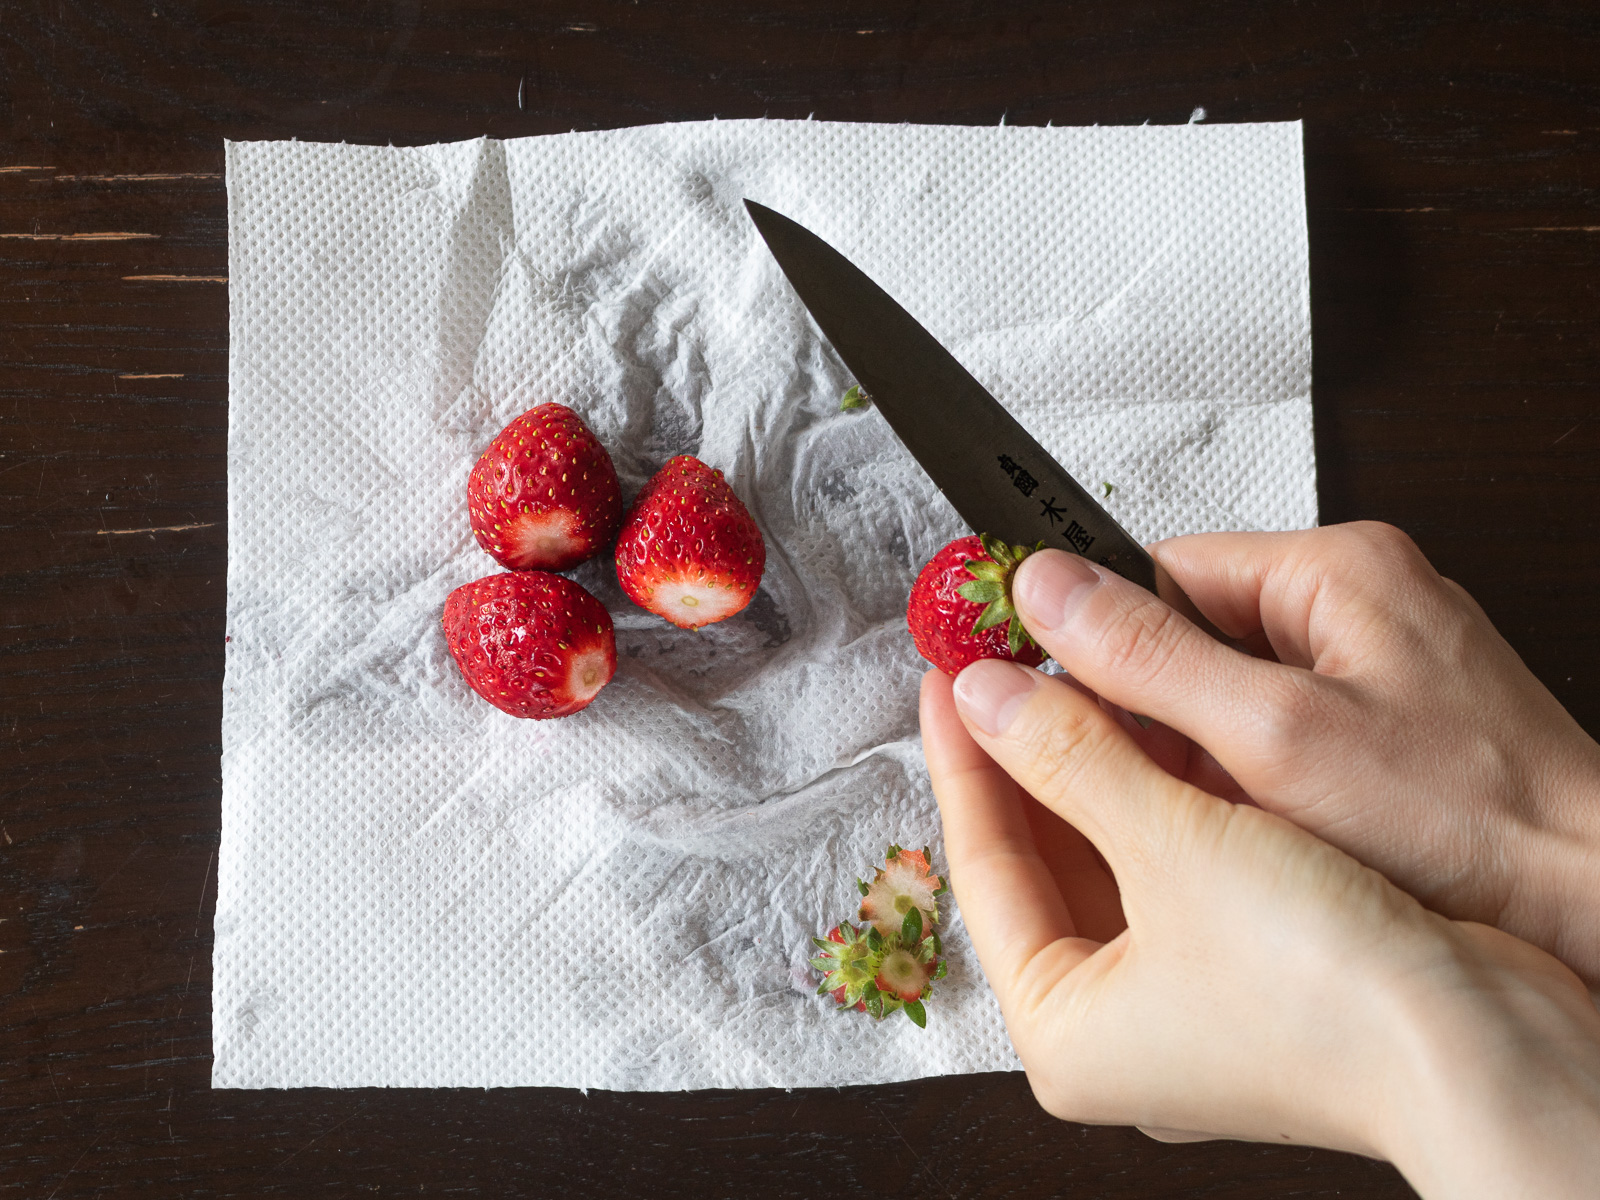
- Prepare the strawberries
- Wash the strawberries and gently pat them dry with paper towels.
- Remove the hulls with a knife.
- Portion the anko
- Divide the tsubu-an into four equal portions.
- Roll one portion into a rough ball and begin shaping it around the strawberry.
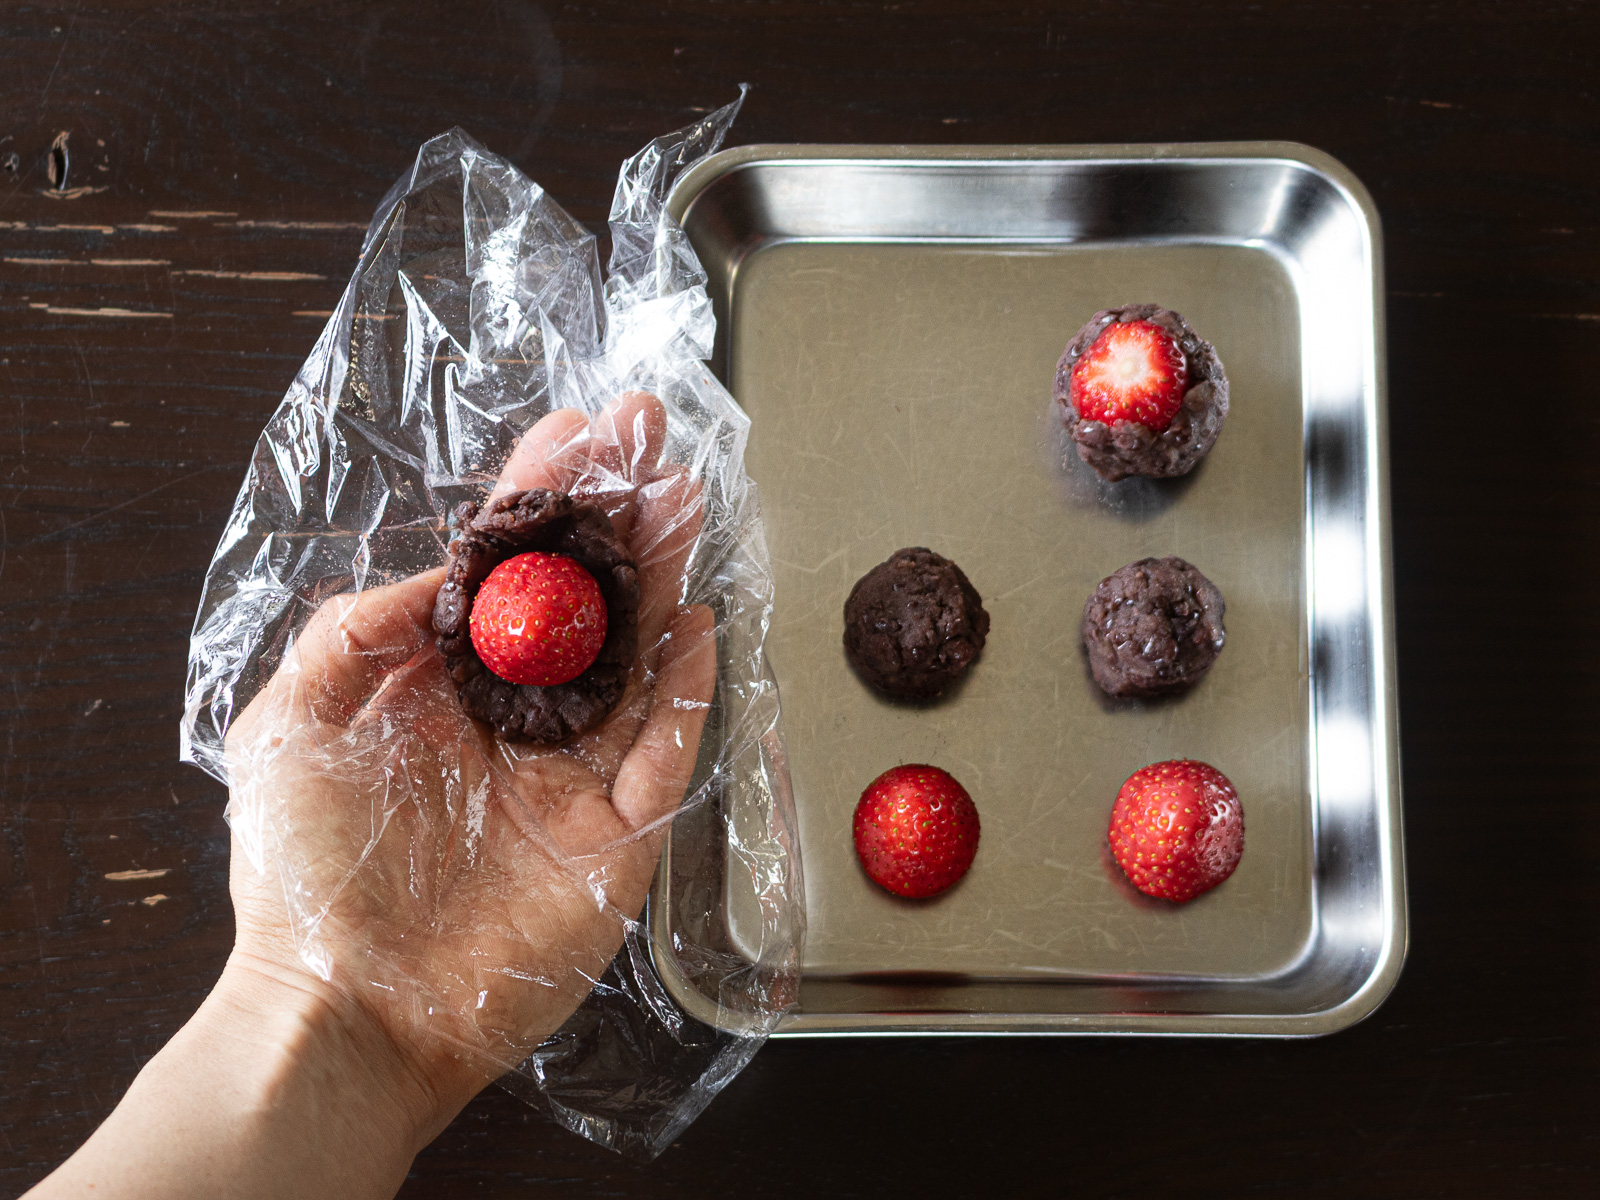
- Wrap the strawberry ❶
- Lay a sheet of plastic wrap on your palm.
- Place one anko ball on top and flatten it into a round disc using your hand or a spoon.
- Set a strawberry in the center.
🌿 The hull side can face either up or down, depending on how you’d like to present the finished daifuku.
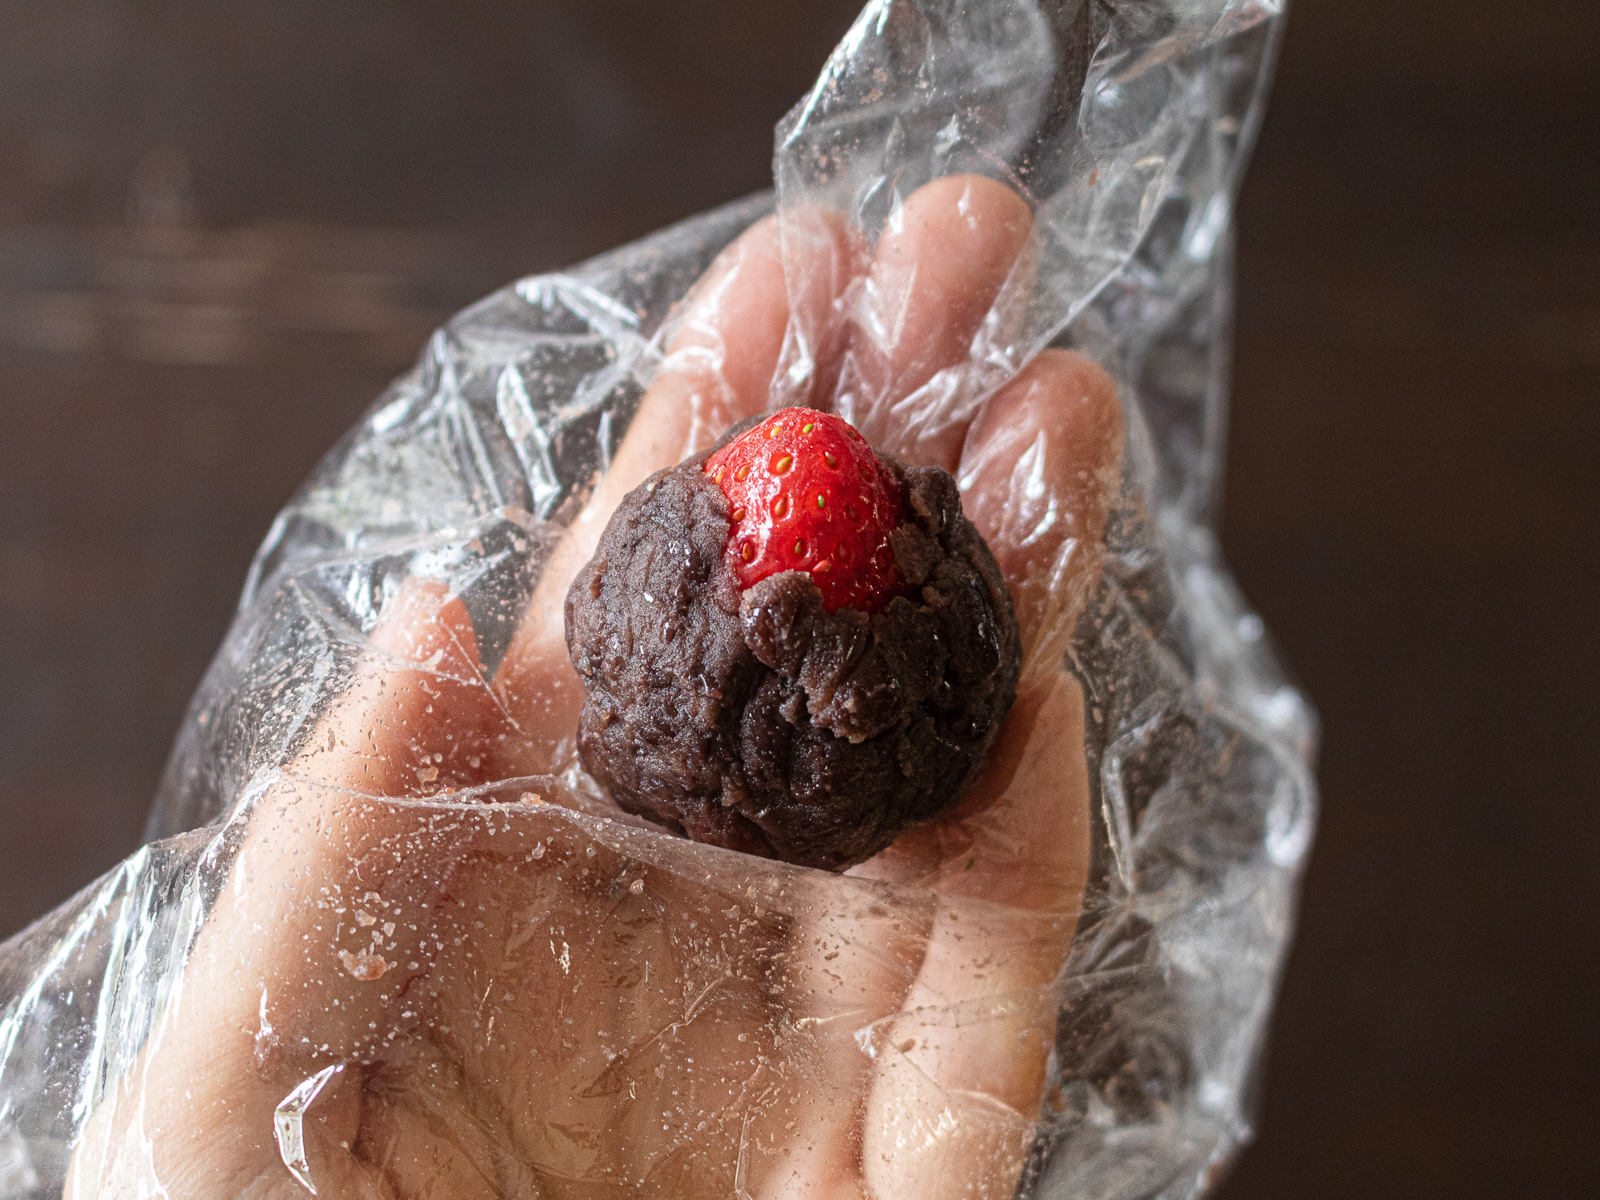
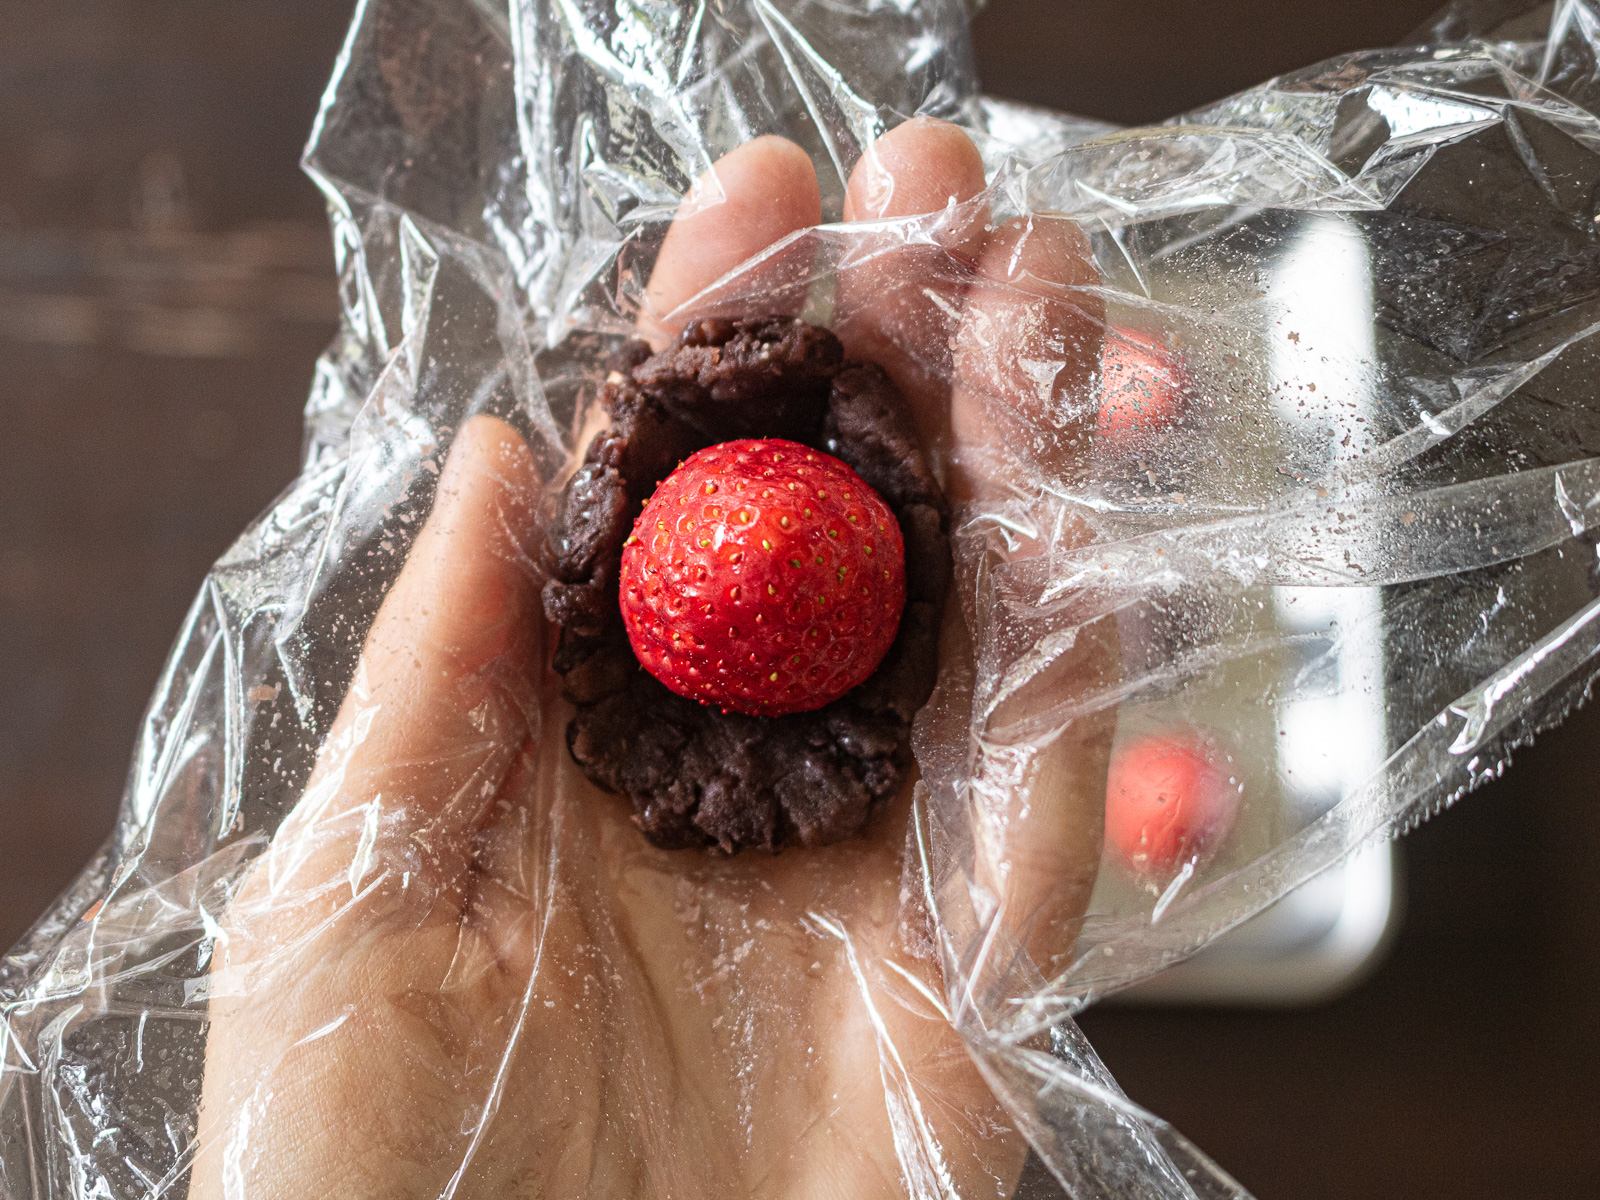
- Wrap the strawberry ❷
- Gently stretch the anko as you wrap it around the strawberry.
- Repeat with the remaining anko and strawberries.
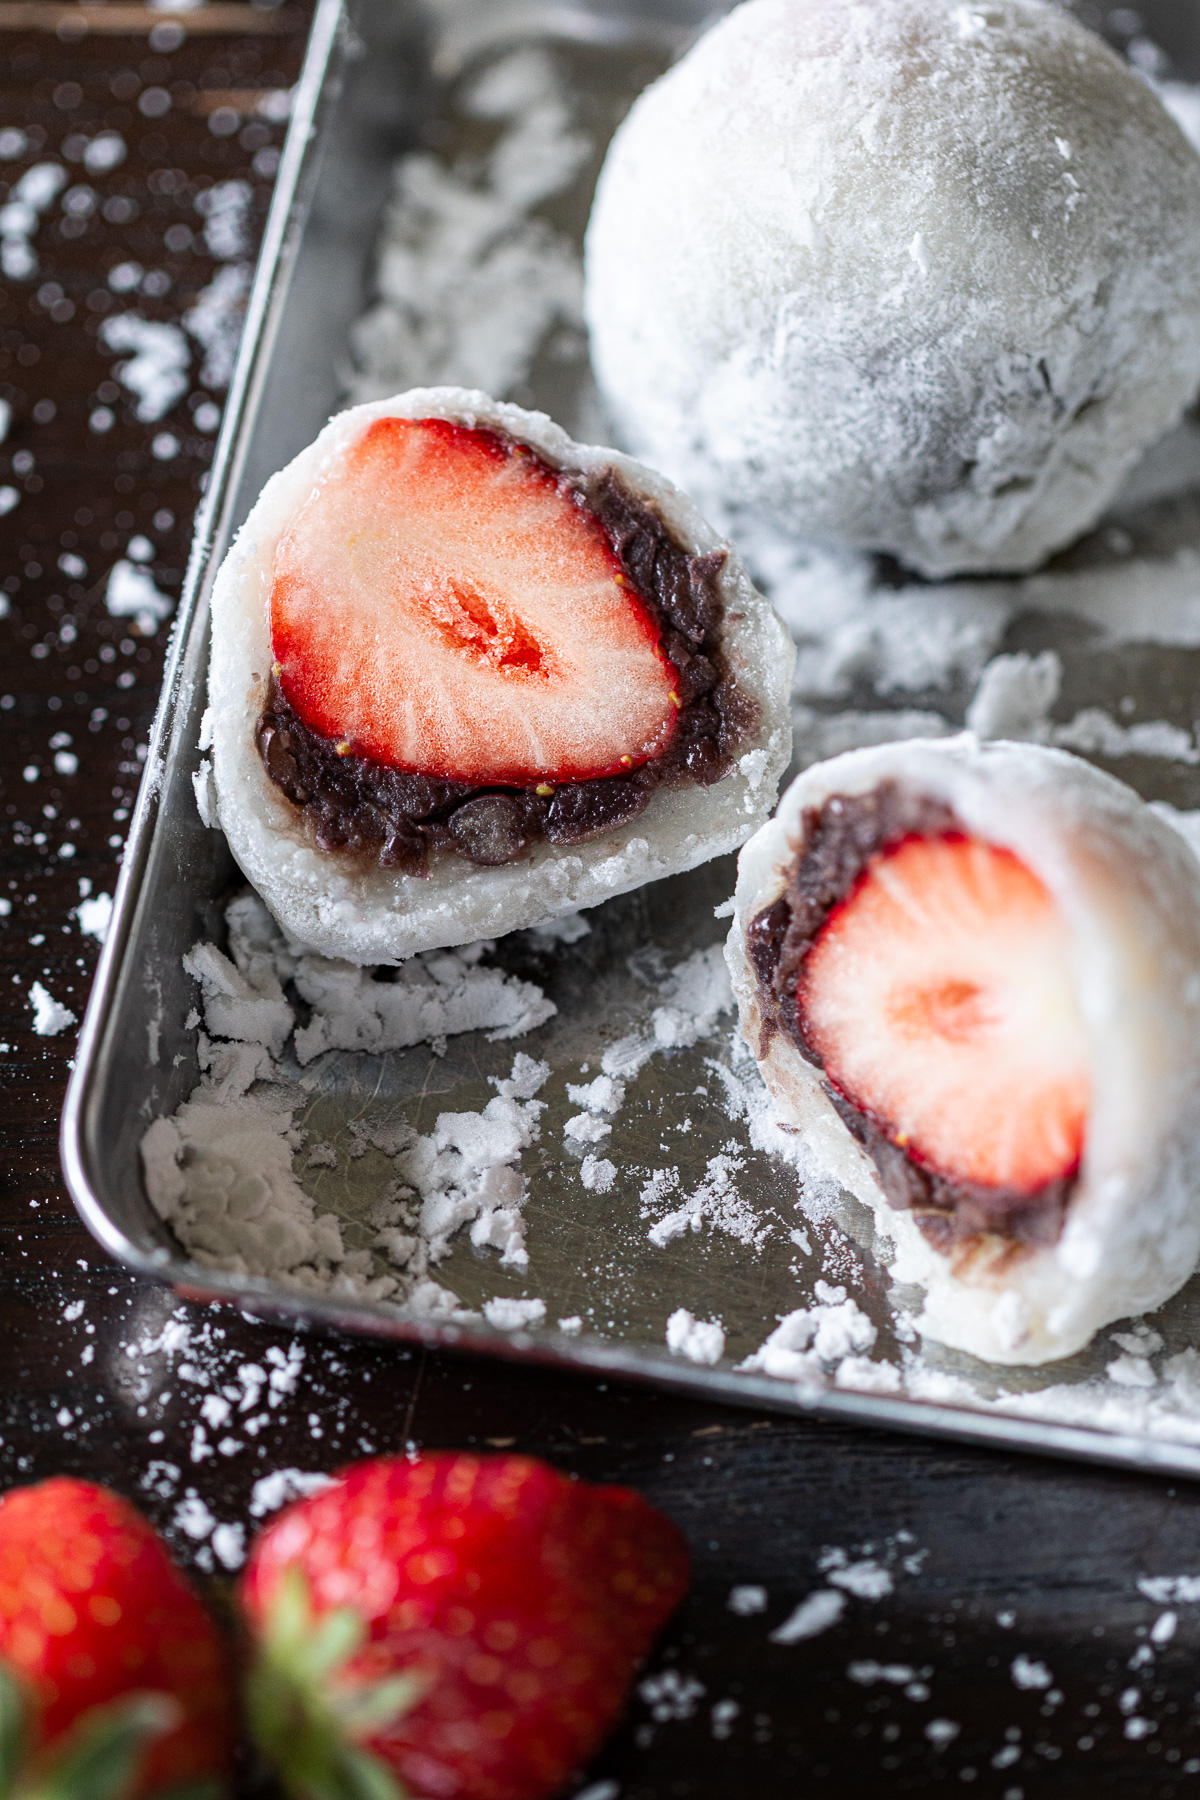
🌿 Leaving the tip uncovered helps you keep track of the strawberry's orientation while wrapping — and when sliced, the cross-section looks much nicer too.
🥮 How to Wrap
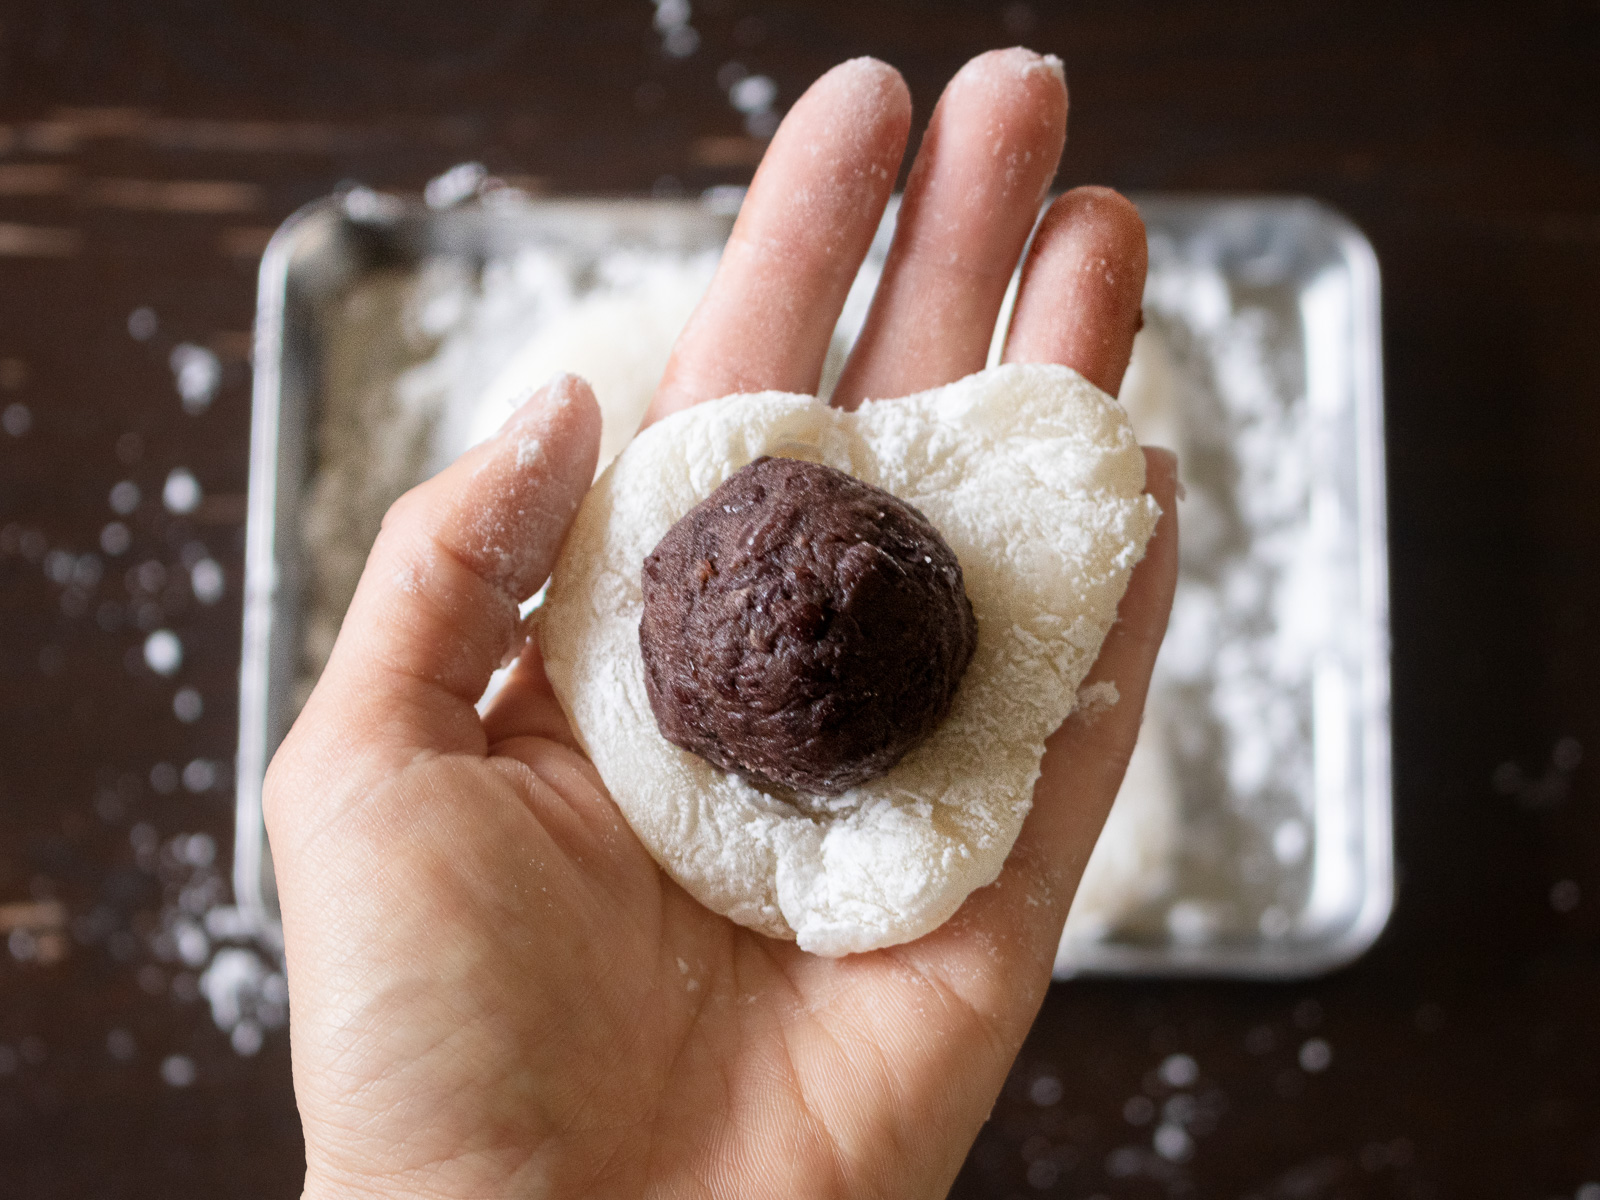
- Place the anko ball
- Place a piece of mochi in your palm and gently flatten it into a small round with your fingers.
- Place the anko ball on top, strawberry tip facing down.
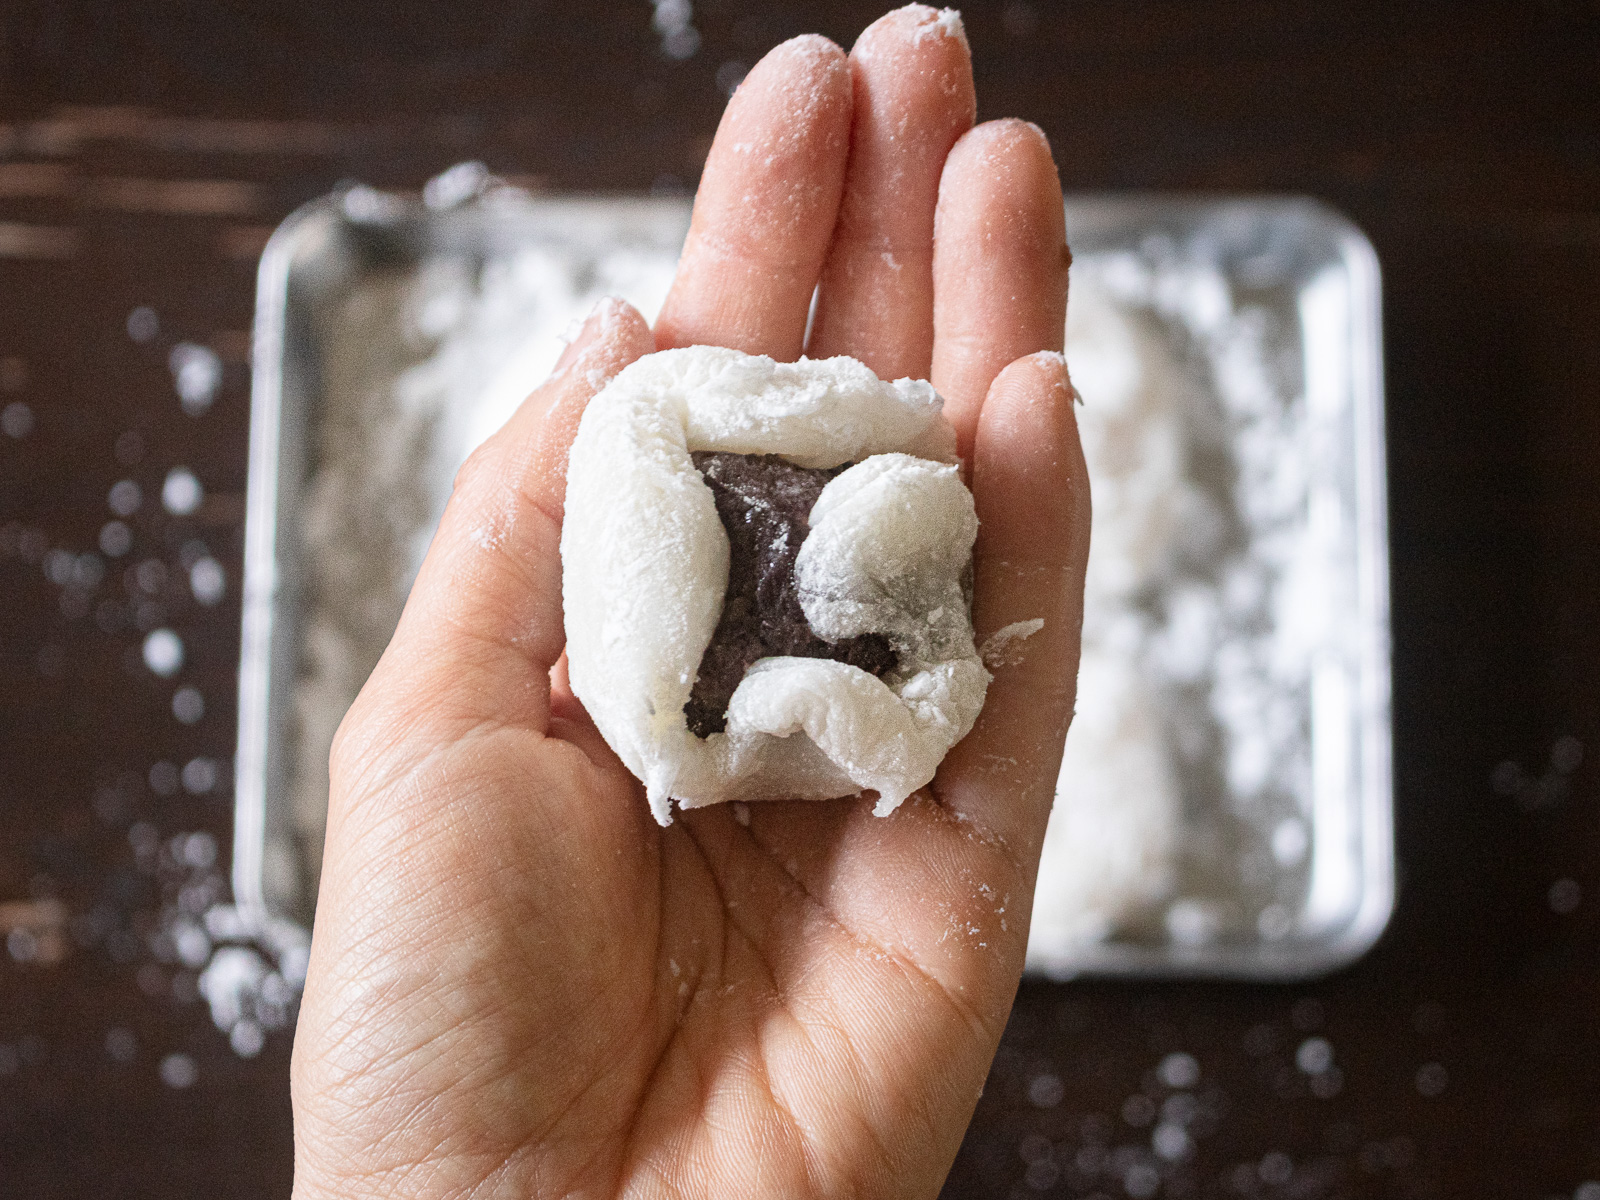
- Wrap
- Gently stretch the mochi around the anko ball.
🌿 Stretching one spot too much can thin out the mochi and cause it to tear. so handle it gently.
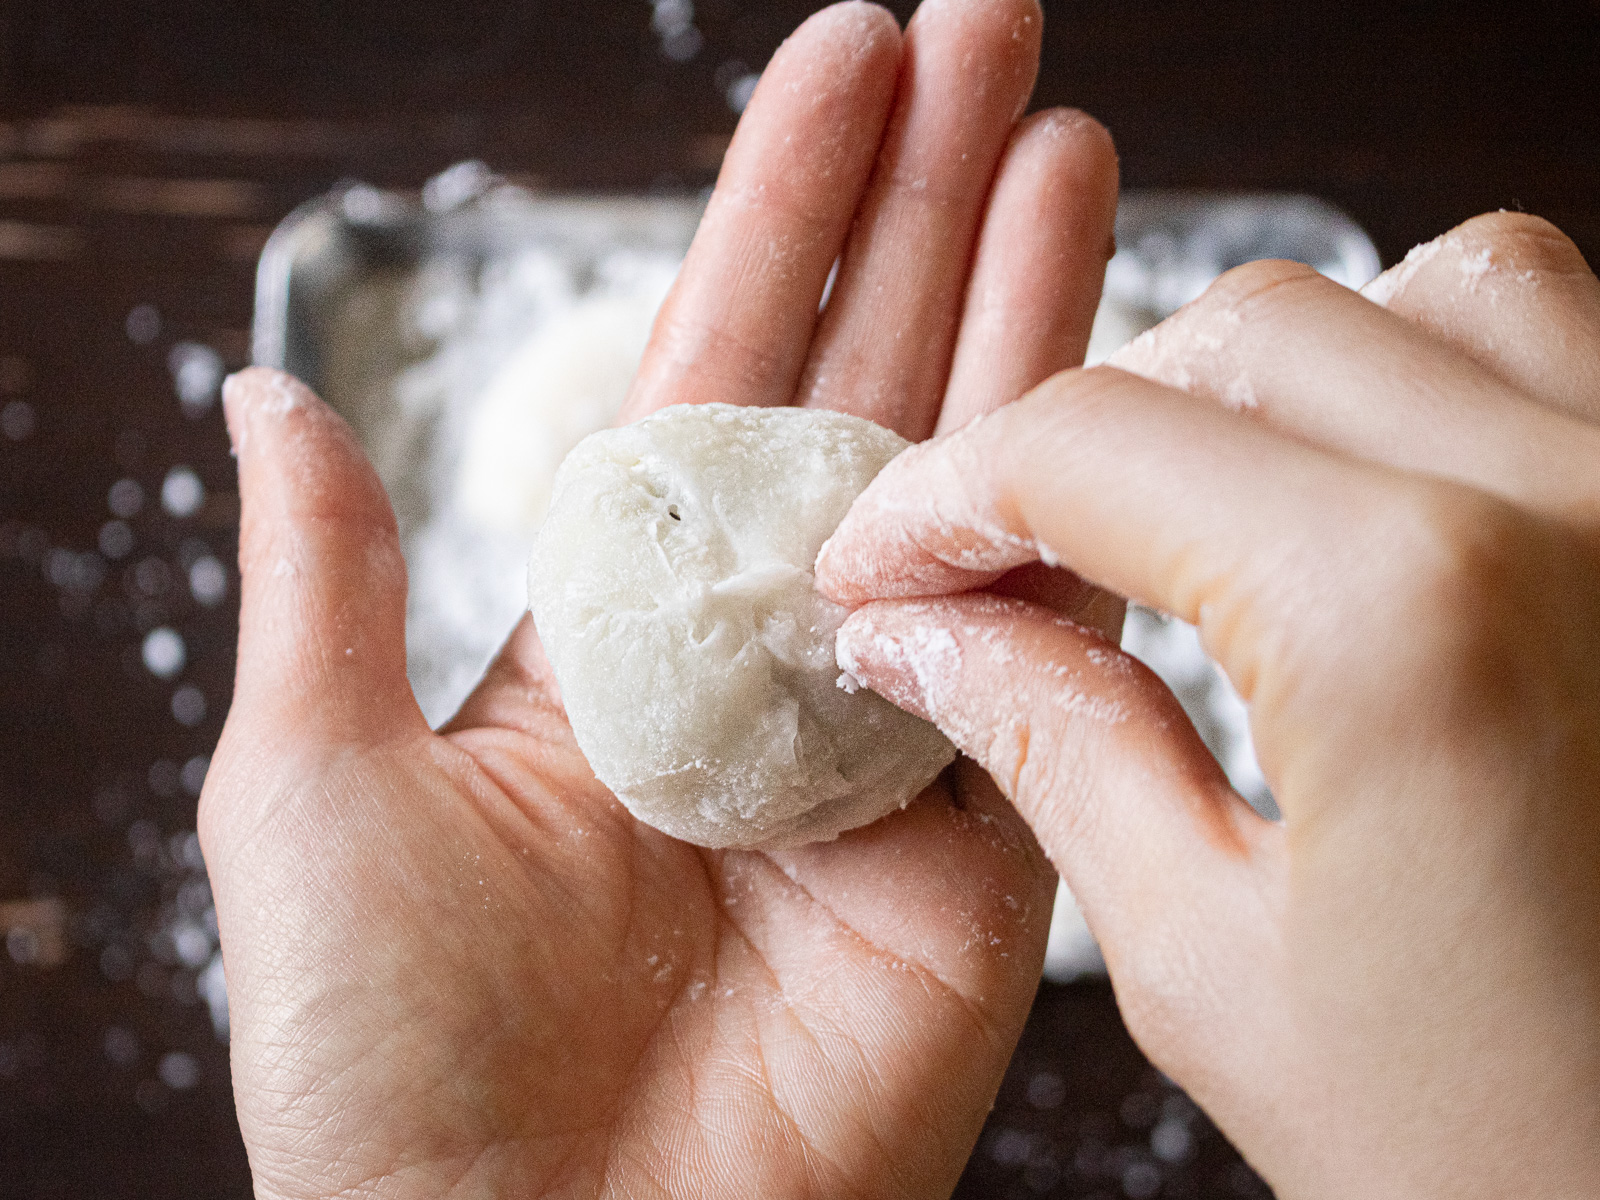
- Seal
- Gather the edges and pinch them together to seal.
🌿 Keeping your fingers dusted with katakuriko helps prevent sticking.
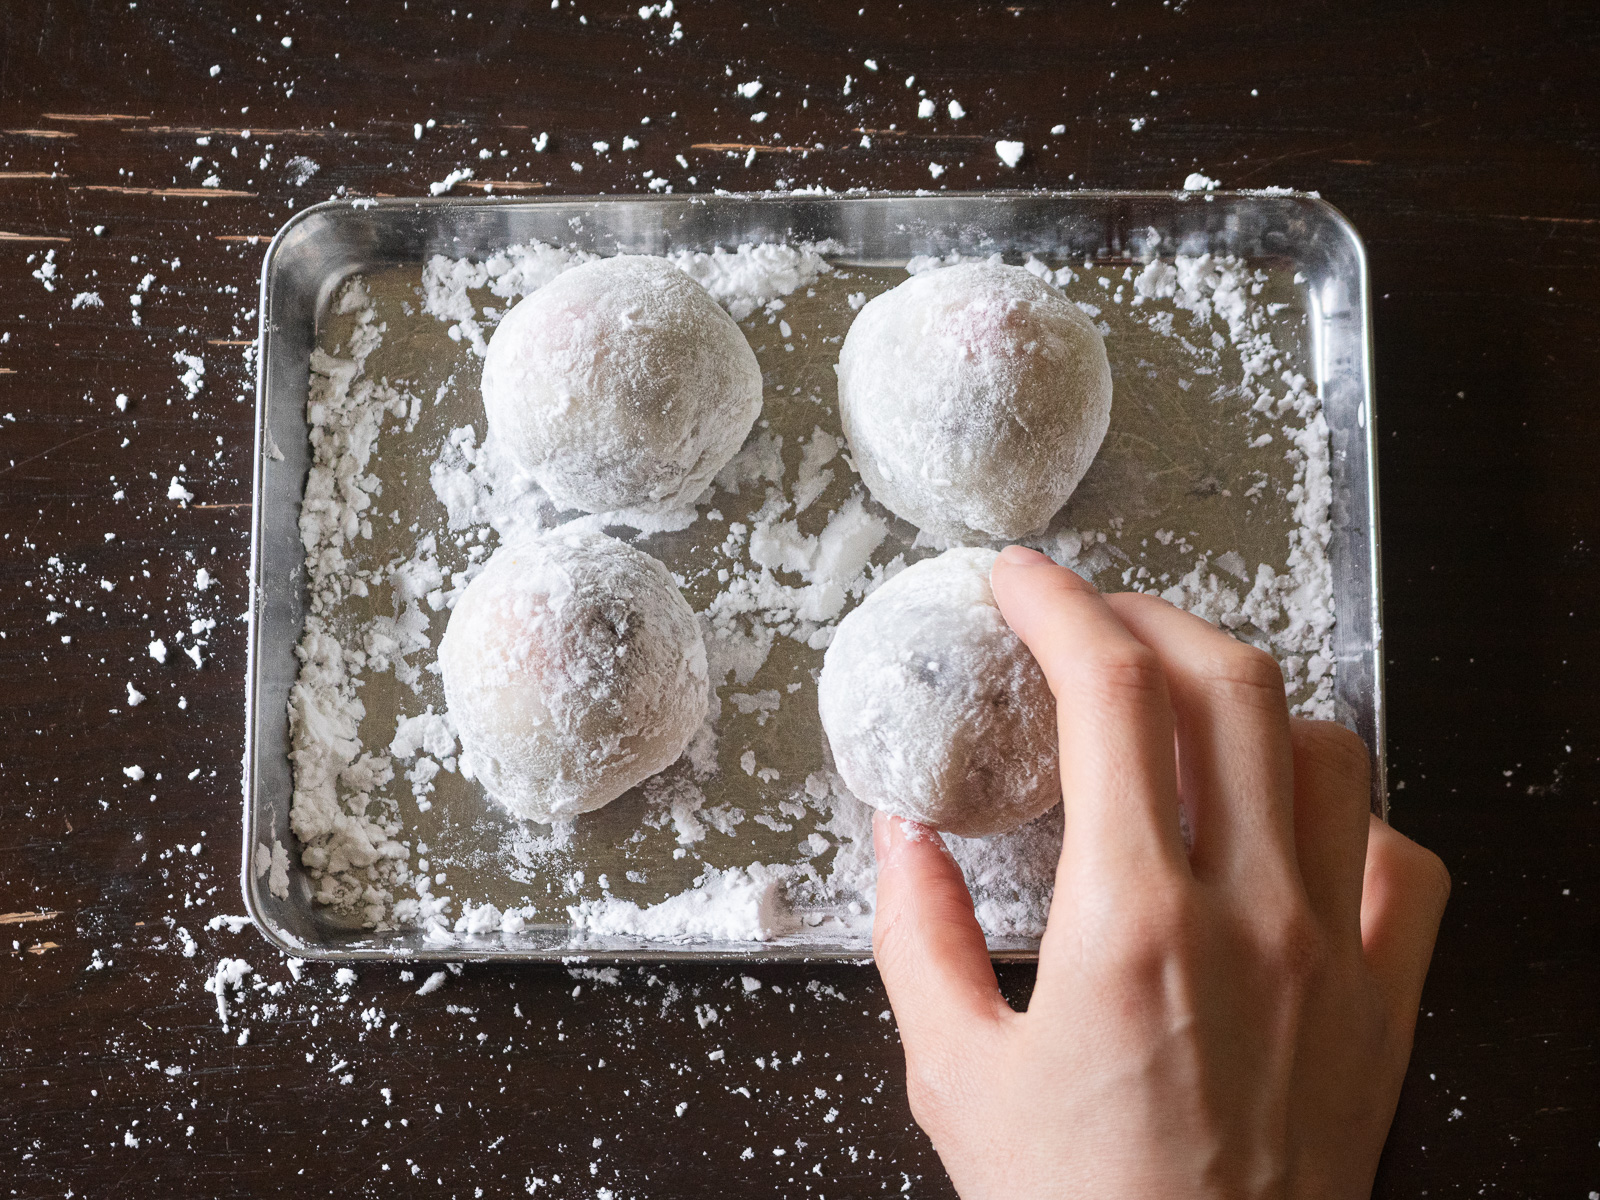
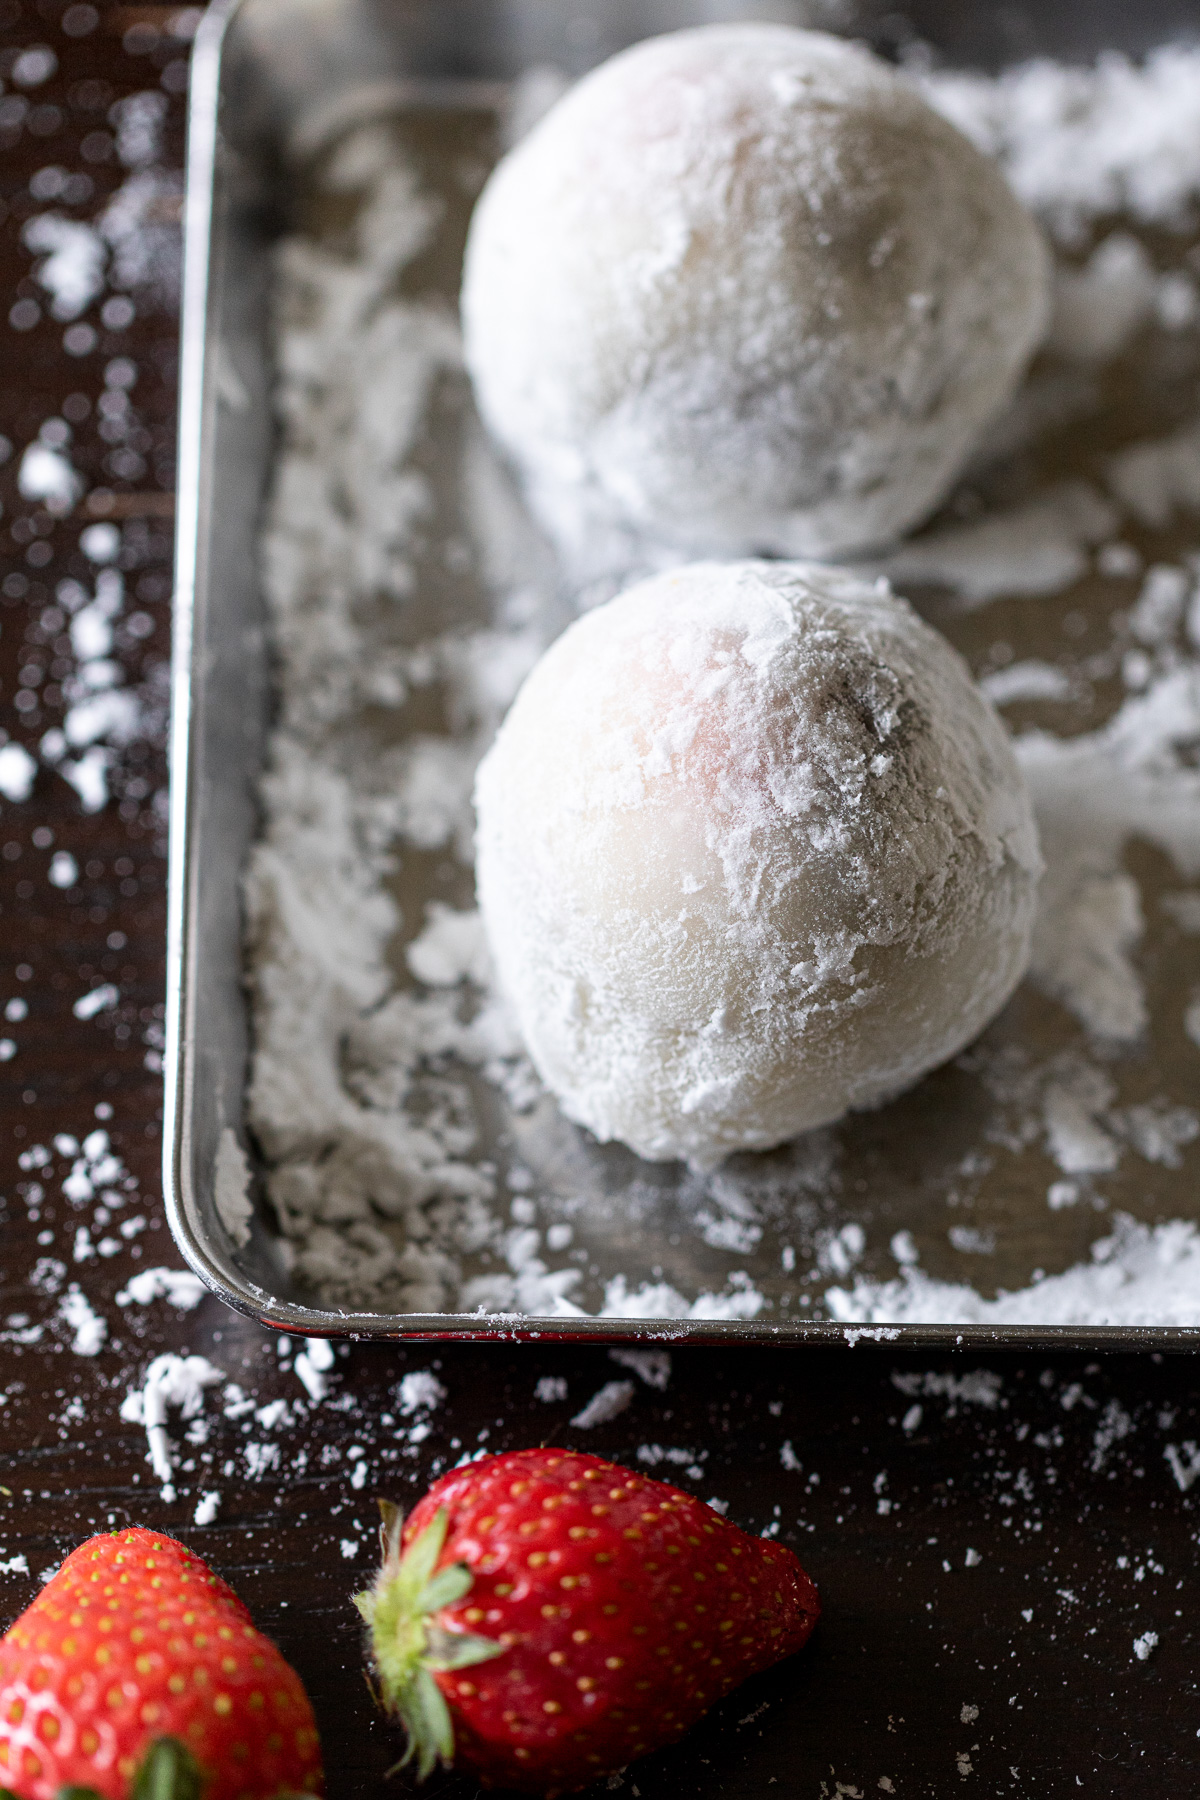
- Dust
- Lightly dust the surface with katakuriko to finish.
🌿 A light dusting is enough
— too much starch can make the surface taste powdery.

🫙 Storage
Ichigo daifuku is best eaten on the day it’s made.
If you’d like to keep it until the next day, store it at room temperature in a cool environment. Cover loosely with plastic wrap to prevent drying out. This helps the mochi stay soft and close to freshly made.
If stored in the fridge, the mochi will firm up slightly — still soft, but with a bit more chew than when freshly made.
📚 FAQ
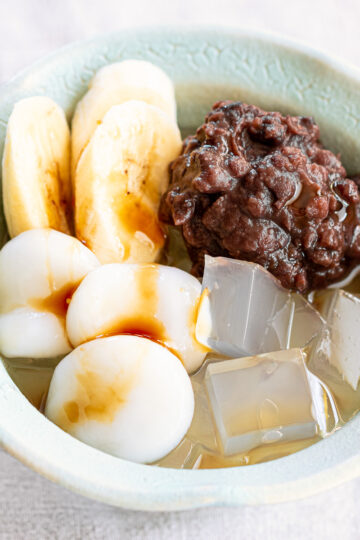
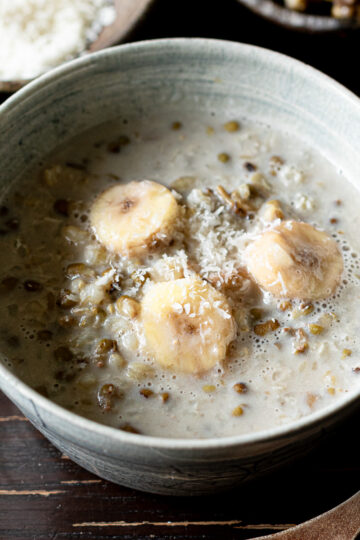
Yes. Most fruits pair well with shiro-an (white bean paste), which has a milder flavor and works with a wider range of fruit. If you prefer to use tsubu-an, banana pairs especially well.
Simply add more water to the batter. Adding around 75–85g will make it loose enough to fall in ribbons, resulting in a softer mochi with less koshi.
Unfortunately, frozen strawberries aren't recommended here. They release too much moisture as they thaw. So fresh strawberries work best.
If you'd like to use frozen ones, you can cook them down with a small amount of sugar until the moisture evaporates and the mixture thickens into a jam-like consistency, then use that as the filling.
Mochiko tends to stay softer longer than other flours, so it shouldn't turn hard overnight. Room temperature storage keeps the texture closest to freshly made. Refrigerating firms it up slightly — see Storage above.
A heatproof tray or plate can substitute for the colander, and parchment paper works in place of sarashi.
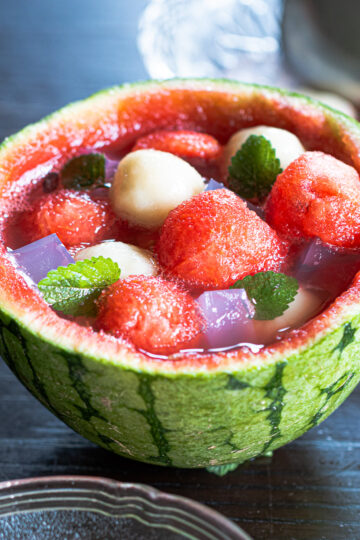
🍽️ More Strawberry Recipes
Vegan desserts featuring fresh strawberries:
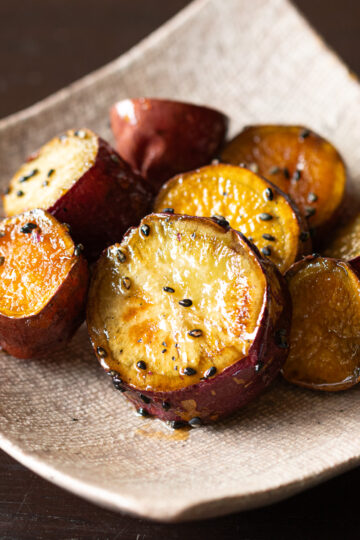
🍡 With Leftover Mochiko
Ideas for using mochiko:

🫘 With Leftover Anko
Recipes using homemade tsubu-an:
🥄 More Vegan Japanese Sweets
A collection of plant-based treats (👉 Full List) :

If you feel like whispering a thought, asking a question, or simply saying hello — the comment section is always open 📮
✏️ Recipe Card
Ichigo Daifuku (いちご大福)|Vegan Strawberry Mochi
Equipment
- Mixing bowl
- whisk
- sarashi (thin cotton cloth) - dampened and wrung out, used to line a colander for steaming
- colander
- steamer pot
- extra cloth - draped over the lid to prevent water from dripping onto the mochi
- tray or pate
Ingredients
Mochi Skin
- 60 g mochiko
- 2 teaspoon beet sugar powder (or any fine-grain sugar)
- salt (less than 1g / two small pinches)
- 65 g water
- 1 tbsp+ katakuriko (potato starch, for dusting — cornstarch works too)
Anko Balls
- 4 strawberries (around 13g each works best)
- 80 g anko
- vegan tofu whipped cream (optional, to taste)
Instructions
Mochi Skin
- Mix dry ingredients: Combine mochiko, sugar, and salt in a mixing bowl. Whisk well.60 g mochiko2 tsp beet sugar powdersalt
- Add water: Pour in the water and whisk until smooth.65 g water
- Prepare for steaming: Dampen the sarashi (thin cloth), wring it out, and lay it over the colander. Divide the batter in half and place both portions on the cloth.
- Steam: Once the steamer is producing steam, place the colander inside. Steam over medium-high to high heat for 10 minutes.
- Transfer: Dust a tray with katakuriko. Lightly wet your hands and transfer the mochi onto the tray. Dust the surface lightly.1 tbsp+ katakuriko
- Divide: Tear the mochi into four equal pieces by hand.
Anko Balls
- Prepare the strawberries: Wash and gently pat dry with paper towels. Remove the hulls with a knife.4 strawberries
- Portion the anko: Divide the tsubu-an into four equal portions and begin shaping each into a ball.80 g anko
- Wrap ❶: Lay plastic wrap on your palm. Place one anko portion on top and flatten into a round disc. Set a strawberry in the center.
- Wrap ❷: Gently stretch and press the anko around the strawberry.
How to Wrap
- Place the anko ball: Place a piece of mochi on your palm and gently spread it out with your fingers into a round shape. Place the anko ball on top, strawberry tip facing down.
- Wrap: Gently stretch the mochi around the anko ball.
- Seal: Gather the edges and pinch them together to seal.
- Dust: Lightly dust the surface with katakuriko to finish.

If this recipe made its way into your kitchen, and you'd like to share that moment, feel free to tag @veginveganvegun or use #vegin_vegan_vegun.
Your quiet stories inspire me deeply 🕊️


Comments
No Comments