
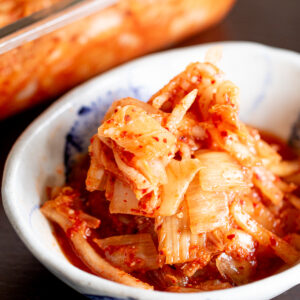
This is the homemade vegan kimchi I make with a Japanese fermented seasoning called shio koji, instead of the salted shrimp or fish sauce traditionally used to add umami.
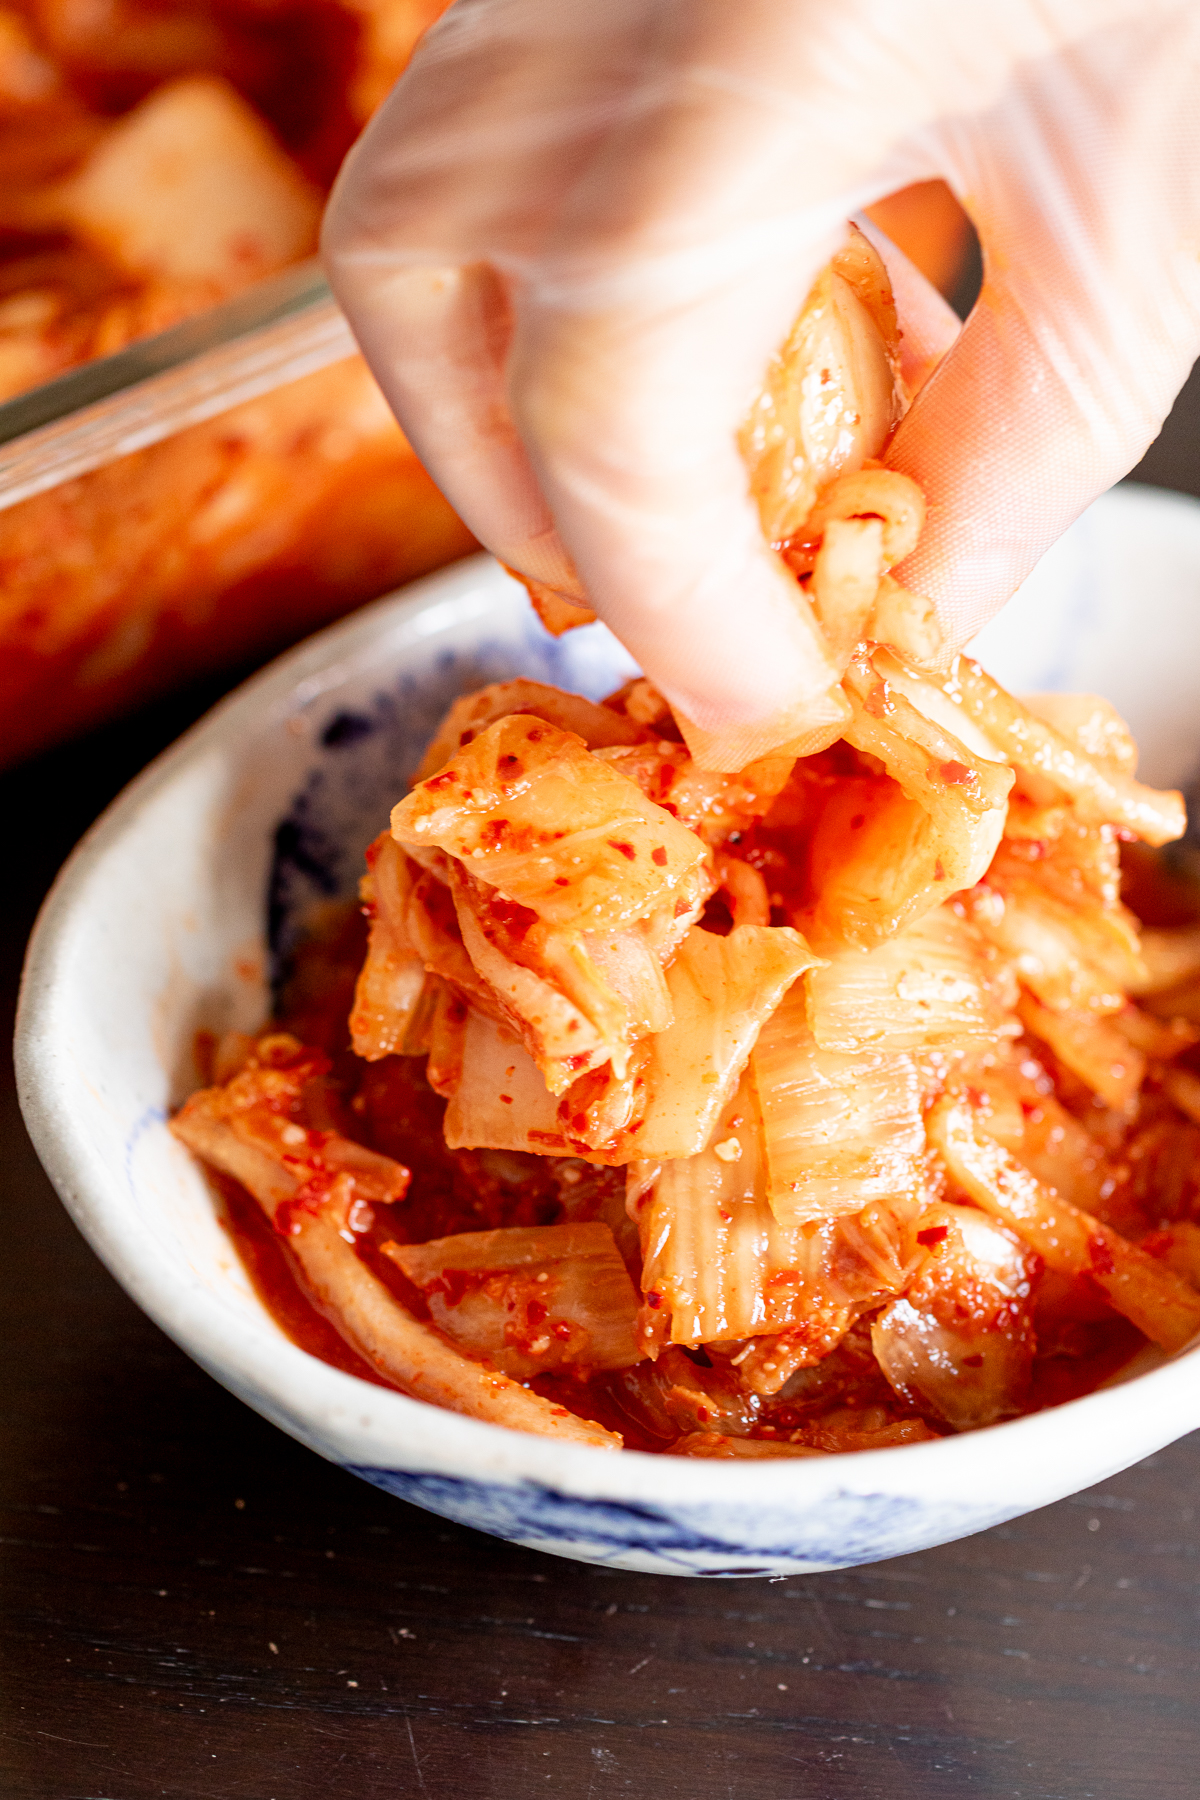
It's a simple, everyday kimchi made with ingredients that are easy to find in Japan. You can enjoy it straight away as a fresh, lightly pickled kimchi, or leave it at room temperature for a few days to let it develop the tangy, mellow flavor of fermented kimchi.
Kimchi making isn't as difficult as it looks once the process is familiar: salt the cabbage, make the seasoning, combine, and let time do the rest. From there, tweaking the seasoning gets easy — the kimchi becomes yours, one batch at a time.
🌿 Looking for more Korean-inspired side dishes?
You might also enjoy my Spicy Napa Cabbage, Spicy Pickled Daikon, and Korean-Style Bean Sprout & Seaweed Salad.
Jump to:
🧺 What Makes This Recipe Special
- Adjustable spice level — You can adjust the amount of gochugaru (Korean chili powder) to make the kimchi as mild or spicy as you like.
- No fish sauce — Made without fish sauce, salted shrimp, or other animal-based ingredients.
- Simple ingredients — Made with everyday ingredients that are easy to find in Japan.
🌶 Ingredients
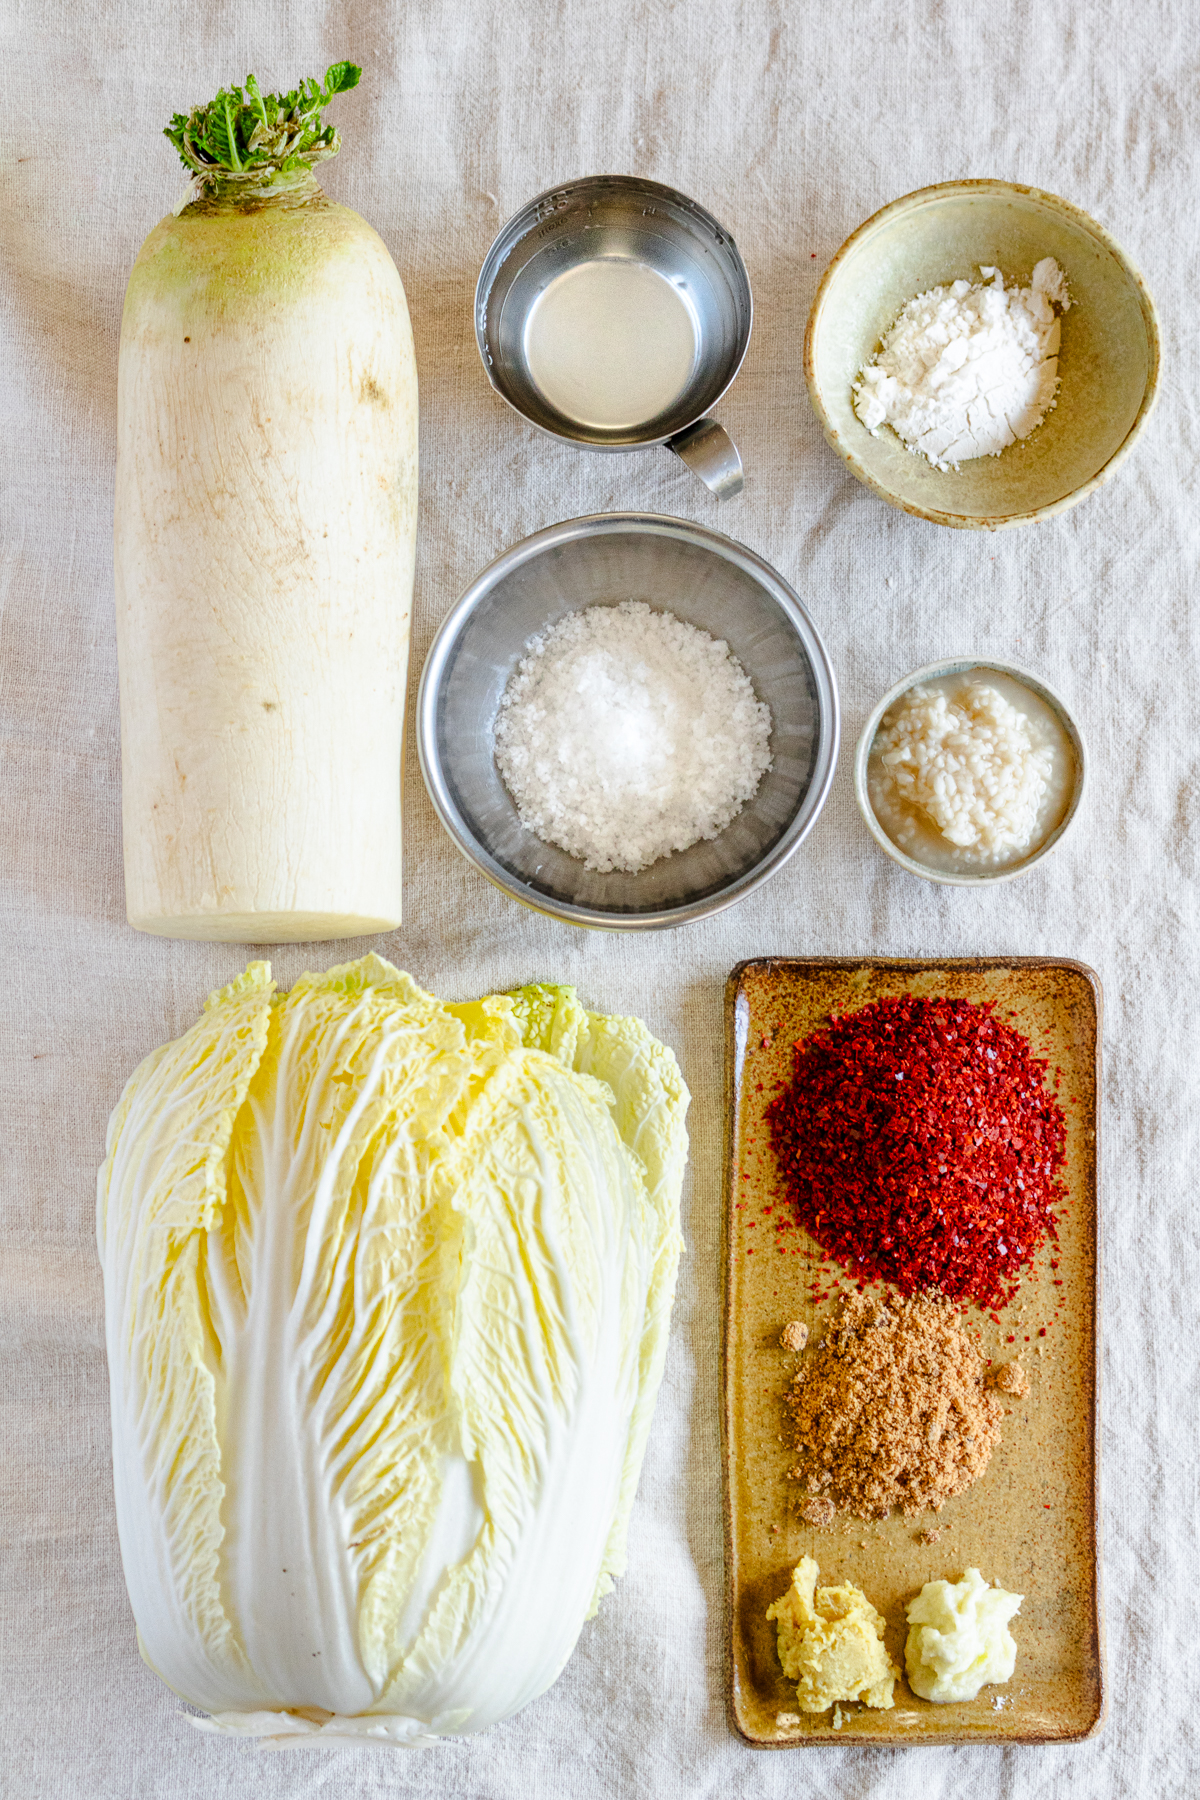
- Napa cabbage
- Daikon
- Coarse sea salt
- Water
- Rice flour
- Korean chili powder (gochugaru), the coarse kind made for kimchi
- Shio koji, homemade or store-bought
- Powdered Japanese black sugar (kokuto / 黒糖)
- Grated garlic
- Grated ginger
Three Things to Keep in Mind When Choosing Your Ingredients
Always use Korean chili flakes
The coarse red pepper flakes used for kimchi, known as gochugaru, are different from the chili peppers commonly used for dishes such as aglio e olio. They have a gentler heat, with a subtle sweetness and savory depth, and their vivid red color is another characteristic feature.
Regular chili flakes tend to have a sharper, more intense heat, which isn't ideal for kimchi. For the best results, look for Korean red pepper flakes specifically made for kimchi — a package labeled "for kimchi" is the easiest way to be sure."
Shio koji and black sugar add depth and flavor
Traditional kimchi often uses animal-based ingredients such as salted shrimp or fish sauce to add umami. In this vegan version, shio koji helps replace that combination, bringing sweetness, saltiness, and umami to the seasoning.
I also use powdered Japanese black sugar (kokuto) — an unrefined sugar rich in minerals — for sweetness. Its rich, distinctive flavor adds depth to the kimchi without making it taste overly sweet.
Choose fresh, flavorful vegetables
I usually make this napa cabbage kimchi in winter, when both napa cabbage and daikon are naturally sweeter and more flavorful — that sweetness carries straight into the finished kimchi.
In summer, I switch to other kinds of kimchi, such as cucumber kimchi, daikon leaf kimchi, and mul kimchi (water kimchi). I like making kimchi with whatever vegetables are at their best each season.
👇 For the exact measurements, see the recipe card at the bottom of the page.
🥣 How to Make
This vegan kimchi comes together in four simple steps:
- Salt the napa cabbage
- Make the rice flour paste
- Make the yangnyeom (seasoning mixture)
- Mix everything together
That's the order we'll follow.
The key is to mix everything really well!
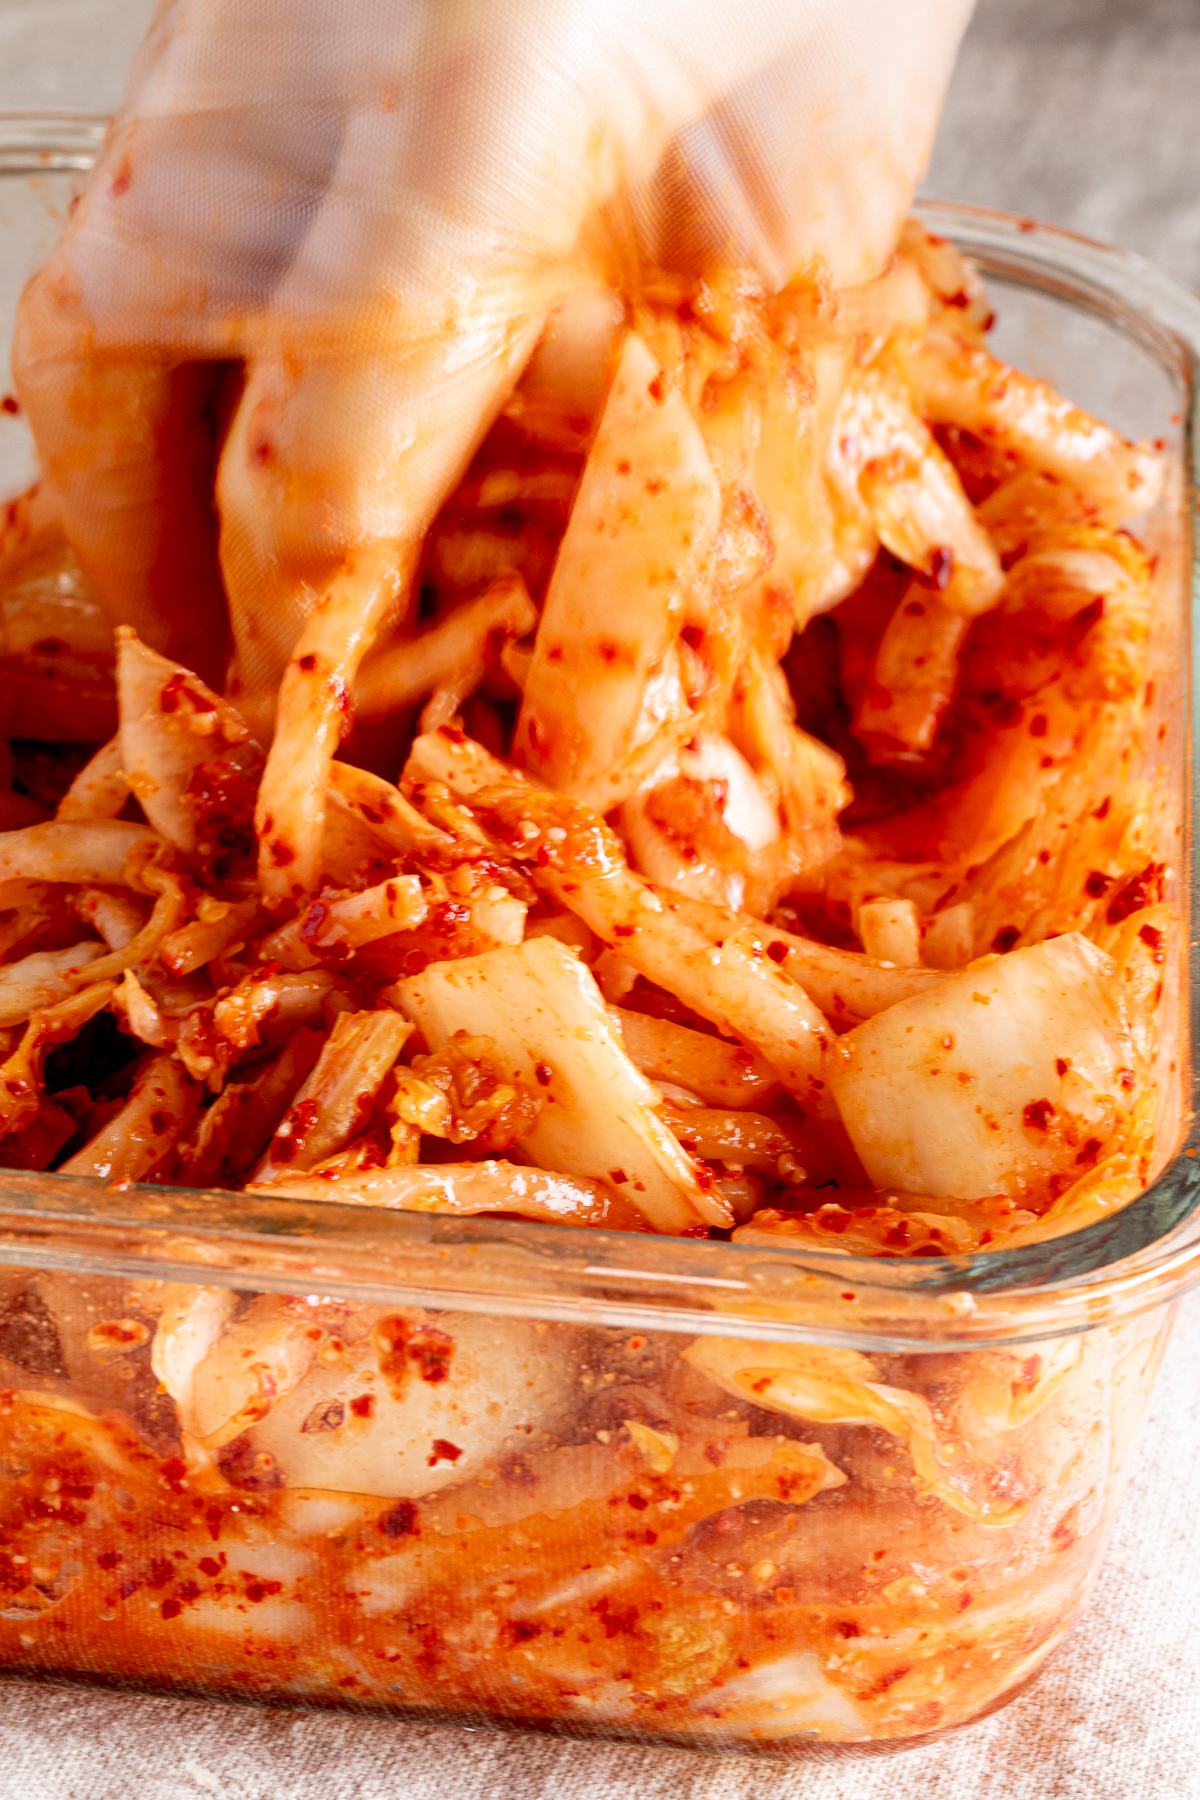
Mix the yangnyeom and daikon until the red color from the gochugaru is well distributed and the daikon is thoroughly coated. Once you add the napa cabbage, again, keep mixing until everything is well coated.
🕐 Salt the Napa Cabbage → Make the Rice Flour Paste
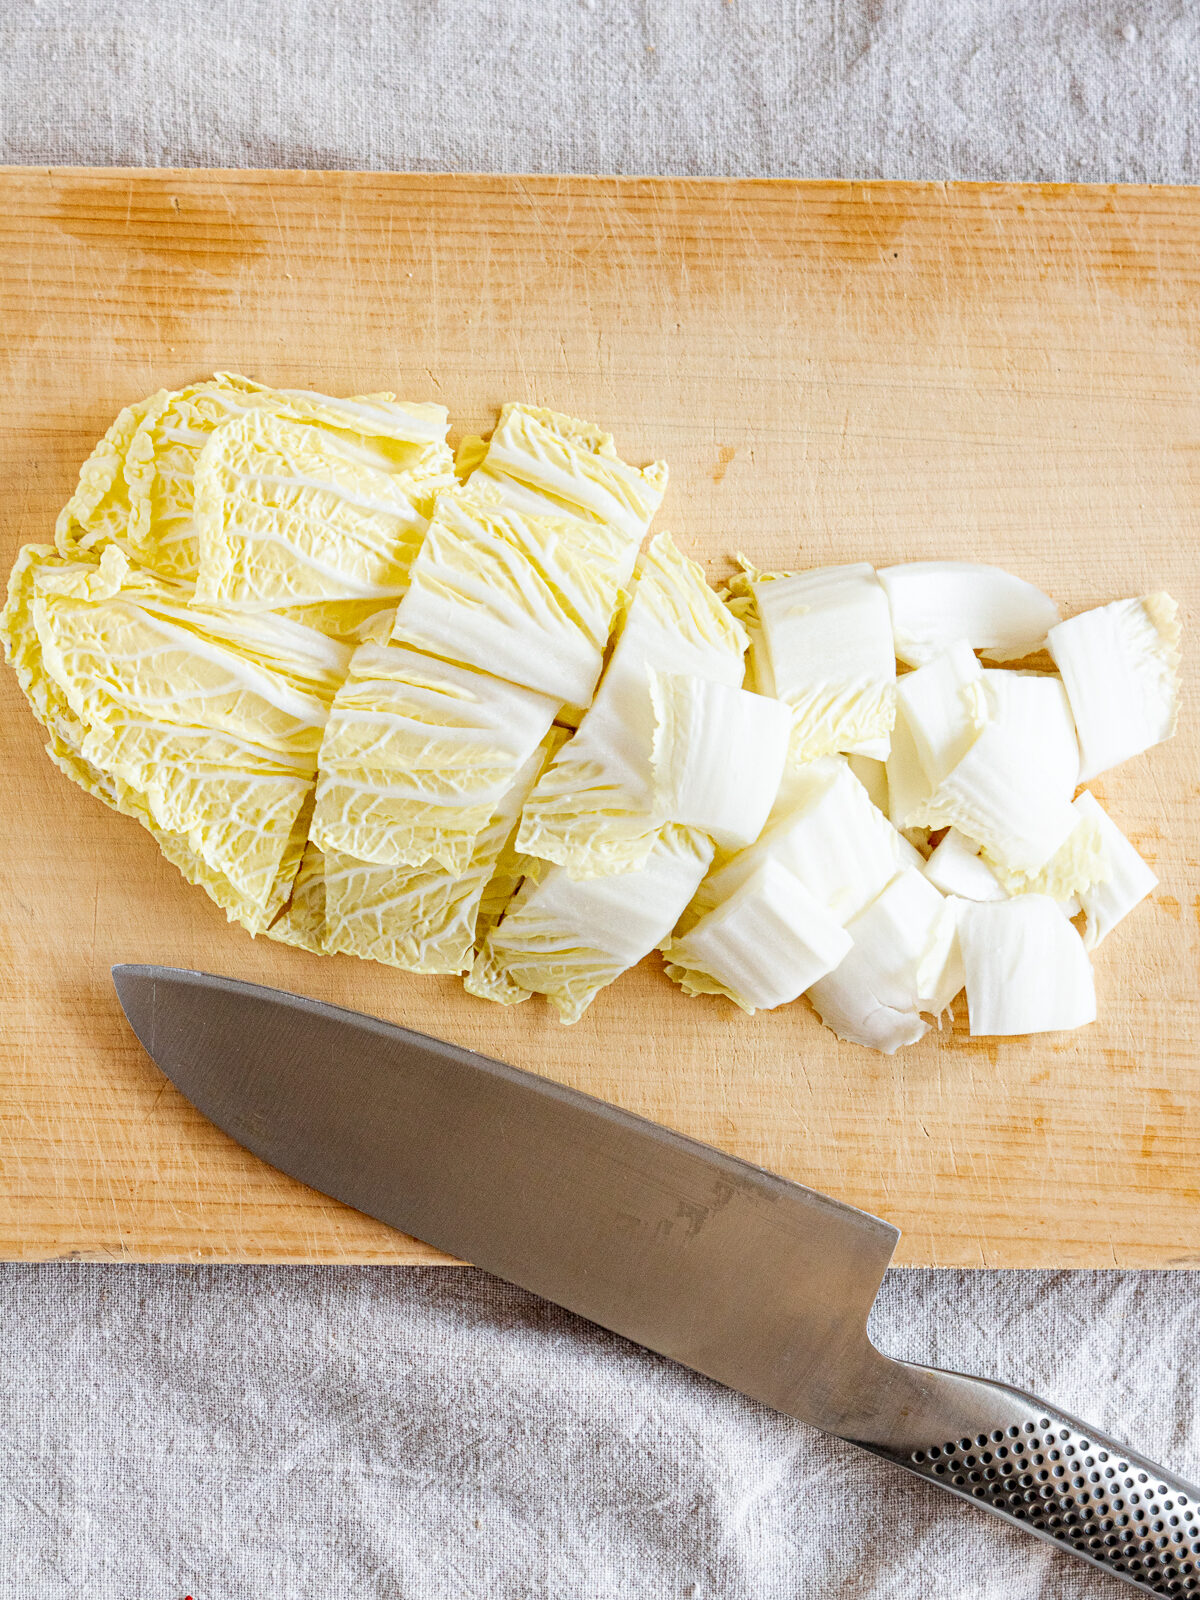
First, cut the napa cabbage into roughly 3 cm (1¼-inch) pieces for the stems and 5 cm (2-inch) pieces for the leaves. Cutting the stems a little smaller than the leaves helps them pickle more easily.
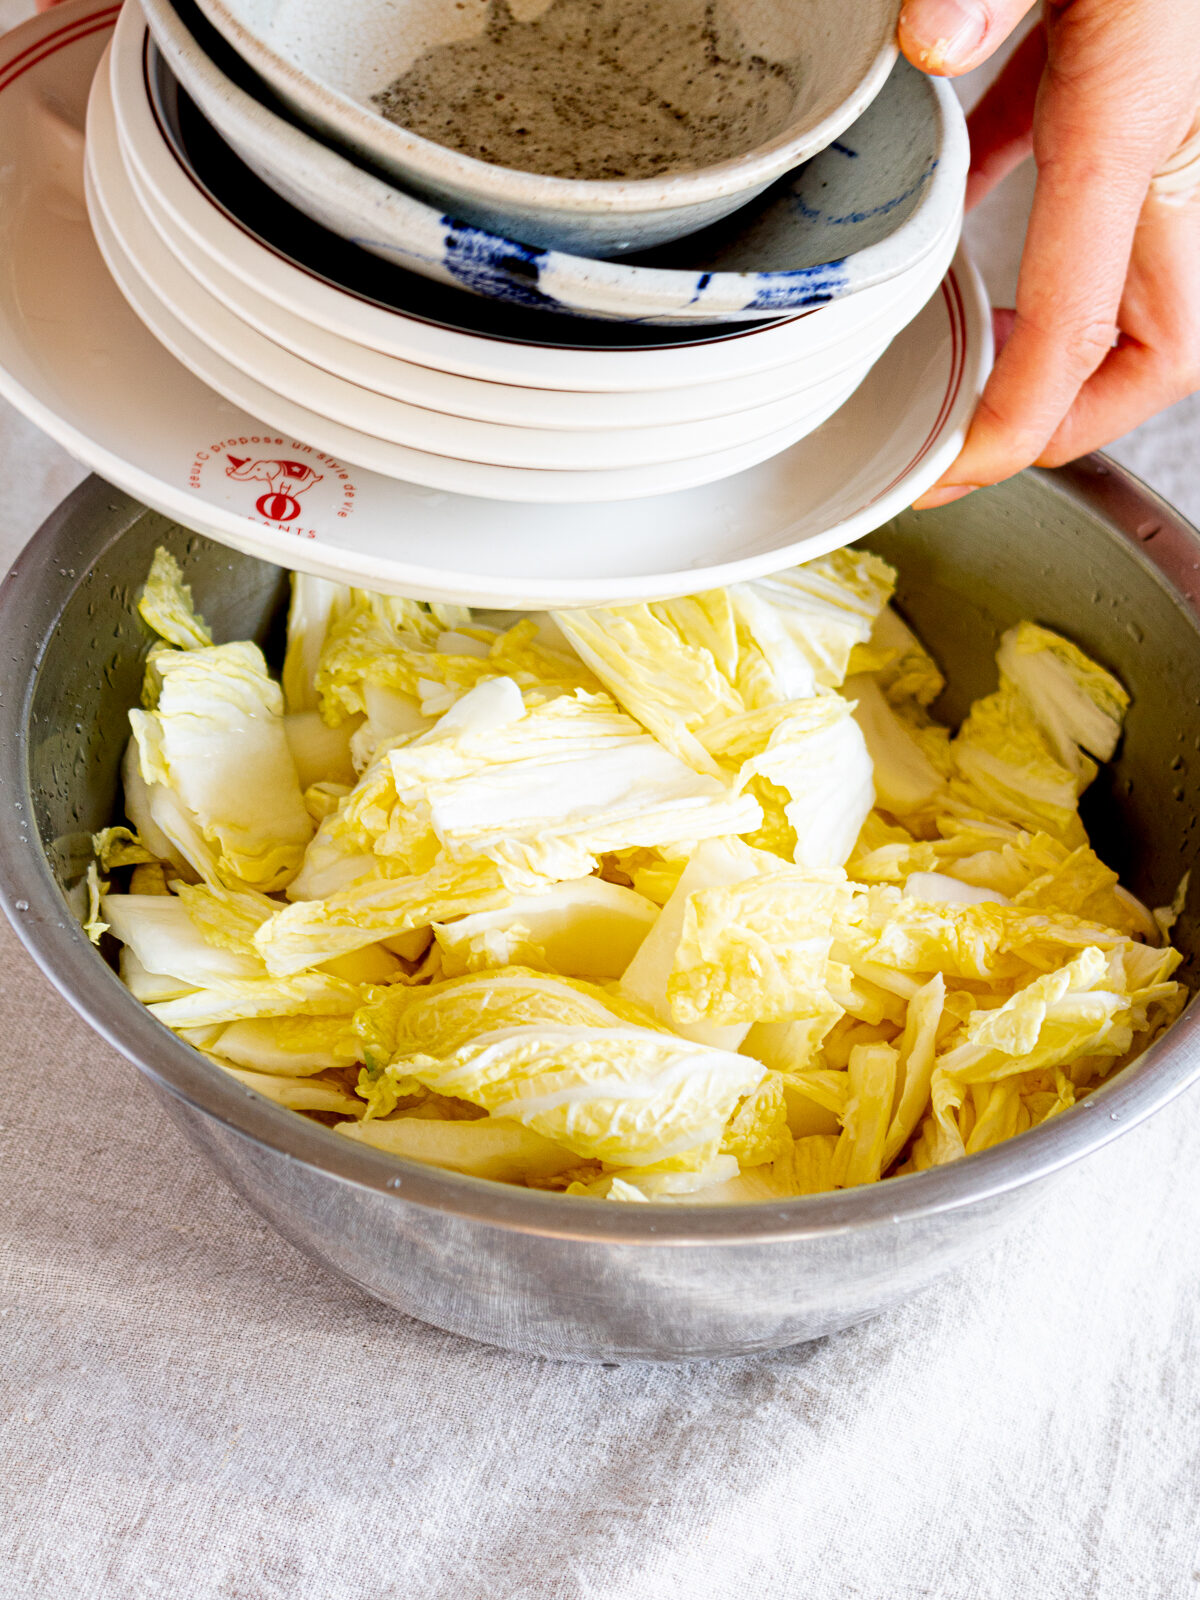
Place the cut cabbage in a large bowl, sprinkle with the salt, and mix well. Place a weight on top that is about twice the weight of the cabbage, and let it sit for 1 hour.
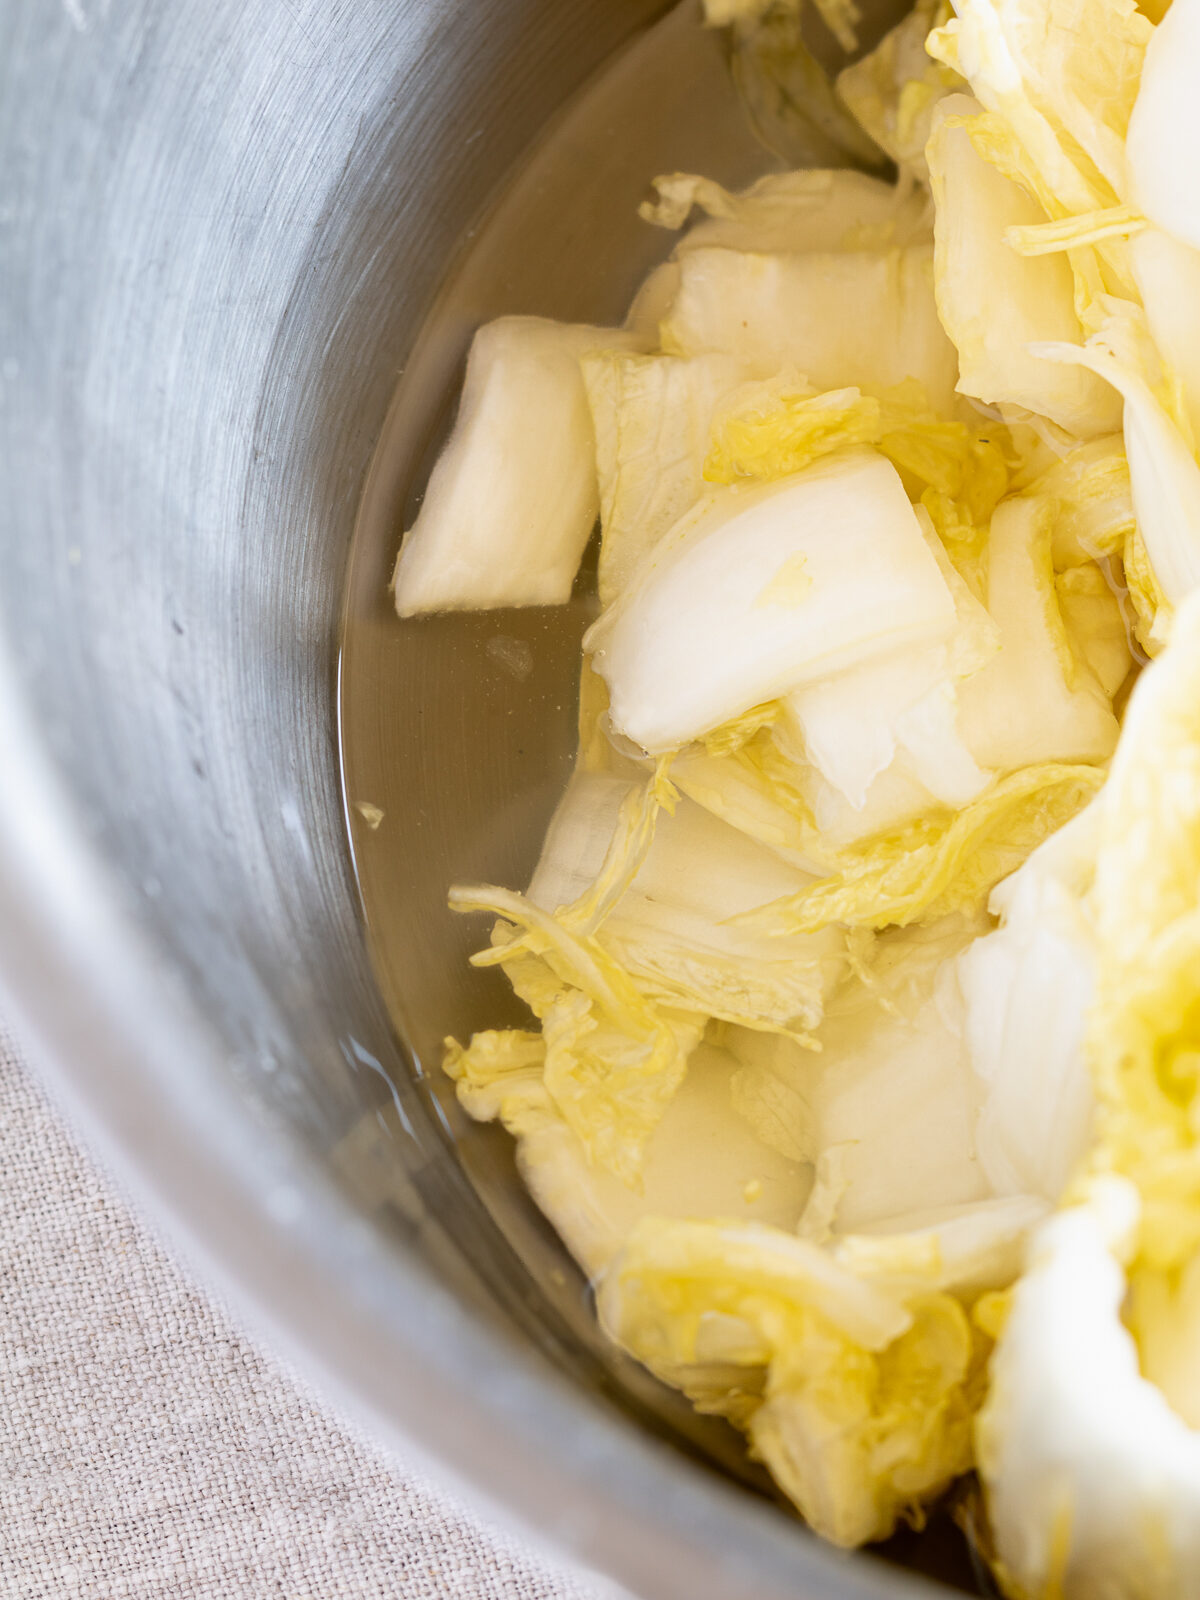
After 1 hour, once enough liquid has come out of the cabbage to reach about halfway up its height, turn the cabbage over and place the weight back on top. Leave it for another hour.
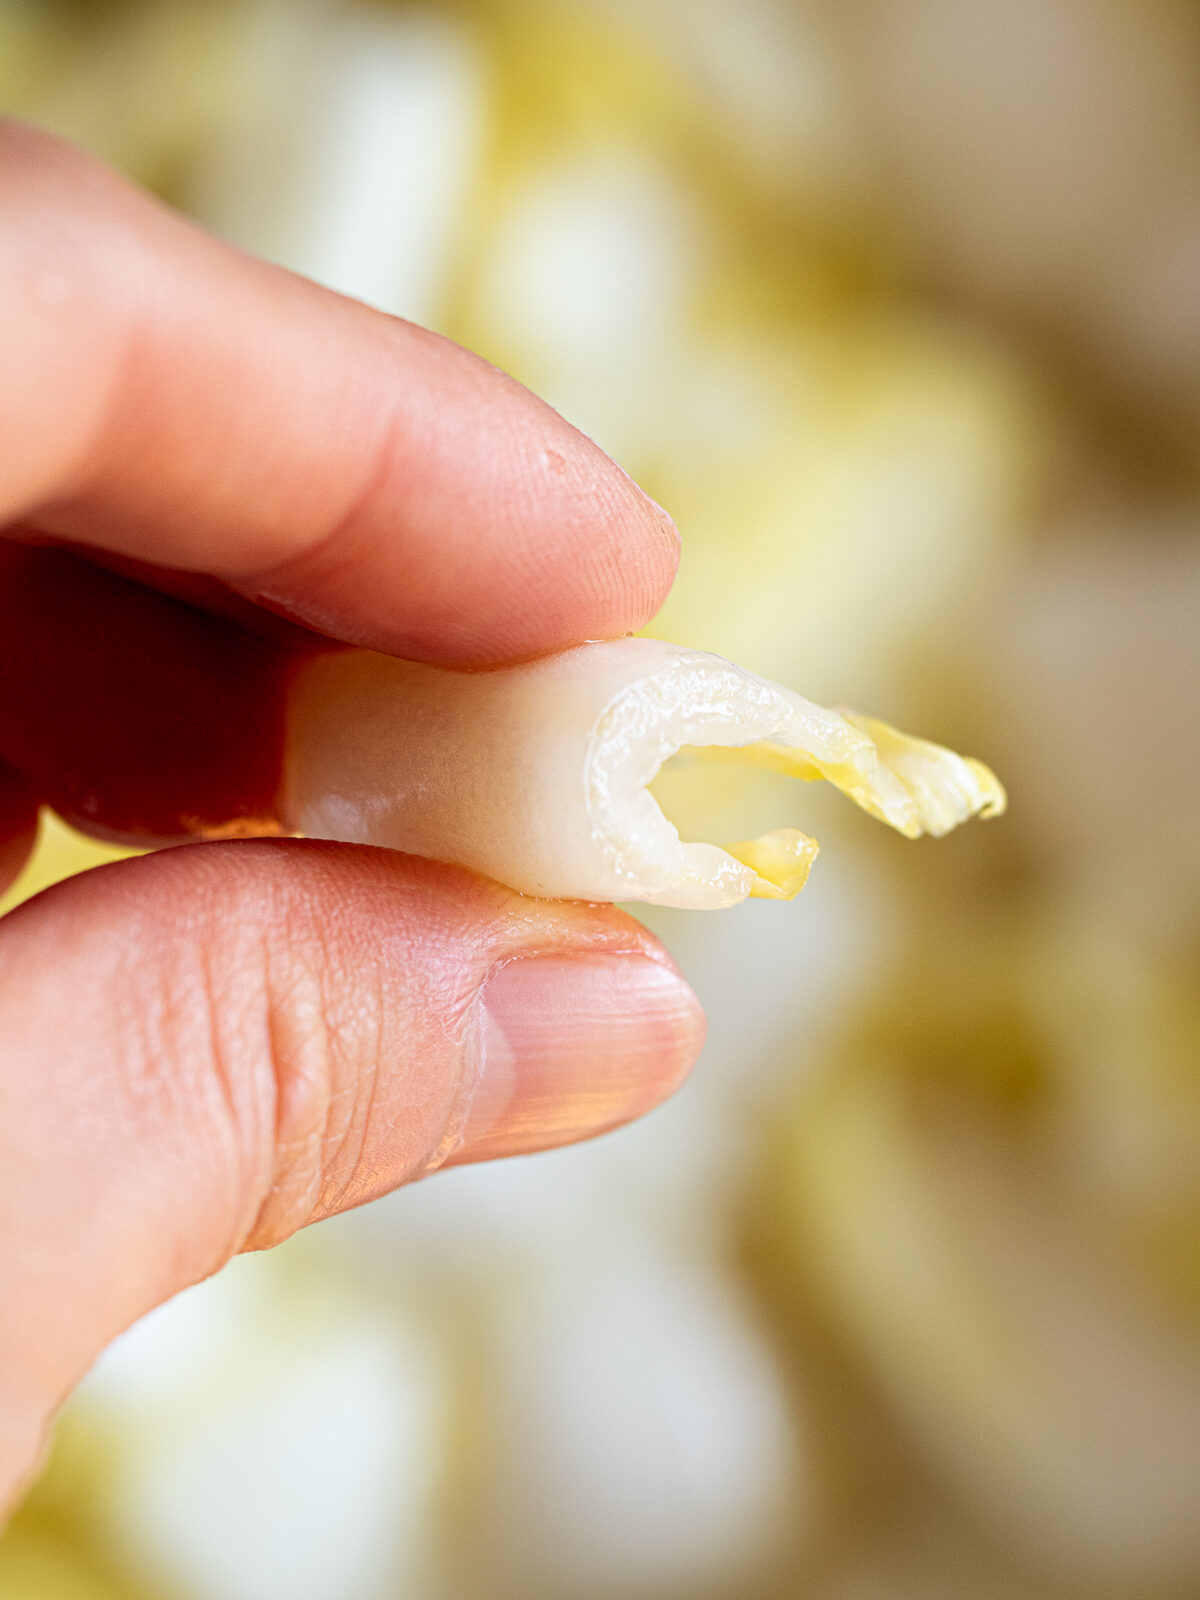
After another hour, pinch a piece of the cabbage stem between your fingers. When it bends easily without snapping or feeling crisp, the cabbage is properly salted. If it still feels firm, place the weight back on and leave it until it is soft enough to bend easily.
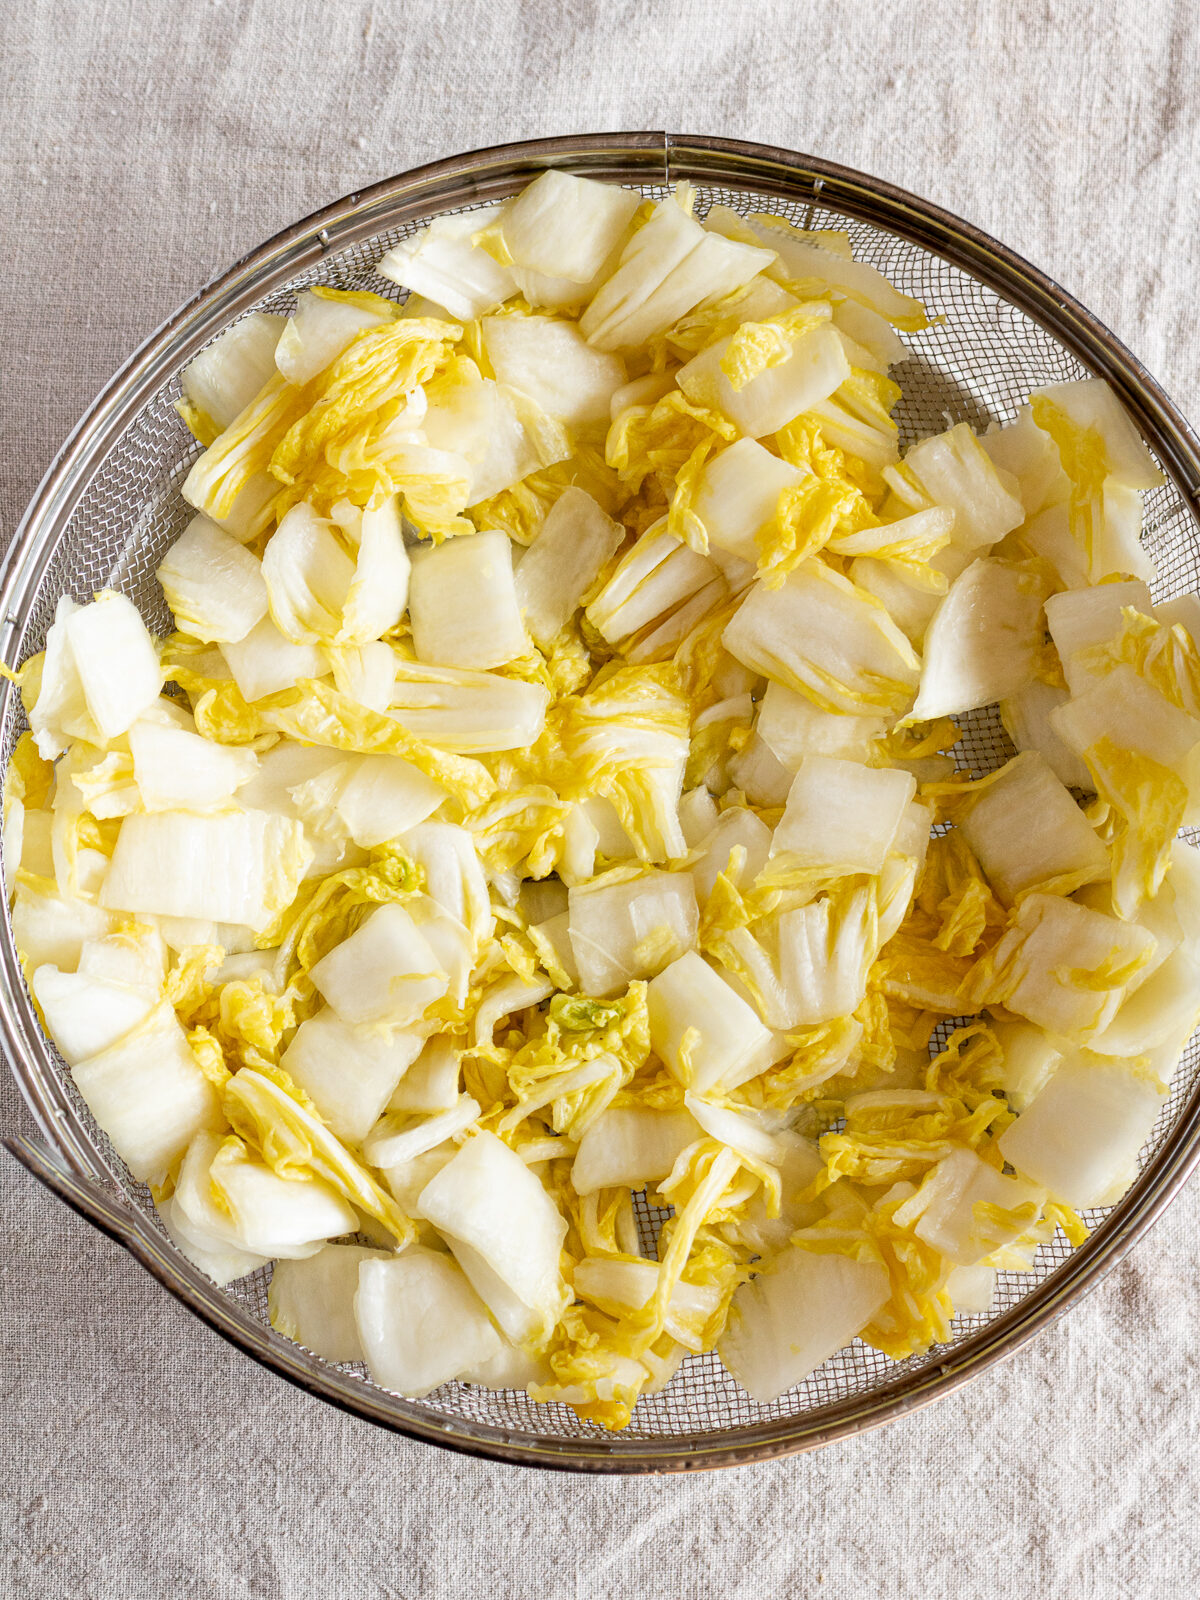
Once the cabbage is properly salted, taste a piece. If the saltiness is right, transfer it directly to a colander. If it is too salty, rinse it with water until it reaches the level of saltiness you prefer, then transfer it to a colander. Leave it for at least 1 hour to drain thoroughly.
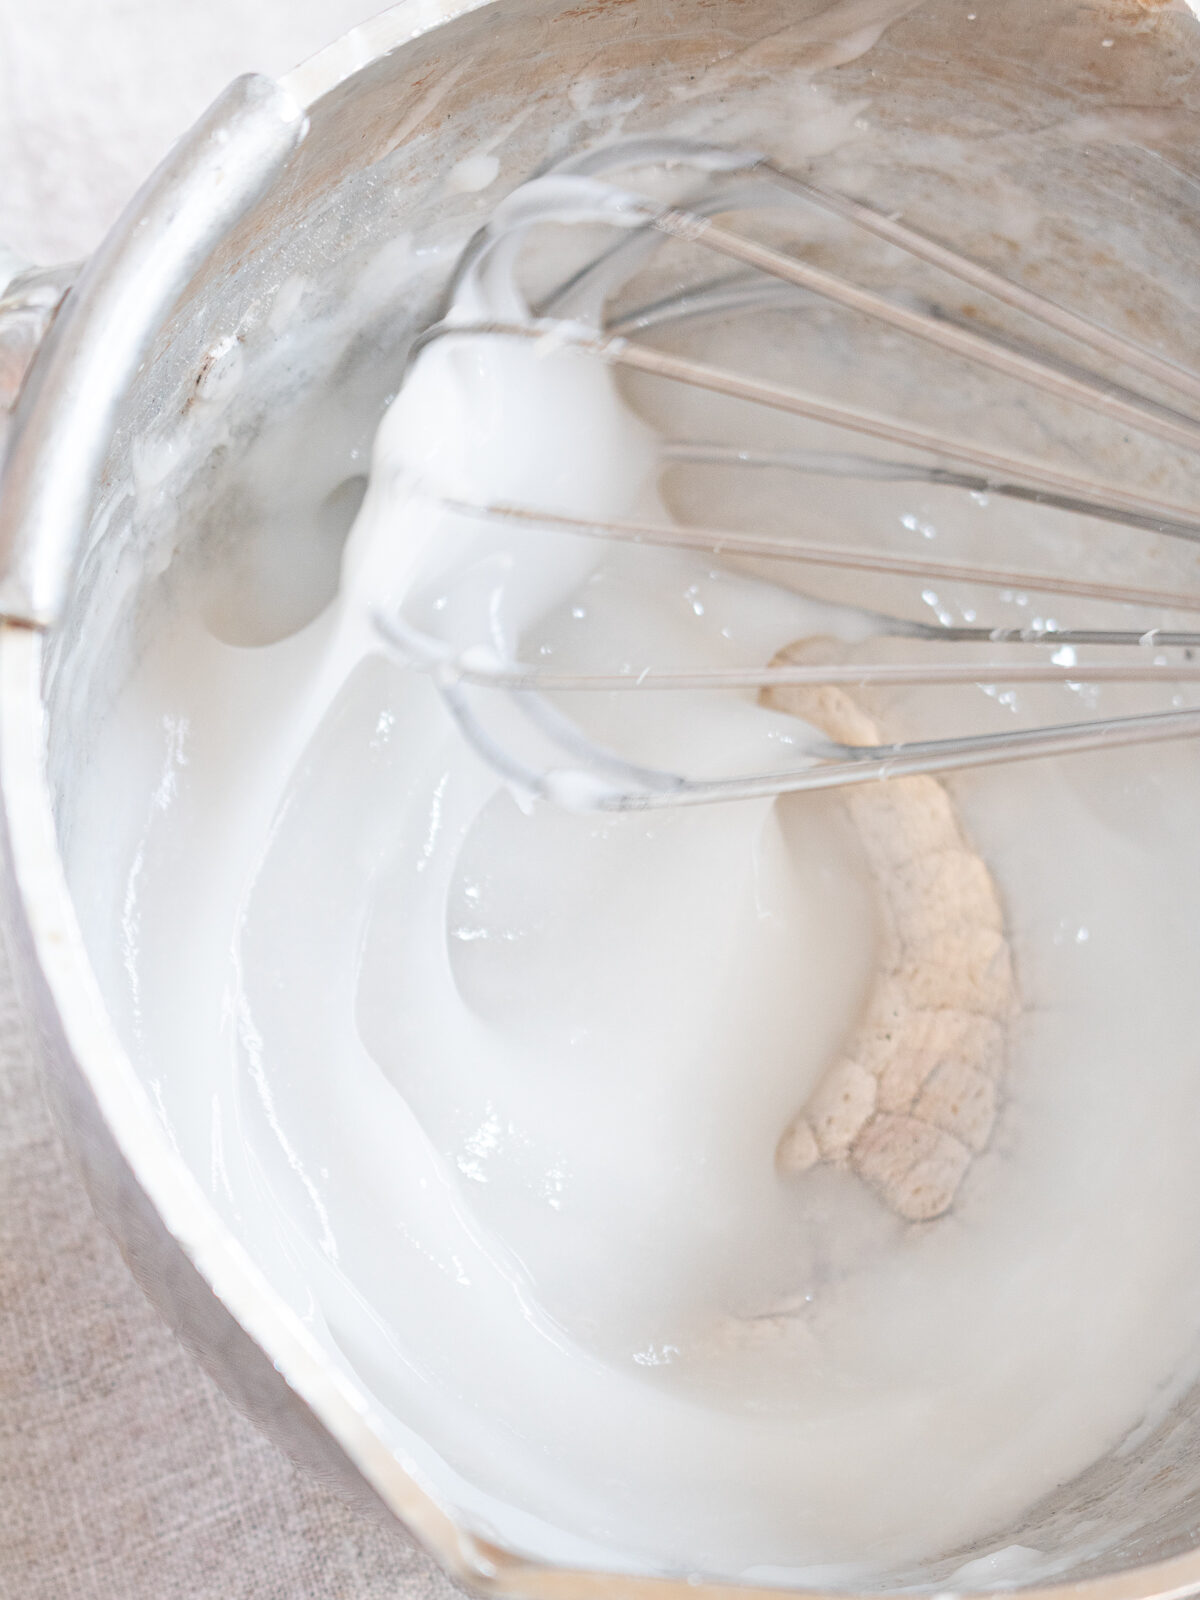
While the cabbage is draining, make the rice flour paste. Add the water and rice flour to a saucepan and whisk well to remove any lumps. Cook over low heat, stirring constantly. Once the mixture starts to thicken, continue cooking for about 2 minutes. Remove from the heat and let it cool.
🕑 Make the Yangnyeom → Mix Everything!
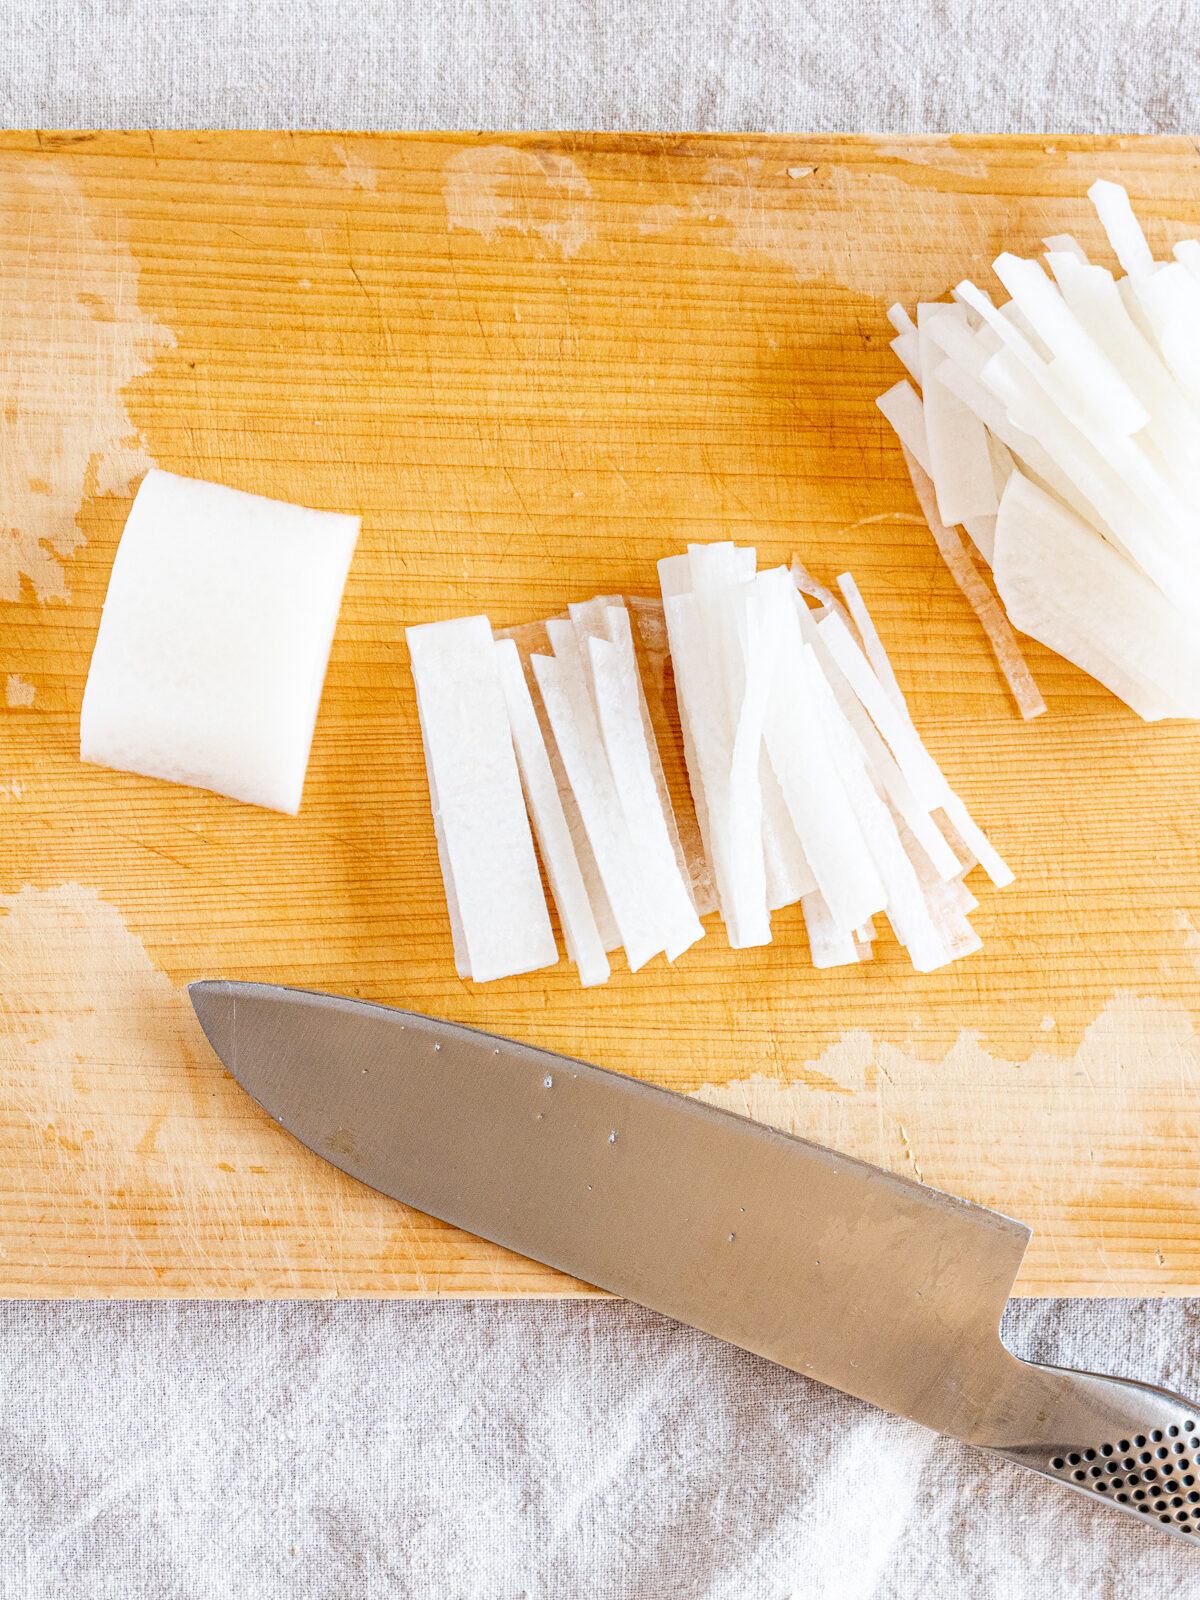
While the salted cabbage is draining, make the yangnyeom. First, peel the daikon and cut it into thin matchsticks or fine strips.
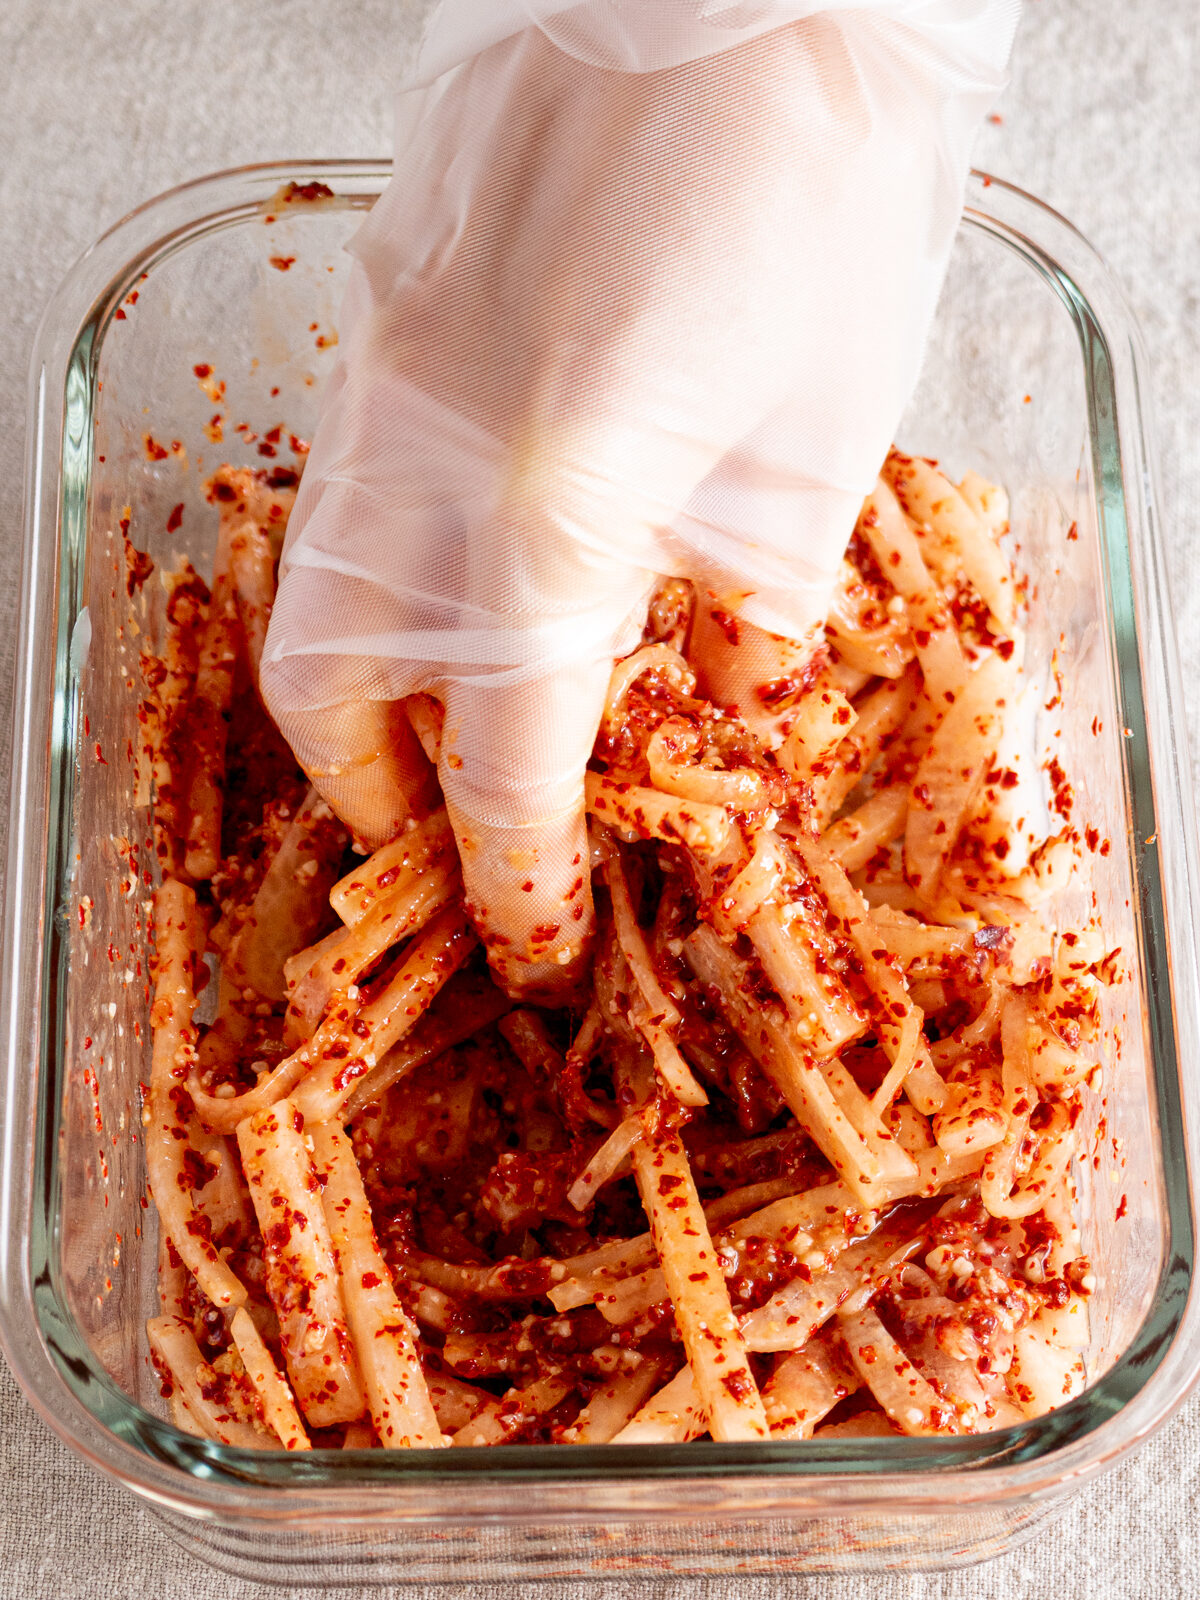
Place the daikon in a storage container, add the seasonings and cooled rice flour paste, and mix thoroughly. Let it sit for a little while so the flavors can come together.
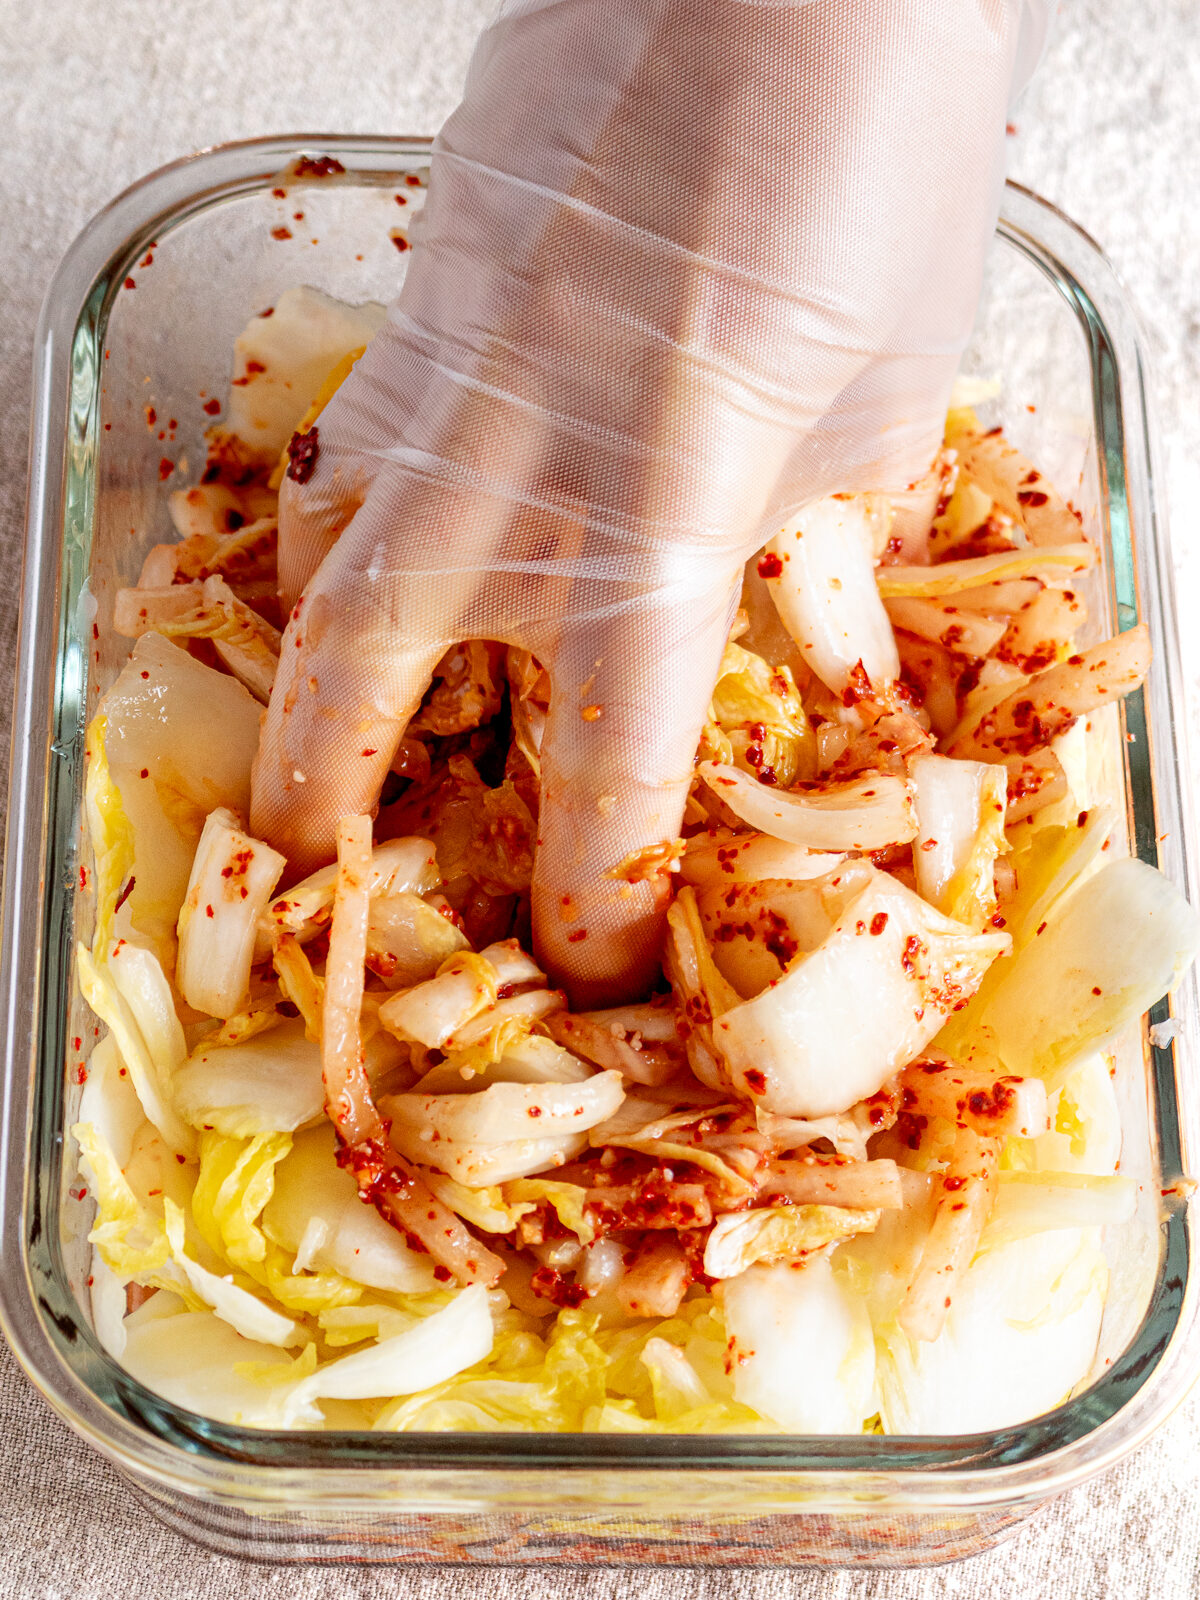
Once the cabbage has drained well, add it to the yangnyeom and mix thoroughly until everything is evenly coated.
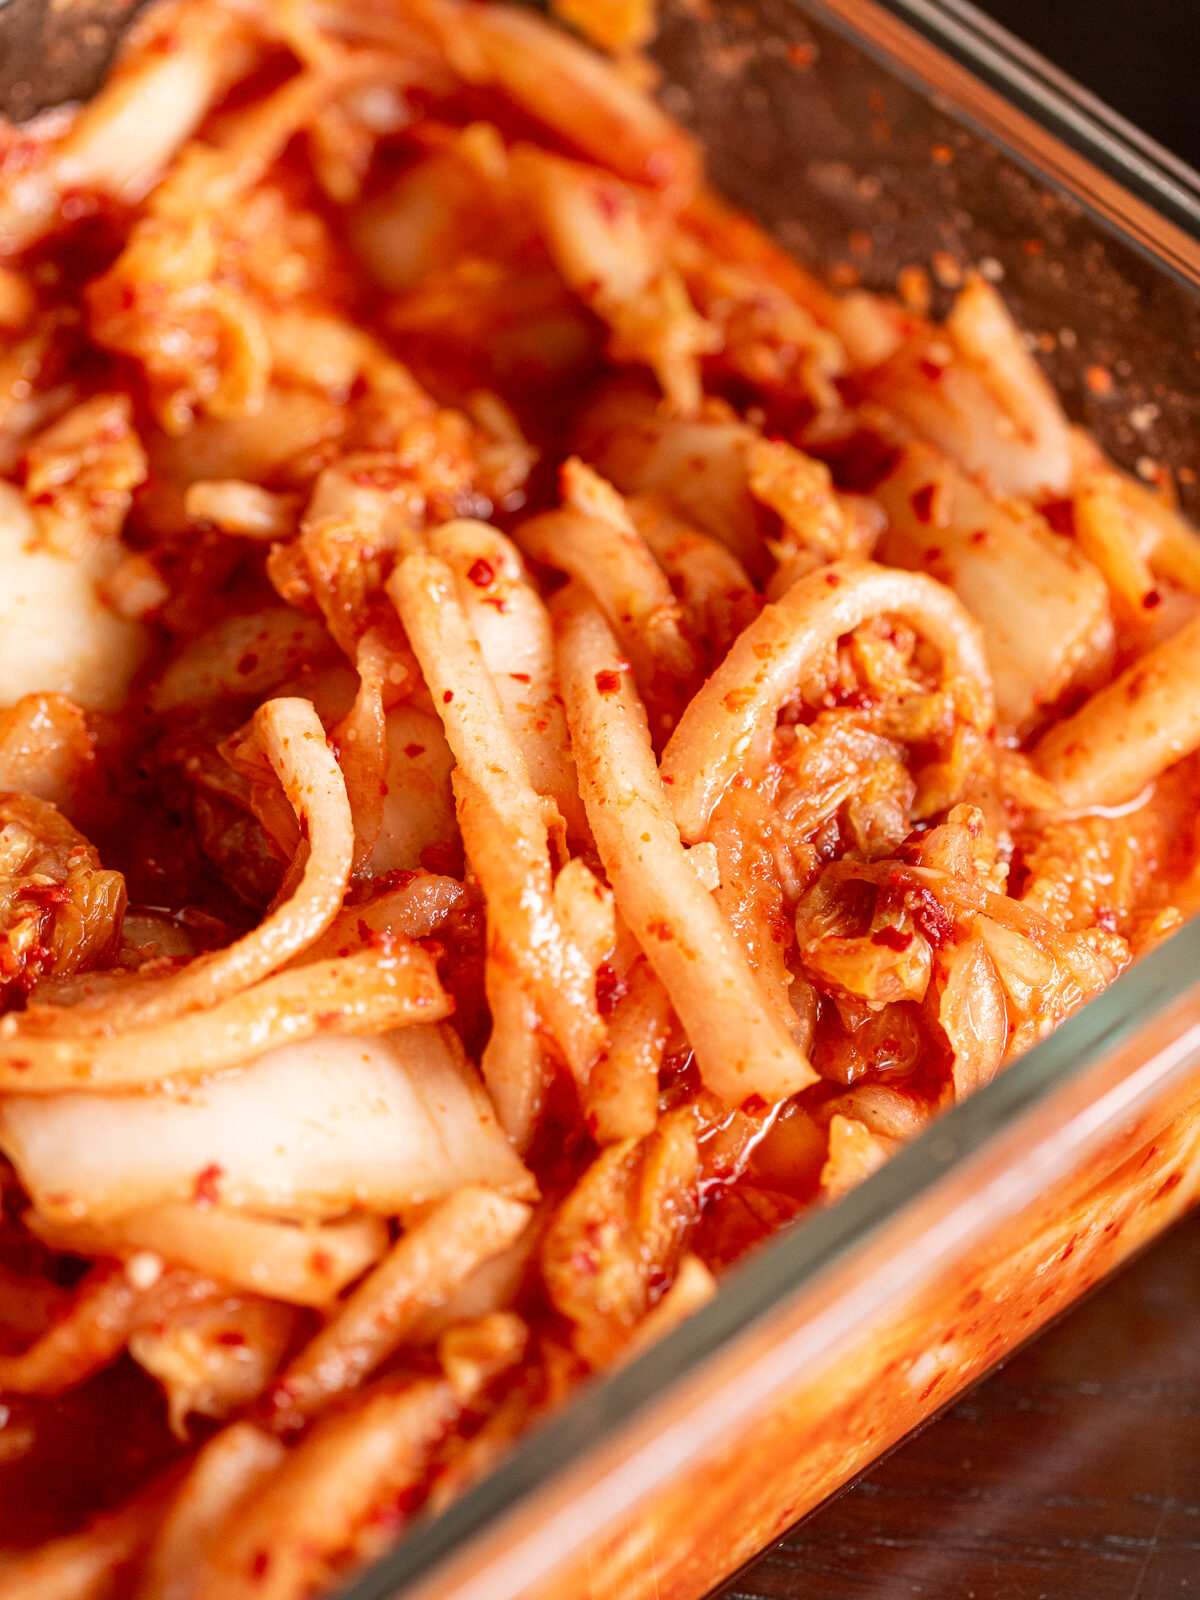
Finally, close the lid and leave the kimchi at room temperature for 2–3 days to allow it to ferment. Then store it in the refrigerator and consume within 2 weeks.
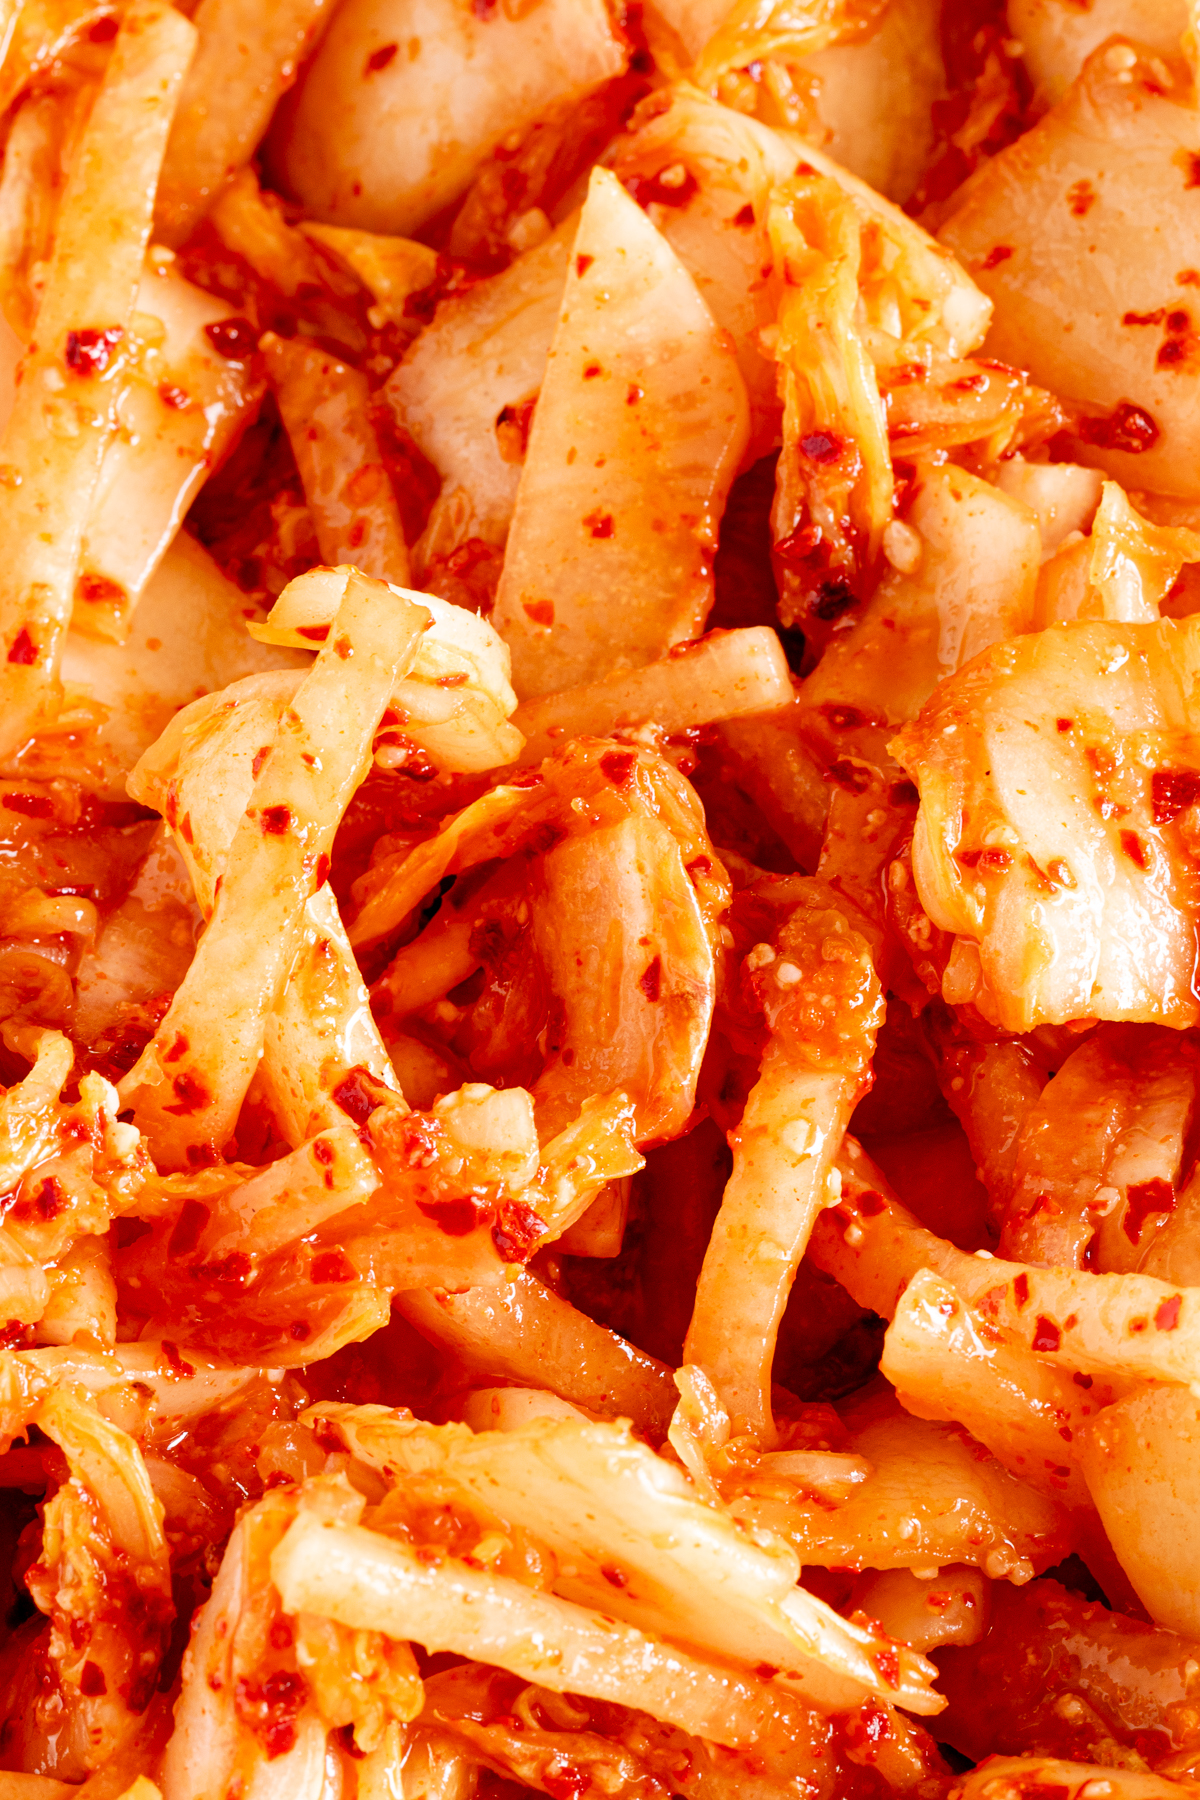
👀 Tip: This vegan shio koji kimchi can be enjoyed as a lightly pickled kimchi from the day you make it.
Give it at least thirty minutes for the flavors to come together before eating.
When freshly made, the gochugaru has a sharper heat, but the spiciness becomes milder as the days go by.
📖 Variations
- Japanese-style kimchi — Add about 2 teaspoons of shiitake mushroom powder, kombu (kelp) powder, or a combination of both. For this variation, it is best to wait 2–3 days before eating so the umami from the shiitake and kombu has time to fully develop. You can also reduce the amount of gochugaru to about 2 tablespoons to make it milder.
- Kimchi with extra vegetables — Add scallions and carrots along with the napa cabbage and daikon.
🥄 Equipment
- Knife
- Cutting board
- Mixing bowl
- Colander
- Saucepan
- Whisk
- Spatula
- Storage container: A glass container is recommended to help prevent the strong aroma of kimchi from lingering in the container.
🫙 Storage and Shelf Life
Once the kimchi is ready, close the lid and leave it at room temperature for 2–3 days to encourage fermentation.
After that, press plastic wrap directly onto the surface of the kimchi, close the lid, and store it in the refrigerator. This helps prevent the surface of the kimchi from drying out.
It is best to eat it within about 2 weeks, although it can sometimes keep for up to a month depending on how it is stored.
💡 Tips for a Naturally Sweet Kimchi
The daikon plays a big role in determining how sweet your kimchi will be. The natural sweetness of the daikon can vary depending on the season and the individual vegetable.
If you use a naturally sweet winter daikon, you may not need to add any extra sweetness. If your daikon isn't very sweet, taste the kimchi and add powdered black sugar little by little until it reaches your preferred level of sweetness.
When possible, use the upper part of the daikon, which tends to be sweeter.
💭 FAQ
Once the kimchi has fermented longer and developed a stronger sourness, cooked dishes — stir-fries, soups — are the better fit. Heat mellows the sour flavor.
You can easily adjust the amount of gochugaru. When making the yangnyeom, start with 1 tablespoon. If the heat is manageable, gradually add more until it reaches your preferred level of spiciness.
I also use gochugaru in recipes such as Spicy Napa Cabbage and Spicy Lightly Pickled Daikon, so be sure to take a look at those recipes too. You can also mix it into soy milk mayonnaise or add it to pasta. You might even find that it has more uses than regular chili peppers 🤭

If you feel like whispering a thought, asking a question, or simply saying hello — the comment section is always open 📮
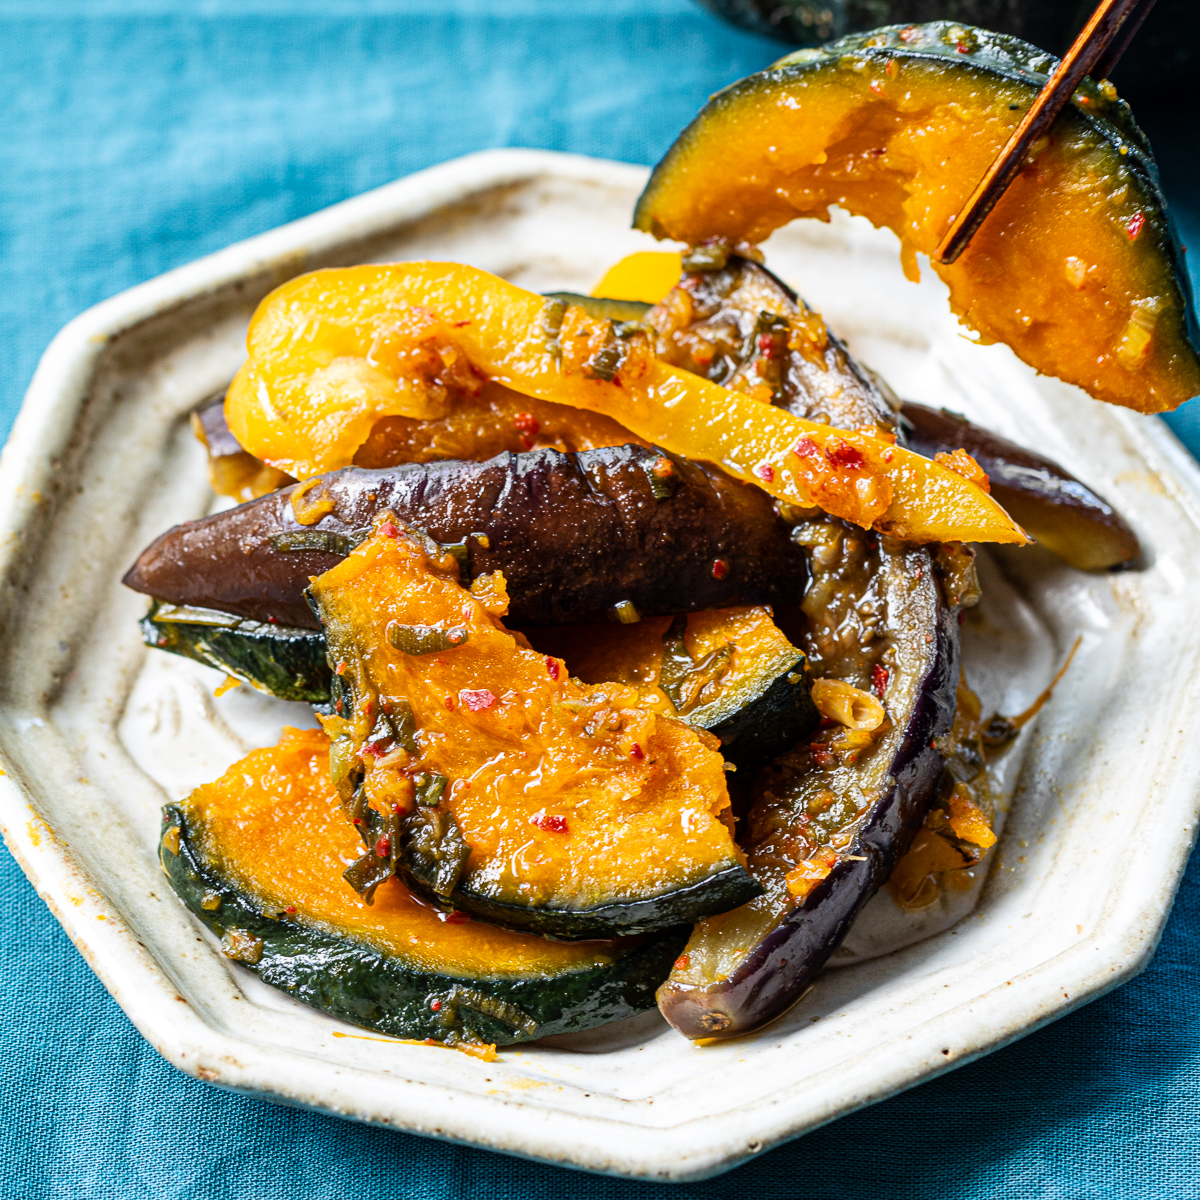
👨🏻🍳 Recipes Using Gochugaru
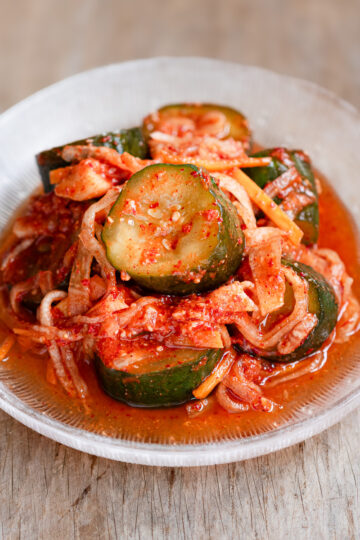
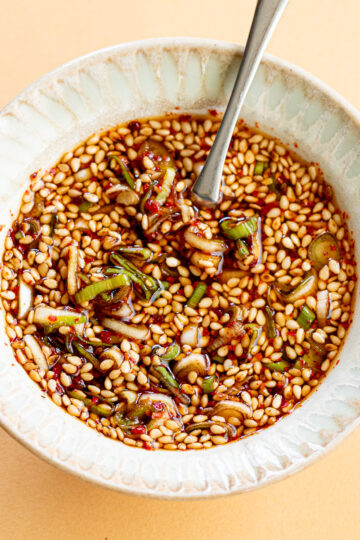
Here are some recipes that use gochugaru:

🧑🏼🍳Recipes with Shio Koji
From main dishes to desserts:


Vegan Kimchi with Japanese Umami Seasoning
Equipment
- kitchen knife
- cutting board
- Mixing bowl
- colander
- Saucepan
- whisk
- Spatula
- Storage container - glass recommended
Ingredients
A. Salted Napa Cabbage
- 700 g napa cabbage (The softer parts are easier to pickle)
- 35 g coarse sea salt
B. Rice Flour Paste
- 1 tablespoon rice flour
- 100 ml water
C. Yangnyeom (Seasoning Mixture)
- 200 g daikon (The upper part, which tends to be sweeter, is recommended.)
- 2-3 tbsps coarse Korean chili powder (gochugaru)
- 1 tablespoon powdered Japanese black sugar (kokutou/黒糖)
- a generous 2 tbsps shio koji
- 15 g grated garlic (This recipe uses a mild variety. If using a stronger variety, start with a smaller amount and adjust to taste.)
- 10 g grated ginger
Instructions
A. Salt the Napa Cabbage
- Wash the napa cabbage and drain well.700 g napa cabbage
- Cut the stems into 3 cm pieces and the leaves into 5 cm pieces.
- Place the cabbage in a bowl, sprinkle with the coarse sea salt, and mix well.35 g coarse sea salt
- Place a weight of about 1.4 kg (twice the weight of the cabbage) on top. After 1 hour, turn the cabbage over. Place the weight back on top and leave for another hour.
- When you can pinch the cabbage stem between your fingers and bend it easily without it snapping, transfer it to a colander.
B. Make the Rice Flour Paste
- Add the water and rice flour to a saucepan and whisk well until the rice flour is fully dissolved.1 tbsp rice flour100 ml water
- Cook over low heat, stirring constantly to prevent scorching.
- Once the mixture starts to thicken, continue cooking for about 2 minutes. Remove from the heat and let cool. The finished paste should be thick, and you should be able to see the bottom of the pan as you stir.
C. Make the Yangnyeom
- Peel the daikon and cut it into thin matchsticks or fine strips.200 g daikon
- Add the daikon, seasonings, and rice flour paste from Step B to the storage container and mix well.2-3 tbsps coarse Korean chili powder1 tbsp powdered Japanese black sugara generous 2 tbsps shio koji15 g grated garlic10 g grated ginger
D. Mix Everything Together
- Add the salted napa cabbage to the yangnyeom and mix thoroughly, then close the lid.
- Leave at room temperature for 2–3 days to allow it to ferment.
- Cover the surface of the kimchi directly with plastic wrap (optional, but it helps prevent the surface from drying out), then close the lid and store it in the refrigerator.

If this recipe made its way into your kitchen, and you'd like to share that moment, feel free to tag @veginveganvegun or use #vegin_vegan_vegun.
Your quiet stories inspire me deeply 🕊️

韓流ラバー says
漬かるのが楽しみ