
A simple vegan sweet made from homemade mung bean paste, shaped into little balls using a traditional wagashi (Japanese sweet) making technique.
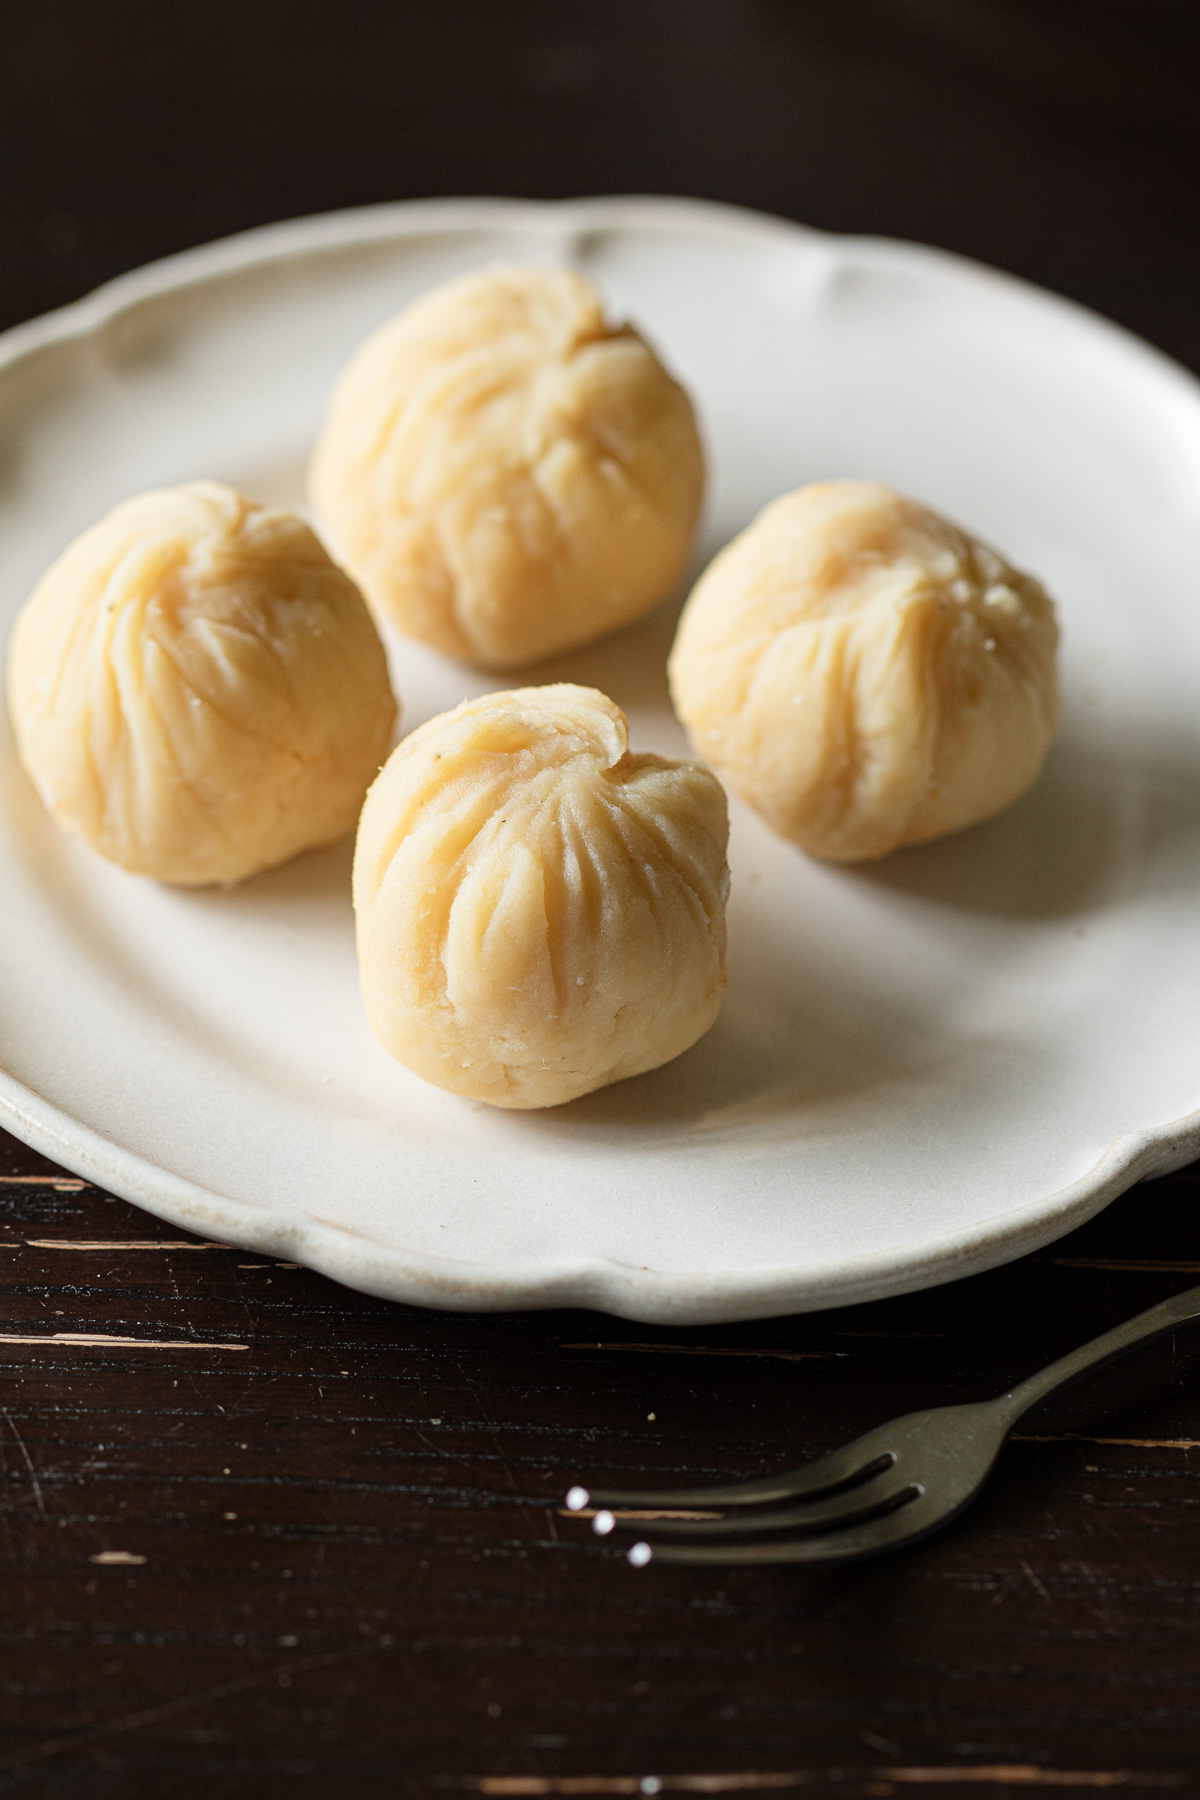
Gently sweet, with a rustic flavor that feels nostalgic somehow — familiar, even if you've never had anything quite like it before.
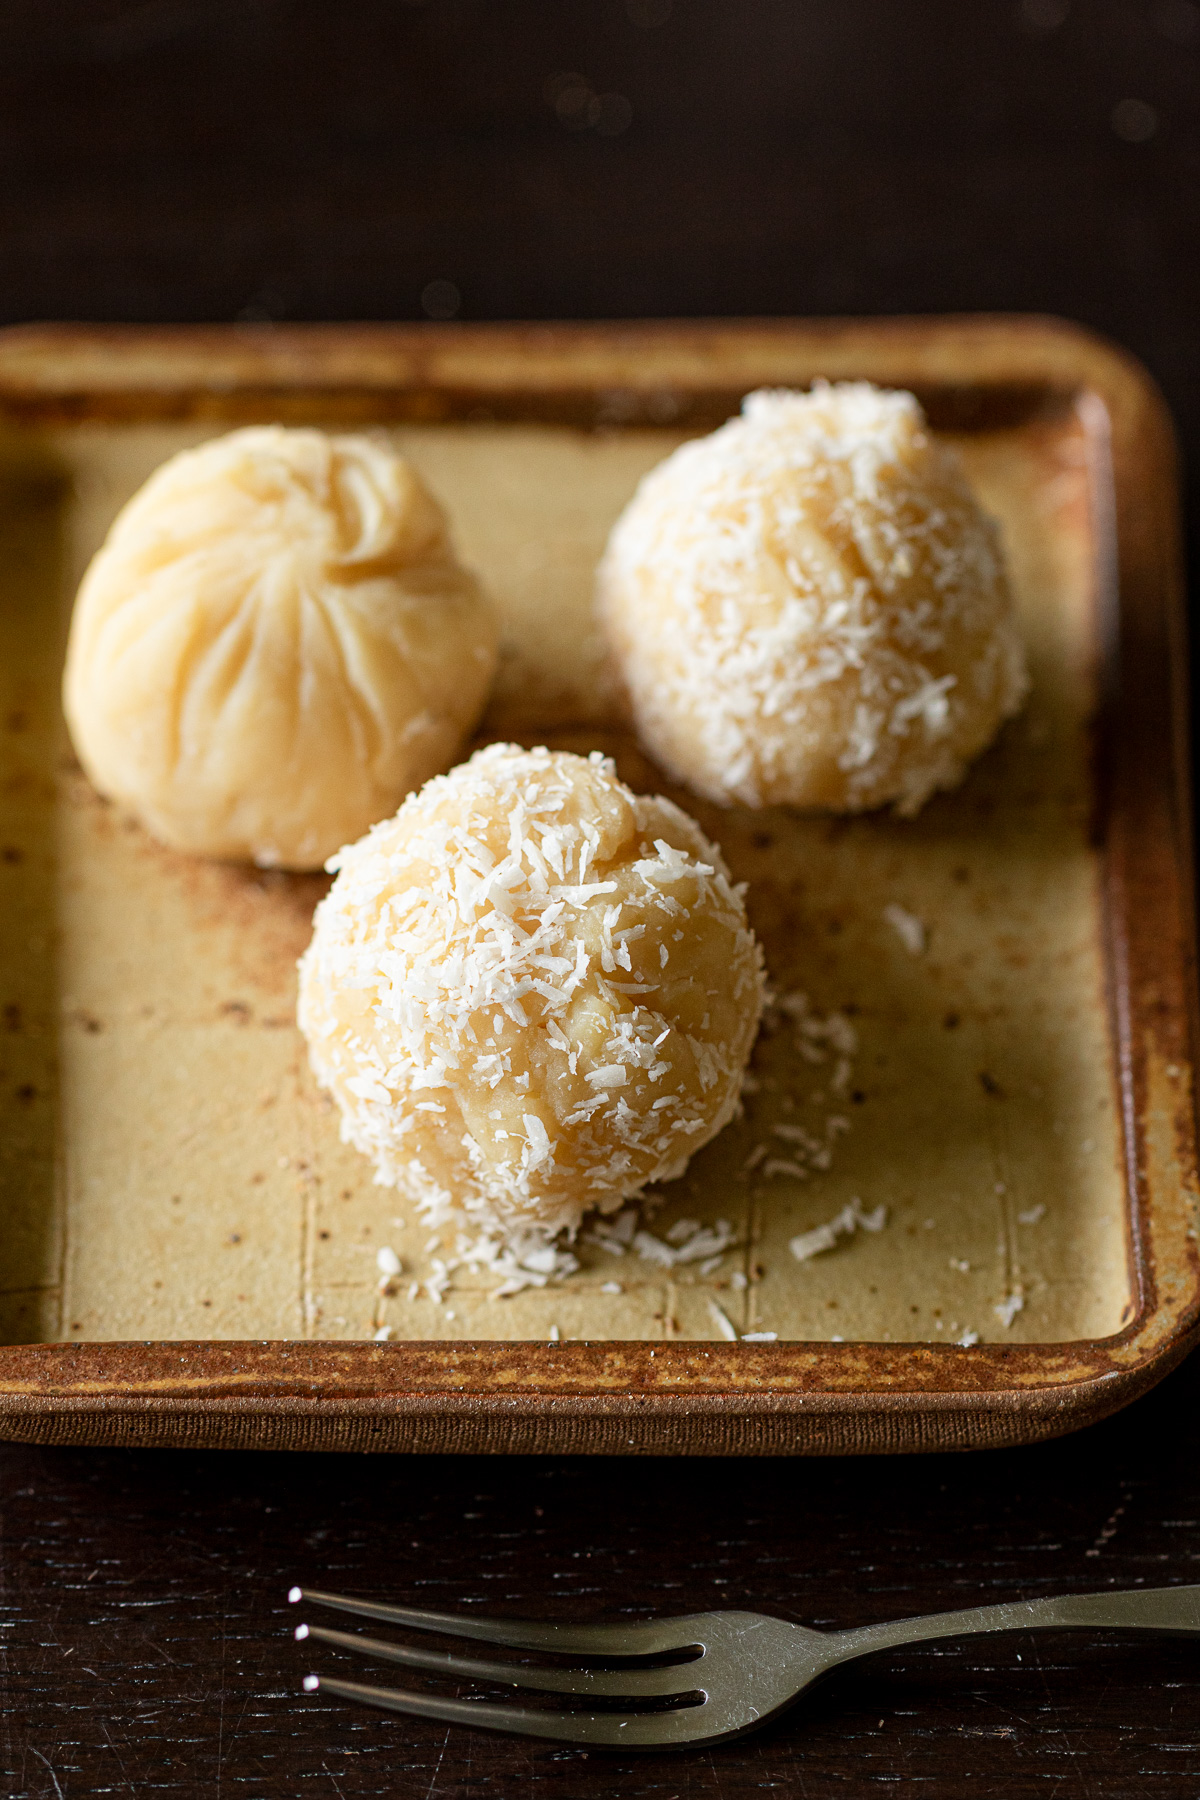
A roll through kinako or desiccated coconut, and they turn into something else entirely. One little dessert, leading two different worlds.
Jump to:
🧺 What Are These Mung Bean Balls?
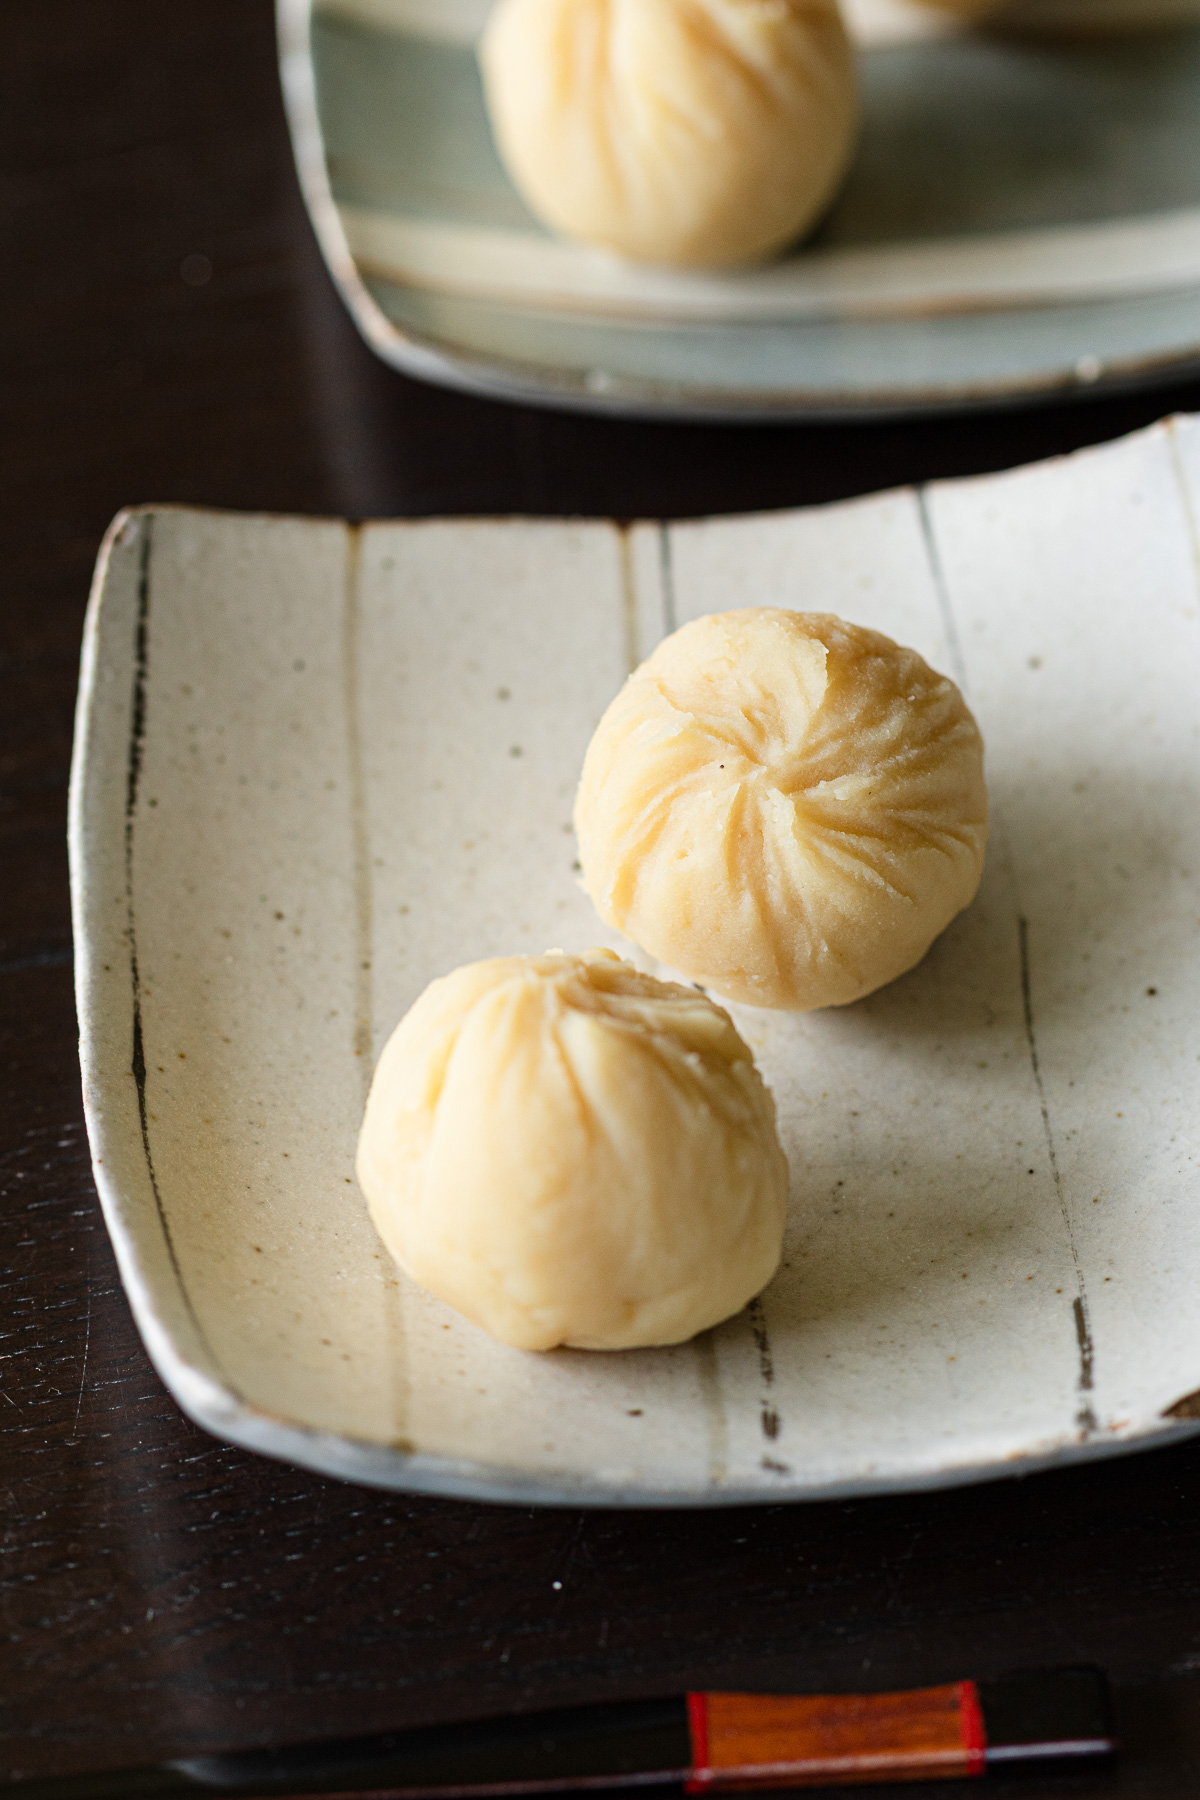
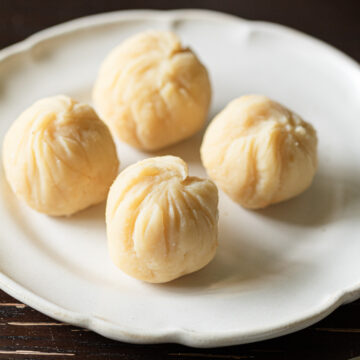
These mung bean balls are soft, lightly sweet Japanese-inspired treats made from yellow split mung beans and just a little sugar, shaped using chakin-shibori, a traditional Japanese wagashi technique — wrapping the paste in a damp cloth and twisting it to create delicate pleats.
Chakin-shibori is also the name for the dish itself. Anything made using this technique tends to carry -chakin or chakin- in its name — sweet potato chakin, chestnut chakin, even sushi made this way is called chakin sushi.
So this mung bean ball, mung bean chakin, is my own original recipe. There's no traditional version of it to speak of.
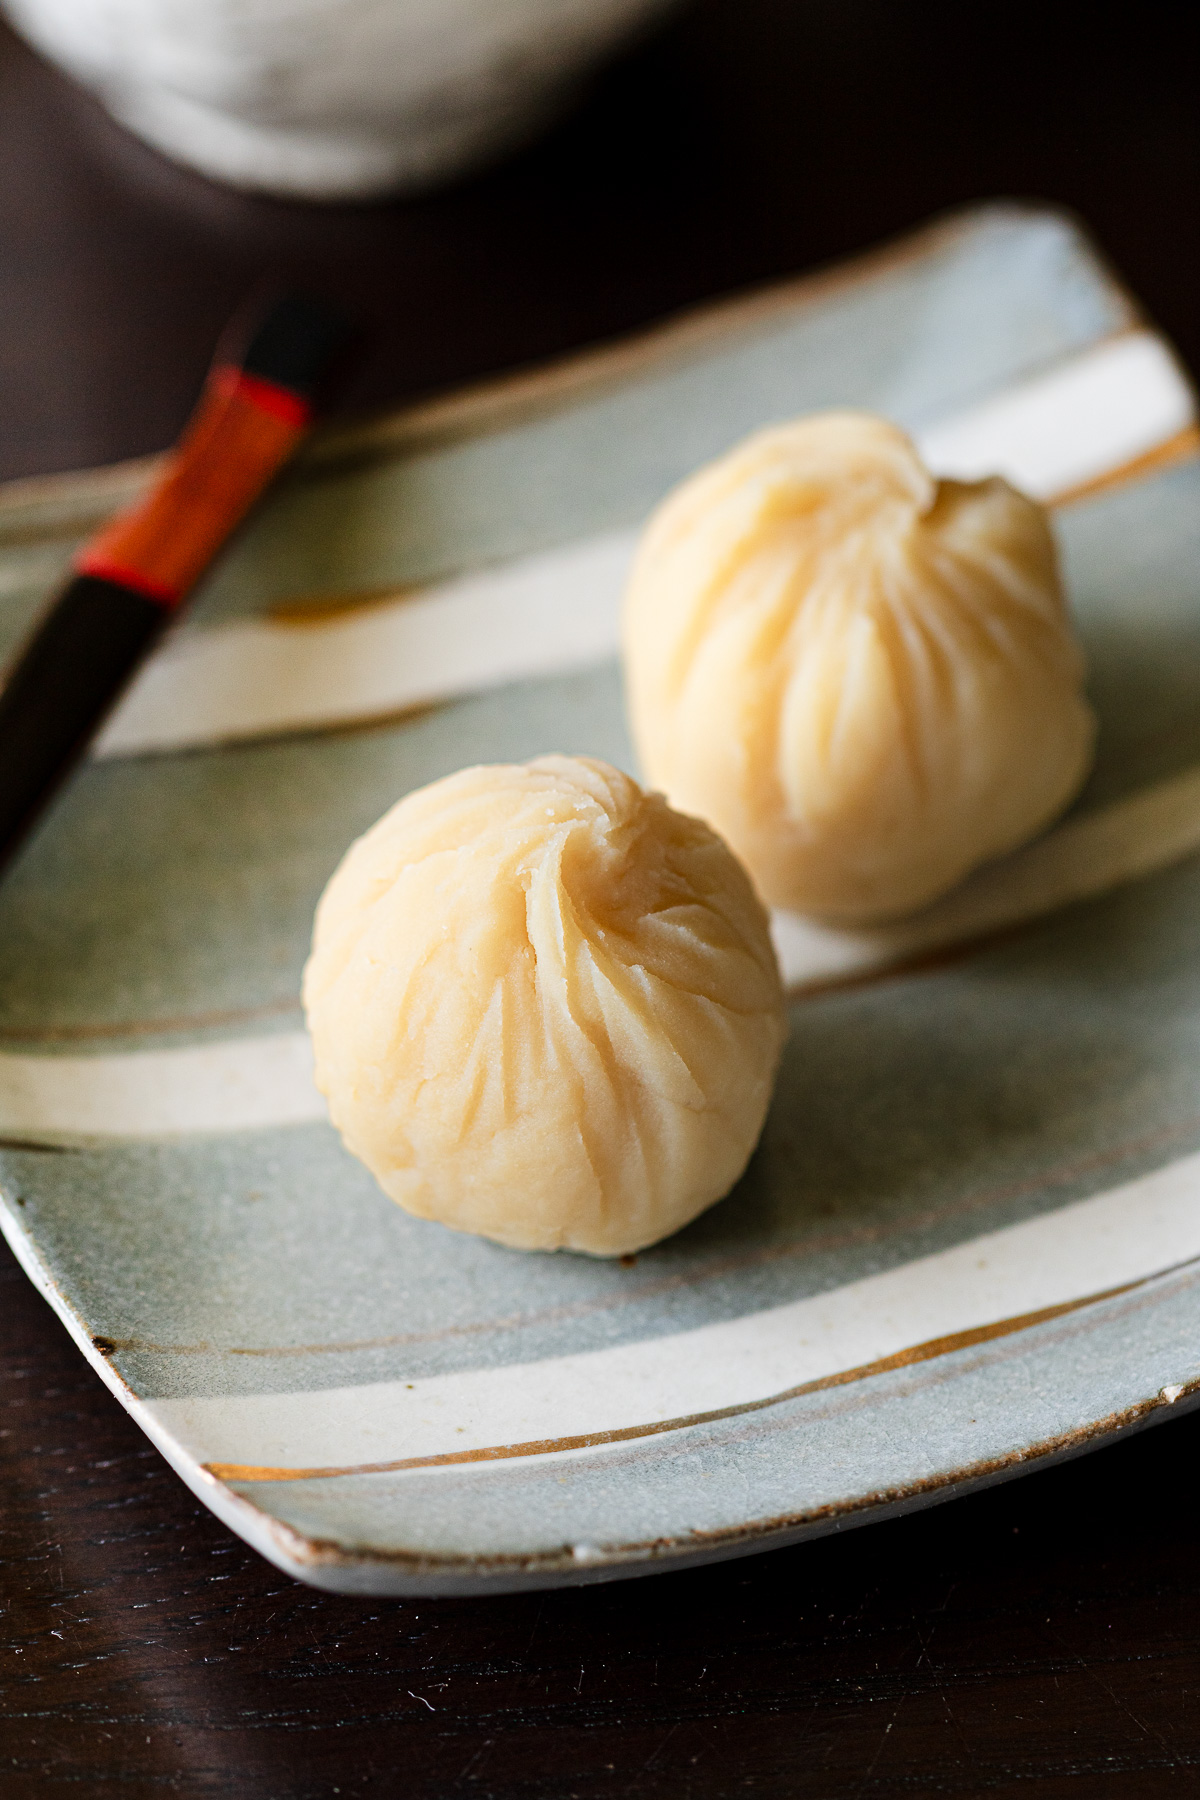
In Japan, mung beans rarely appear in everyday cooking — the first thing that comes to mind is usually glass noodles. But across Southeast Asia, they turn into all kinds of sweets, and that's really where this recipe started.
🌏 What Do Mung Bean Balls Taste Like?
This recipe's inspiration came from three sweets: Vietnam's bánh đậu xanh, the mung bean cakes (緑豆糕) popular in China and Taiwan, and Japan's own sweet potato chakin.
Bánh đậu xanh is a powdery little cake made from ground mung beans. It crumbles the moment it hits your tongue, then just melts away, like snow.
The mung bean cakes get there a different way — steamed mung beans, pressed into flower-shaped molds, sometimes with a filling tucked inside. Soft and slightly dense, closer to sweet potato than anything bean-like.
So what do they actually taste like?
My nephew brought some bánh đậu xanh back from a school trip once. Handing pieces out to the family, all he said was, "it's like compressed kinako, but not kinako." (Kinako is roasted soybean flour — if you've spent time in Japan, you've probably had it on mochi or warabi mochi.)
If I borrow his words, these mung bean balls land somewhere close to: a smooth white bean paste with kinako stirred in, but with the fluffy, starchy comfort of chestnut or sweet potato underneath.
Something close to that.
That's what was on my mind as I twisted the cloth around each one, shaping them one by one.
🌿 Ingredients
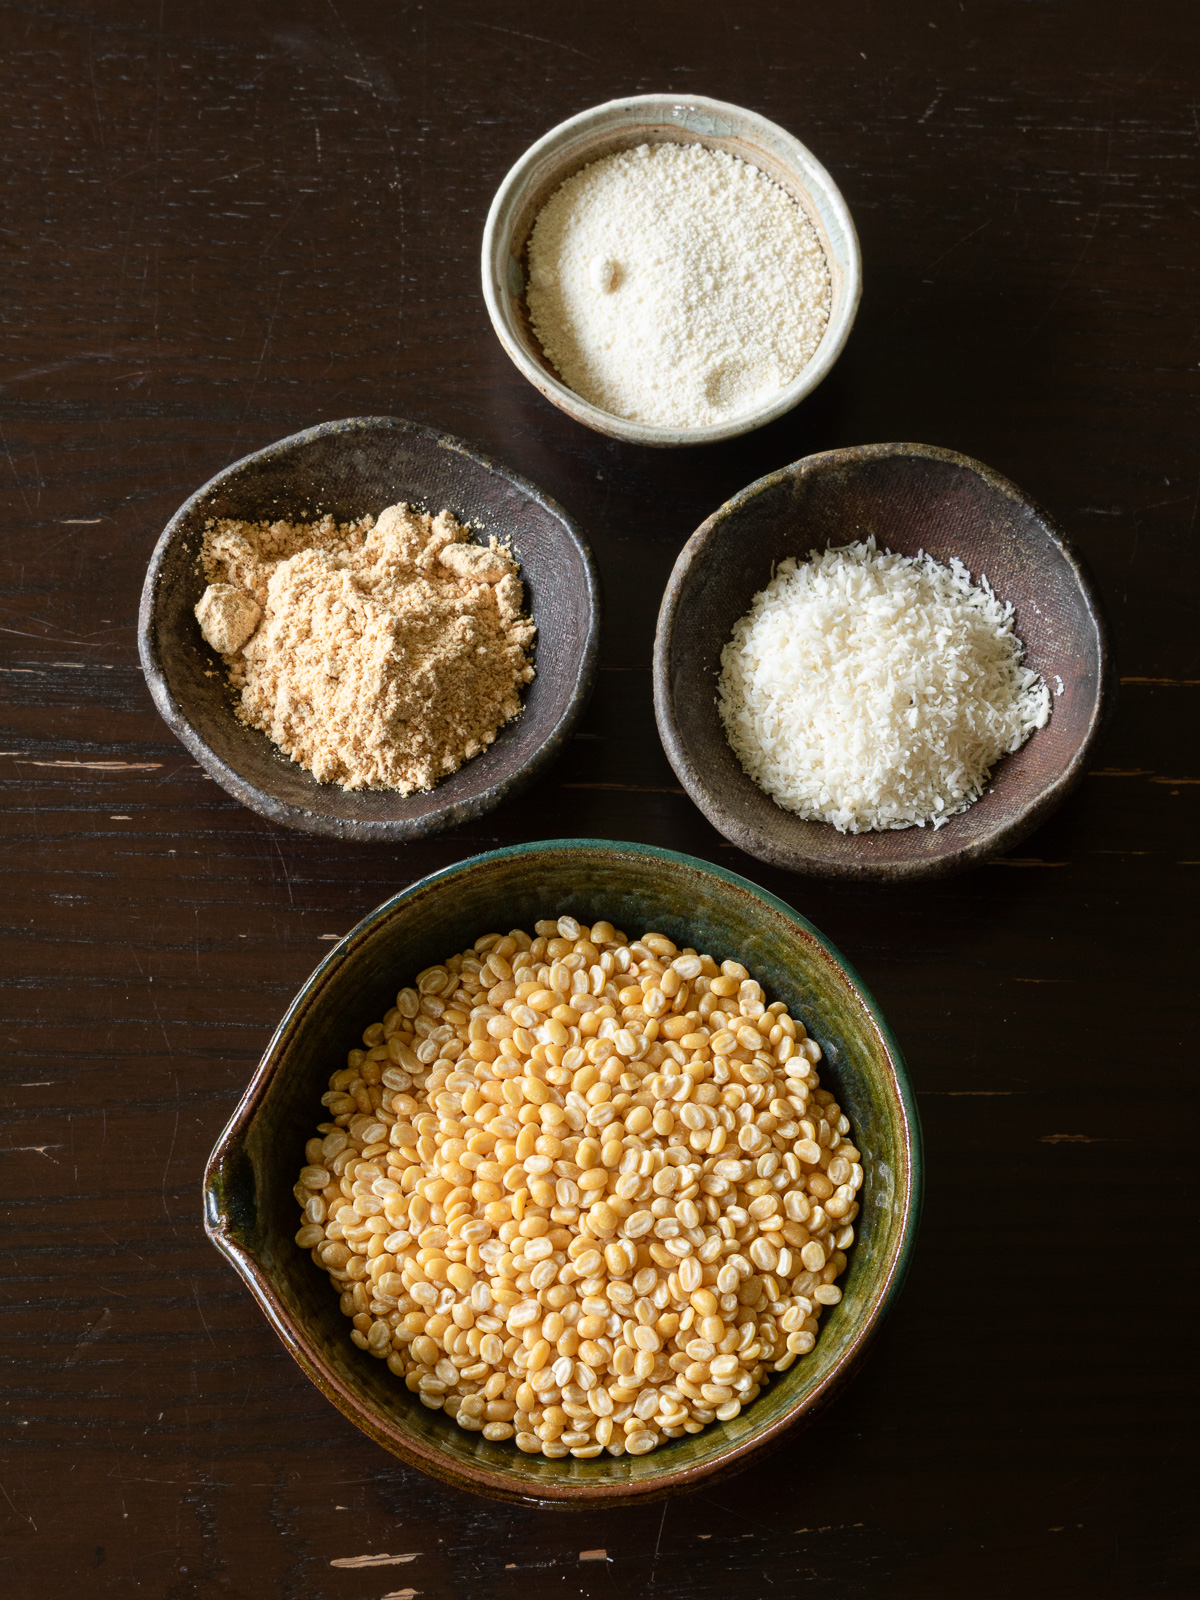
Just two ingredients make up the base of these mung bean balls.
- Yellow split mung beans (mung dal): I use yellow split mung beans (moong dal) — the same ones I use for dal curry and kitchari. I always buy the ones from Ambika, an Indian brand also available in Japan.
- Beet sugar: For sweetness, beet sugar powder is my go-to. It's what I reach for in nearly all my vegan desserts, and it dissolves easily into powdery ingredients like kinako or black sesame — it's also what I use in my kinako and black sesame ohagi. But any sugar works here.
▶︎ Optional
Kinako & desiccated coconut: rolling these balls in one or the other gives you a completely different feel. Kinako leans more Japanese flavor, desiccated coconut leans more Southeast Asian flavor.
Full amounts and instructions are in the recipe card at the bottom of this post 👇
🥣 Equipment You'll Need
- Pressure cooker: I use a Pearl Metal pressure cooker with both low (60kPa) and high (100kPa) settings — I went with high pressure for this recipe. It's become essential in my kitchen for bean dishes. If your pressure cooker runs at a different kPa, adjust the cooking time accordingly.
- Spatula
- Damp cloth or plastic wrap
- Spoon
- Refrigerator
- Fine mesh strainer (optional)
📖 How to Make Mung Bean Balls
There are three steps: make the mung bean paste, shape it, then coat it in kinako or desiccated coconut.
The Chinese mung bean cakes mentioned earlier are made by soaking the beans first, then steaming them to make a smooth paste. But here, the beans go straight into the pressure cooker — no soaking required.
That's one of my favorite things about this recipe — no soaking, no waiting around. It's ready before the craving even disappears.
⒈ Cook the Mung Beans
Two things matter here: use just enough water, and mash the beans while they're still hot.
Once the pressure drops, open the lid right away and break the beans down with a spatula as much as you can.
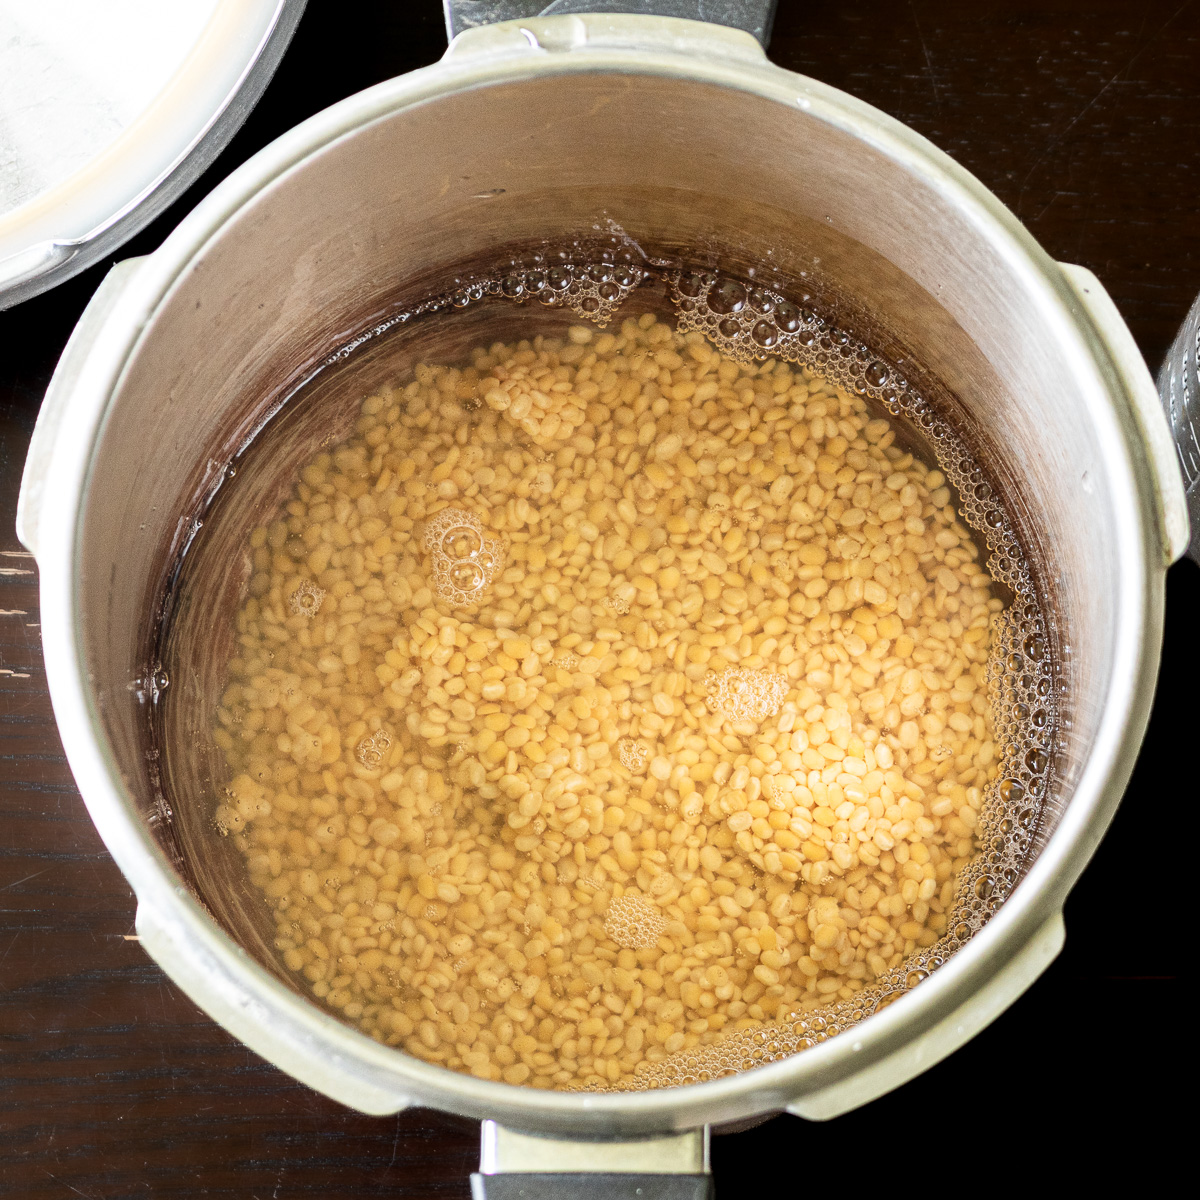
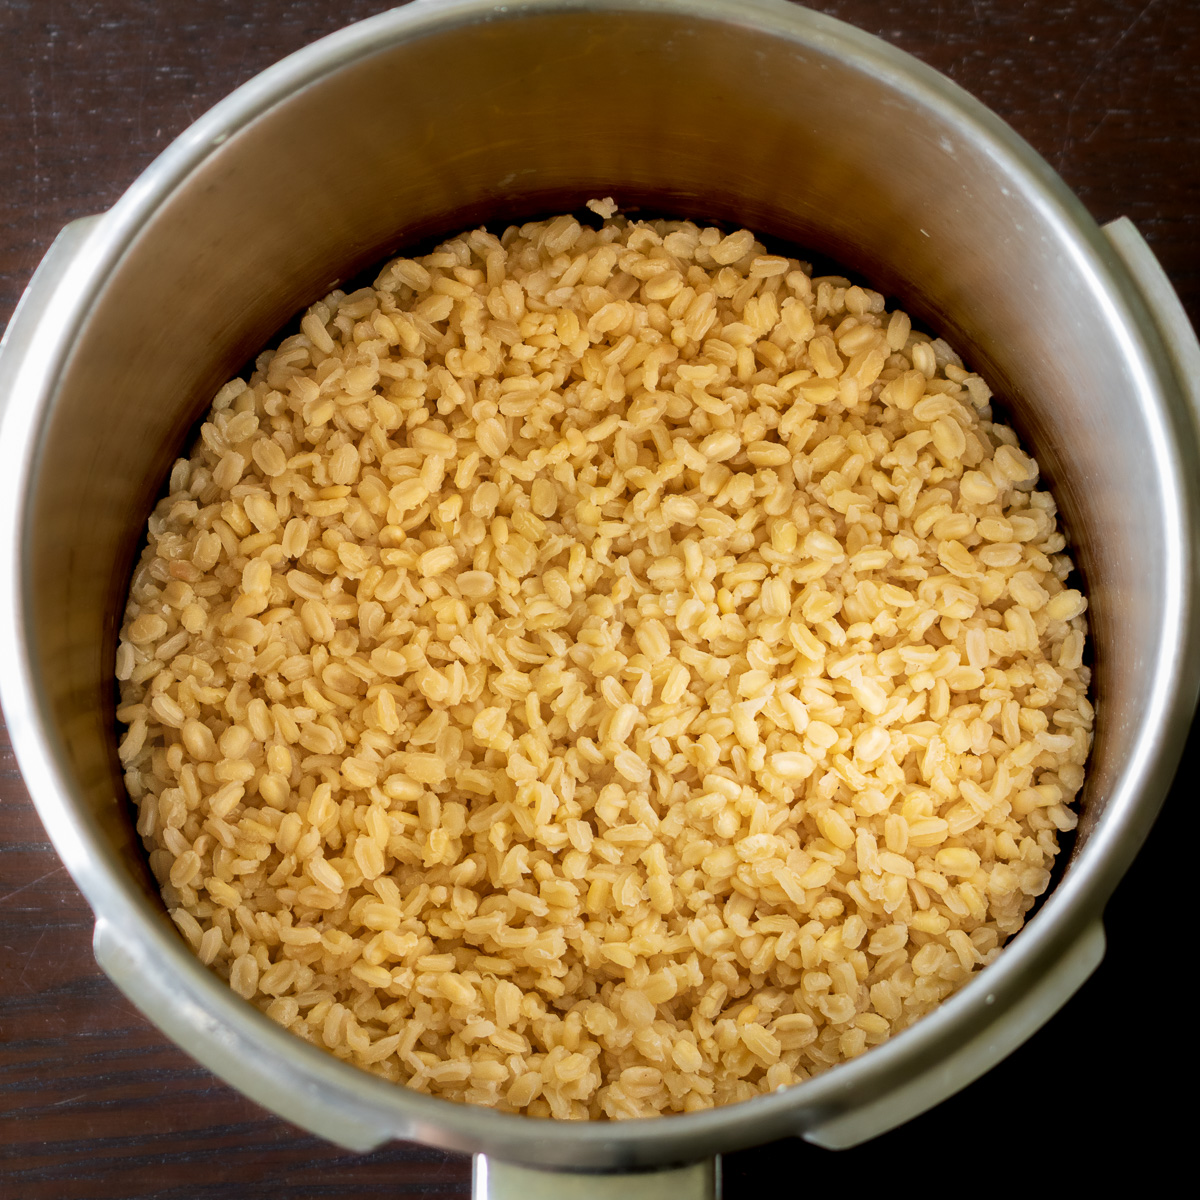
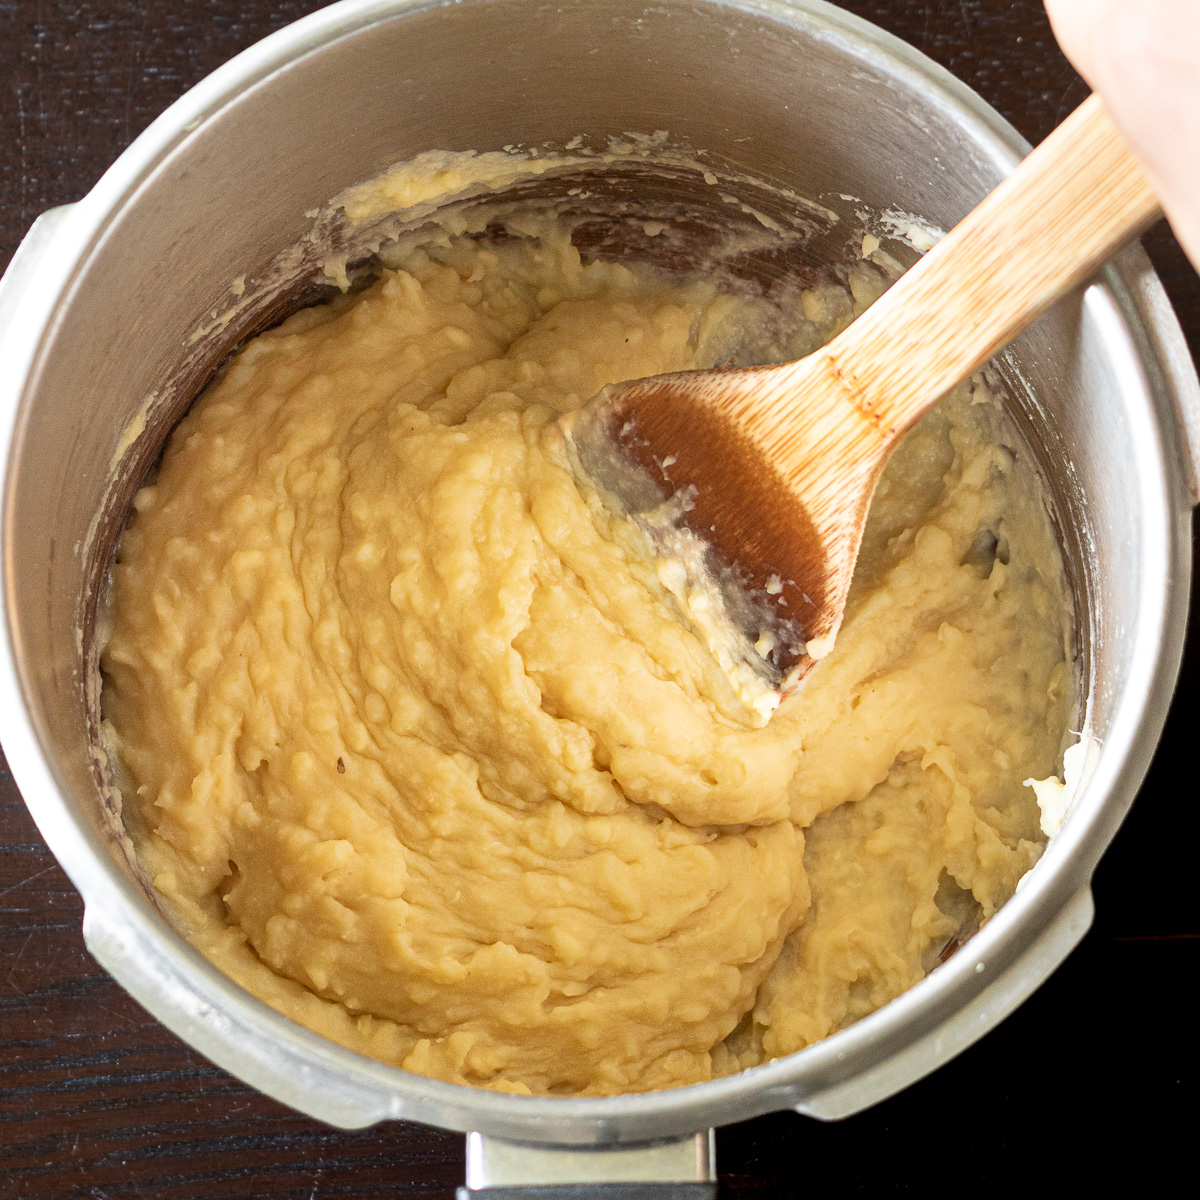
Just mashed with a spatula? — Surprisingly, that's enough to get it smooth.
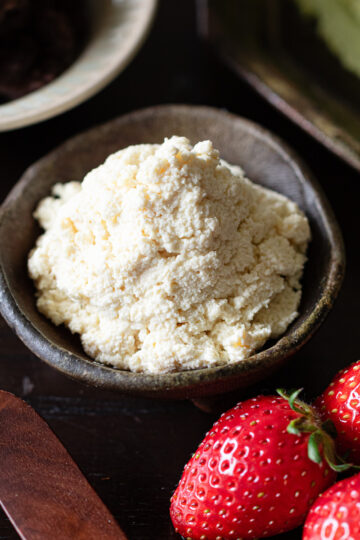
There's still a bit of texture left, but I like that rustic quality. If you'd rather have it silky smooth, pass it through a fine mesh strainer once.
⒉ Sweeten
Once it becomes a smooth paste, the sugar goes in — tasting as I go, until it just feels right.
🌿 I like to go a little sweeter when coating with kinako, and go lighter to enjoy the plain, mellow flavor of the mung beans.
⒊ Chill
The paste will still be far too soft to shape at this point.
So, I transfer it to a container, let it cool first at room temperature, then chill it in the refrigerator until it's firm enough to scoop
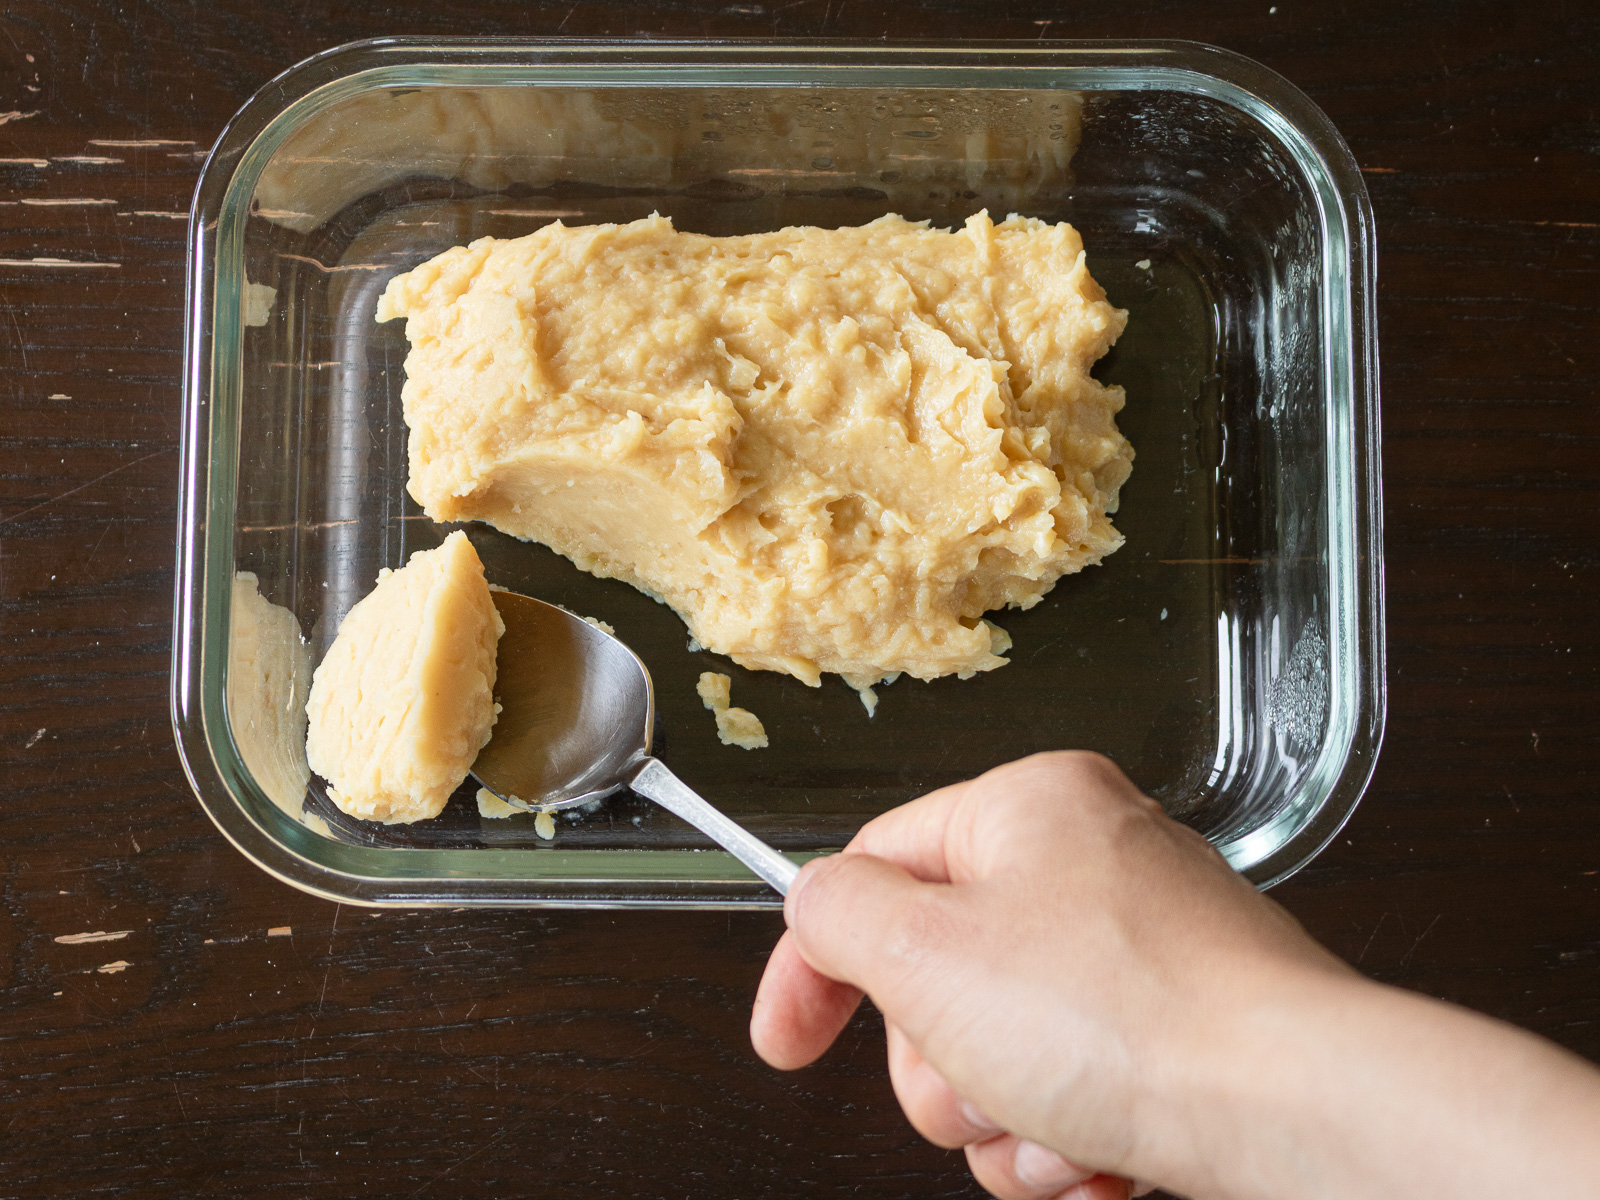
Once a spoonful holds together instead of spreading, it's ready.
Time to shape the balls.
4. Shape
A damp cloth (or plastic wrap) lies over my palm, one spoonful of the chilled paste placed in the center.
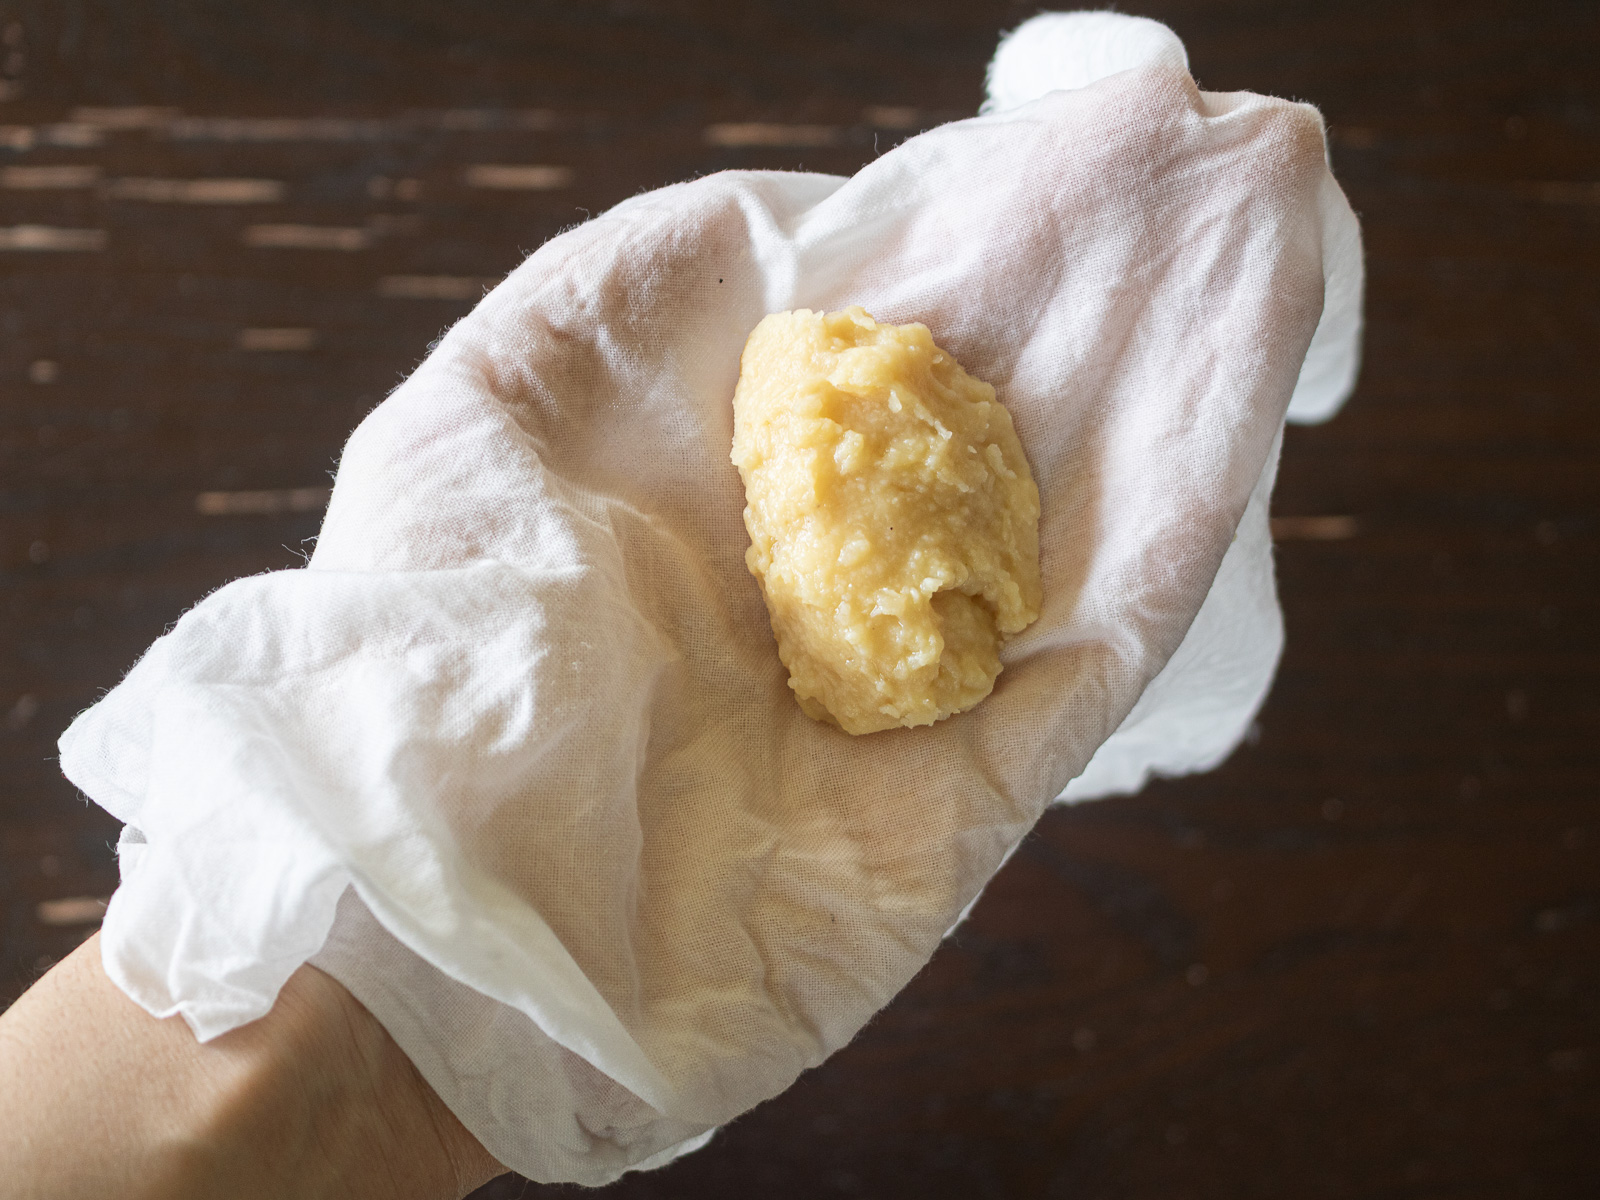
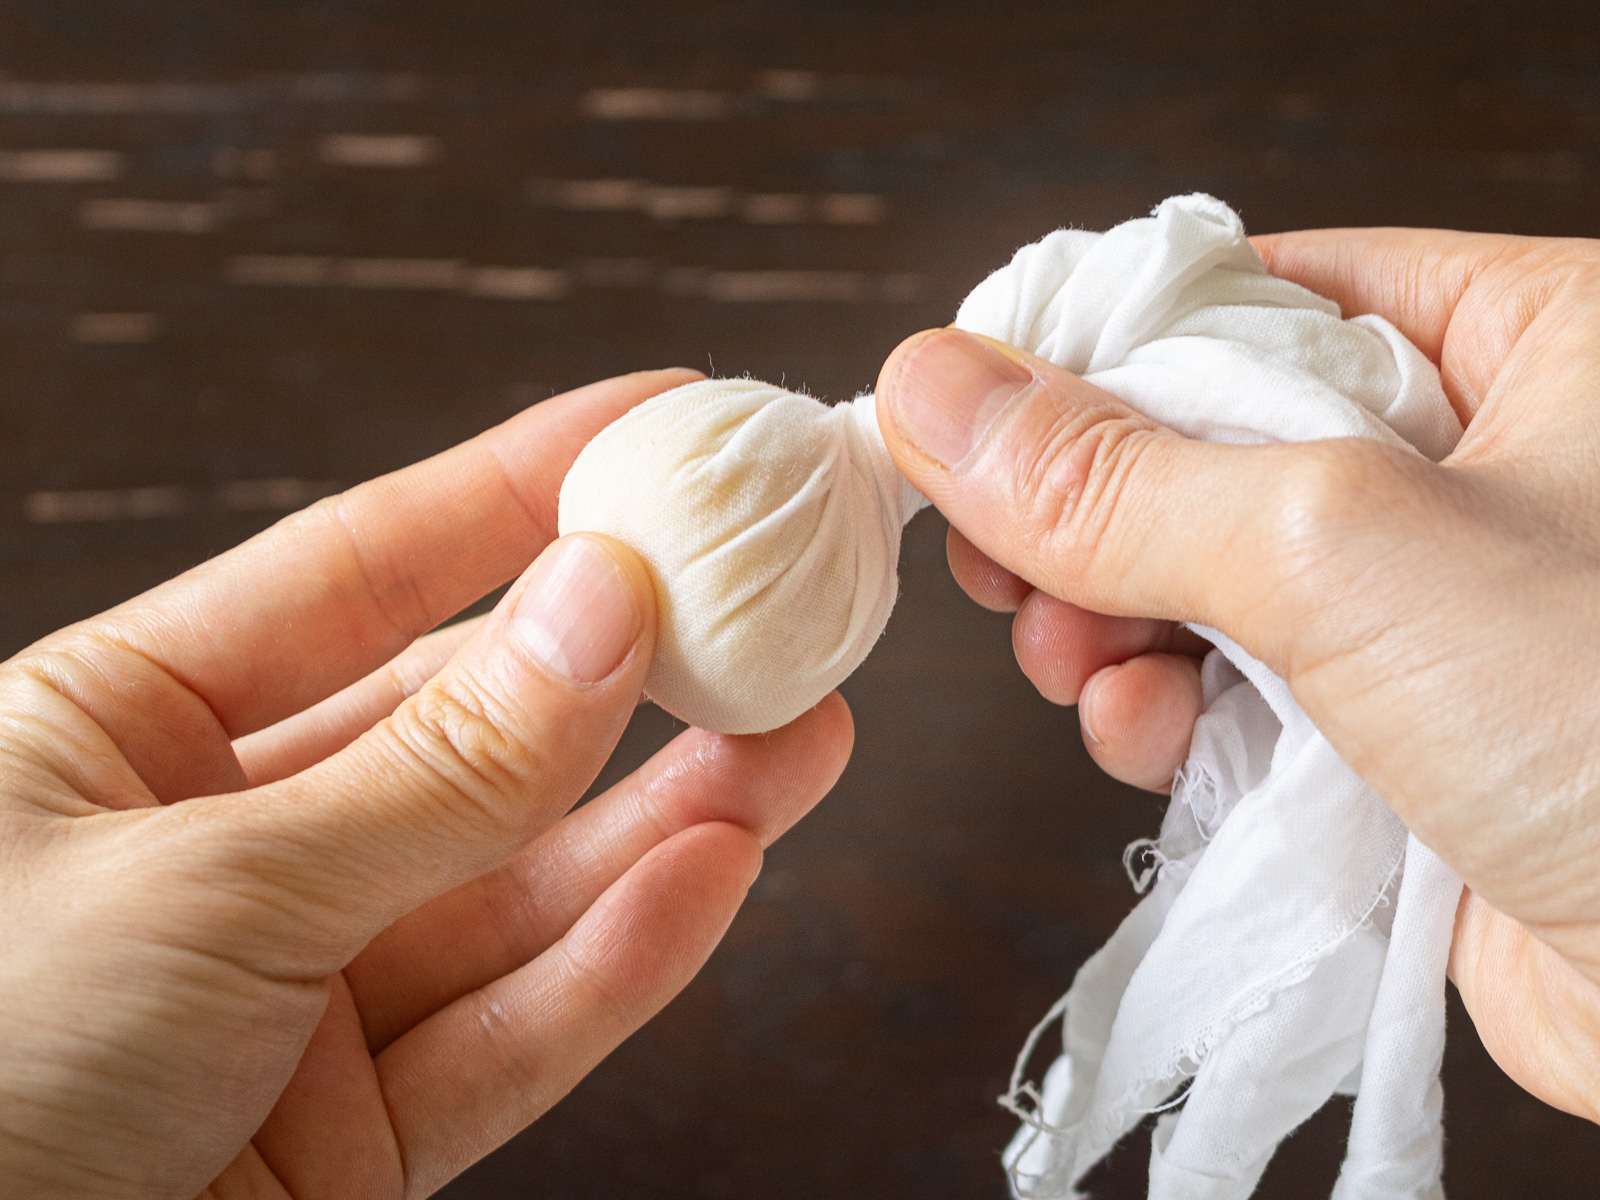
Gathering the cloth around it, I twist the top gently, rounding it into shape as I go— that's what creates the soft pleats chakin-shibori is known for.
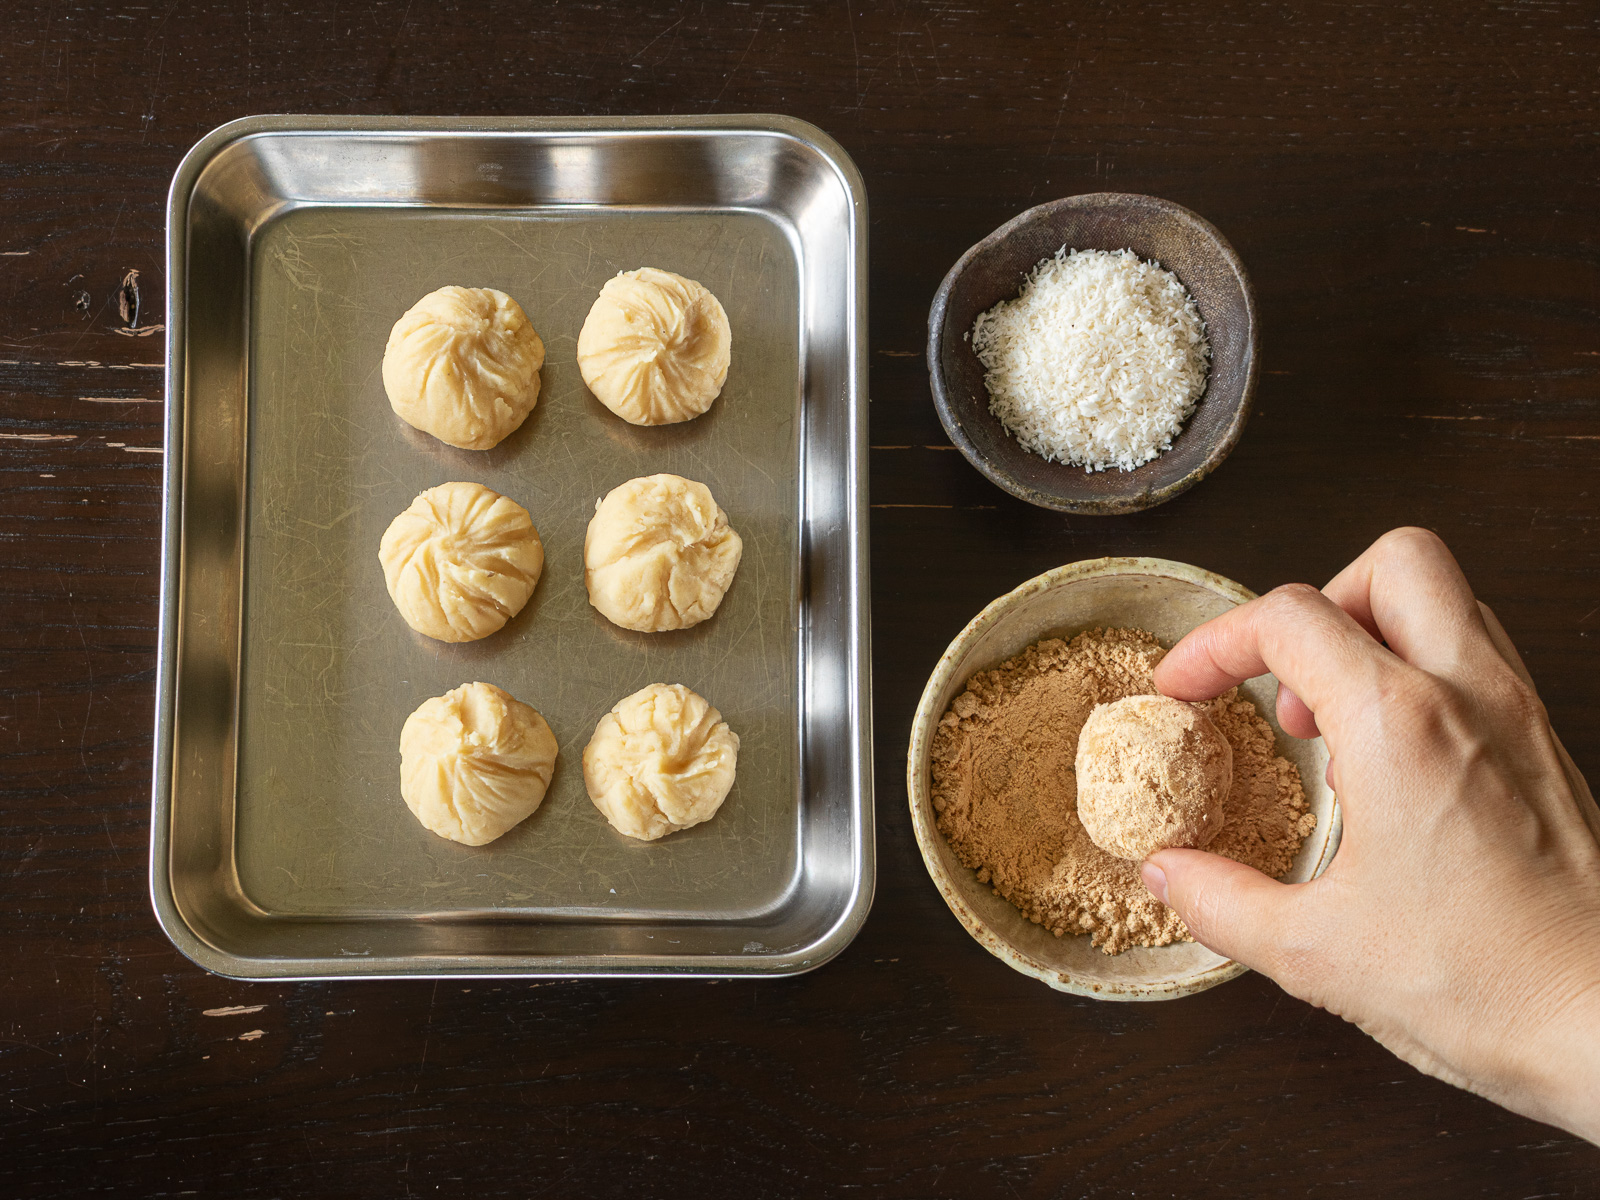
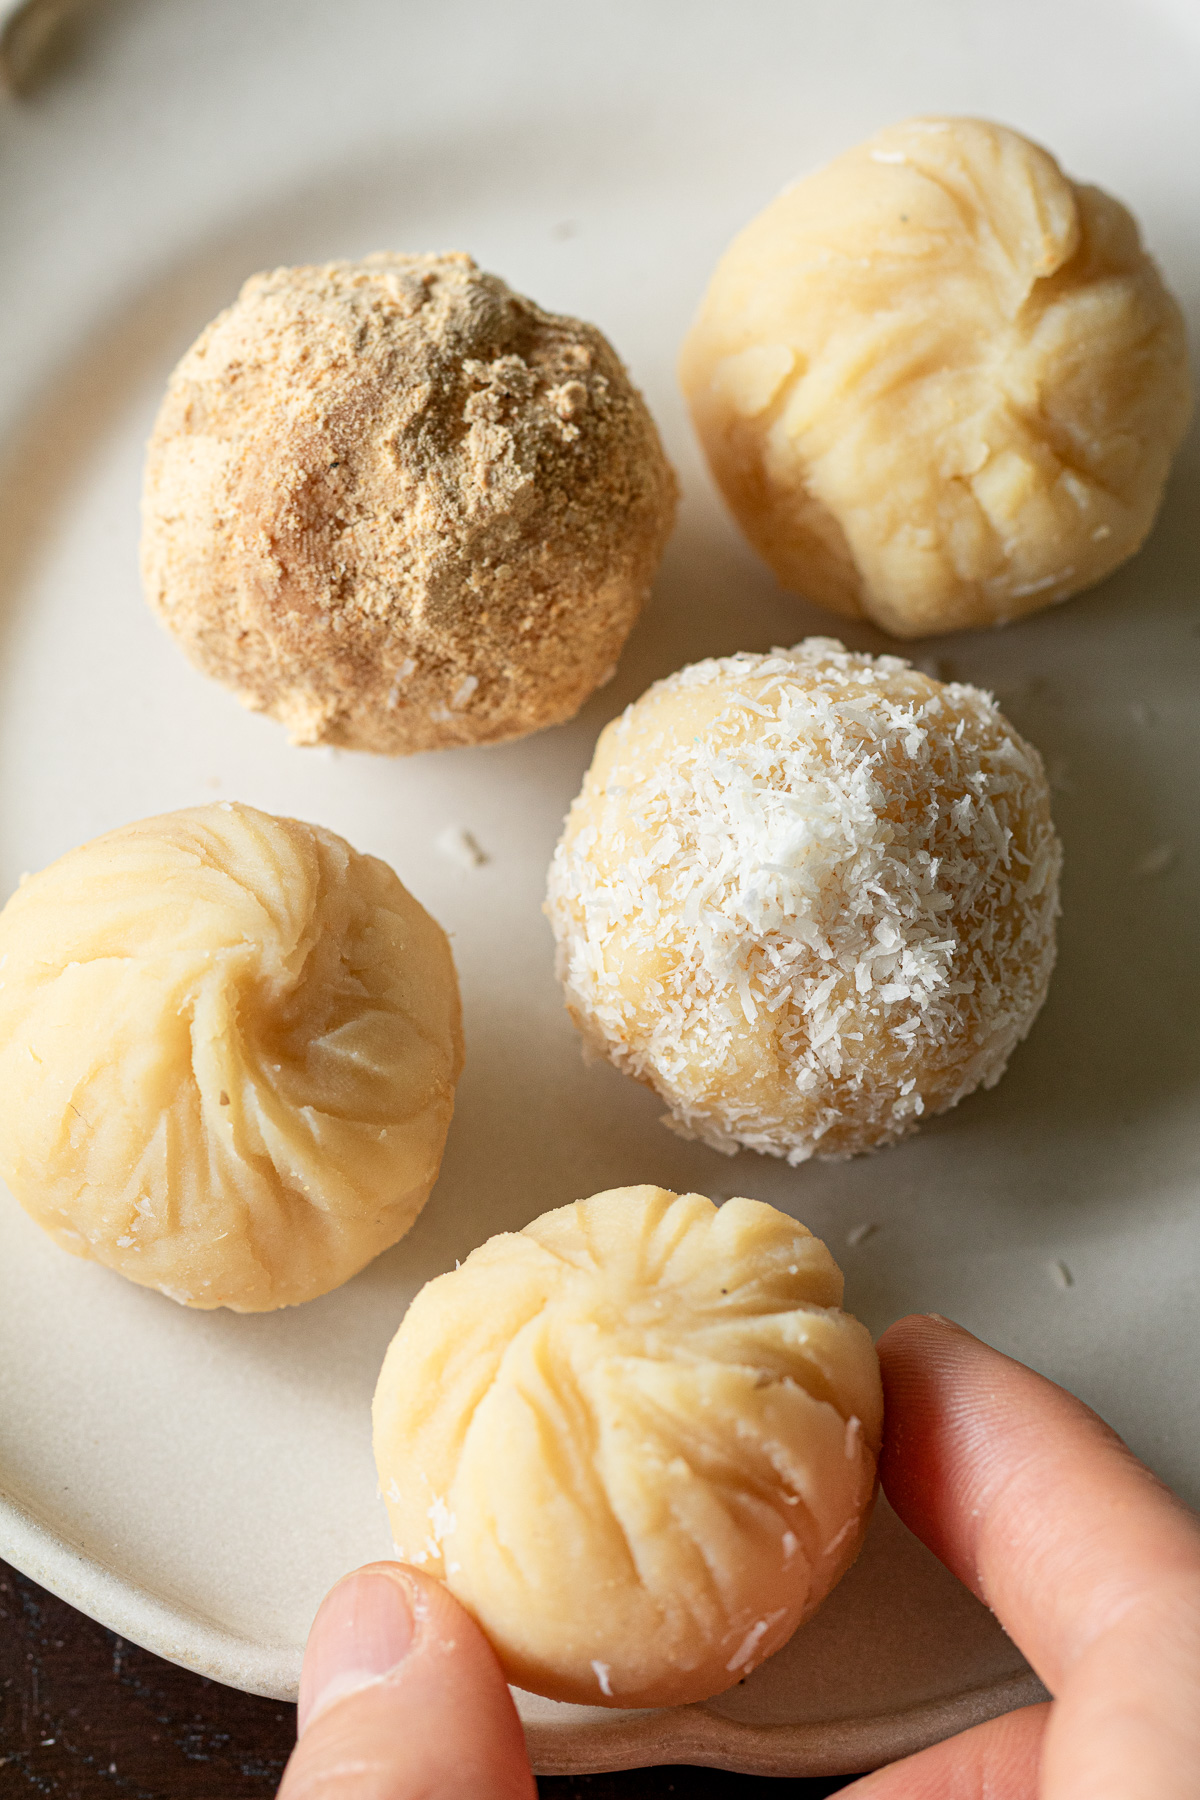
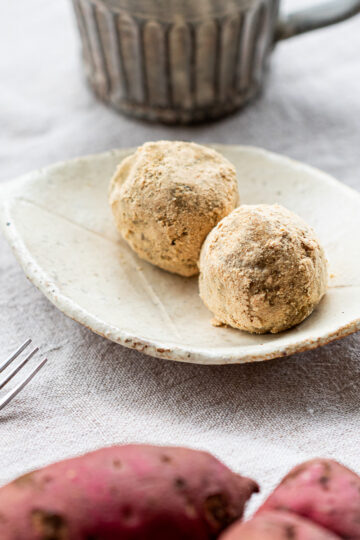
Some I leave plain. The rest get a coating of kinako or desiccated coconut.
🫙 How to Store
I keep these in the refrigerator, in a sealed container.
Usually, a batch is gone within three days. If I've shaped them with a damp cloth instead of plastic wrap, I try to finish them a little sooner rather than later.
📚 FAQ
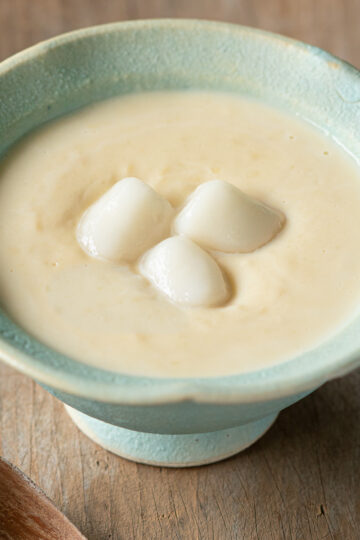
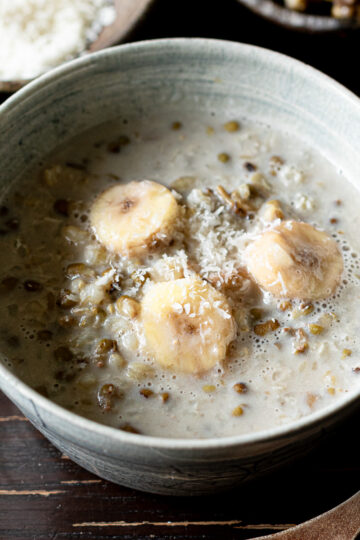
Whole mung beans need a different cooking process, and the skins won't fully break down even after blending. If you have whole mung beans on hand, try my mung bean banana coconut cream, mung bean coconut milk dessert , or mung bean banana porridge instead.
Yes, any sugar you like should work. I add it while the beans are still hot, so most types dissolve smoothly into the paste.
🫘 Leftover Mung Beans?
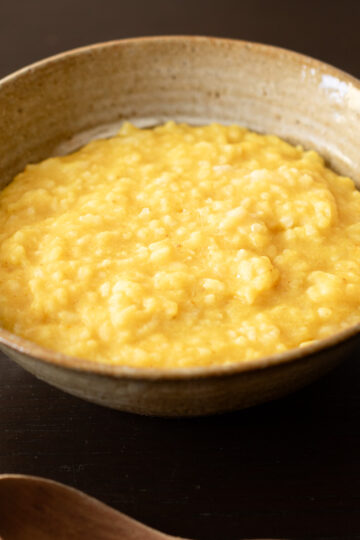
A few of my favorite ways to use them up: porridge, dal, or a warm mung bean dessert soup.
🥥 Leftover Desiccated Coconut?
Not just for dessert — it's great tossed into salads, too.
🥄 More Easy No-Bake Vegan Sweets
A few more mix-and-roll vegan sweets (see the full dessert index here):
✏️ Recipe Card
Japanese-style Mung Bean Balls (Chakin-Shibori)
Equipment
- pressure cooker - Pearl Metal 3.5L, high pressure/100kPa
- Spatula
- Damp cloth or plastic wrap
- Spoon
- Refrigerator
- fine-mesh strainer - optional
Ingredients
- 100 g yellow split mung beans
- 200 ml water
- 20-30 g beet sugar powder (or any sugar you prefer)
Optional
- kinako
- desiccated coconut
Instructions
- Rinse the mung beans, then add to a pressure cooker with the water. Cook at high pressure for 5 minutes.100 g yellow split mung beans200 ml water
- Once the pressure has dropped, stir and mash the beans with a spatula while still hot, until smooth.
- Add the sugar and mix until fully dissolved. Taste and adjust the sweetness to your liking.20-30 g beet sugar powder
- Transfer to a container, let cool to room temperature, then chill in the refrigerator until firm.
- Divide the chilled paste into 8 portions.
- Place one portion on plastic wrap or a damp cloth, gather the edges, and twist gently to shape into a round with soft pleats (chakin-shibori technique).
- Shape the rest the same way.
- Coat with kinako or desiccated coconut, if you like.kinakodesiccated coconut
Notes
- Any sugar can be used in place of beet sugar.
- Mashing the beans while still hot gives the smoothest texture.
- Chill the paste well before shaping — it makes rolling much easier.
- For a paste coated in kinako, a slightly sweeter mix works best.
- Keeps in the refrigerator for about 3 days. If shaped with cloth, eat a little sooner for food safety.
🥮 Closing
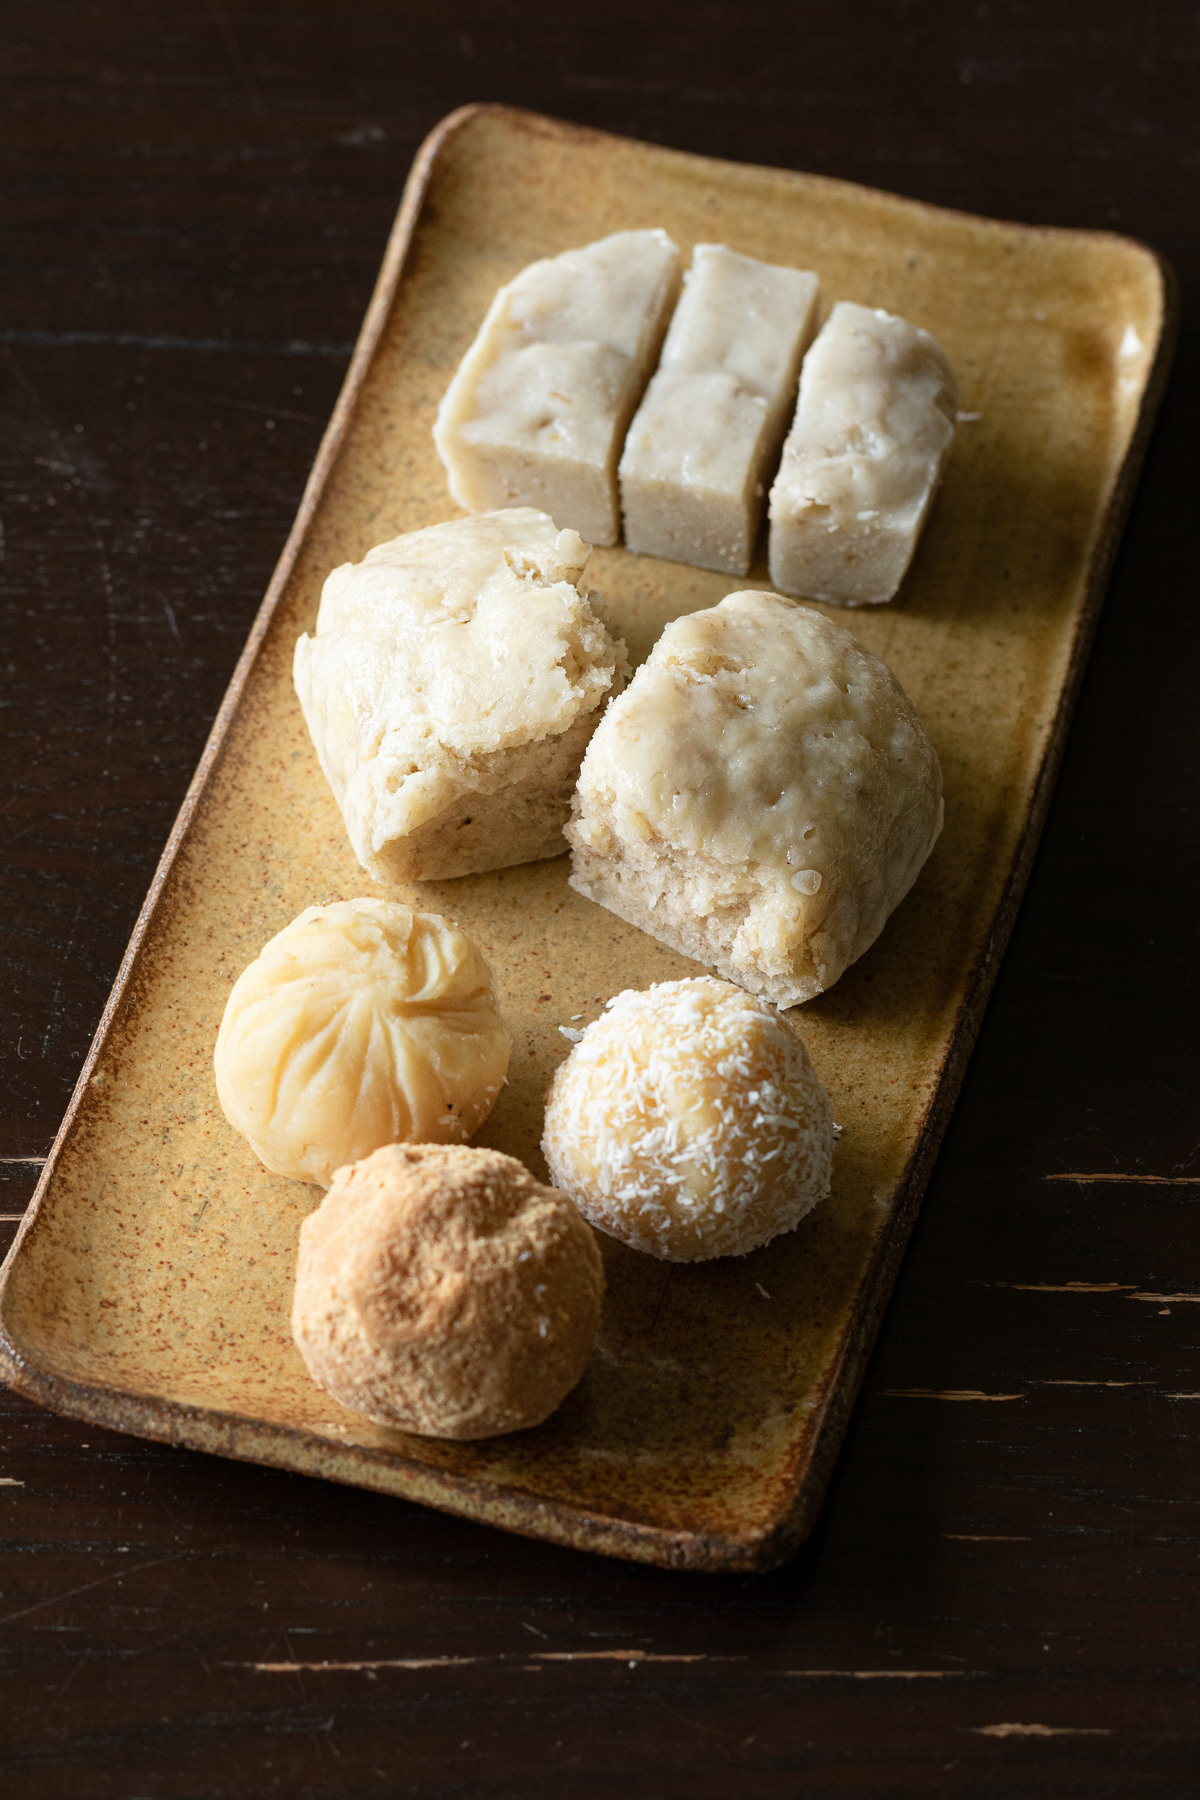
That same day, I made a whole batch of coconut milk desserts alongside these mung bean balls — a steamed rice flour cake with coconut and banana, and a coconut banana mochi, inspired by a Filipino-style rice cake I'd once tried when I was in Cebu.
Both carry that gentle sweetness of coconut and banana. Made with almost the same ingredients, yet completely different in texture — one soft and chewy, the other delightfully jiggly and tender.
Recipes for both, another time, right here on the blog.

Comments
No Comments