
A crunchy, tangy vegan cucumber kimchi made with a traditional Japanese umami seasoning shio koji instead of fish sauce or salted shrimp.
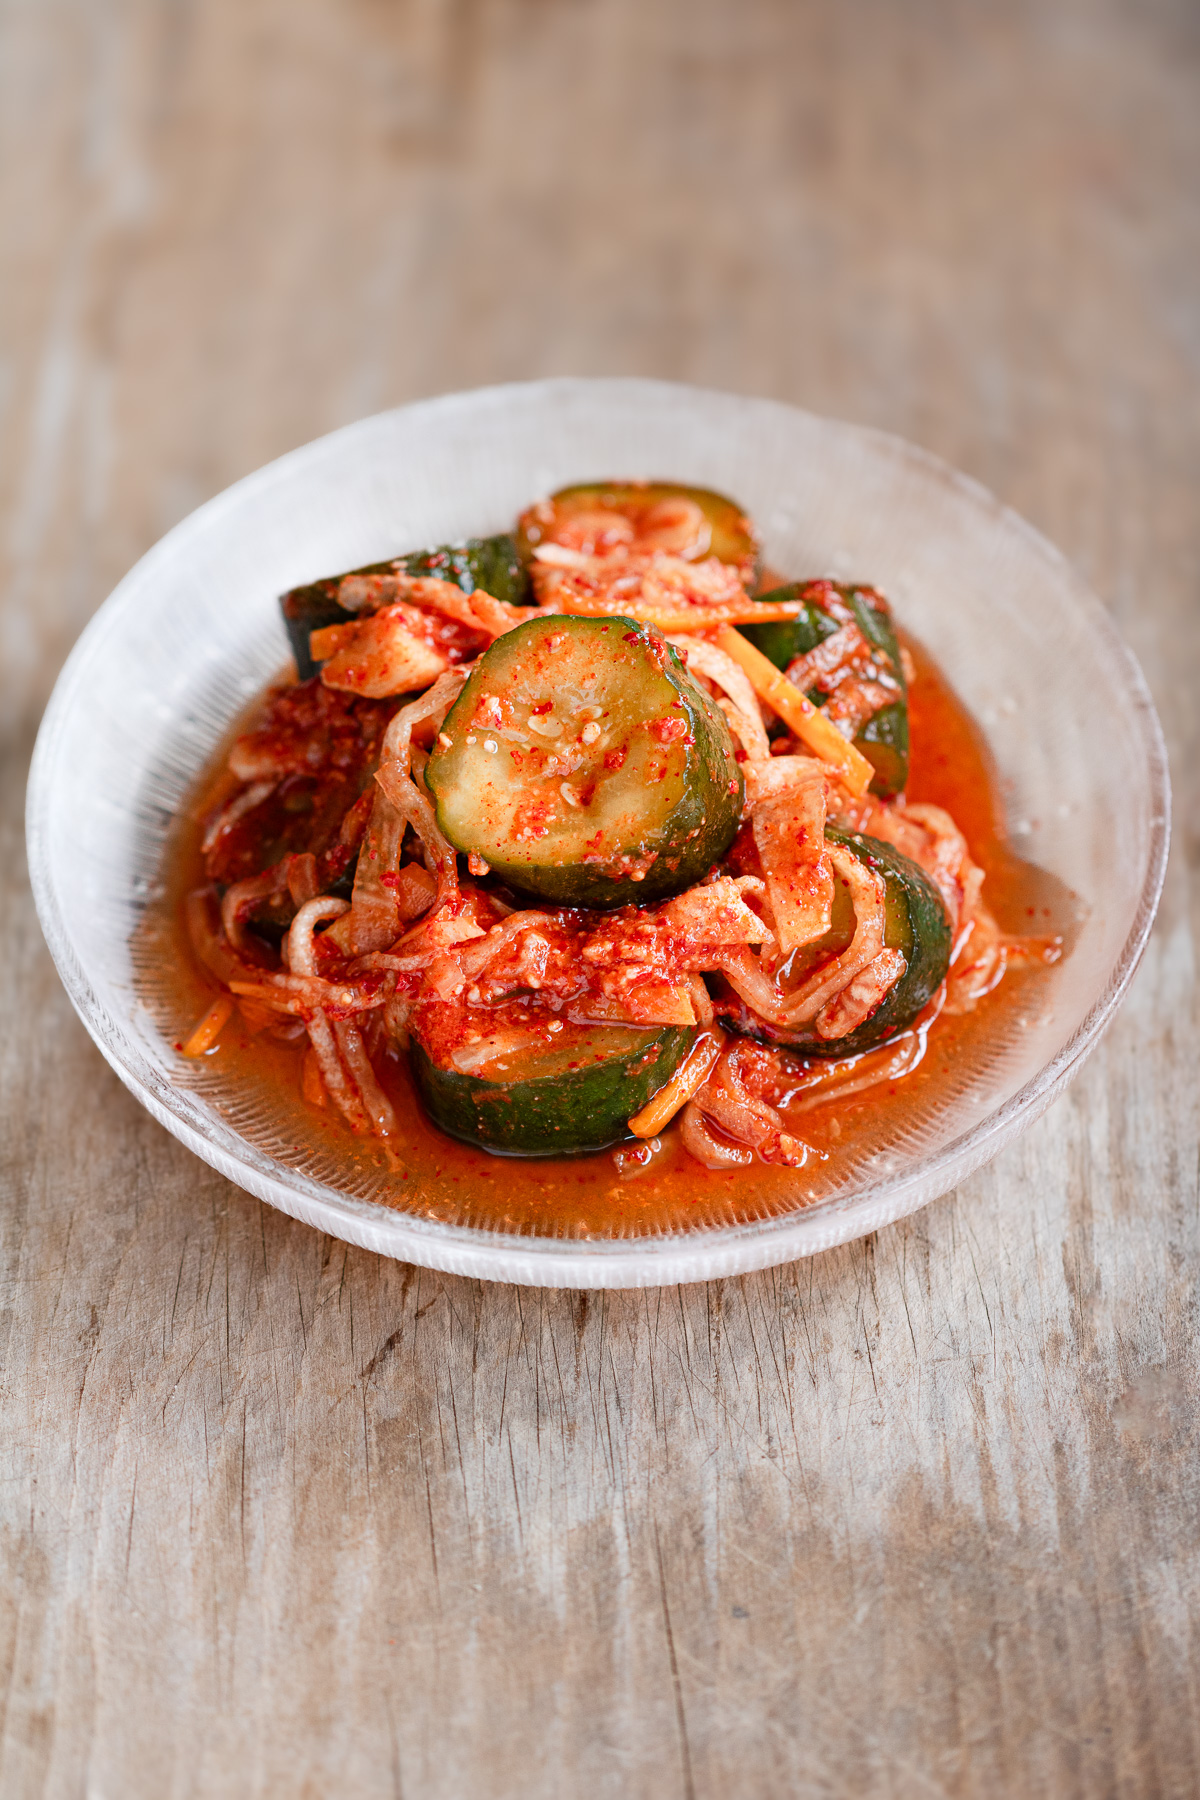
A Japanese twist on the seasoning, but the method still stays true to Korean tradition — fermented slowly for real depth of flavor.
Sweet, savory, and a little addictive. Perfect as a refreshing summer side dish.
Enjoy it with rice, soba (buckwheat noodles), vermicelli, somen (thin white wheat noodles), or whatever carb you're craving.
Jump to:
🥒 What is Oi Kimchi?
Oi kimchi (오이김치) simply means "cucumber kimchi" in Korean. The most traditional version is called oi sobagi (오이소박이) — cucumbers cut with a cross-shaped slit and stuffed with a seasoned filling of vegetables like carrot, radish, and chives.
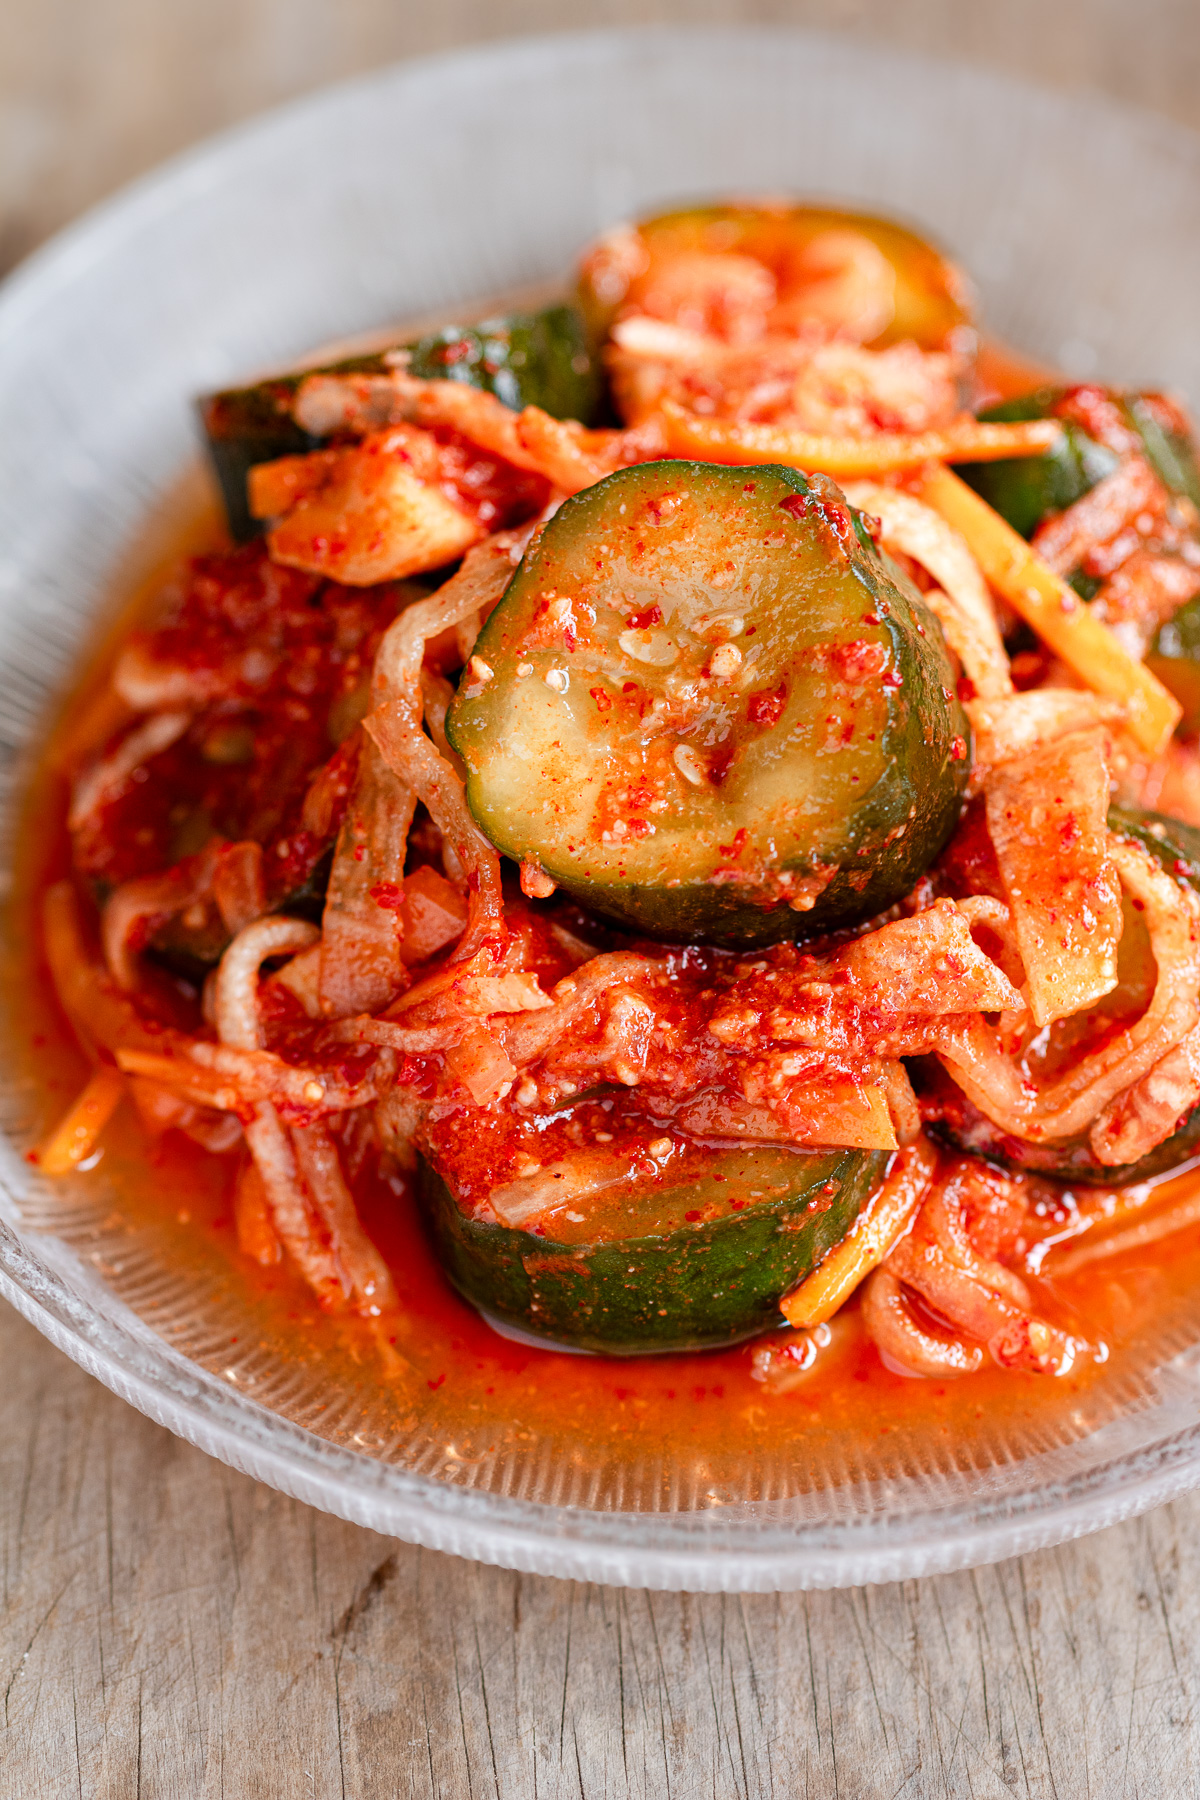
In this recipe, I simplified the method to make it easier: slicing the cucumbers into rounds and tossing them with julienned vegetables instead of stuffing them.
This way, the sauce coats everything evenly, and each piece soaks up flavor on its own. The cucumber still keeps its crunch — simpler to make, and every bit as good in its own way as the traditional version.
🧺 Recipe Features
- Sweet, not too spicy — Leans closer to kkakdugi (radish kimchi) in flavor. Mild enough for anyone sensitive to heat.
- No fish sauce, no shrimp paste — Just shio koji and kombu (kelp) for umami. Fully vegan and vegetarian.
- Adjustable heat — Add more or less gochugaru or gochujang to taste.
- Quick to make — Faster than napa cabbage kimchi, with simpler steps overall.
🌶️ Ingredients
Vegetables
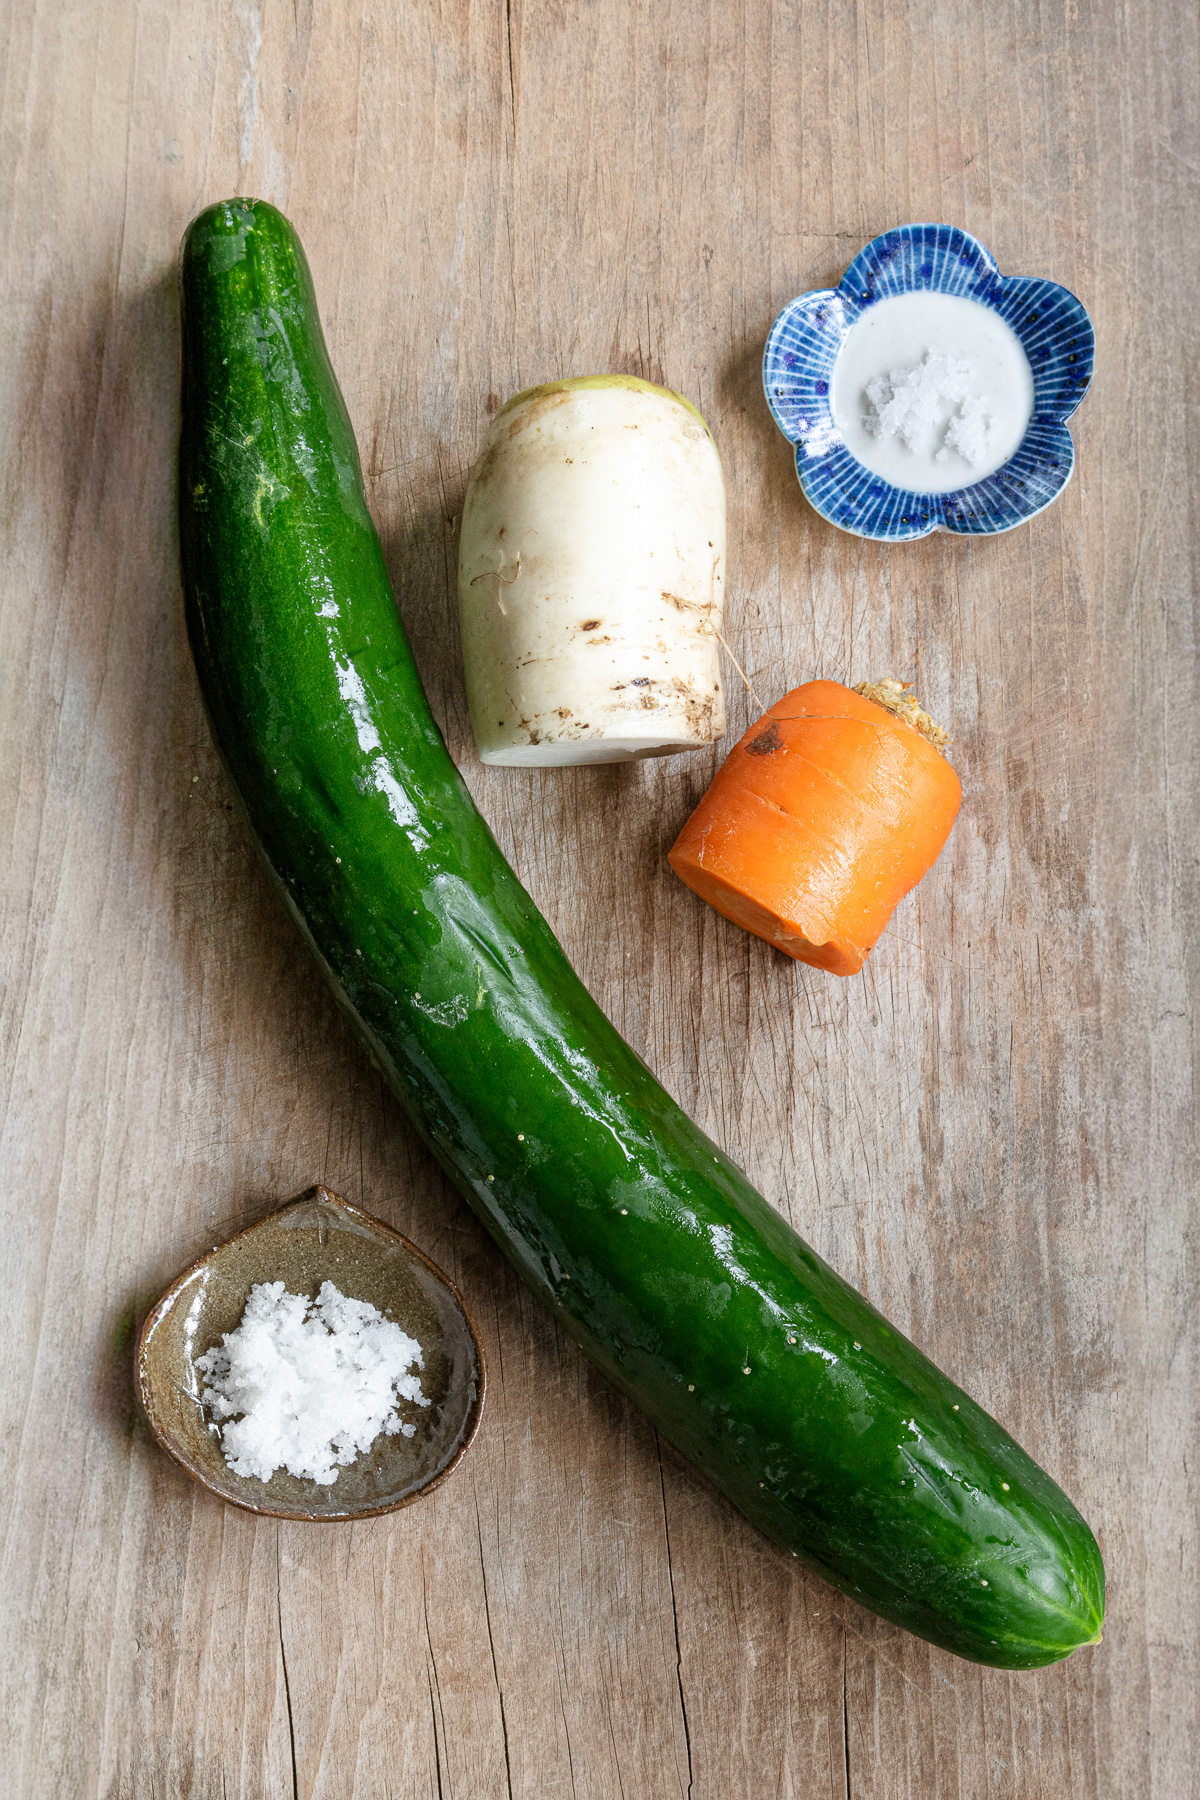
Vegetables
- Cucumber — I like my cucumbers on the thicker side. To me, thinner, firmer cucumbers don't seem to take on the sauce as well — the thicker ones take on more flavor, and they've got the bite and crunch this kimchi calls for.
- Daikon & carrot — Don't worry if the daikon looks a little pithy or has air pockets in the center — even imperfect daikon works fine here and still turns out delicious. Slice it thin on a mandoline, then julienne as fine as you can. My go-to ratio is 7 parts daikon to 3 parts carrot, give or take.
- Coarse sea salt — Salt the cucumber separately from the daikon and carrot, at different concentrations: 2% for the cucumber, 1% for the daikon and carrot. At this ratio, there's no need to rinse off the salt afterward — it comes out seasoned just right.
For the Yangnyeom (Seasoning Sauce)
Sweeter and richer in umami than the sauce I use for my vegan napa cabbage kimchi, vegan daikon leaf kimchi, or vegan yuzu napa kimchi — though the ingredients are nearly the same.
It starts with a rice paste base, then layers in the seasonings from there.
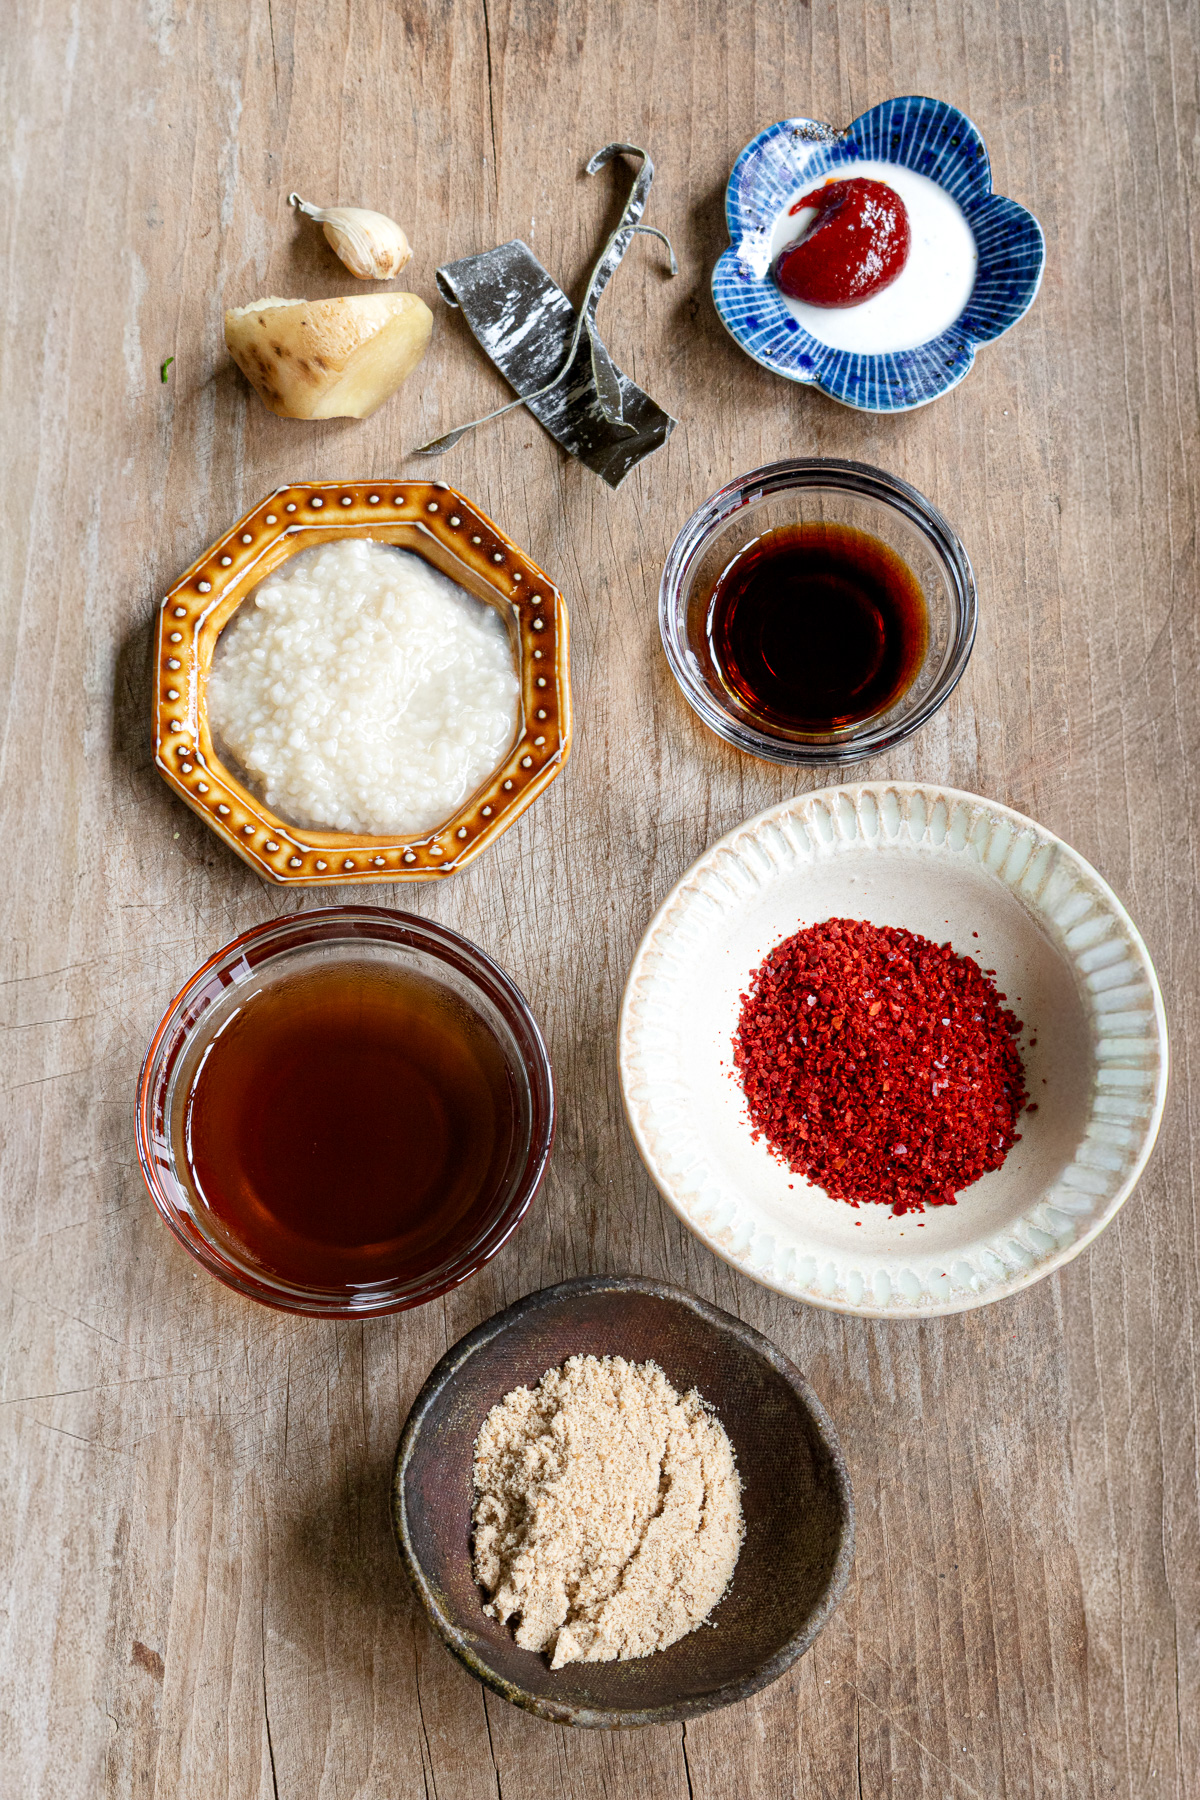
Rice Paste
- Rice flour
- Water
Seasonings
- Shio koji, homemade — a staple umami seasoning in my vegan Japanese kitchen. It's made from rice cultured with koji mold, mixed with salt and water, and it adds a gentle saltiness, sweetness, and umami. Store-bought works just as well.
- Korean chili flakes (gochugaru) — look for the coarse kind, not the fine one.
- Maesil-cheong (Korean plum syrup), homemade — brings a little sweetness and tang. One of those Korean pantry staples.
- Garlic and ginger, freshly grated — not the tube-style paste that's common in Japan. This is the one thing I won't cut corners on; fresh really does change the flavor.
- Soy sauce — just a splash, to tie the seasonings together.
- Gochujang (bibigo) — my go-to brand. Simpler ingredients, no additives, and spicier than the Japanese-made versions. I buy the 1kg tub and freeze it once it's open. Because of the kick, I go easy on it in recipes like bibimbap sauce or sweet potato yangnyeom sticks — here also, just a small amount is enough for depth.
- Kombu (dried kelp), snipped into thin strips with kitchen scissors or a knife after a quick soak in water — adds a savory backbone to the kimchi.
- Sudaki-to — a partially refined Japanese cane sugar with a warm, golden-brown color and a light caramel note. It has more depth than plain white sugar, but it's much gentler than kokuto, the darker Japanese sugar with a rich, earthy, mineral-heavy edge. That in-between quality is why I like it here.
I know it's not easy to find outside Japan, so whatever sugar you have in your pantry will do the job just as well. Just taste as you go, since sweetness levels vary quite a bit from sugar to sugar.
🧰 Tools
- Mandoline — for slicing the daikon and carrot thin before julienning.
- Kimchi container — a glass container works best. It won't hold onto smells or stains the way plastic can, and you'll use it for mixing, fermenting, and storing the kimchi all in one.
- Pot — for making the rice paste.
- Bowl — for mixing the seasonings into the yangnyeom.
- Colander — for draining the salted cucumber.
- Spatula — for stirring the rice paste and mixing the kimchi.
🥣 How to Make
In Japan's hot, humid summers, I'm basically running on eco mode — easy and delicious is all I'm asking for.
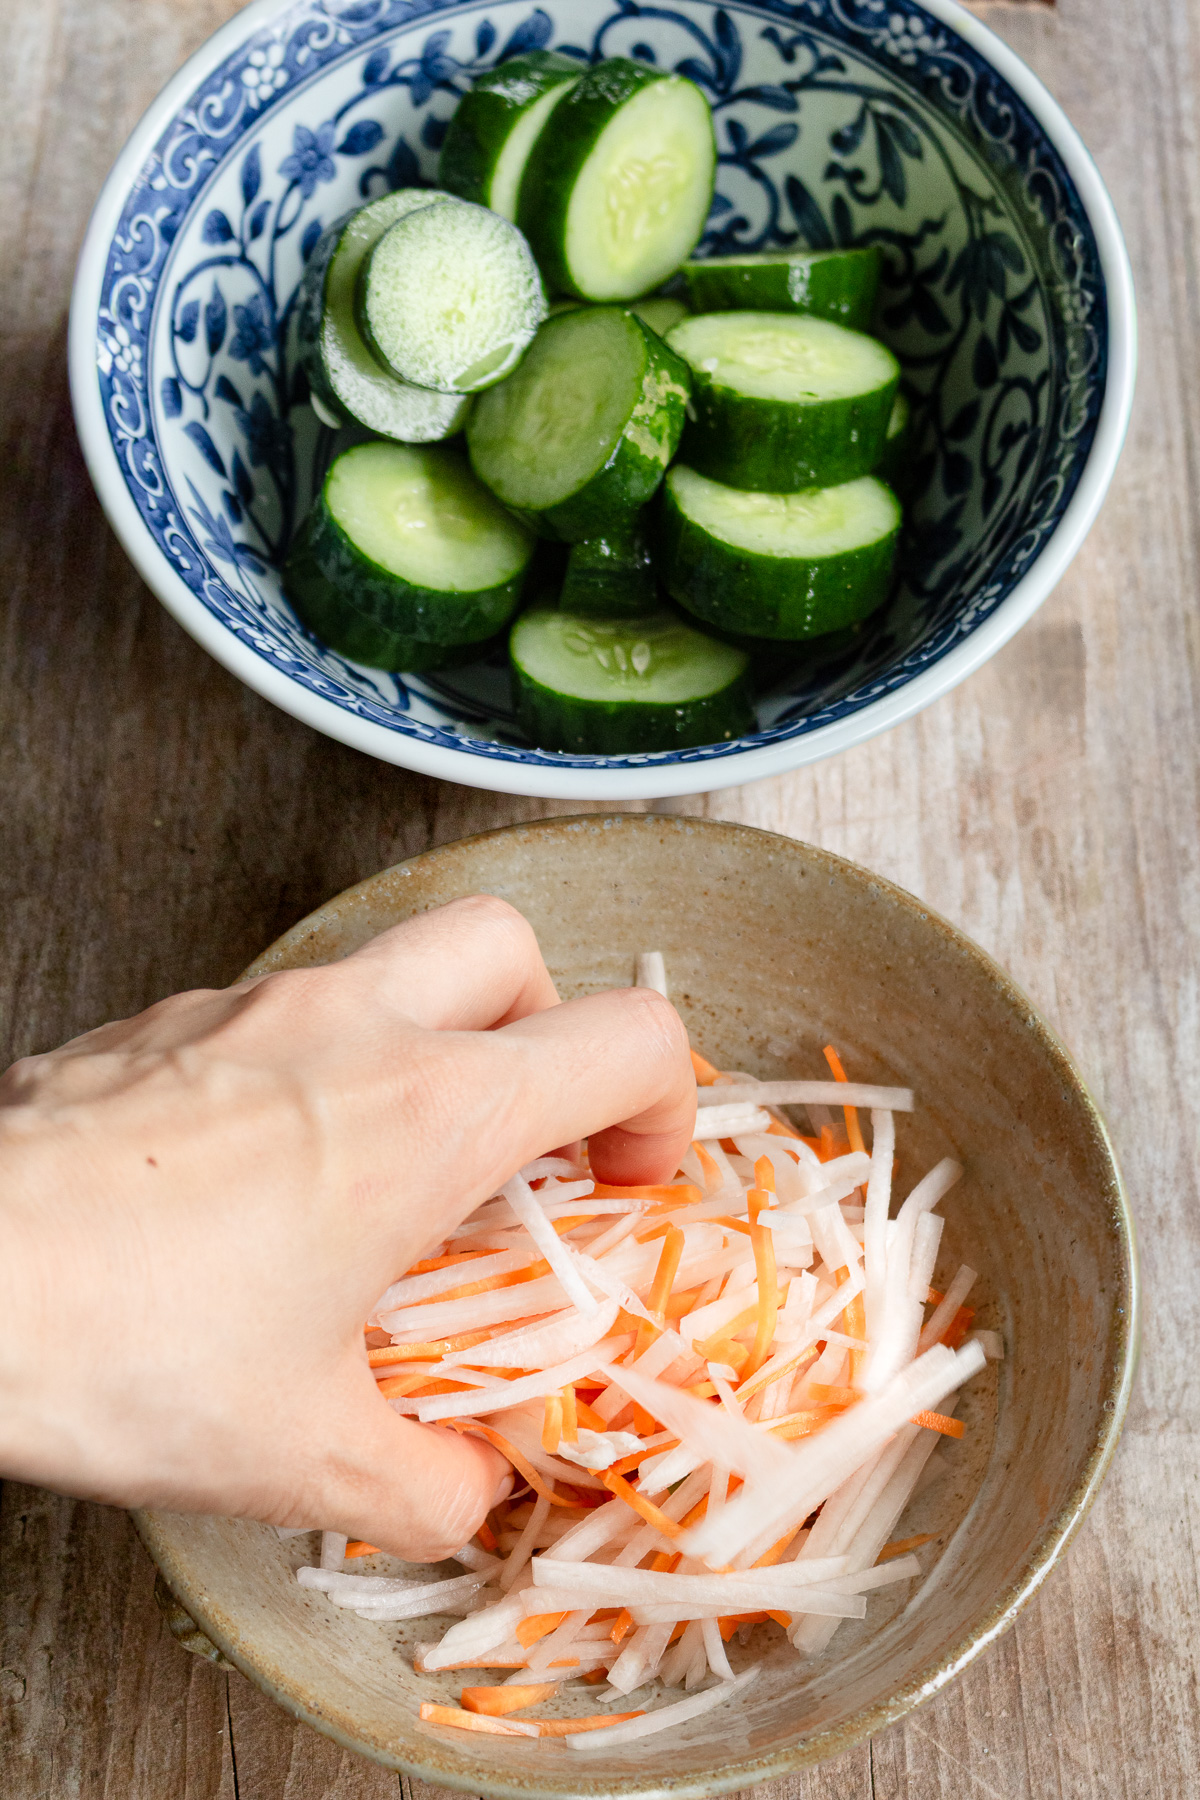
- Salt the vegetables:
- Cut the cucumber into 2–3 cm pieces. Toss with 2% salt.
- Julienne the daikon and carrot, toss with 1% salt.
- Let everything sit at room temperature for an hour.
🌿 If the vegetables sit too long in the salt, they turn too salty — so start on the rice paste as soon as the salting begins. Just make sure it's ready to move on to the next step after an hour.

Also about 30 minutes in, flip everything from top to bottom so it salts evenly.
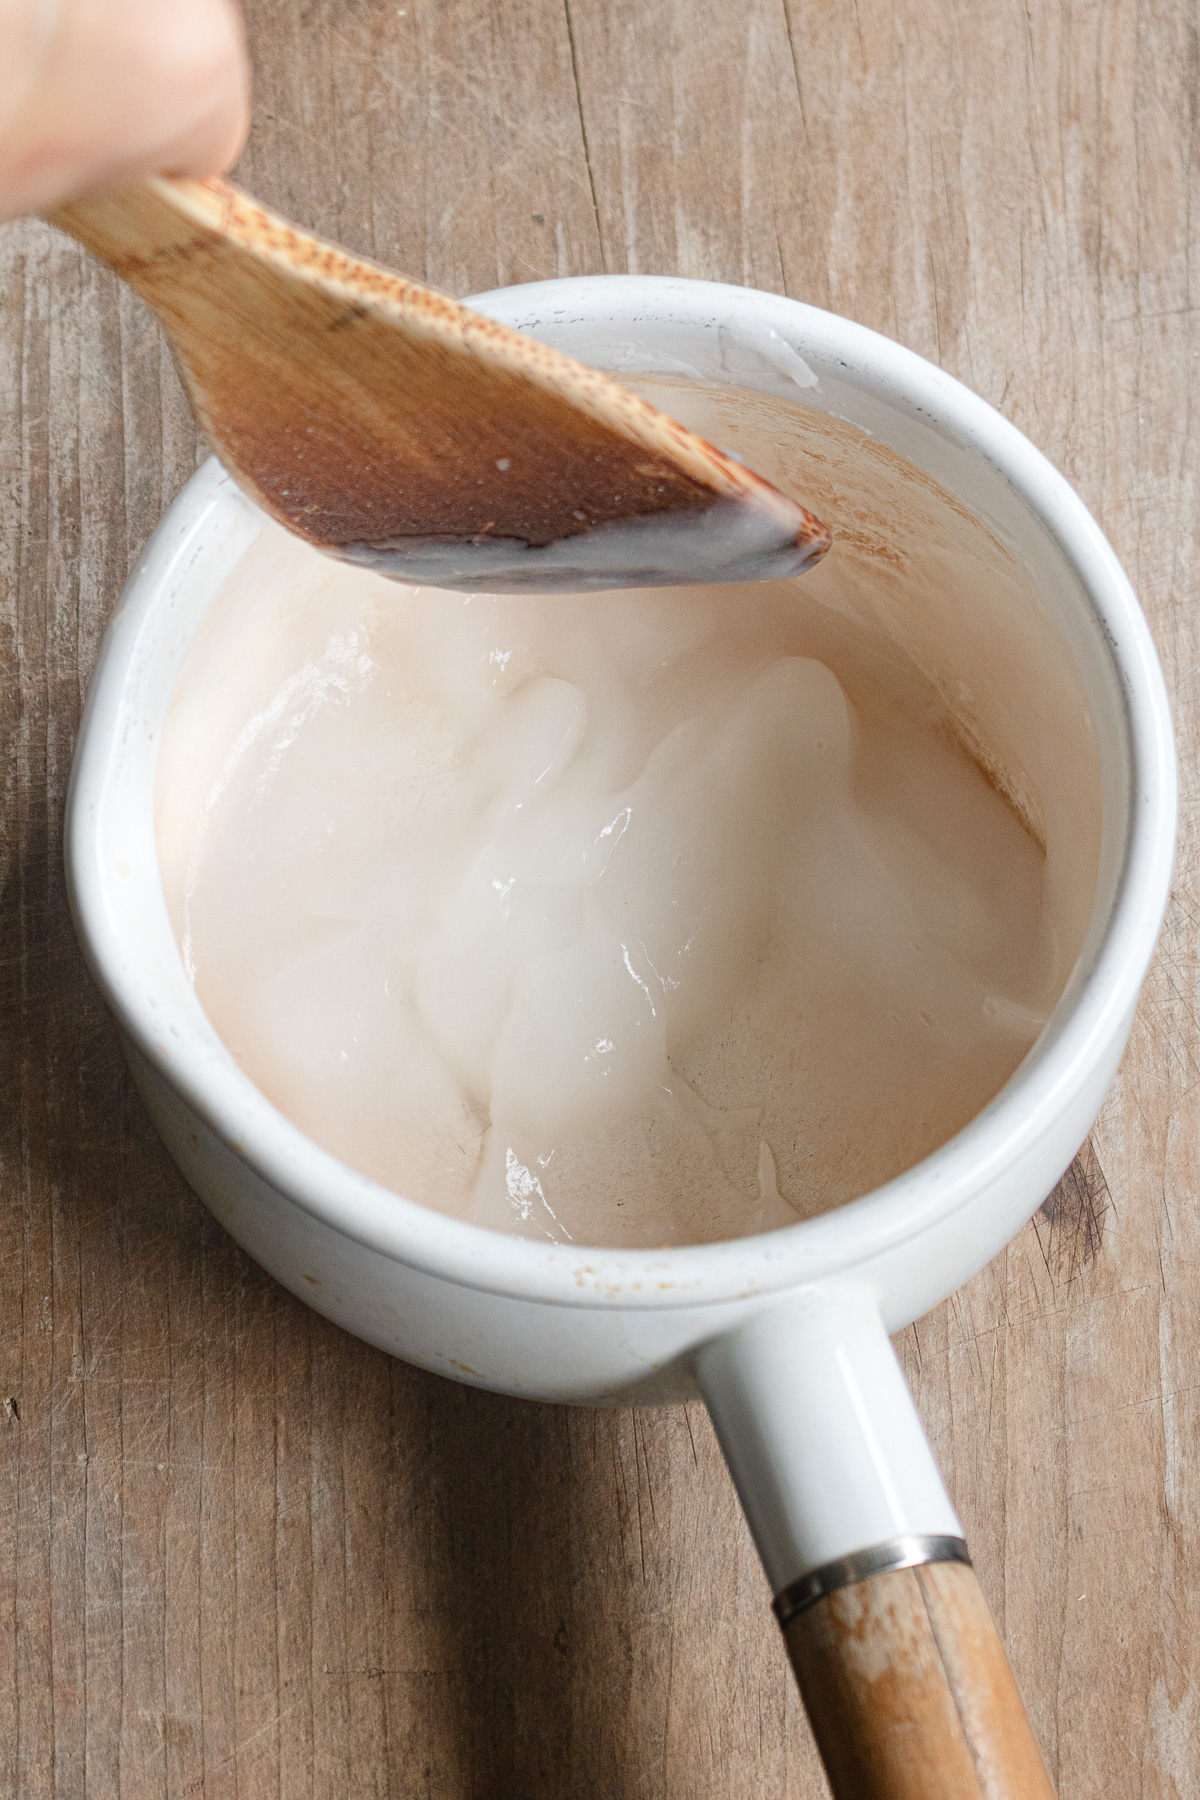
- Make the rice paste:
While the vegetables are salting, make the rice paste.- In a pot, whisk rice flour and water together until smooth.
- Heat over medium, stirring the whole time, until it thickens.
- Lower the heat and cook for another 2 minutes.
- Remove from heat and transfer to your kimchi container, and let it cool.
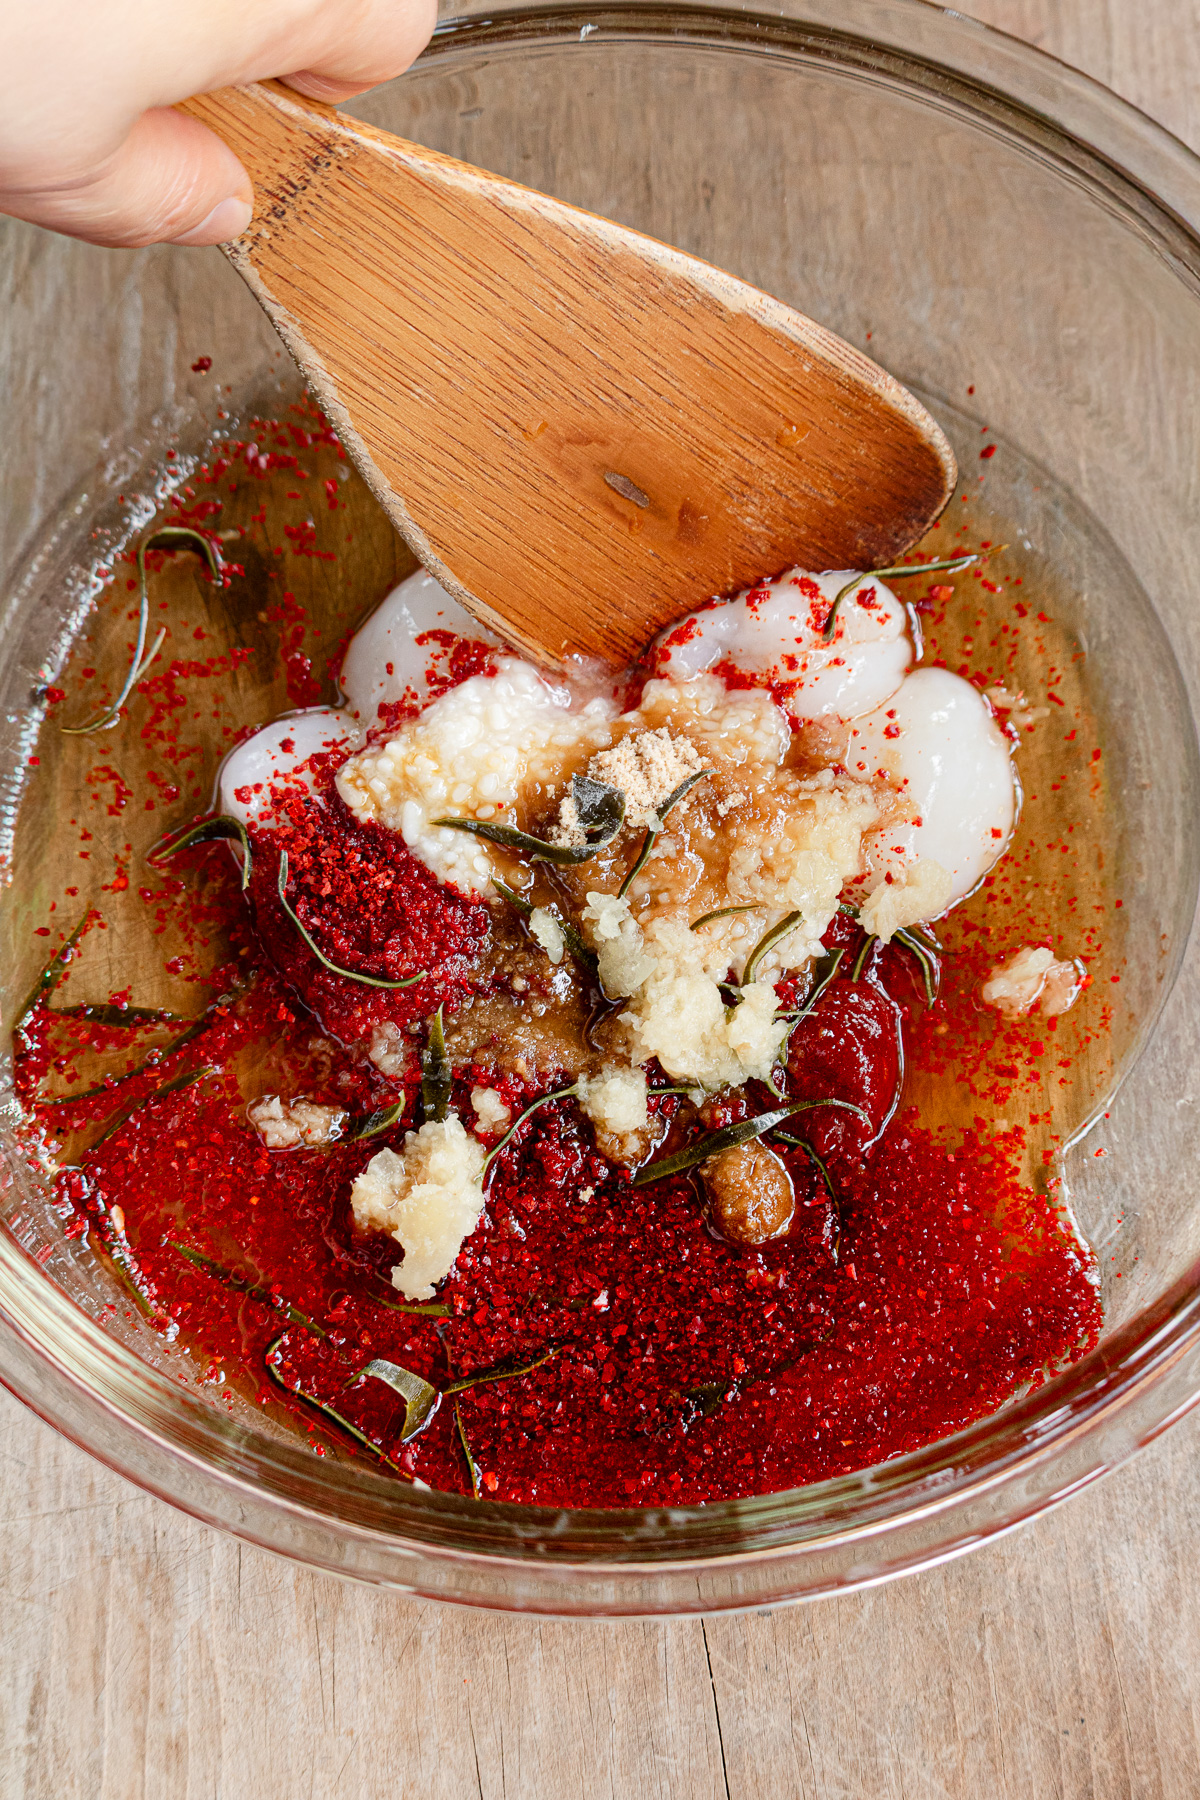
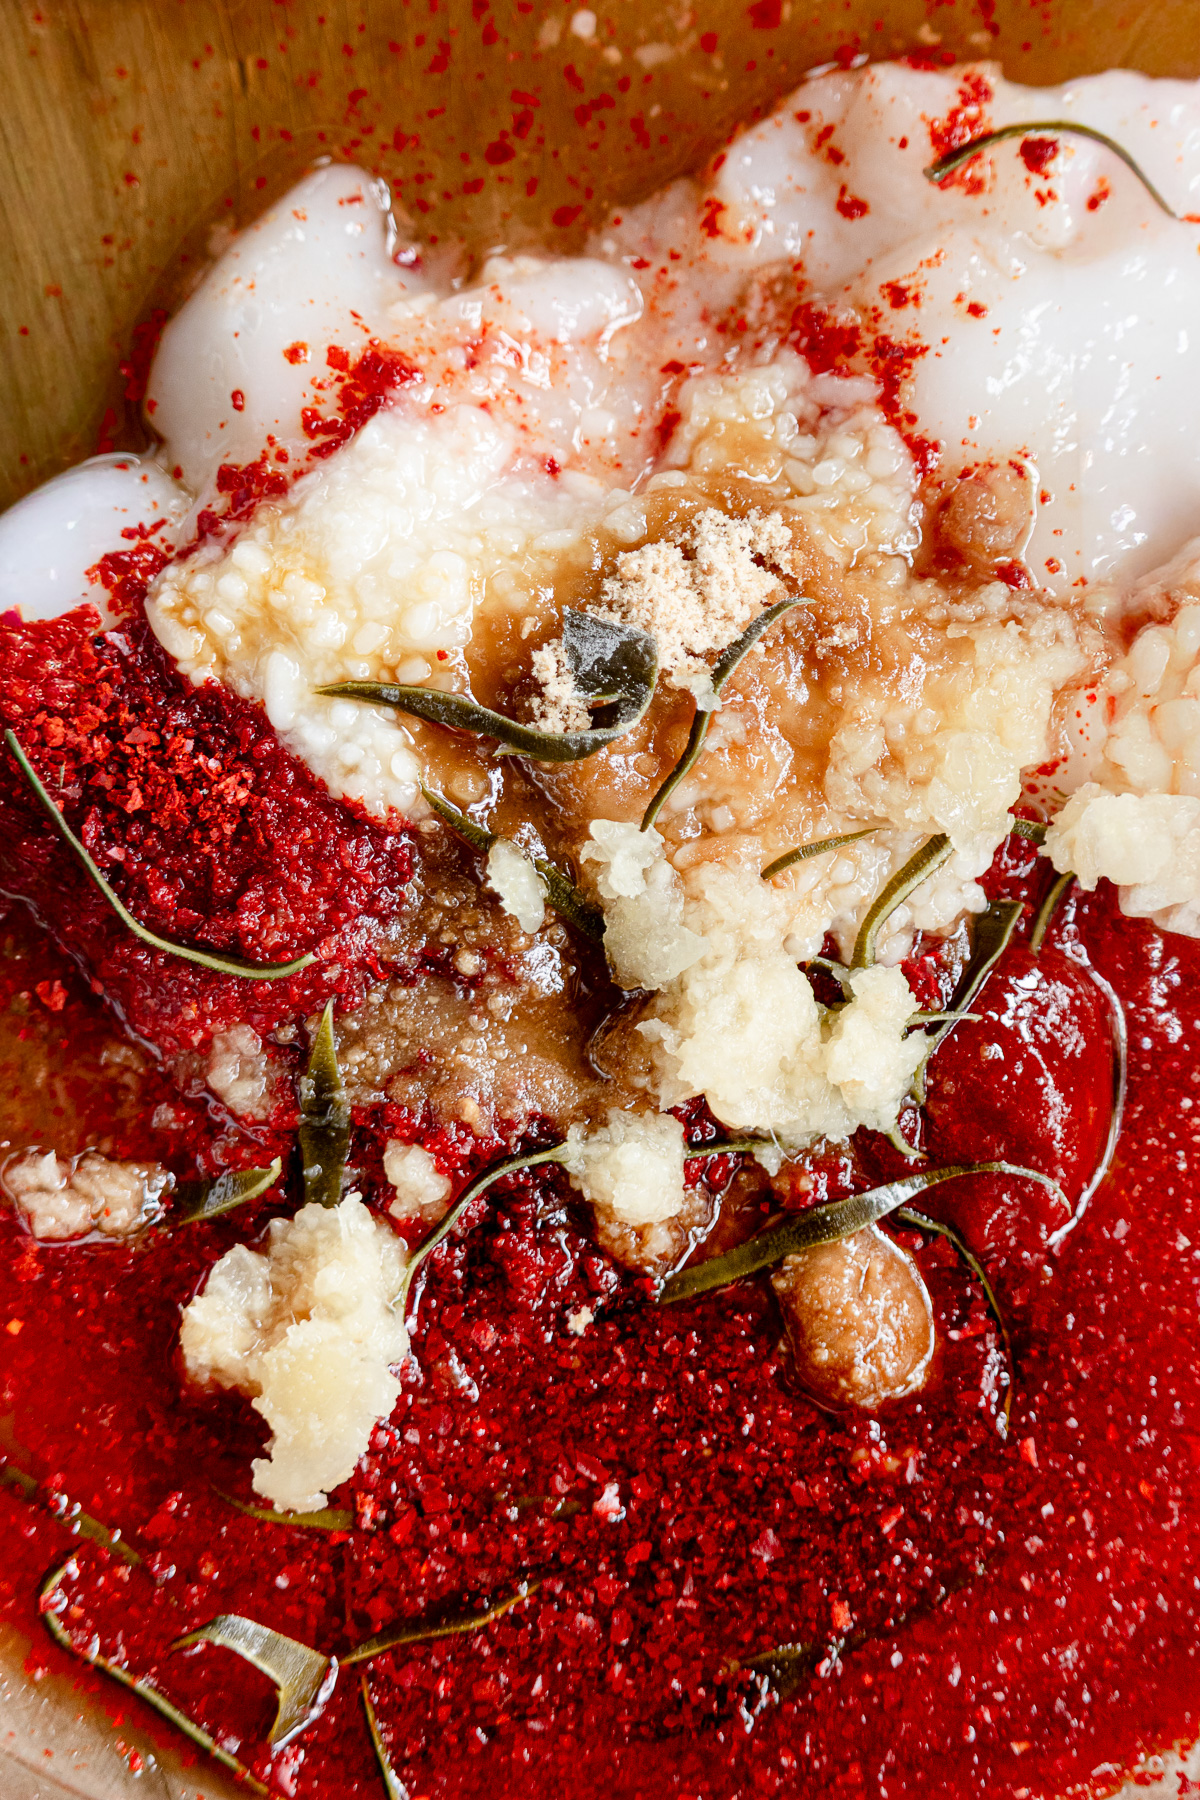
- Make the yangnyeom:
- Once the rice paste has fully cooled, stir in the rest of the seasonings.
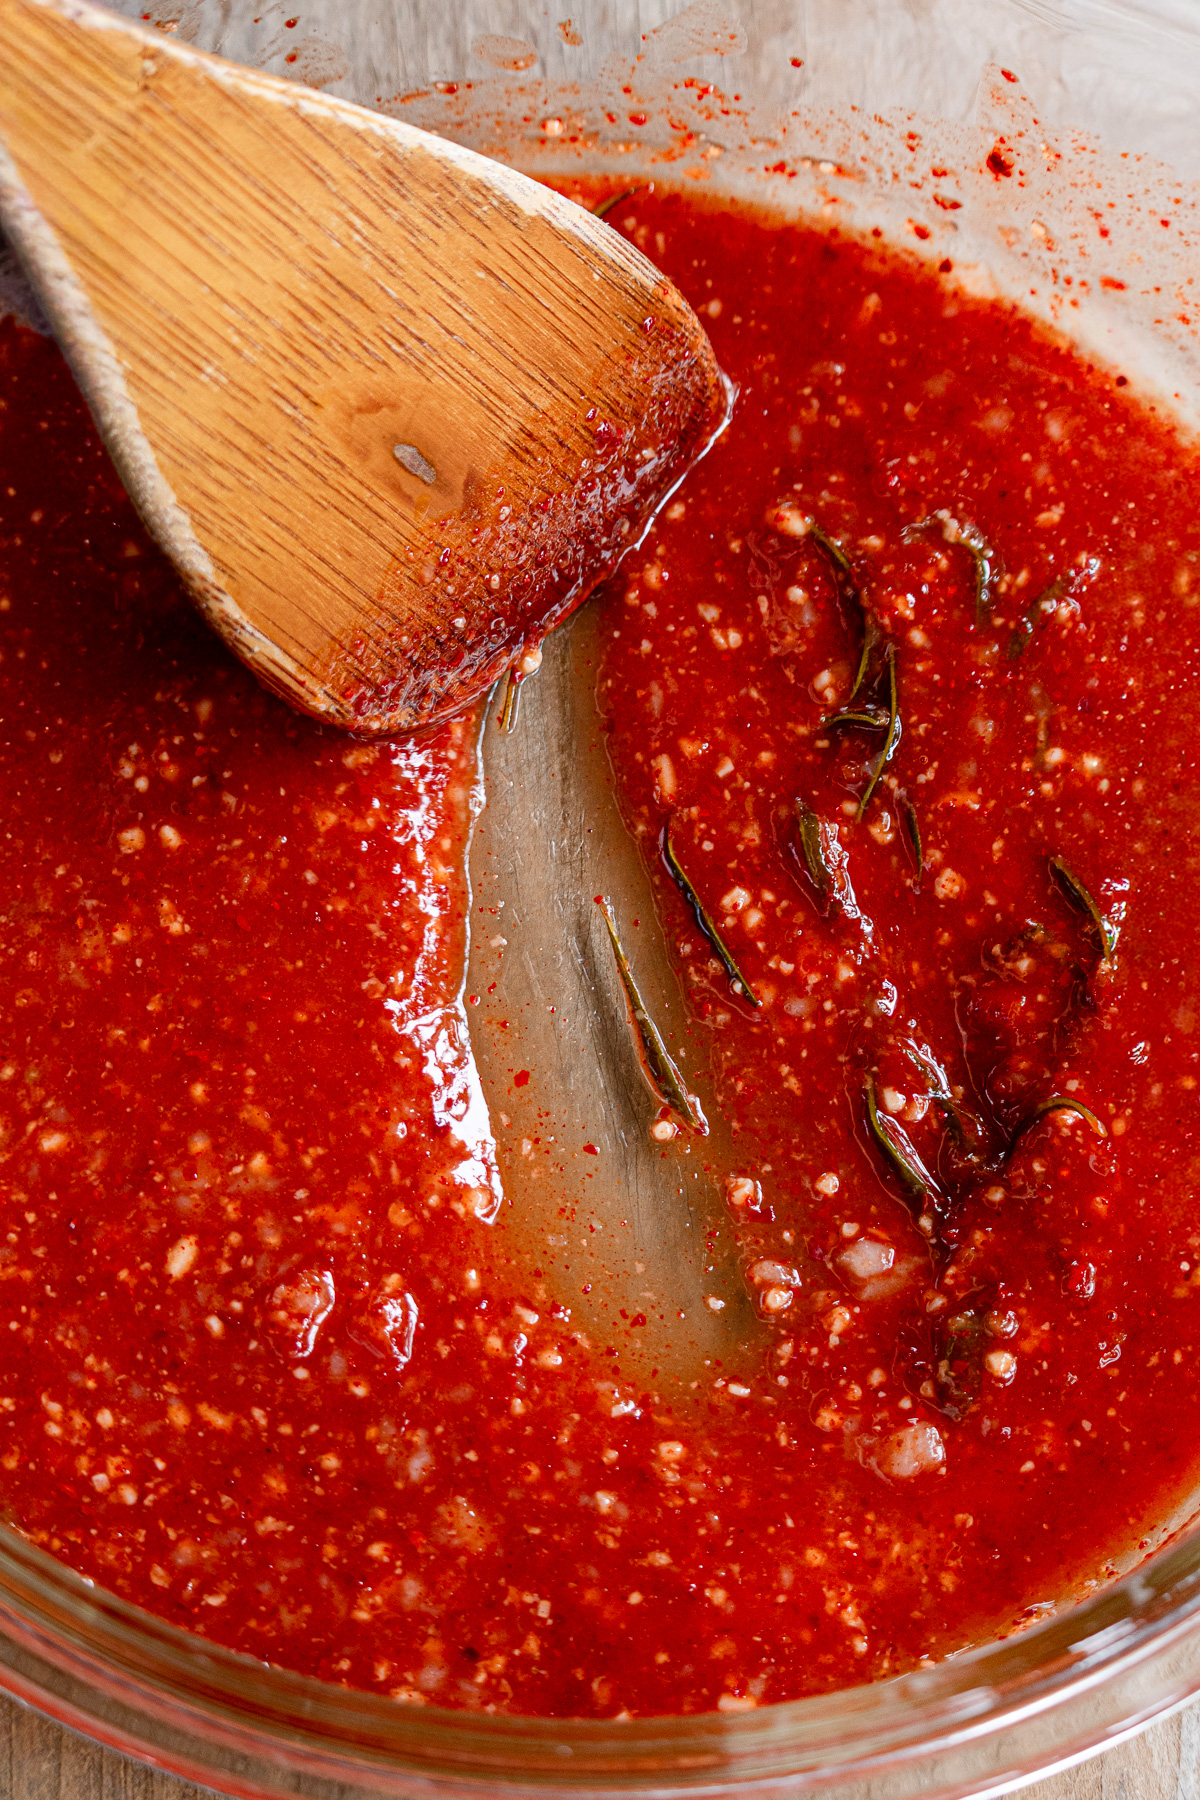
- Let it rest:
- Let the gochugaru blend into the paste until the sauce turns a deep red. A little downtime — for the kimchi, and for me.
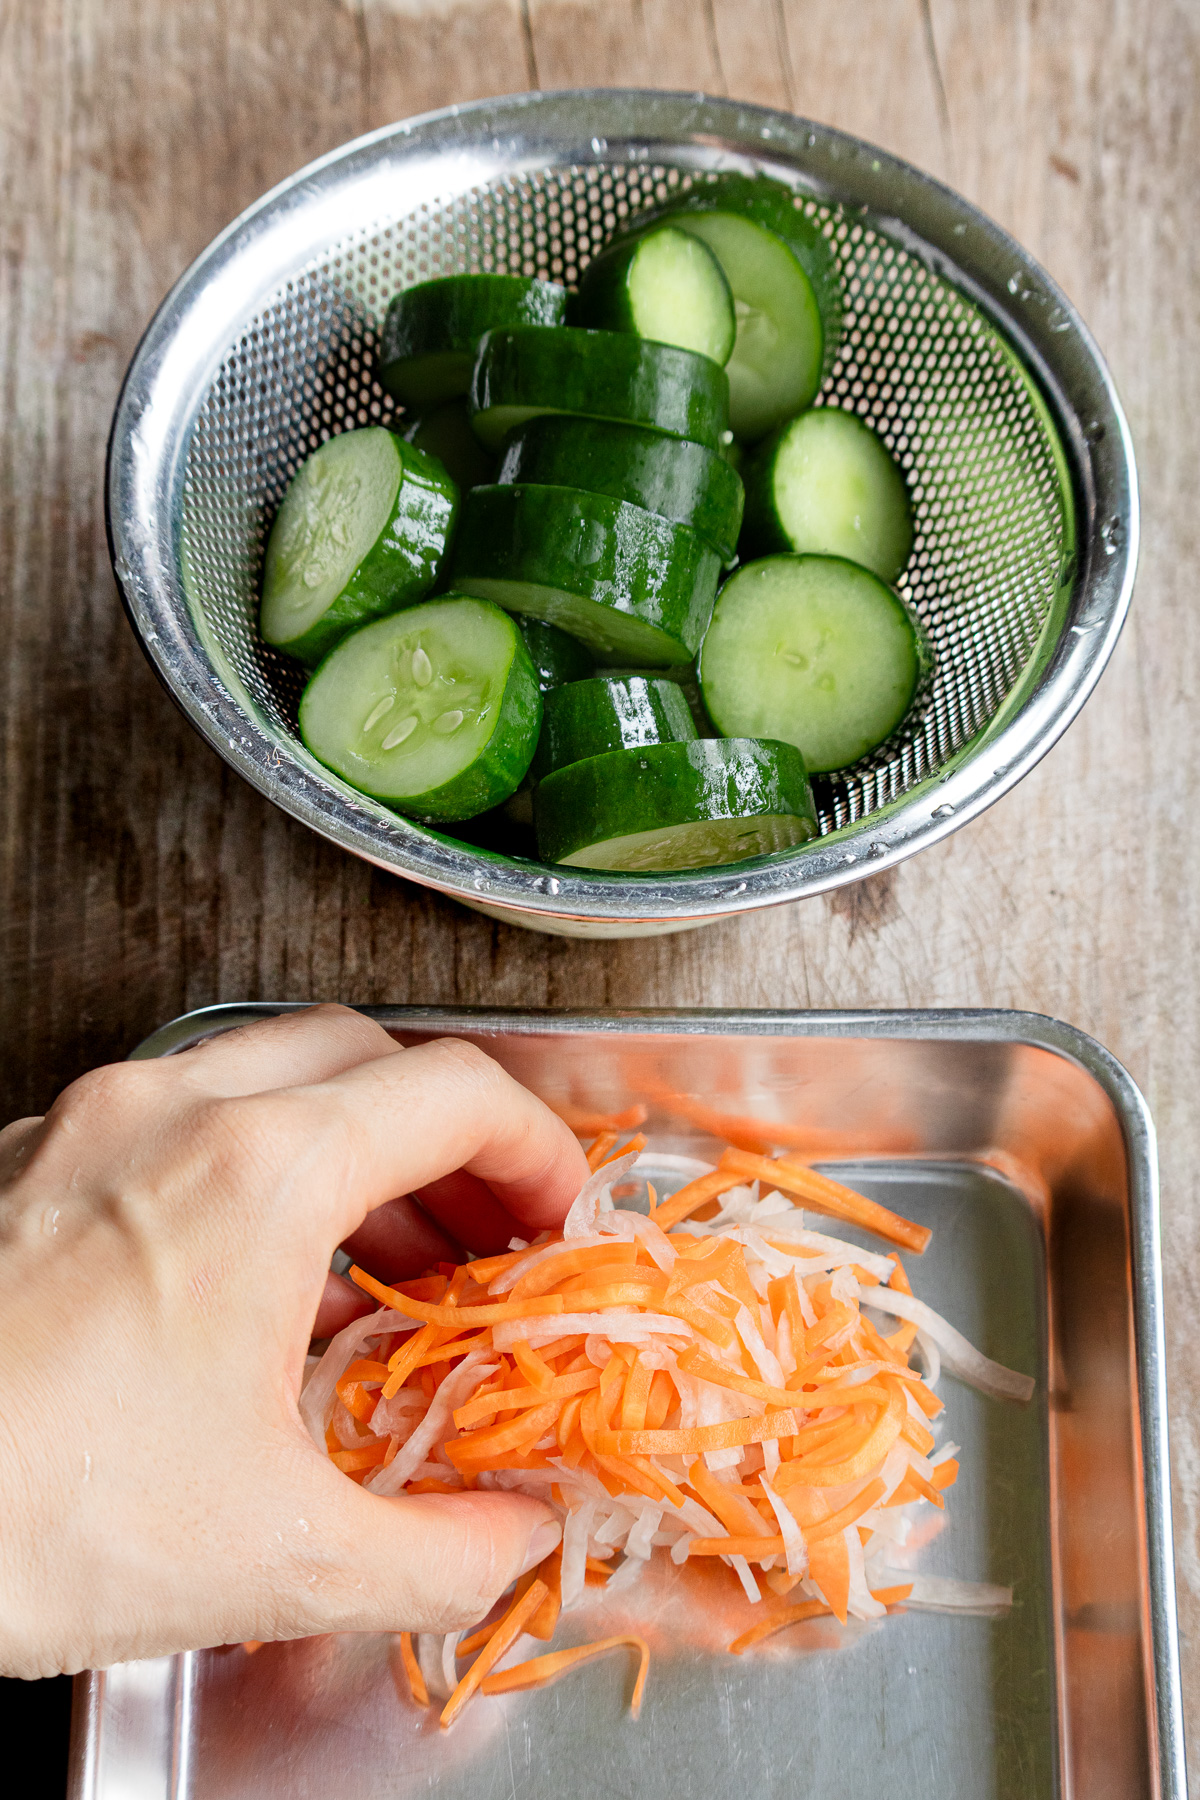
- Drain the vegetables: By the time the sauce turns red, the salted vegetables — especially the cucumber — should have released a good amount of liquid.
- Drain the cucumber in a colander, then pat dry with a paper towel.
- Squeeze the daikon and carrot by hand to remove excess water.
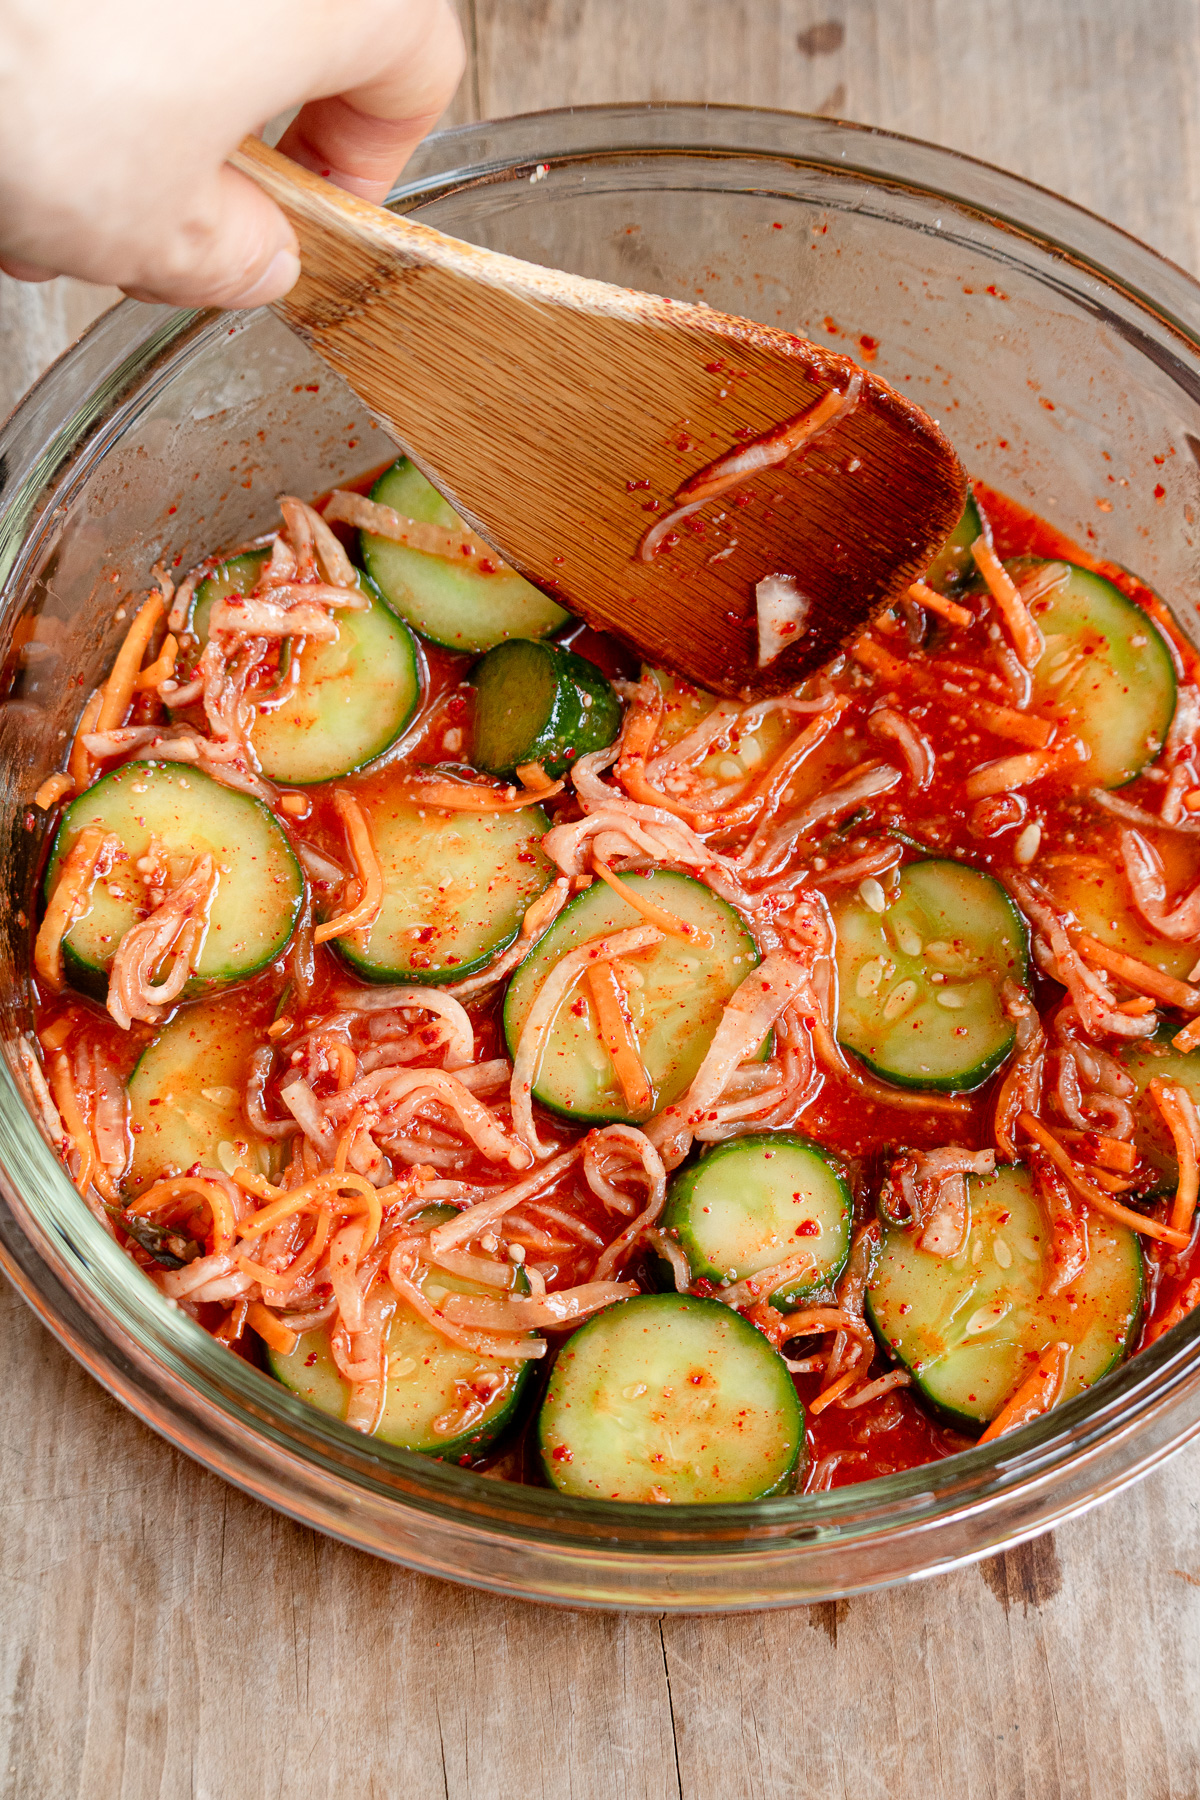
- Combine and ferment:
- Toss the vegetables into the sauce and mix well.
- Cover and let it sit at room temperature for half a day to 2 days, tasting it every so often along the way.
- Once it's fermented to your liking, store it in the fridge, where it'll keep developing slowly.
🌿 Each time you check on the fermentation, give it a stir — flipping it top to bottom helps the flavor soak in evenly.
🗓️ Fermentation Time
After it's made, it always sits at room temperature for a while to ferment — that part I never skip. Taste it every twelve hours or so, and let it go until it reaches the level you like.
This August, with highs around 26°C (79°F) in my kitchen, it usually took a day and a half to two days to get there. You'll know it's ready when the cucumber turns a shade darker and picks up a pleasant tang. If it goes a little too far, a good chill in the fridge usually brings it back into balance.
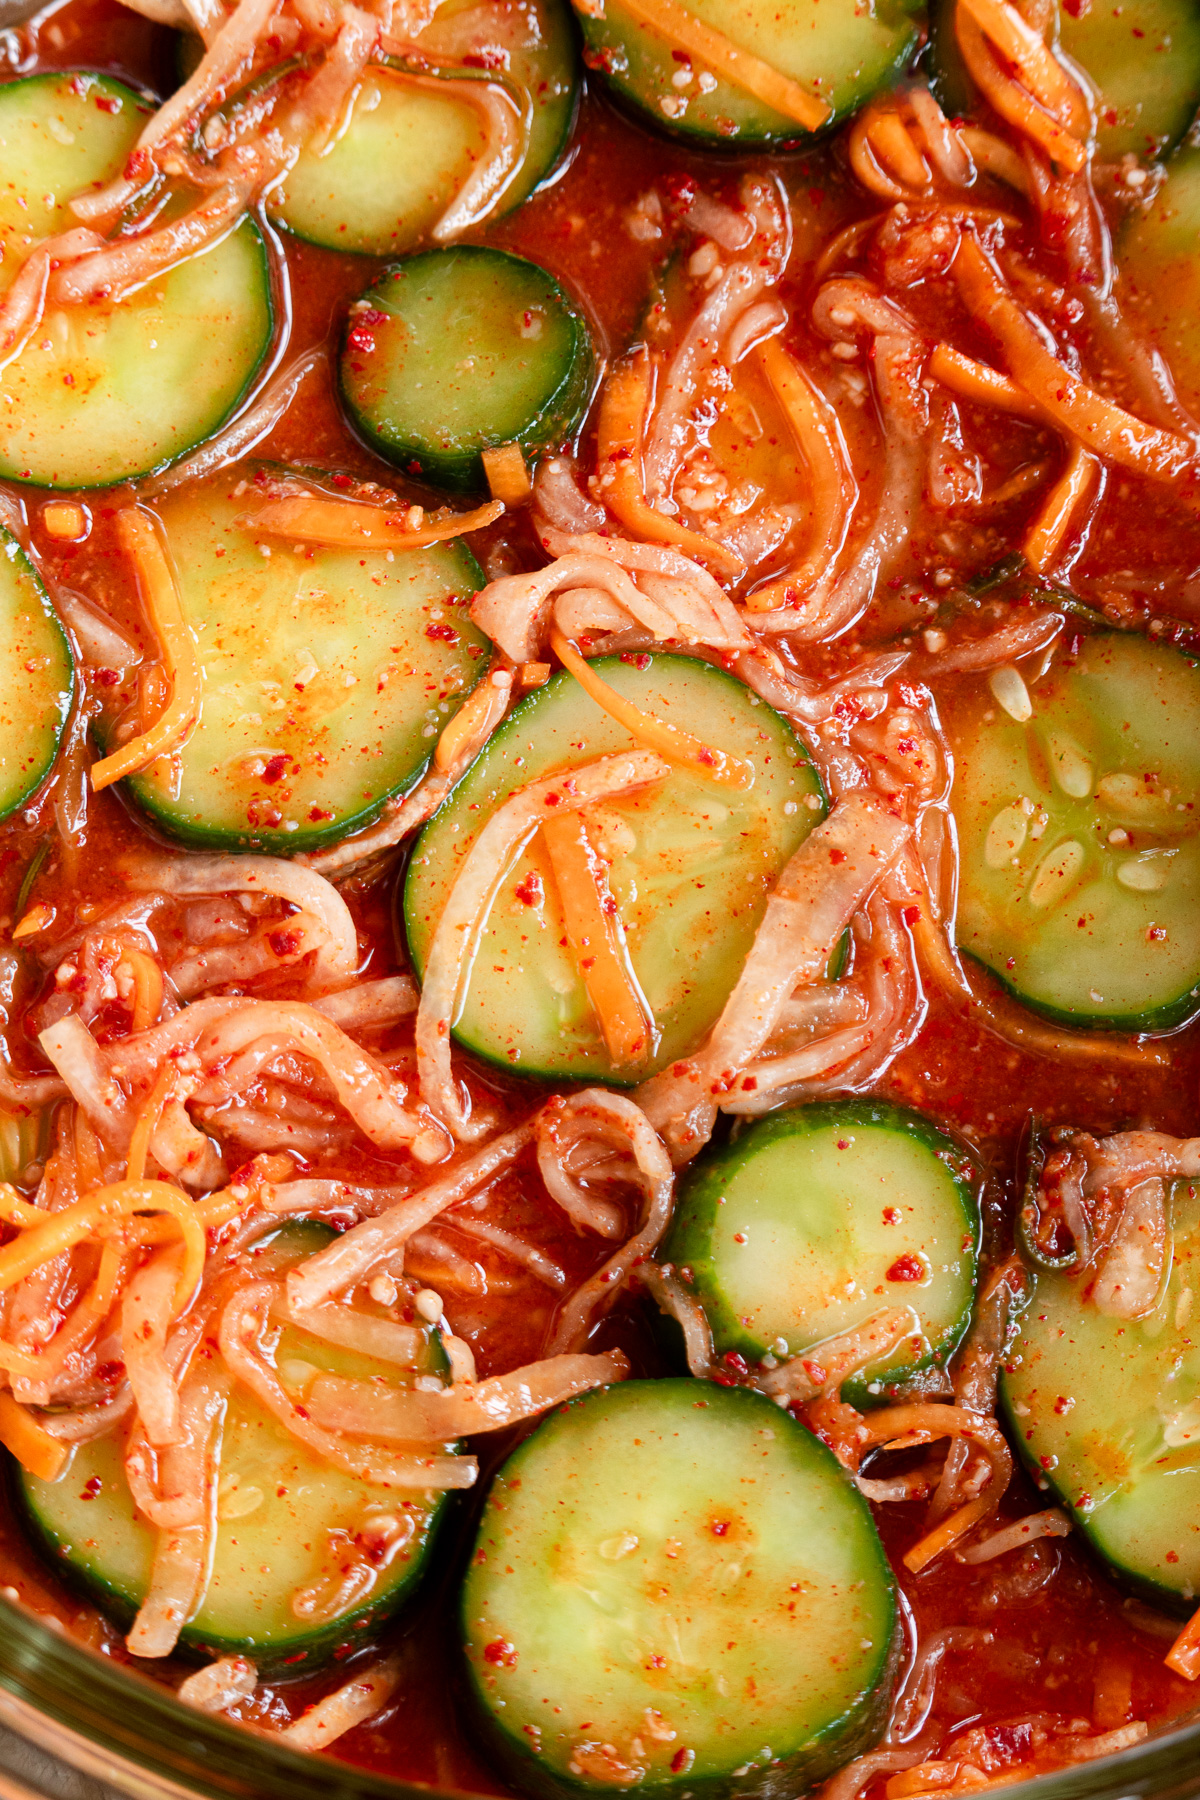
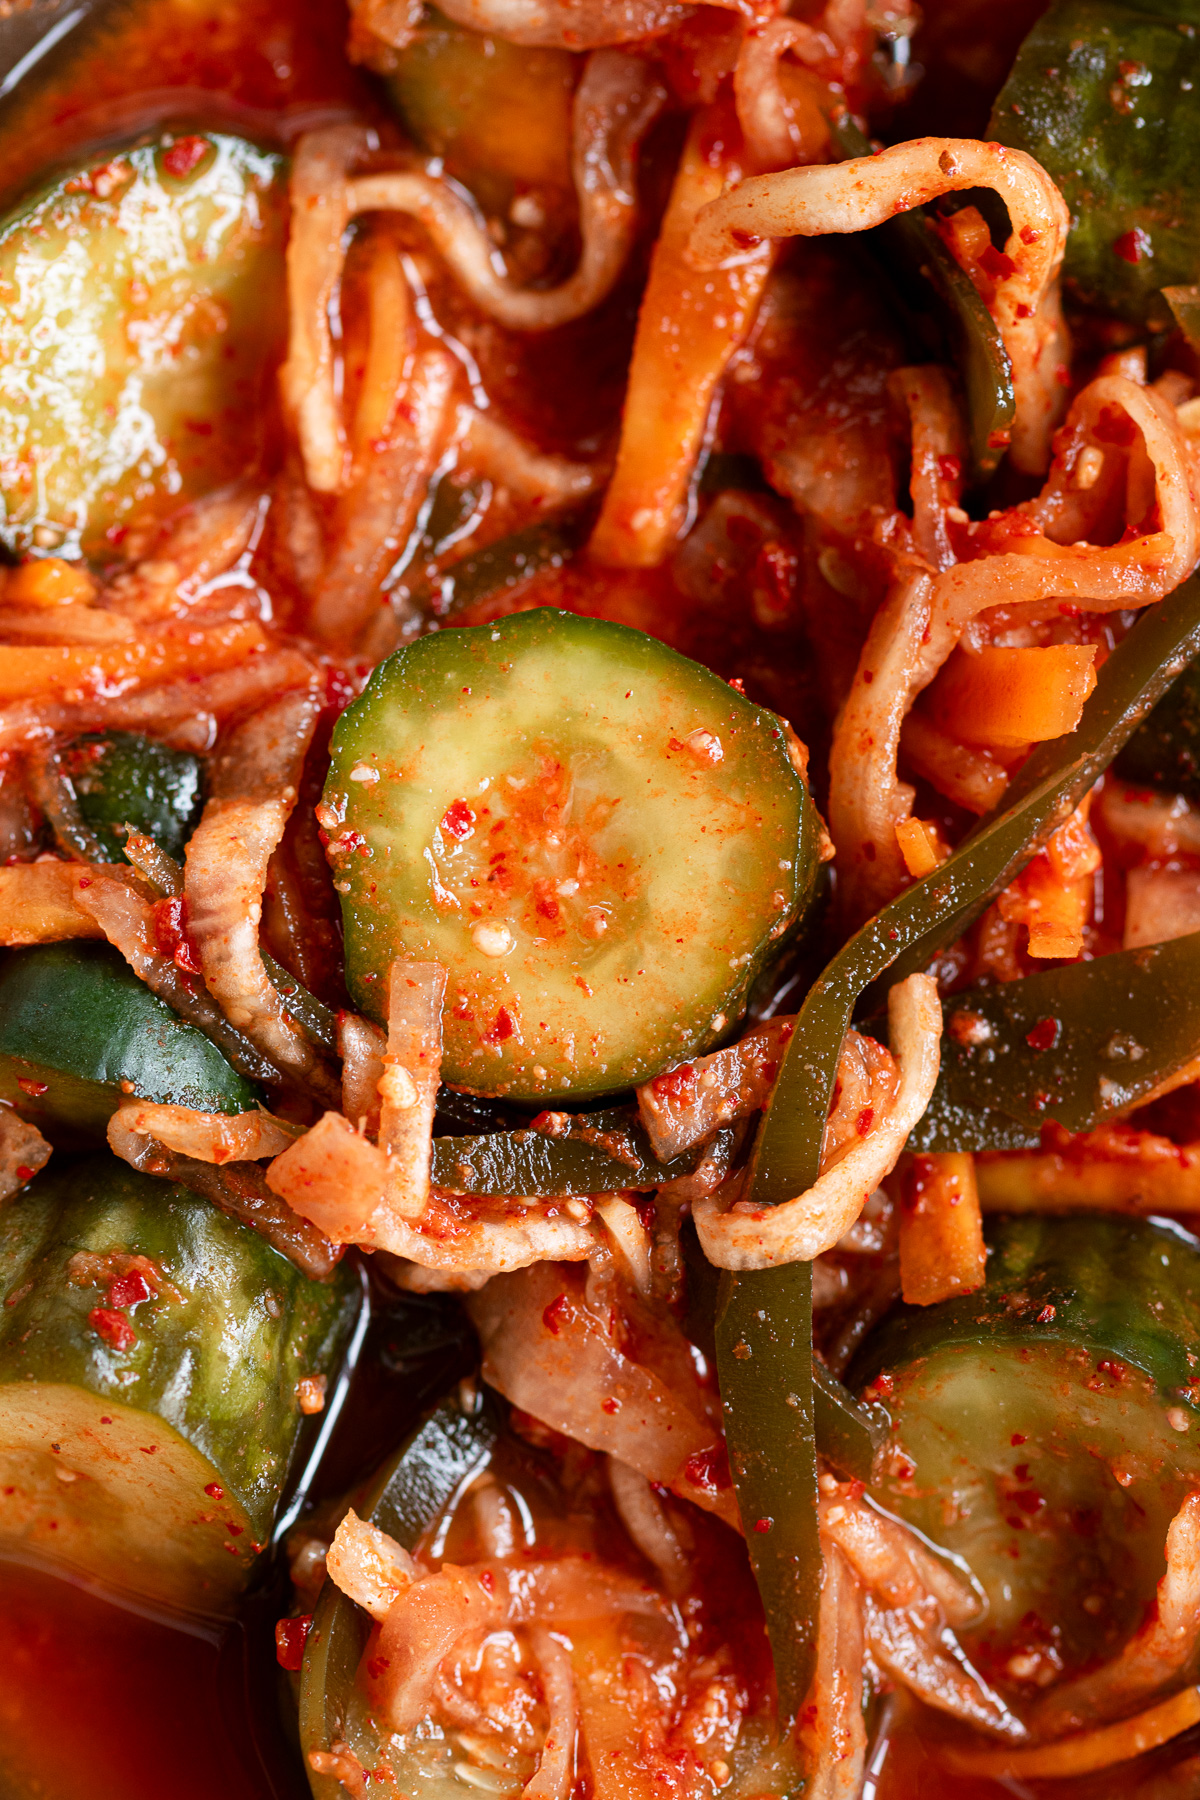
What I'd steer away from is eating it before the fermentation kicks in, while the flavor is still just sweet and hasn't developed yet — the fermentation is really where this recipe's flavor comes from.
Once, I skipped fermentation entirely and put a batch straight in the fridge. It came out flat and bland, so I pulled it back out and let it sit at room temperature after all. Even a short stretch at room temperature makes a real difference.
These days, I can usually tell how it's coming along just from the smell the moment I lift the lid. Makes me feel like a bit of a kimchi expert.
And it keeps fermenting in the fridge too, just at a much slower pace — the flavor keeps shifting a little more each day, so enjoy tasting the change as it goes.
🫙 Storage
Compared to my napa cabbage kimchi, this cucumber kimchi doesn't keep as long — best finished within about a week. Cucumbers hold a lot of water, which means it generally doesn't keep as long as many other types of kimchi.
Use clean chopsticks each time you serve it. It's a small habit, but it keeps the kimchi fresher for longer.
📚 FAQ
I have a genuinely low spice tolerance, and this recipe is mild enough even for me. The gochujang does give it a bit more kick than my napa cabbage kimchi, daikon leaf kimchi, or yuzu napa kimchi, though the heat mellows out as the days go by. If spice worries you, just cut back on the gochujang or gochugaru.
You can — it'll just taste a little simpler without them. Feel free to play around with the amount until it feels right to you.
🧺 More Kimchi Recipes
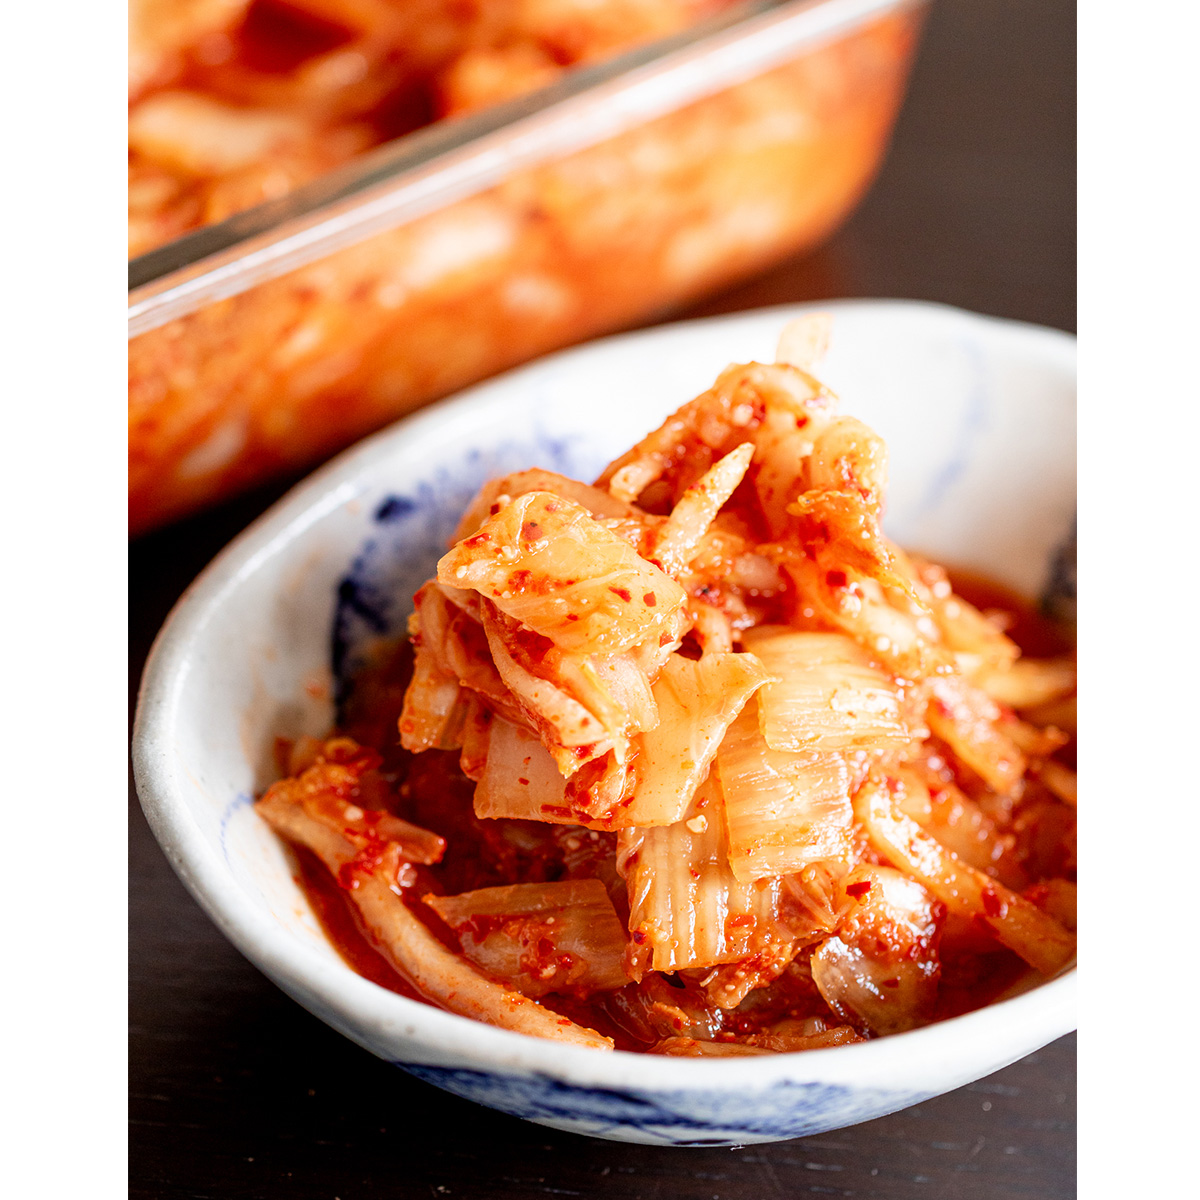
From the classics to a few twists on tradition:
🇰🇷 More Vegan Korean Recipes
📖 Recipe Card
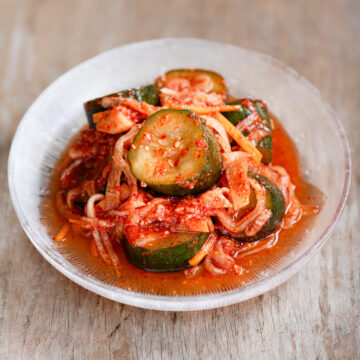
Vegan Cucumber Kimchi (Oi Kimchi) with a Japanese Twist
Equipment
- Knife and cutting board
- Mandoline
- Storage container (glass recommended)
- Pot (for rice paste)
- colander
Ingredients
Vegetables
- 300 g cucumber
- 70 g daikon
- 30 g carrot
- 6 g coarse sea salt (2% of the cucumber's weight)
- 1 g coarse sea salt (1% of the daikon and carrot's weight)
Rice Paste
- 1 tablespoon rice flour
- 100 ml water
Seasonings (for the Yangnyeom)
- 2 tablespoon Korean plum extract (Mae-sil-cheong)
- 1 tablespoon shio koji
- 1 tablespoon coarse Korean chili powder (gochugaru)
- 1 tablespoon sudaki-to (or any sugar)
- 1 teaspoon soy sauce
- ½ teaspoon gochujang (Korean chili paste) (bibigo brand)
- 10 g ginger (grated)
- 2 g garlic (grated)
- 2-3 g kombu (dried kelp) (snipped into thin strips)
Instructions
- Salt the vegetables: Cut the cucumber into 2–3 cm pieces and toss with 2% salt. Julienne the daikon and carrot and toss with 1% salt. Let everything sit at room temperature for an hour, flipping once about 30 minutes in.300 g cucumber70 g daikon30 g carrot6 g coarse sea salt1 g coarse sea salt
- Make the rice paste: In a pot, whisk rice flour and water together until smooth. Heat over medium, stirring the whole time, until it thickens. Lower the heat and cook for another 2 minutes. Remove from heat, transfer to your storage container, and let it cool.1 tbsp rice flour100 ml water
- Make the yangnyeom: Once the rice paste has cooled, stir in all the seasonings. Let the gochugaru blend in until the yangnyeom turns a deep red.1 tbsp shio koji1 tbsp coarse Korean chili powder1 tbsp sudaki-to1 tsp soy sauce½ tsp gochujang (Korean chili paste)10 g ginger2 g garlic2-3 g kombu (dried kelp)
- Drain the vegetables: An hour after salting, drain the cucumber in a colander and pat the surface dry with a paper towel. Squeeze the daikon and carrot firmly by hand to remove excess water.
- Combine and ferment: Toss the salted vegetables into the yangnyeom and mix well. Cover and let it sit at room temperature for half a day to 2 days, until it reaches the fermentation you like, then store it in the fridge.
Notes

If this recipe made its way into your kitchen, and you'd like to share that moment, feel free to tag @veginveganvegun or use #vegin_vegan_vegun.
Your quiet stories inspire me deeply 🕊️



Comments
No Comments